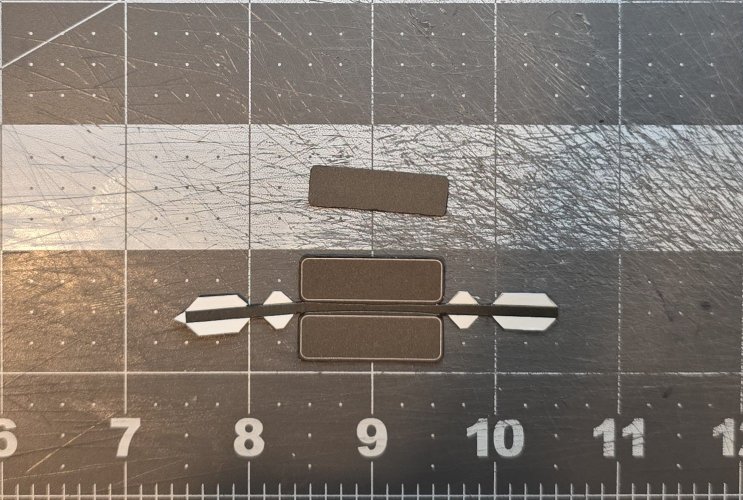
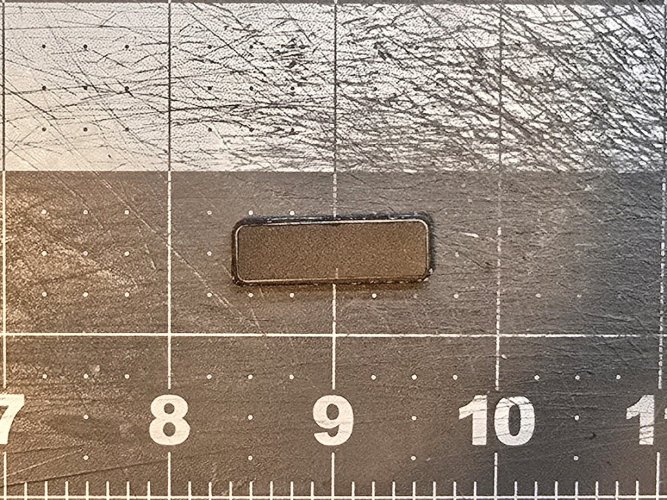
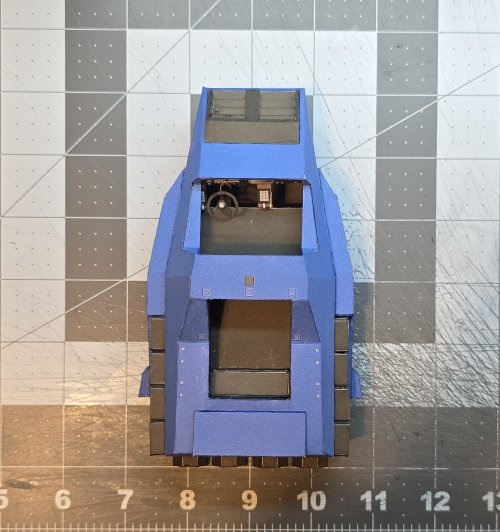
ON ZETA, THEY DO IT RIGHT.

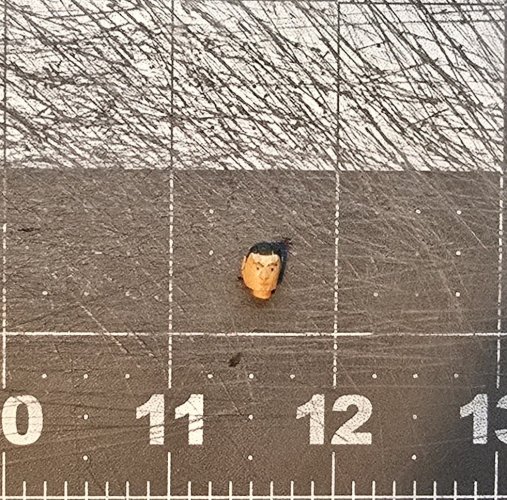
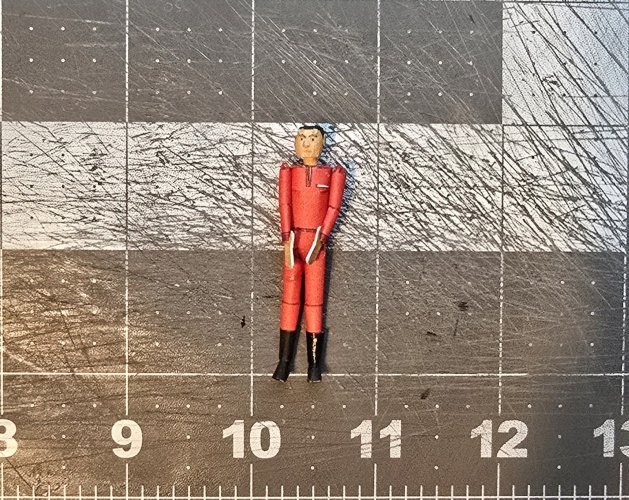
Moving on t the next figure, Buck Roger (in the prisoner uniform).

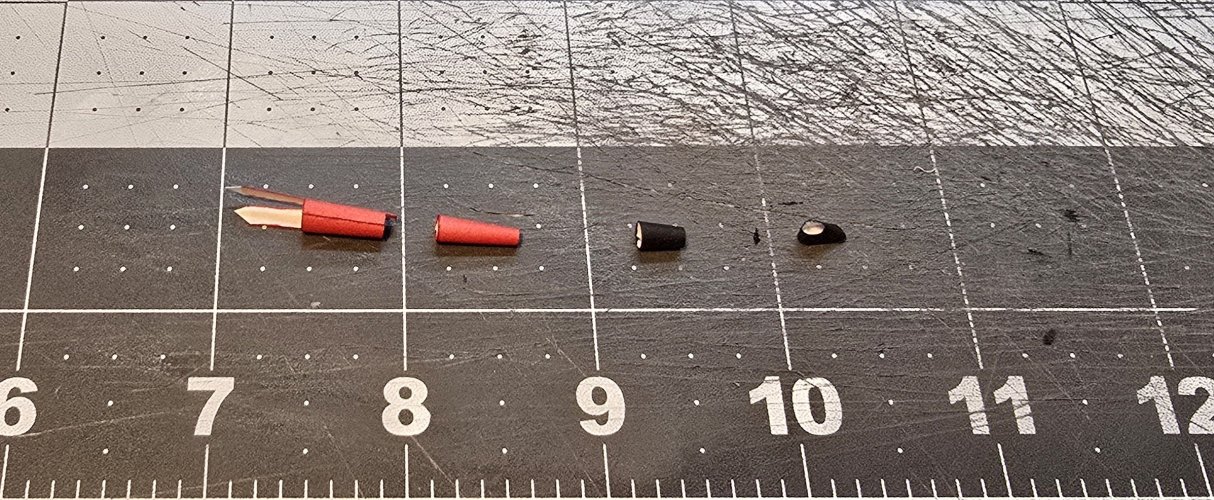
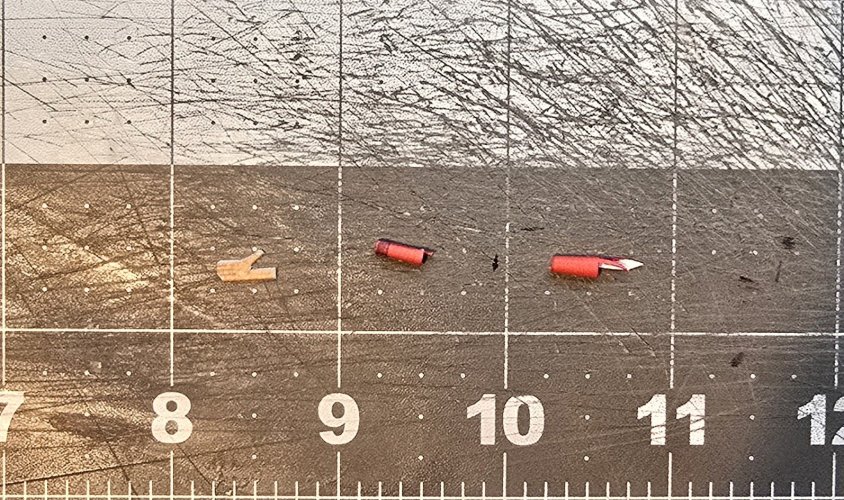
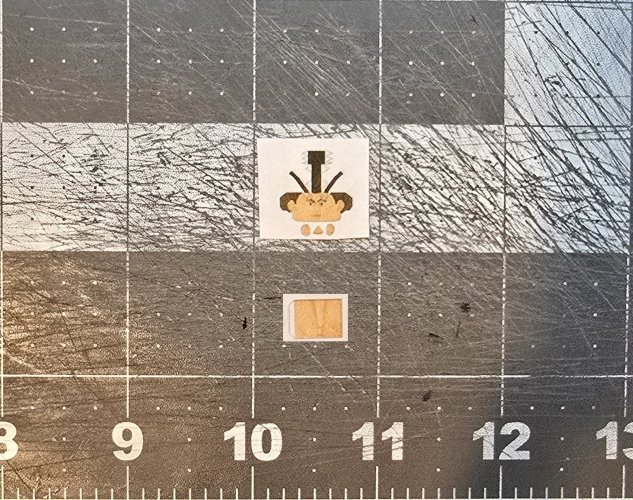
Here are the parts for the figure.
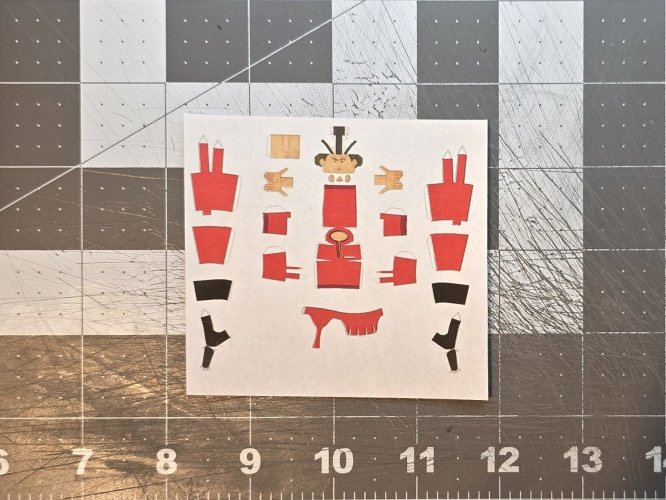
20250808_074213.jpg

Starting with the legs.
20250808_084022.jpg

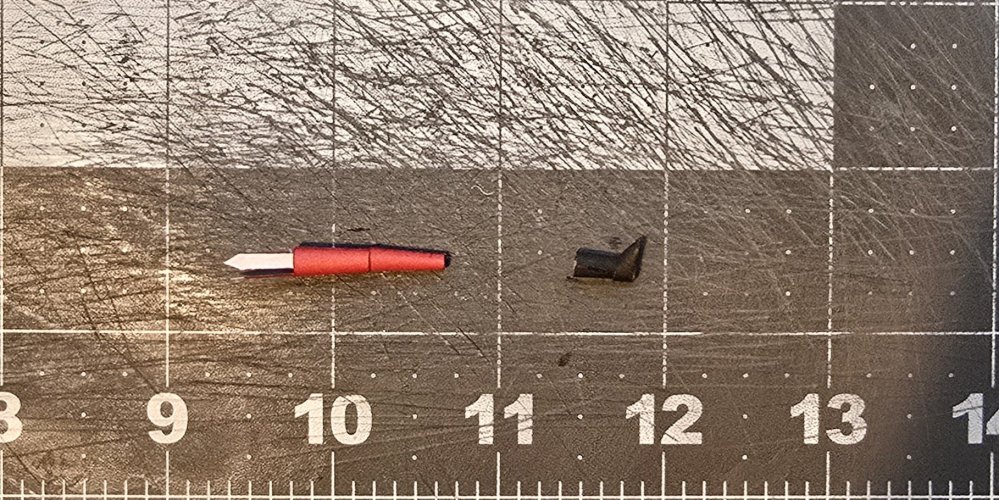
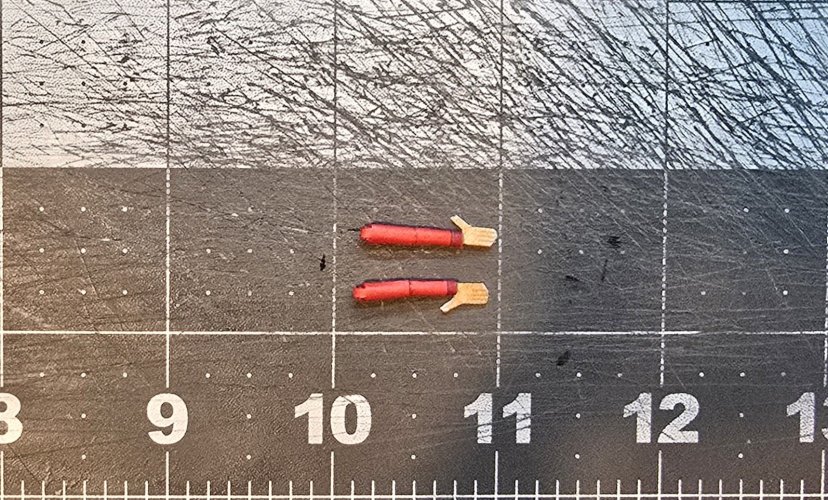
The leg and boot are assembled.
20250808_084549.jpg

The leg is put inside the boot.
(*NOTE* At this point, this is the first time that the builder can "play" with the height of the figure, by how far the leg is put into the boot.).
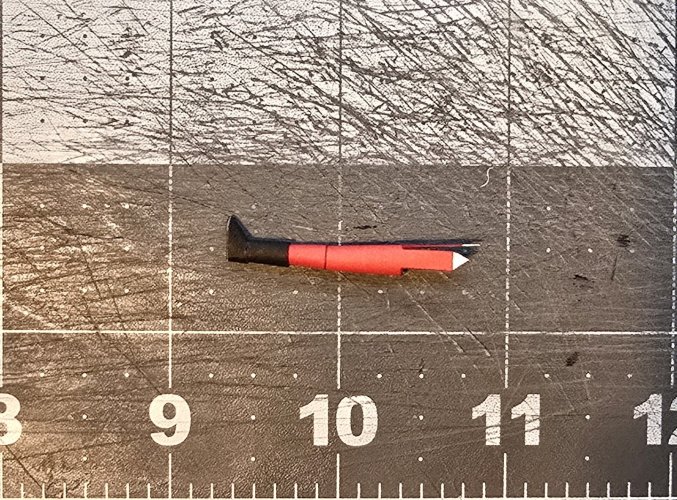
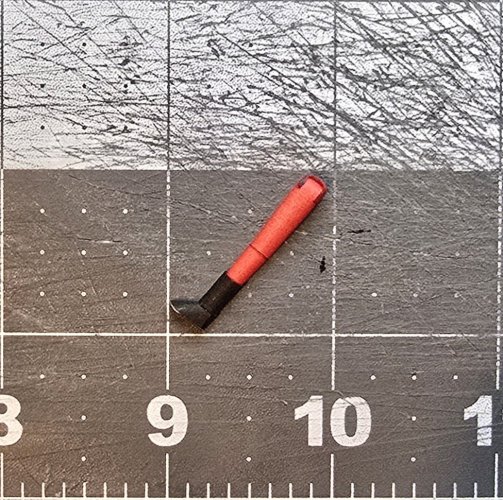
20250808_090033.jpg

The leg is fully assembled.
20250809_073152.jpg

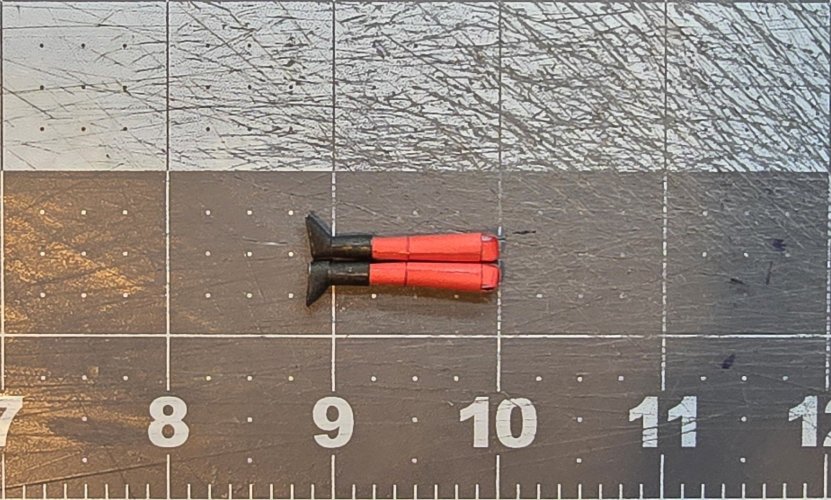
Both legs are assembled.
20250809_073528.jpg

Please stay tuned in to your local Earth Directorate broadcasting channels for further updates.
 
Next up is the "body".

Here is the pelvic component.
20250809_075650.jpg

Here is the torso component.
20250809_091002.jpg

Both components are assembled.
20250809_093330.jpg

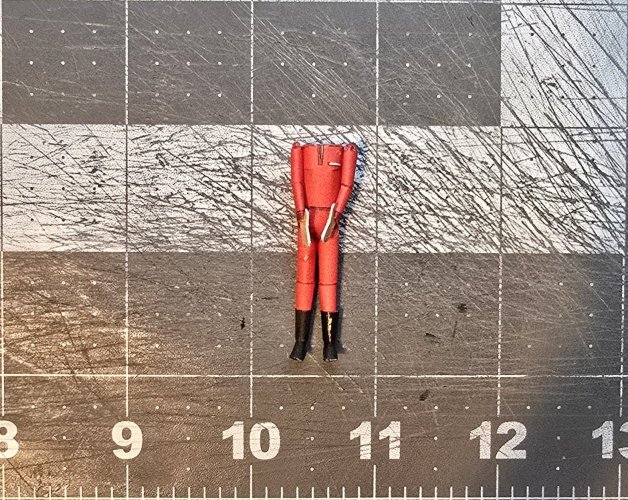
The "body" is fully assembled.
20250809_094805.jpg

The legs ae attached to the body.
(*NOTE* This is the second point where builder can adjust the height of the figure, by how far in, the legs are placed.)
20250809_104541.jpg

Please stay tuned in to your local Earth Directorate broadcasting channels for further updates.
 
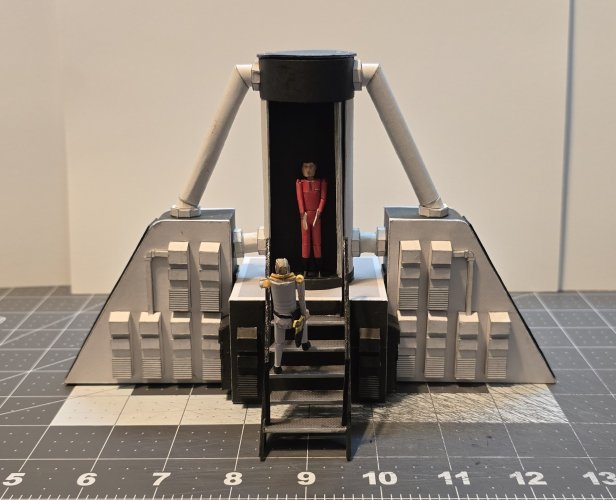
Both figures are glued in place.
20250809_153759.jpg

Here is a short video showing the turning mechanism (I would have shut the door first, but it is difficult to close it with only one hand).


Please stay tuned in to your local Earth Directorate broadcasting channels for further updates.
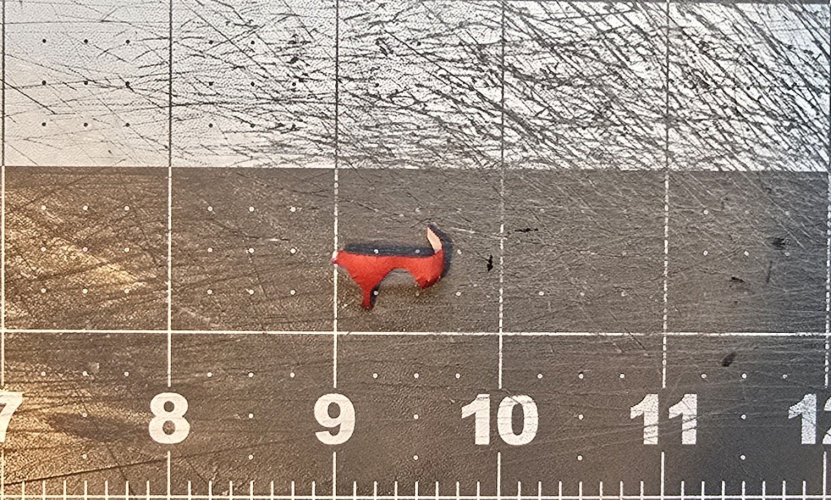
 
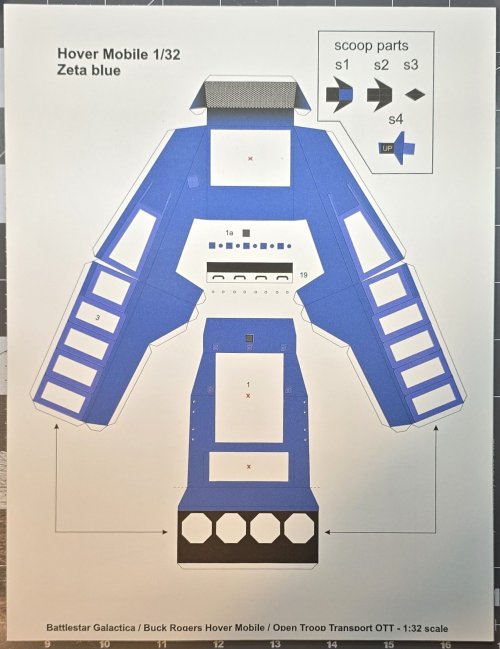
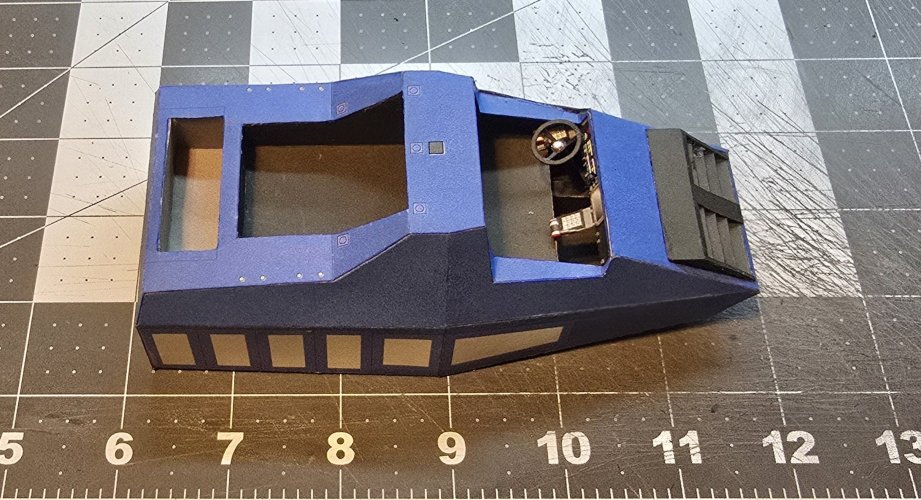
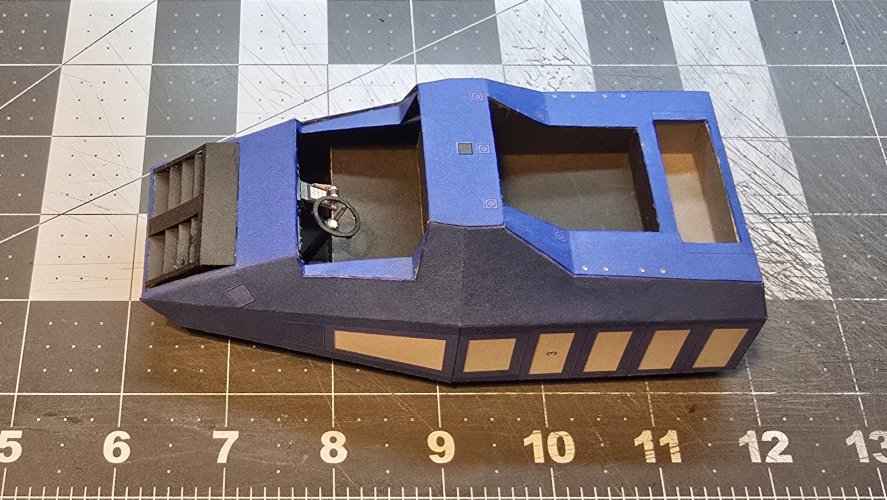
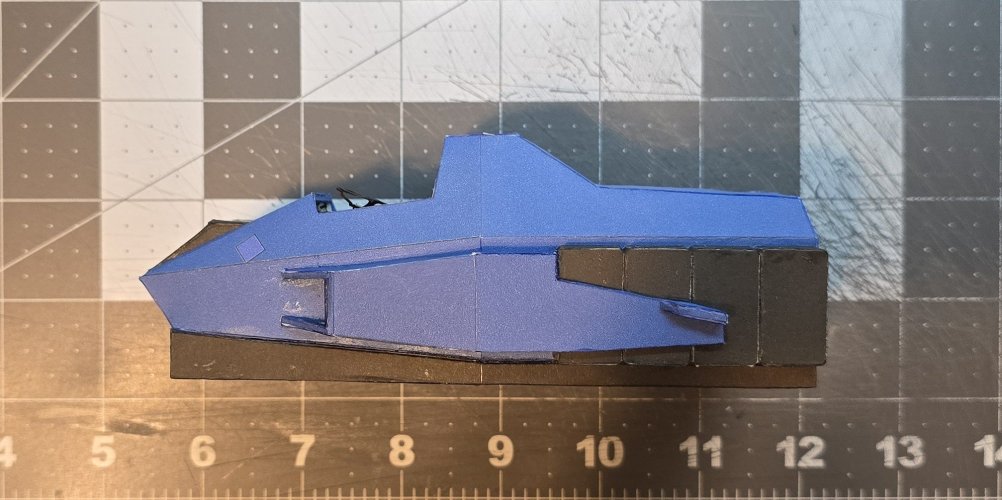
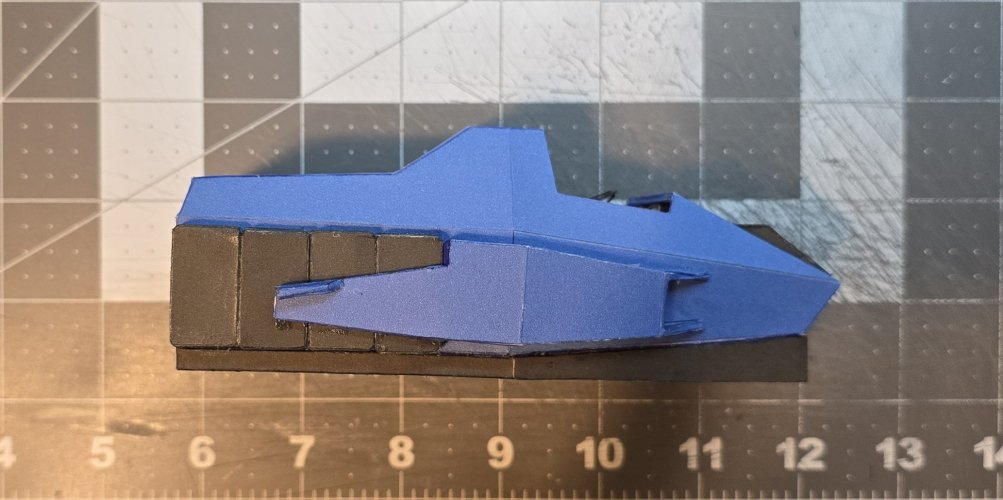
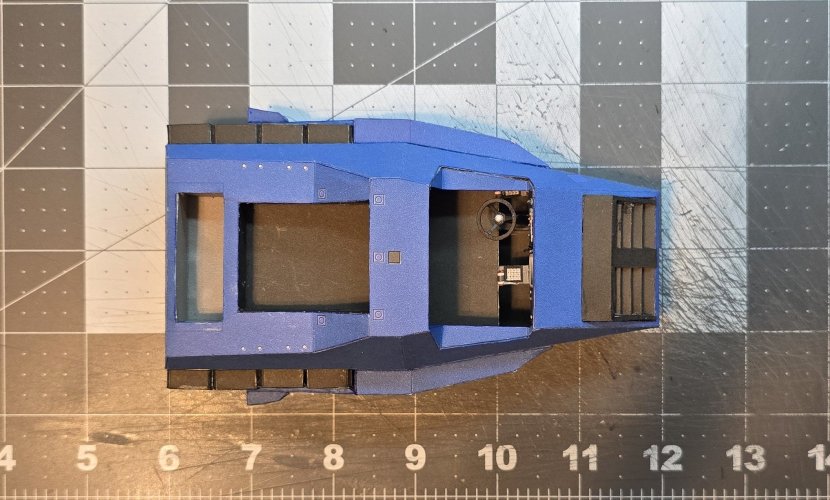
@Revell-Fan have finished the upgrades for the Blue Hover Vehicle (in 1:32 scale). Fortuantely, there is not difference from the last Blue Hover vehicle that I built (with the exception of the scale).

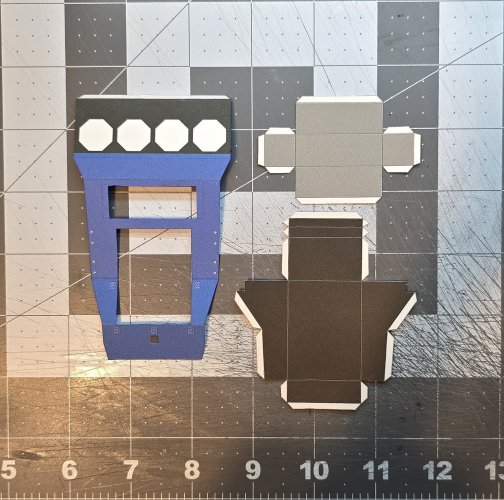
Here are the parts for the "body".
20250817_141648.jpg

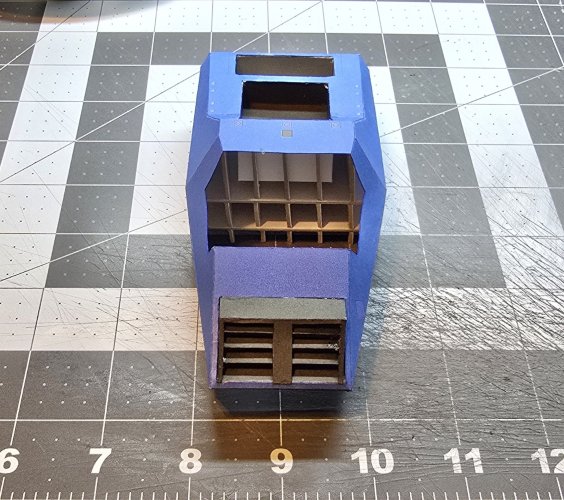
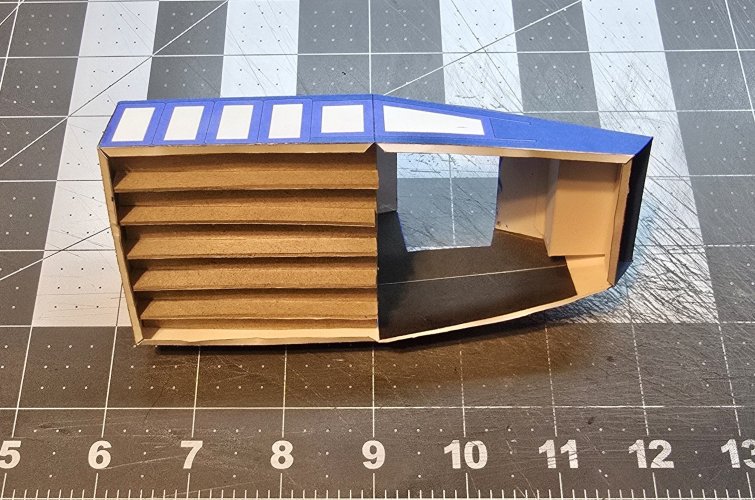
Starting the assembly of the body.
20250817_180018.jpg

I attached the light assembly.
20250817_180506.jpg


20250817_181608.jpg

20250817_181645.jpg

Here are the parts for the top body part and storage compartment and the "trunk".
20250817_182229.jpg

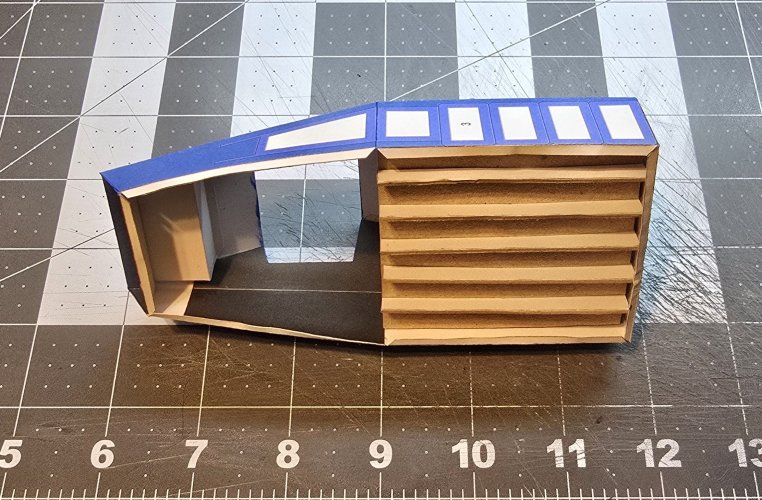
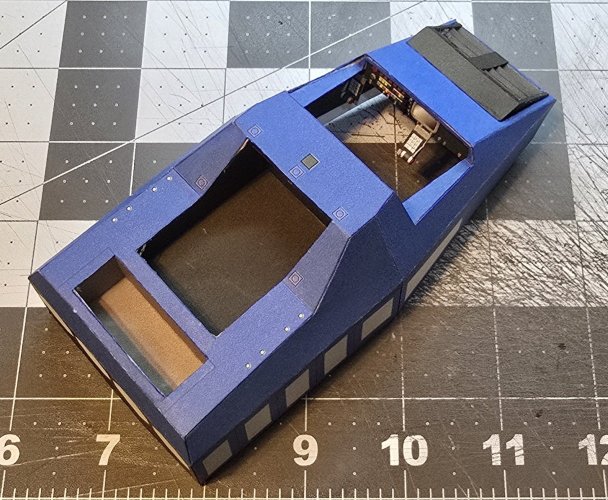
The top body part and storage compartment and the "trunk" are attached to the rest o the body
20250818_135129.jpg

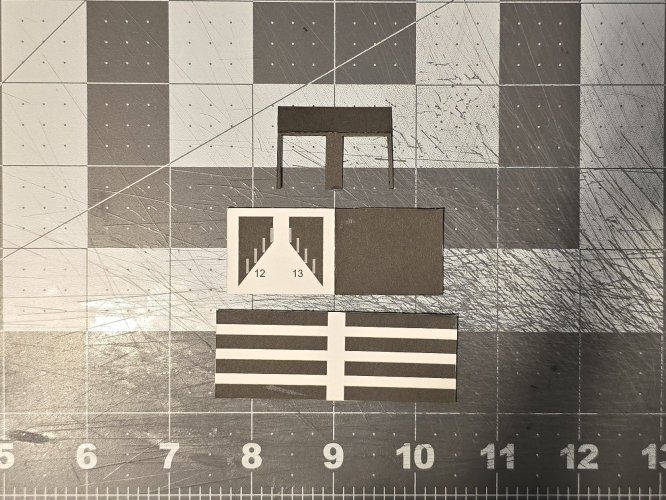
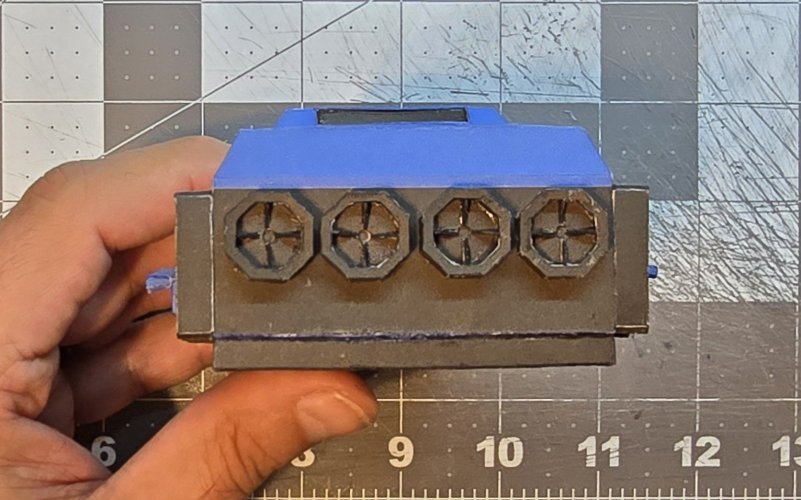
These are the parts for the front louvred grill.
20250818_150244.jpg

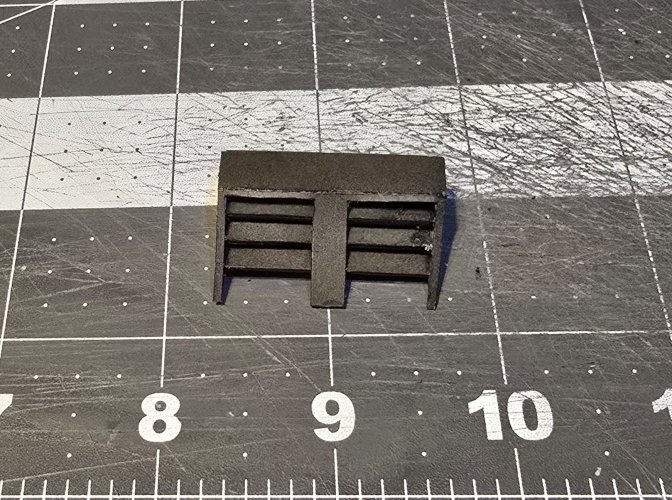
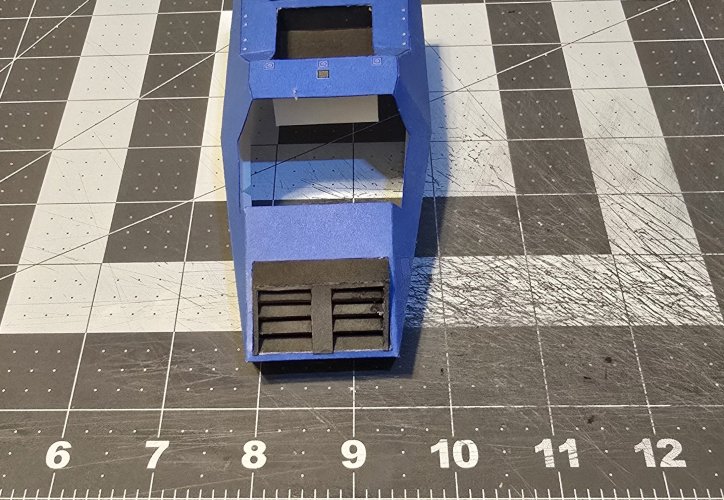
The front louvred grill is assembled.
20250818_154355.jpg

The front louvred grill ia attached in place.
20250818_154729.jpg

Please stay tuned in to your local Earth Directorate broadcasting channels for further updates.
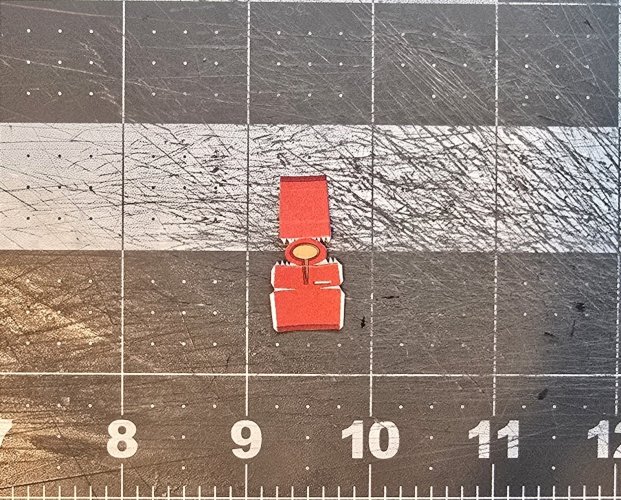
 
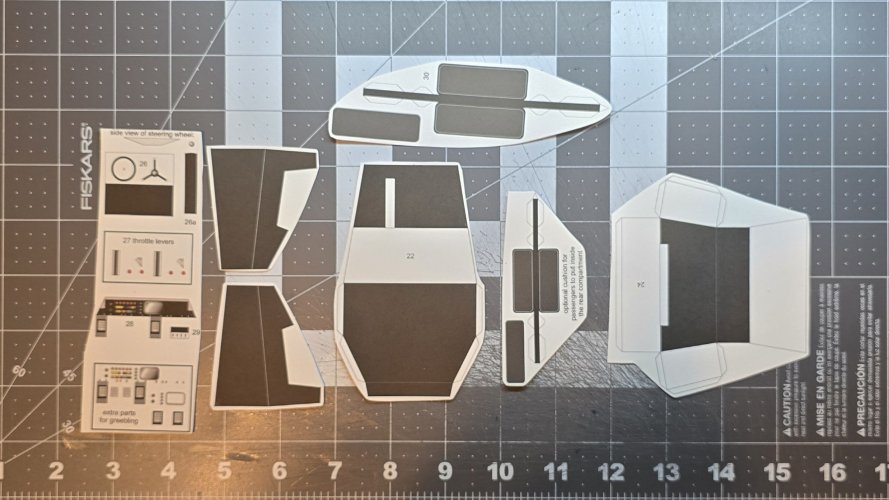
Here are the parts for the operator's cabin and control console.
20250819_084553.jpg

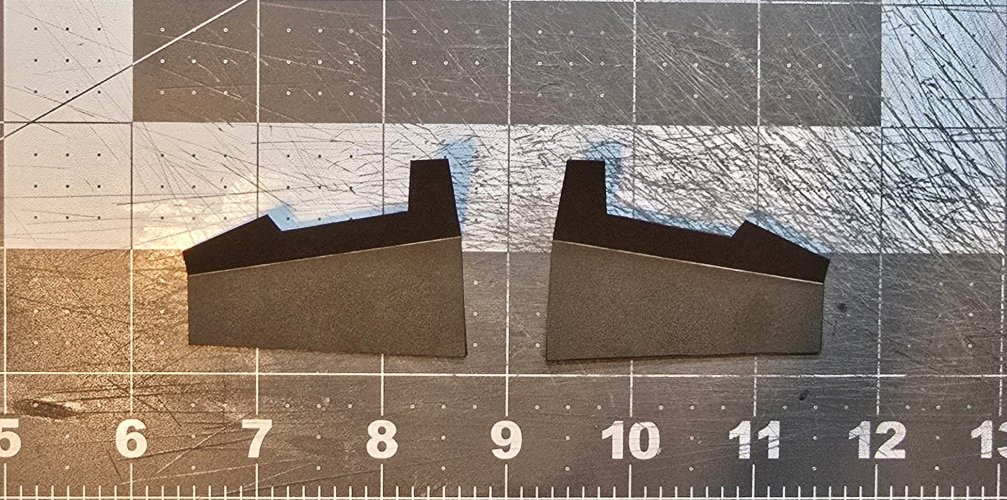
Here are the interior side panels.
20250819_105550.jpg

I inserted the interior side panels.
20250819_110326.jpg

20250819_110353.jpg

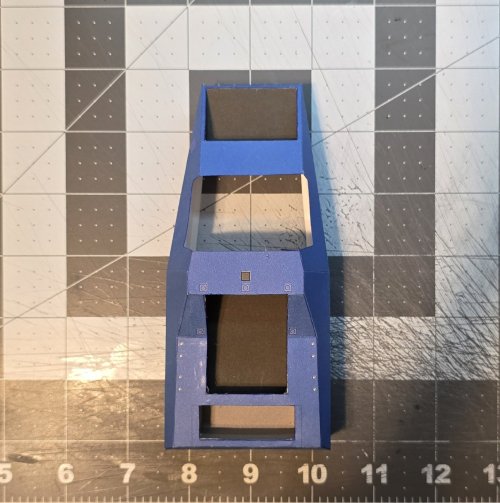
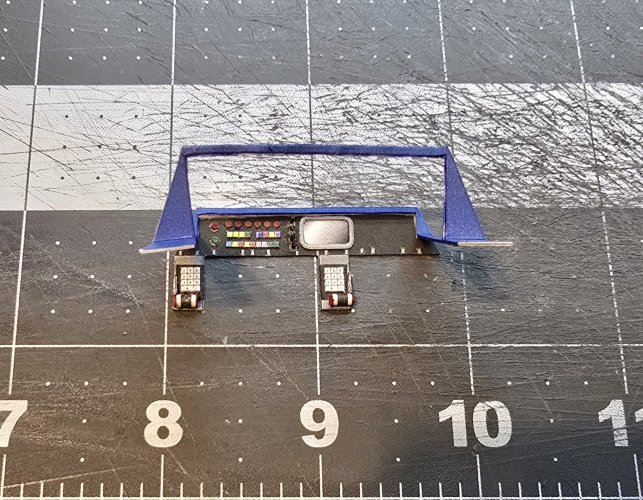
The operator's cabin frame, control console is assembled.
20250820_163622.jpg

The operator's cabin frame, control console is attached in place.
20250820_173523.jpg

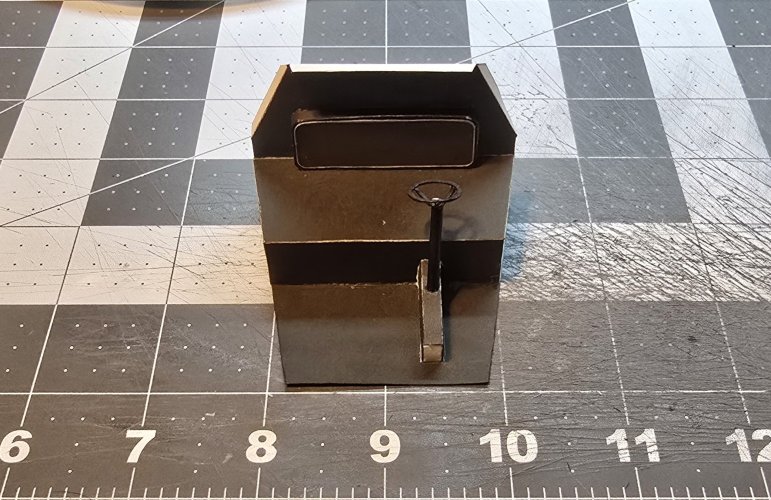
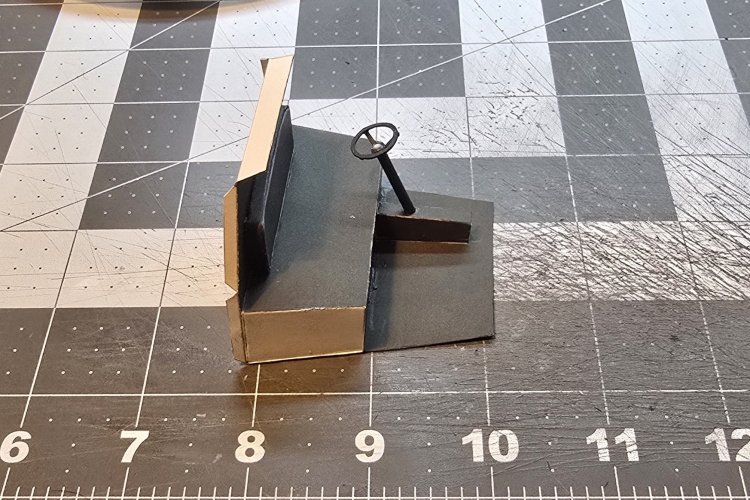
Here is the steering wheel assembly.
20250820_173553.jpg

The Operator's cabin interior is assembled.
20250820_205123.jpg

The steering wheel assembly is attached to the Operator's cabin interior.
20250820_205301.jpg

20250820_205326.jpg

The Operator's cabin interior is put in place.
20250820_205555.jpg

20250820_205815.jpg

20250820_205905.jpg

The bottom plate is attached in place.
20250820_212924.jpg

Please stay tuned in to your local Earth Directorate broadcasting channels for further updates.
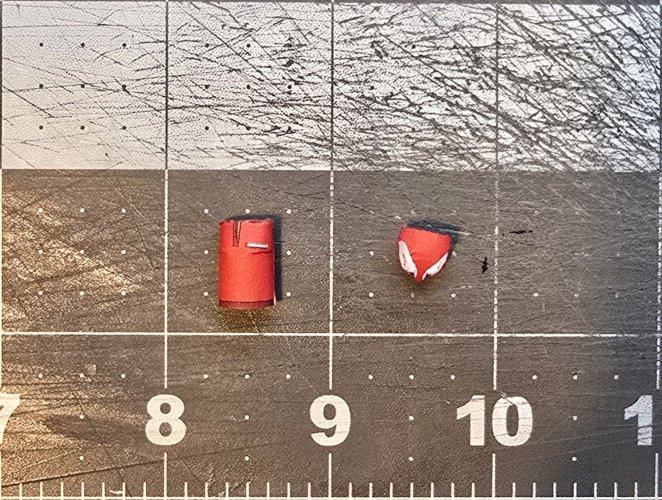
 
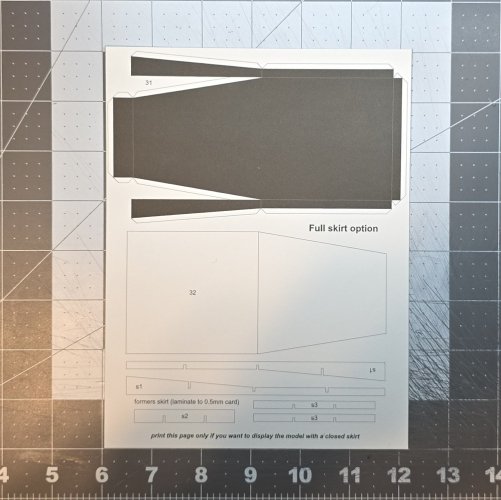
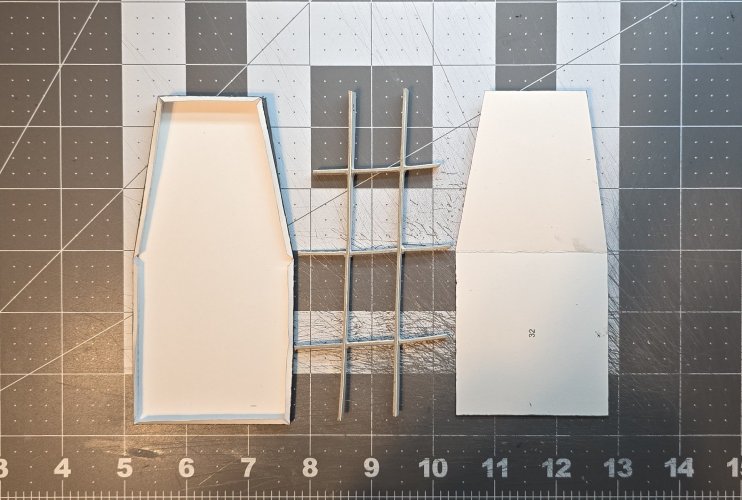
Here are the parts for the (solid) "skirt".
(*NOTE* The reason why I am going with this type of "skirt" is that I will be (securly) gluing the vehicle to the base of the diorama.)
20250821_110145.jpg

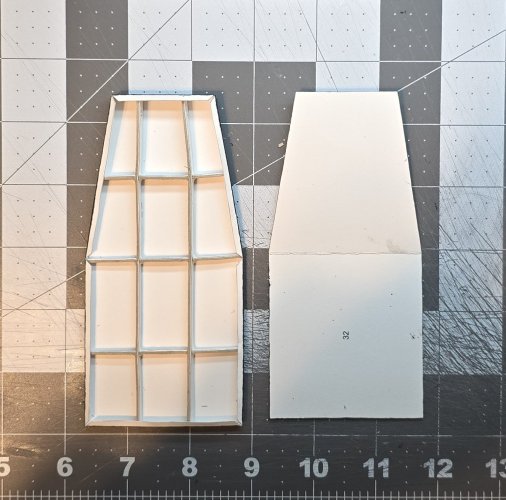
I assembled the internal formers.
20250821_144234.jpg

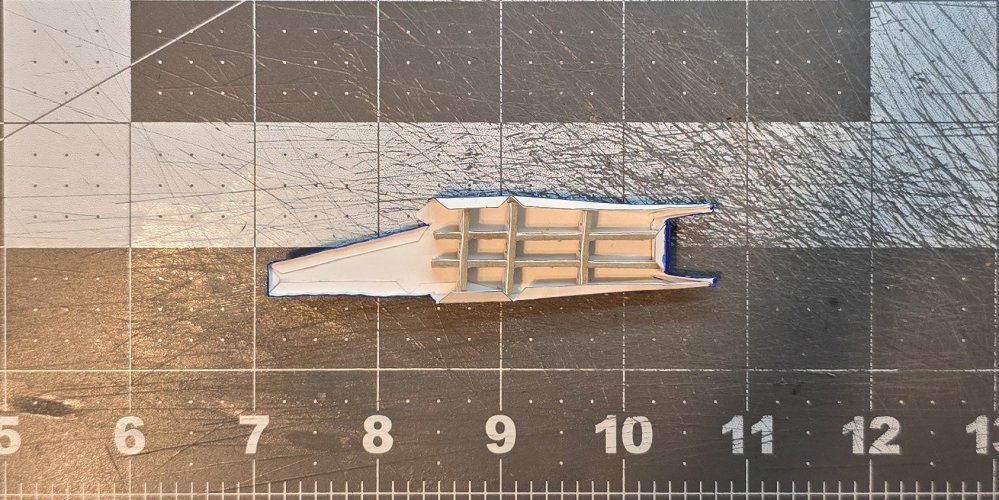
All of the components are assembled.
20250821_145943.jpg

I put the formers in place.
20250821_150135.jpg

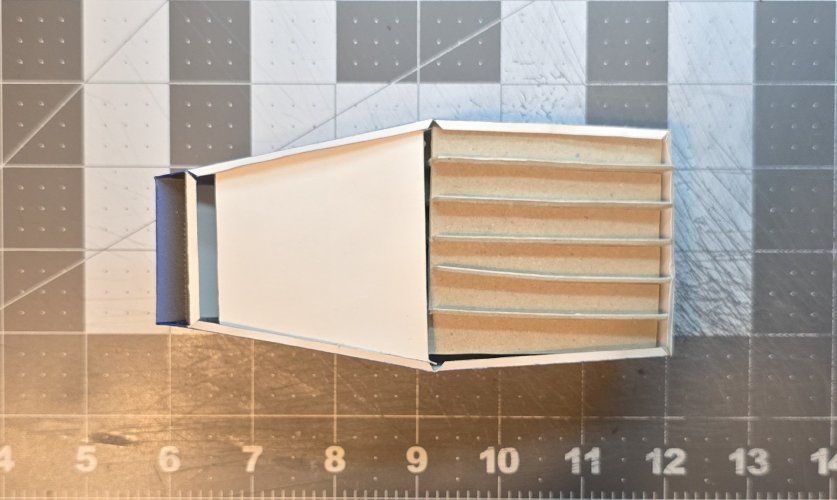
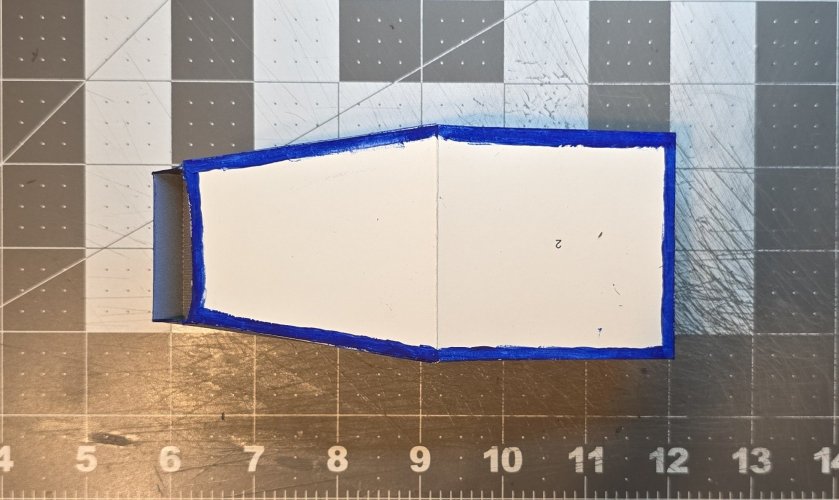
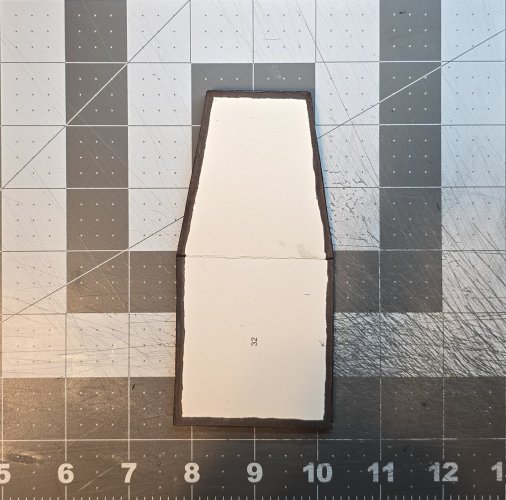
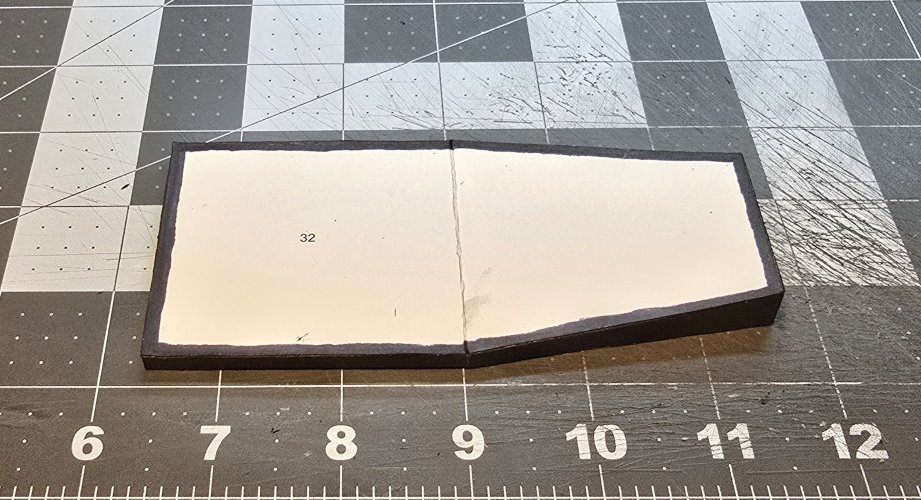
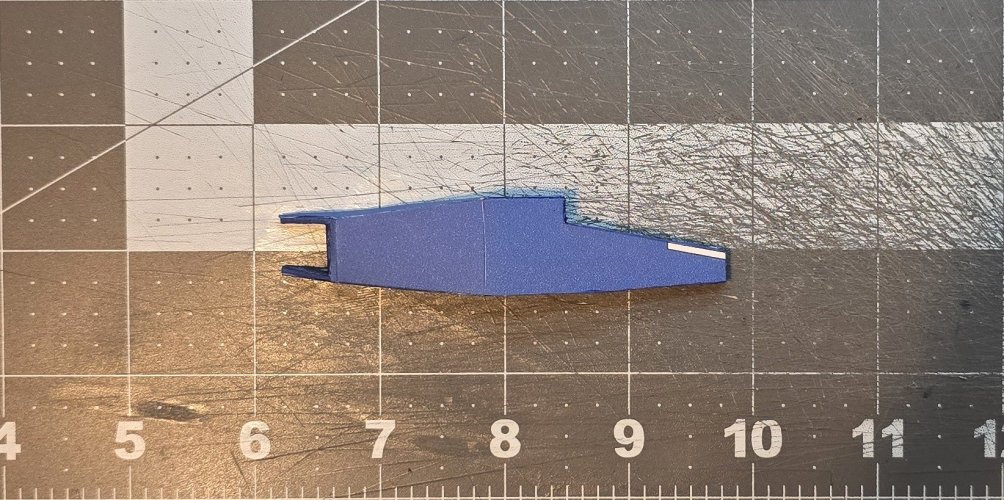
The "skirt" is fully assembled. I also painted a (5mm) boarder around the edge (in order to "hide" any (potential) gaps that may appear, when I attach it tot he body.)
20250821_151133.jpg

20250821_151159.jpg

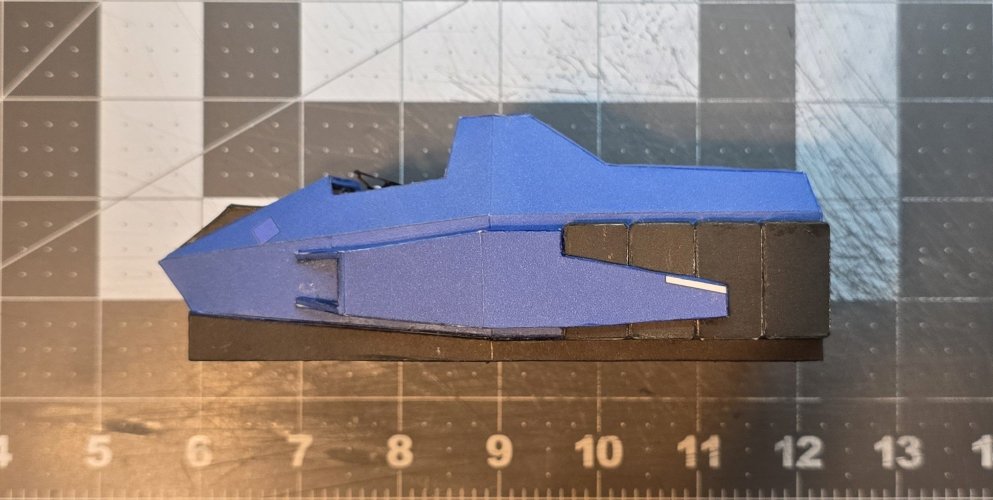
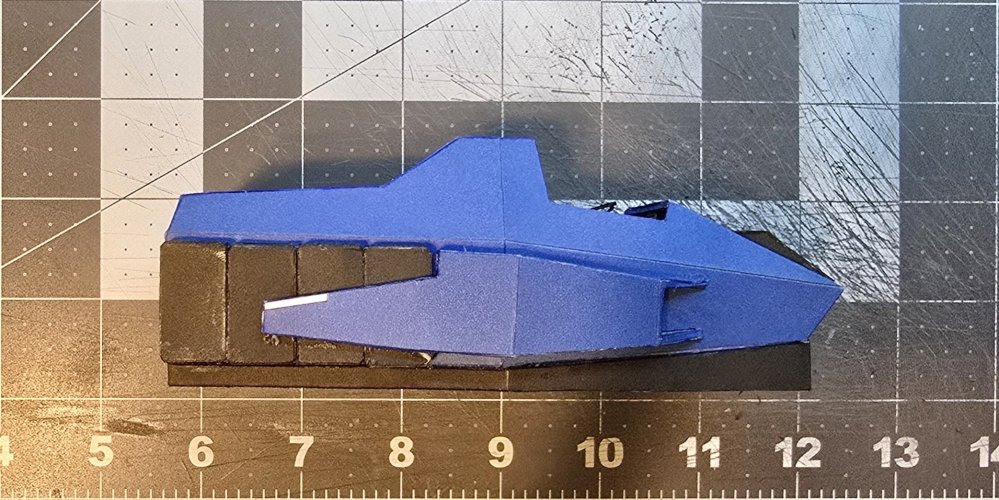
The "skirt" is attached to the body.
20250821_152144.jpg

20250821_152213.jpg

Please stay tuned in to your local Earth Directorate broadcasting channels for further updates.
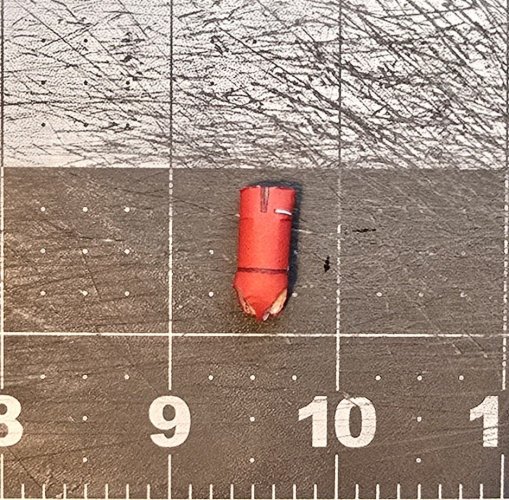
 
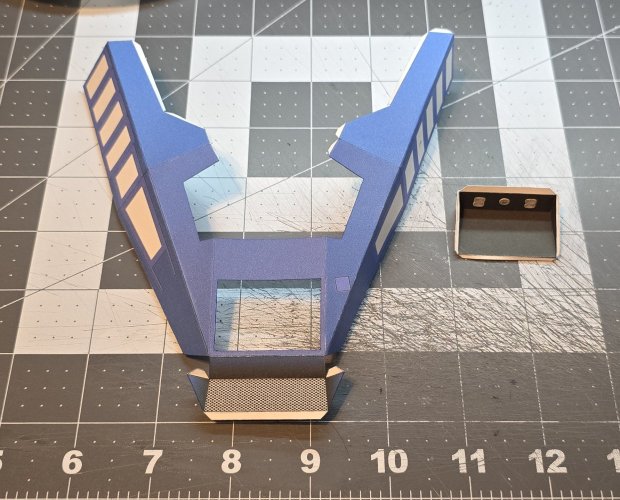
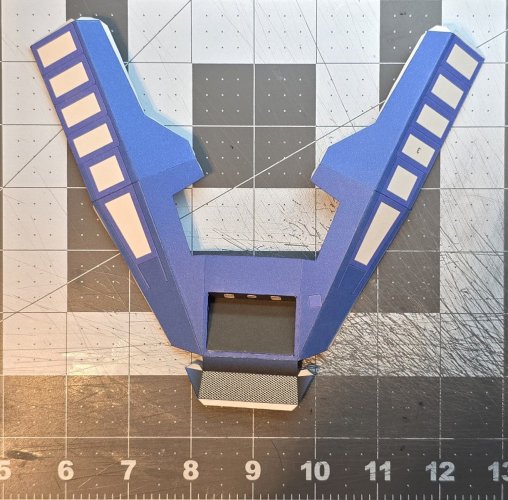
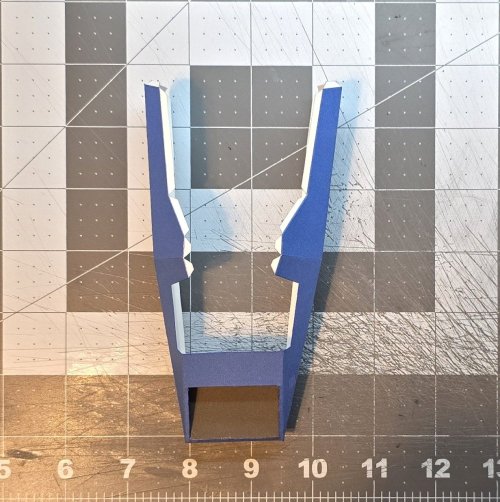
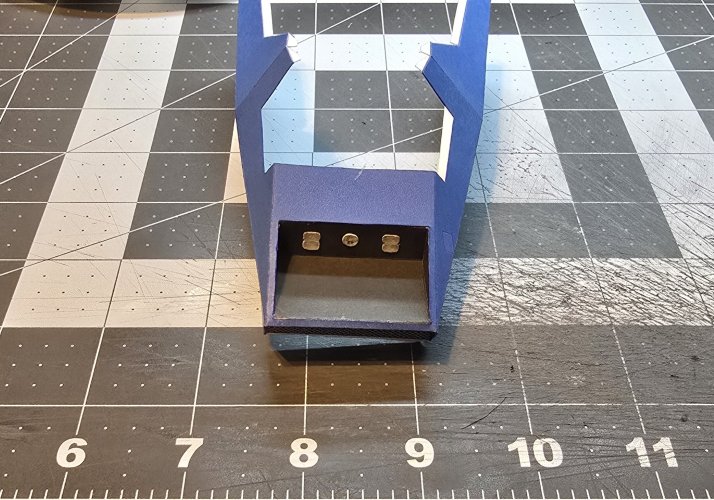
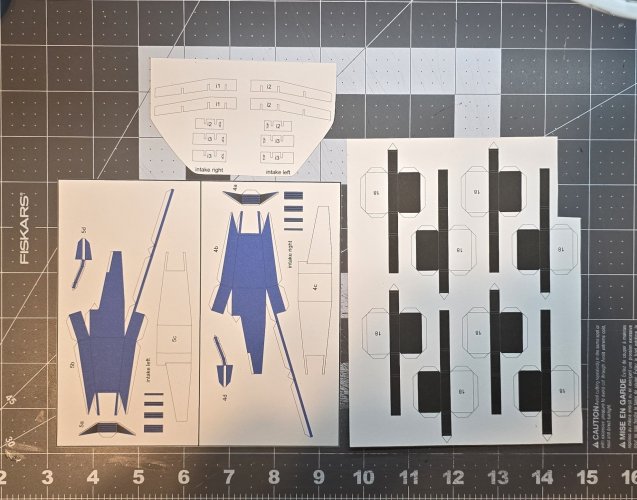
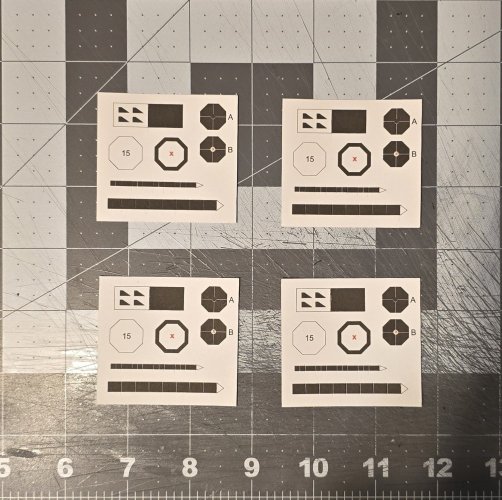
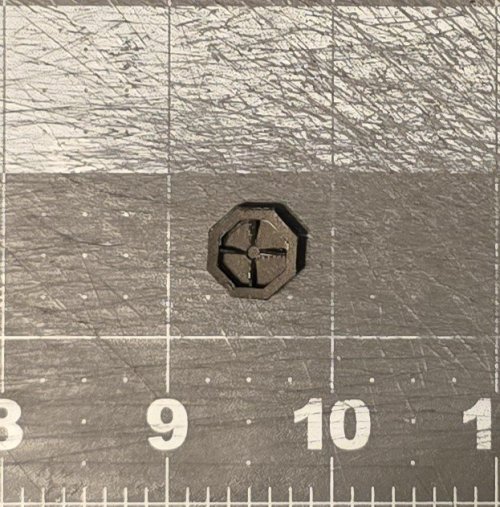
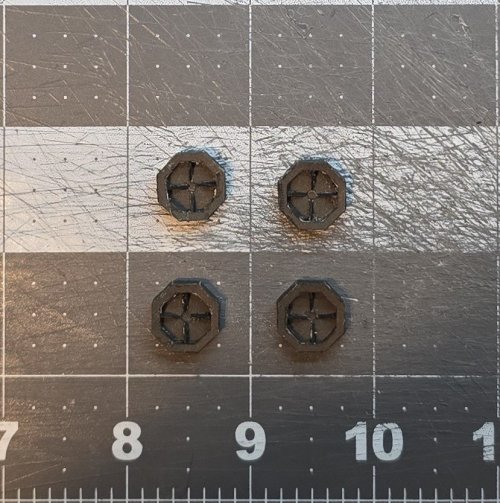
Here are the parts for the "energy packs" and the intake system.
20250821_161329.jpg

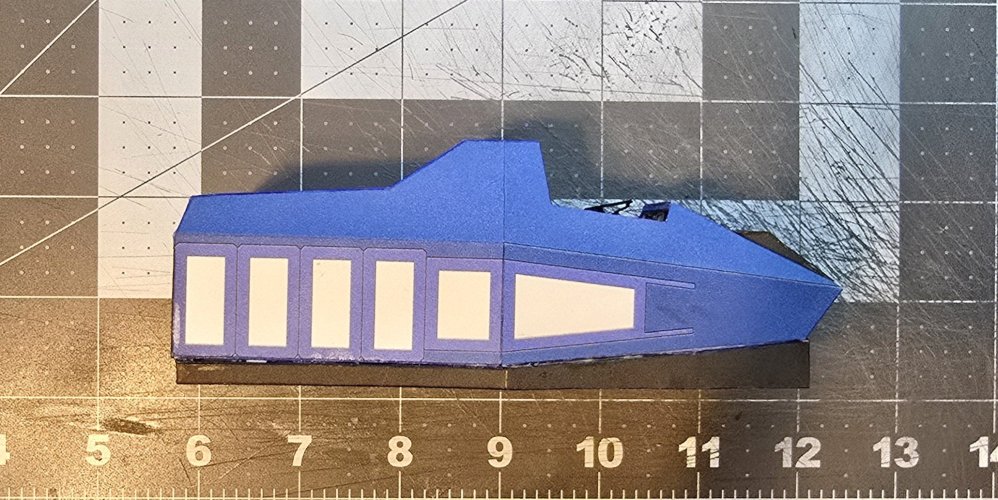
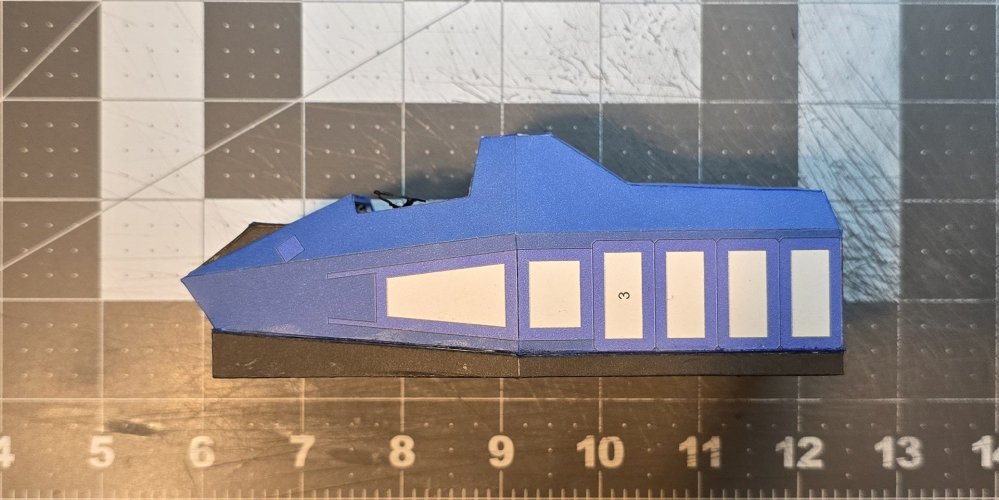
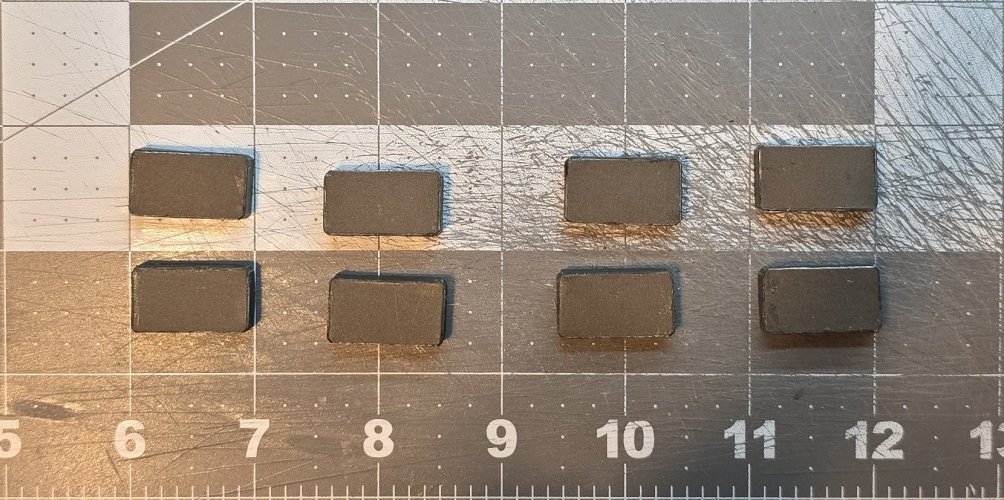
The "energy packs" are assembled.
20250822_200235.jpg

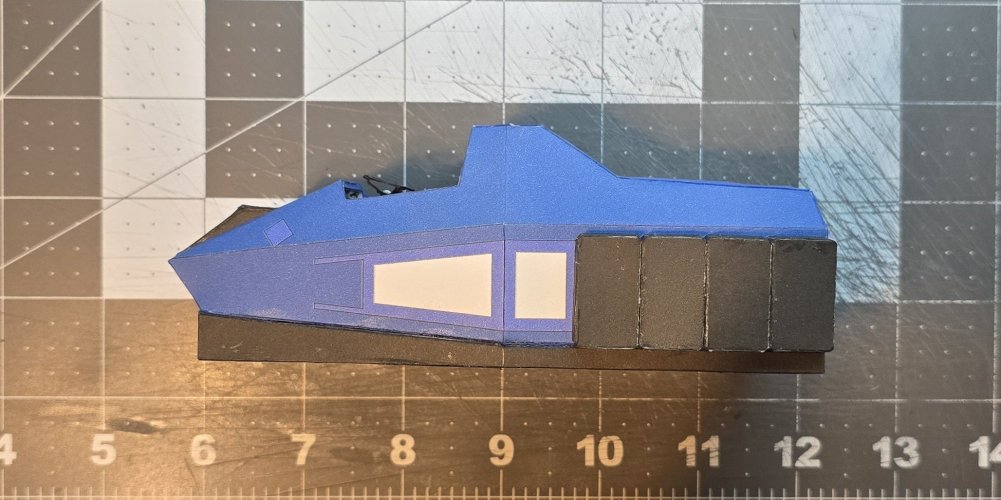
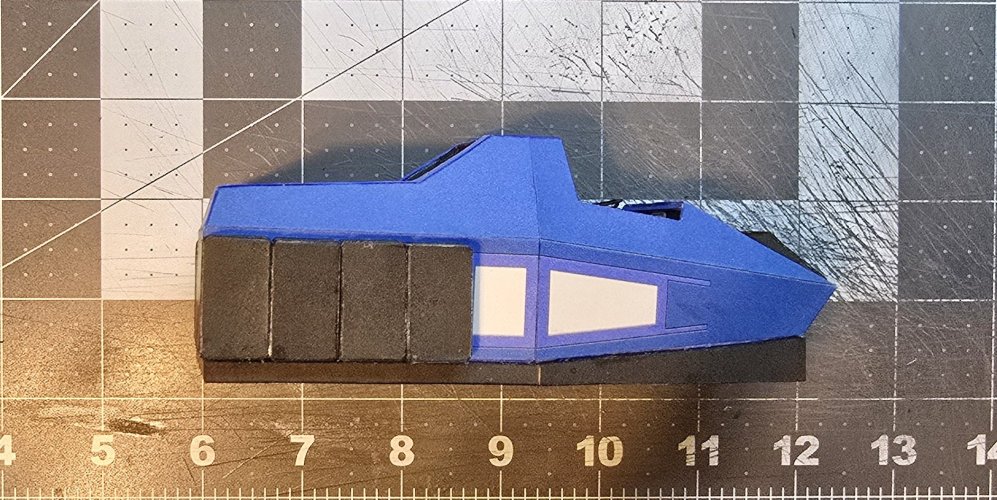
The "energy packs" are attached in place.
20250823_075133.jpg

20250823_080125.jpg

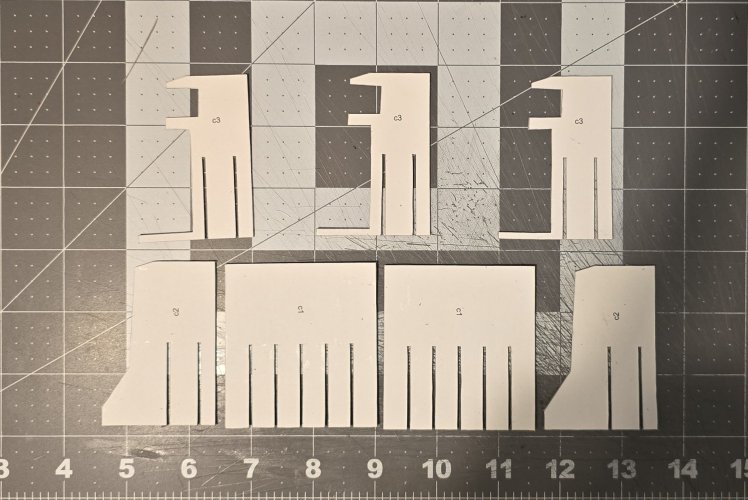
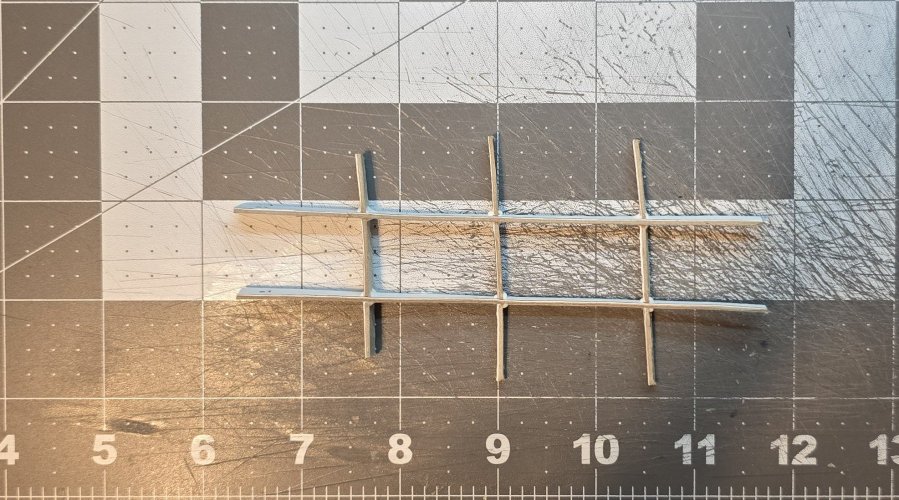
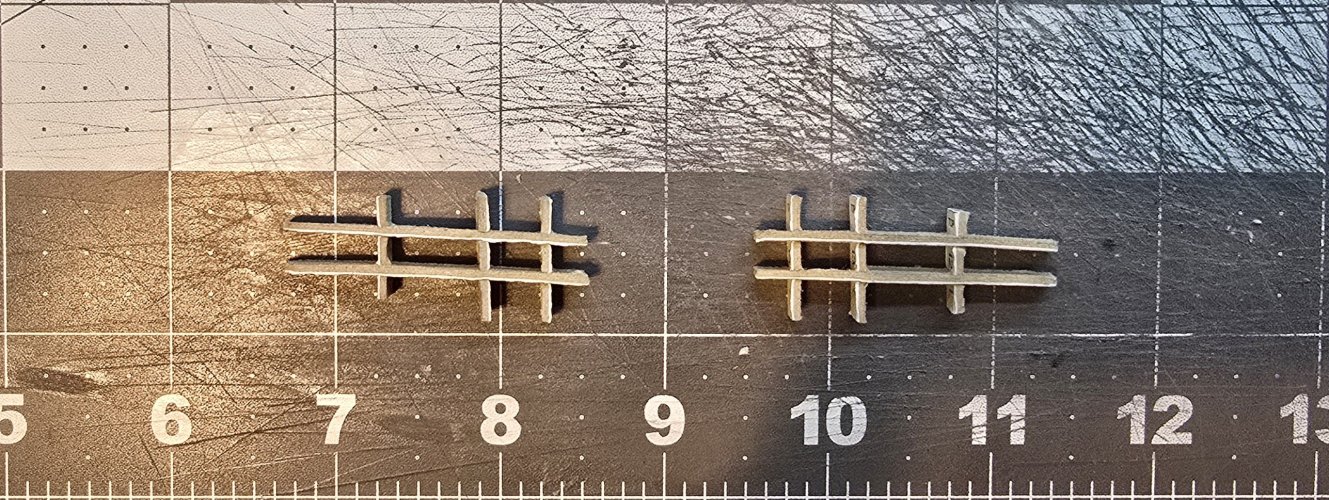
Here are the internal formers for the intakes.
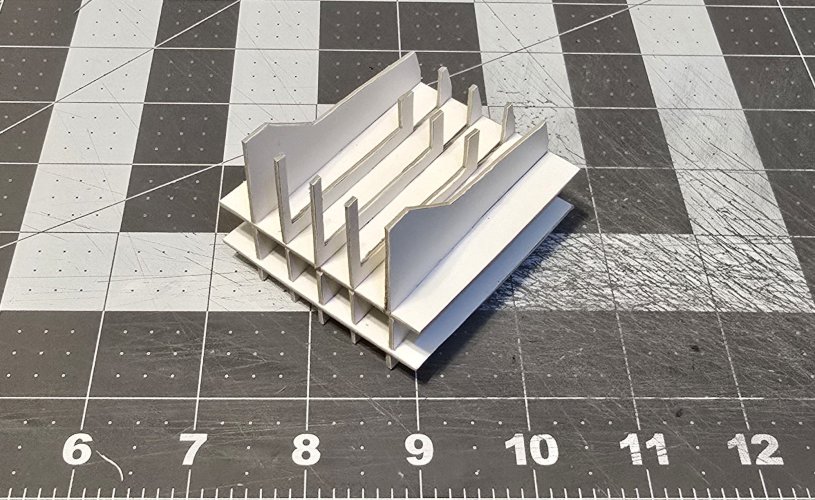
(*NOTE* As you can see, the formers have a double spine. THis is needed to add strength, rigidity, and support to the component as a whole).
20250823_102218.jpg

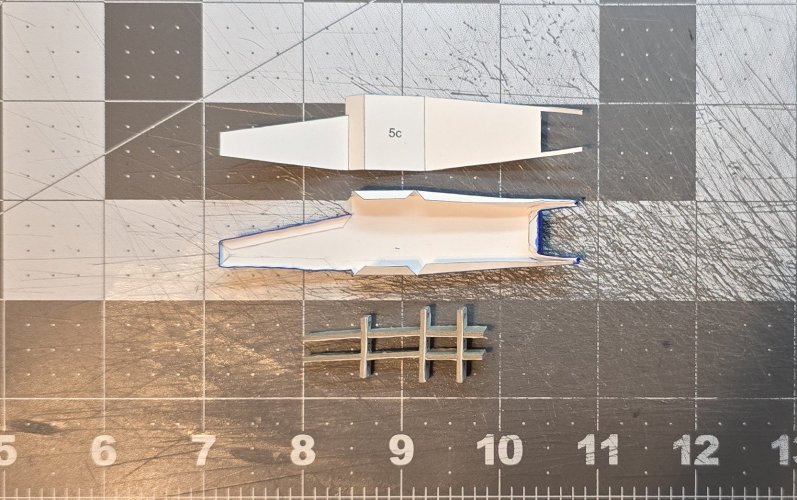
Here are all of the components for th eintake.
20250823_102755.jpg

The formers are put in place.
20250823_102914.jpg

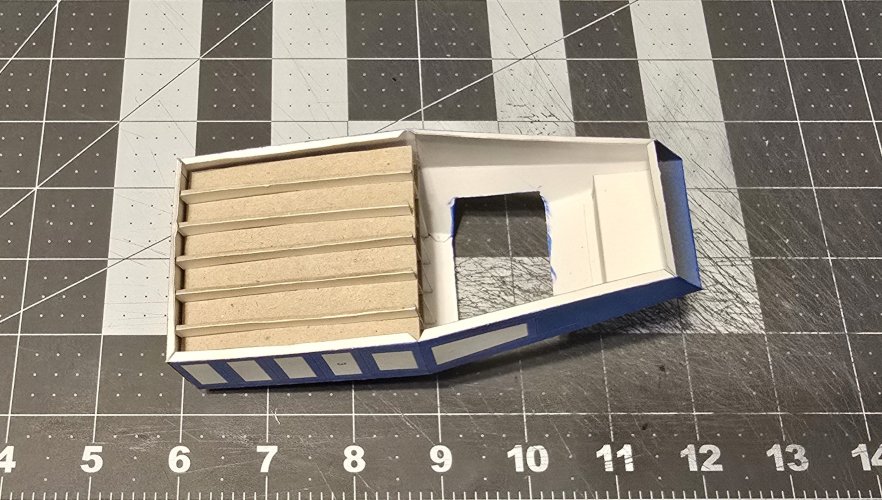
The bottom plate is attached in place and the intake is fully assembled.
20250823_105455.jpg

The intakes are attached.
20250823_110535.jpg

20250823_125054.jpg

This is a "step" that will be attached to the back end of the intake system.
20250823_142637.jpg

The step is attached in place.
20250823_143158.jpg

20250823_150618.jpg

I finished the other side.
20250823_151251.jpg

Please stay tuned in to your local Earth Directorate broadcasting channels for further updates.
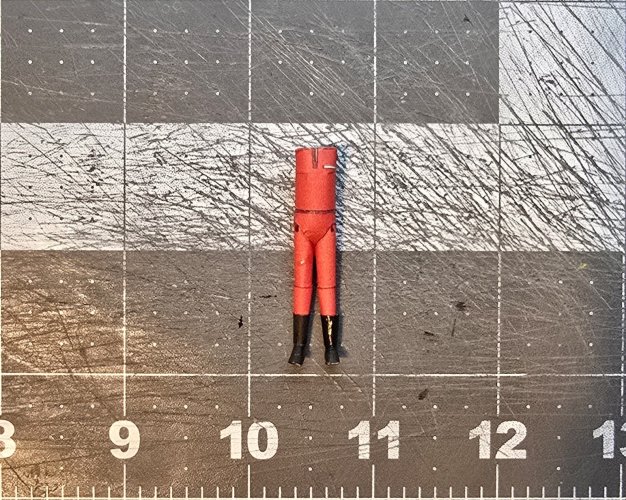
 
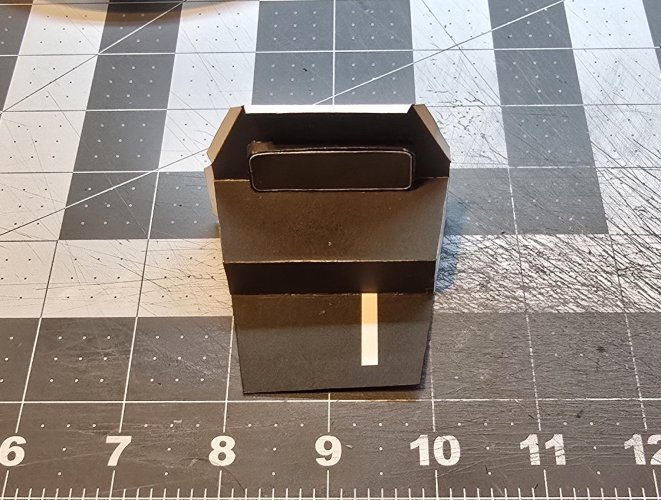
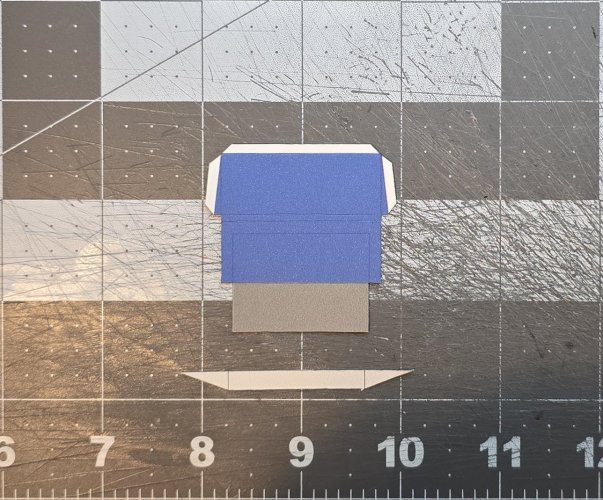
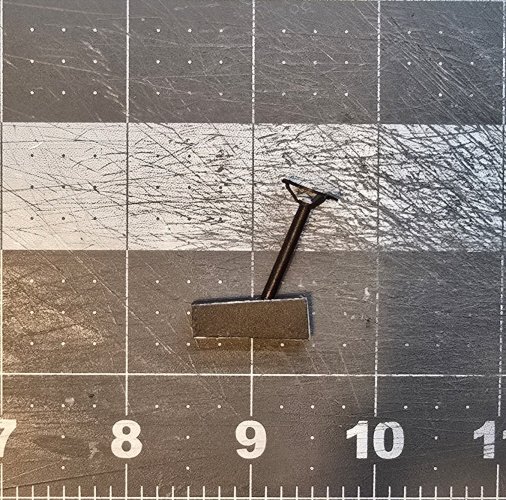
Here are the parts for the spoiler/trunk lid.
20250825_155911.jpg

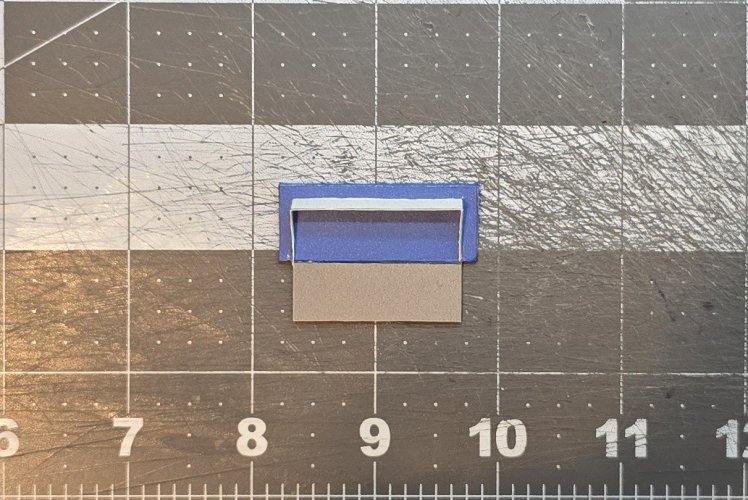
The spoiler/trunk lid is assembled.
20250825_161548.jpg

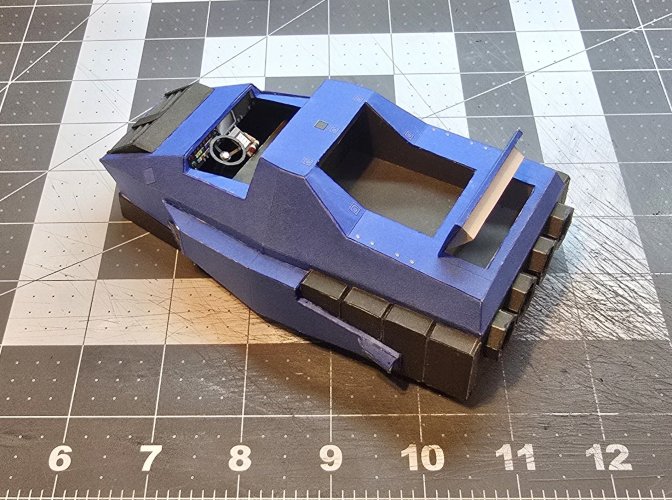
I attached the spoiler/trunk lid in place (showing the trunk open).
20250825_162121.jpg

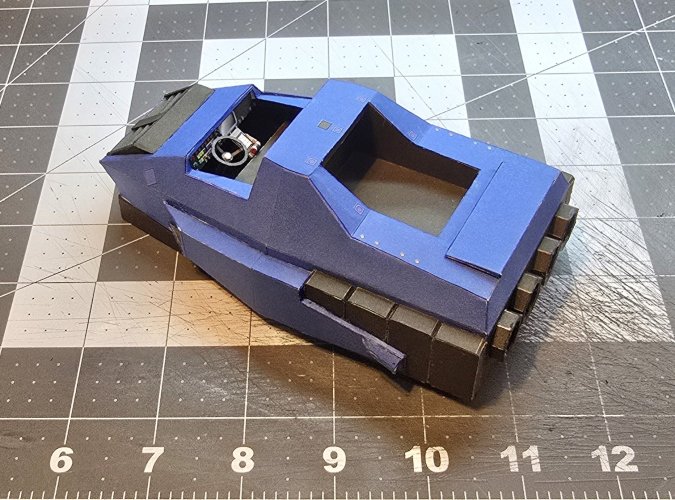
Now showing the trunk closed.
20250825_162143.jpg

Please stay tuned in to your local Earth Directorate broadcasting channels for further updates.