
MiG-21-F13, Egypt, by Andrew Inwald, 1:33
- Thread starter Boris
- Start date
You are using an out of date browser. It may not display this or other websites correctly.
You should upgrade or use an alternative browser.
You should upgrade or use an alternative browser.

Thanks!!!The copper wire for hydraulic lines was perfect. I don't think I've ever seen anyone detail this part of this aircraft to that extent. Awesome!")
Hello all.
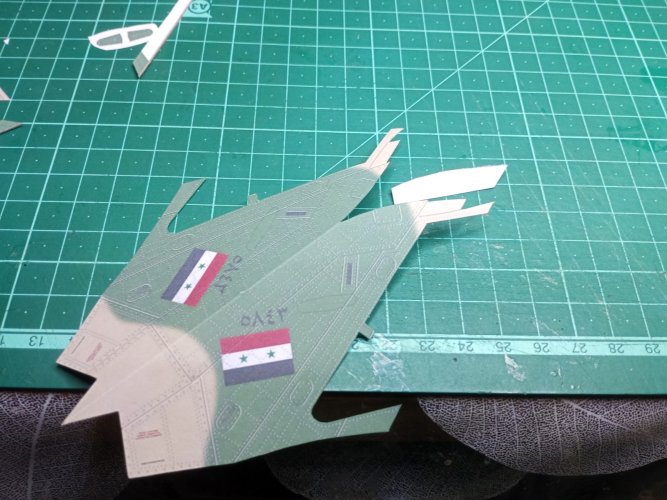
One more update.
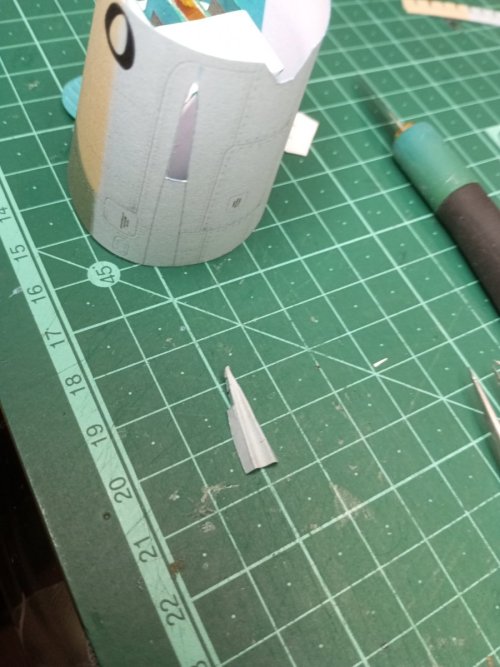
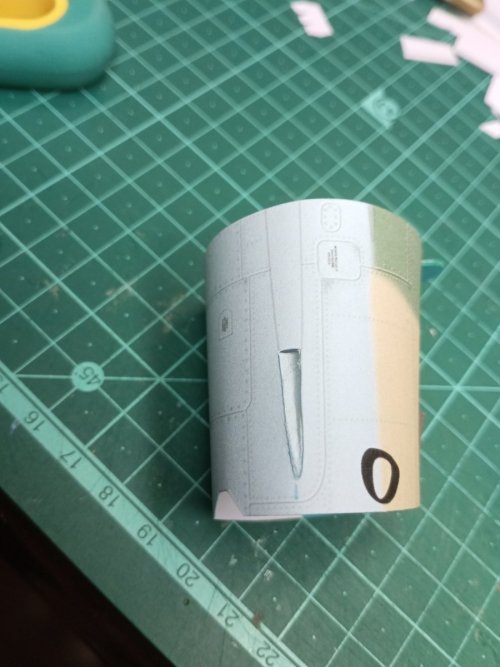
This time the nose section.
Unfortunately, these segments are almost not shown in the instructions.
The front segment is closed with a glue tab at its front and the landing gear well should act as a positioner and a glue tab and a spacer for landing gear well edges to be parallel. After the closing of the front of the part, need to insert the engine inlet. Mounting the landing gear well took me many attempts untill I made a small paper strip to keep the edges of the landing gear well parallel. Then the well was mounted easily.
The second segment designed excessively cumbersome. The closing of the segment is done by the cover of the collimator/HUD, which has no former beside the top edge of the instrument panel. Then need to mount the well for the gun and then go the glue tabs to which the front segment should be connected. A lot of tries to fit these parts together, but I got it pretty well.
Over cumbersome design. I can think about other ways to design this part, but we got what we got.
One more update.
This time the nose section.
Unfortunately, these segments are almost not shown in the instructions.
The front segment is closed with a glue tab at its front and the landing gear well should act as a positioner and a glue tab and a spacer for landing gear well edges to be parallel. After the closing of the front of the part, need to insert the engine inlet. Mounting the landing gear well took me many attempts untill I made a small paper strip to keep the edges of the landing gear well parallel. Then the well was mounted easily.
The second segment designed excessively cumbersome. The closing of the segment is done by the cover of the collimator/HUD, which has no former beside the top edge of the instrument panel. Then need to mount the well for the gun and then go the glue tabs to which the front segment should be connected. A lot of tries to fit these parts together, but I got it pretty well.
Over cumbersome design. I can think about other ways to design this part, but we got what we got.
Attachments
-
 IMG_20260227_205746_091_copy_900x1200.jpg169.7 KB · Views: 13
 -
 IMG_20260227_210205_876_copy_1600x1200.jpg228.6 KB · Views: 11
 -
 IMG_20260227_210408_531_copy_1600x1200.jpg221 KB · Views: 12
 -
 IMG_20260227_210414_997_copy_1600x1200.jpg277.3 KB · Views: 12
 -
 IMG_20260227_214704_627_copy_900x1200.jpg147.3 KB · Views: 14
 -
 IMG_20260227_215935_315_copy_900x1200.jpg123.1 KB · Views: 12
 -
 IMG_20260228_040802_972_copy_1600x1200.jpg260.1 KB · Views: 12
 -
 IMG_20260228_040813_674_copy_1600x1200.jpg220.7 KB · Views: 13
Hello all everybody.
Happy Passover to the members of the Jewish community, Happy Easter to the Catholics.
I am back to my build of the MiG-21-F13.
Last time I stopped at the nose pieces. I had to reprint and rebuild everything I built up until now since my three-legged dog stumbled and destroyed the model. Sounds weird, but this is what we've got and will have to win with that.
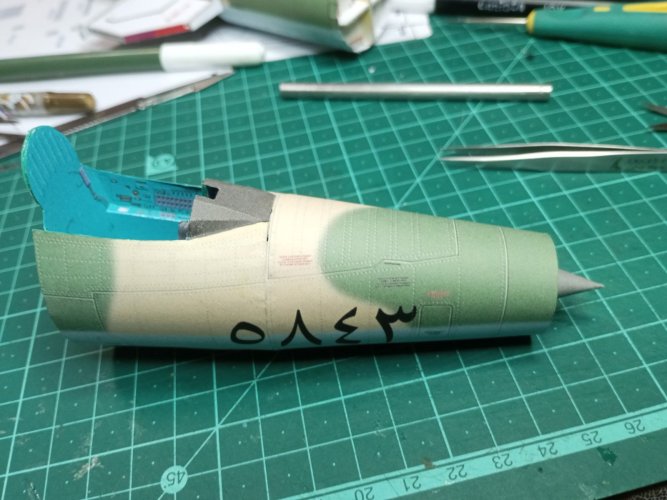
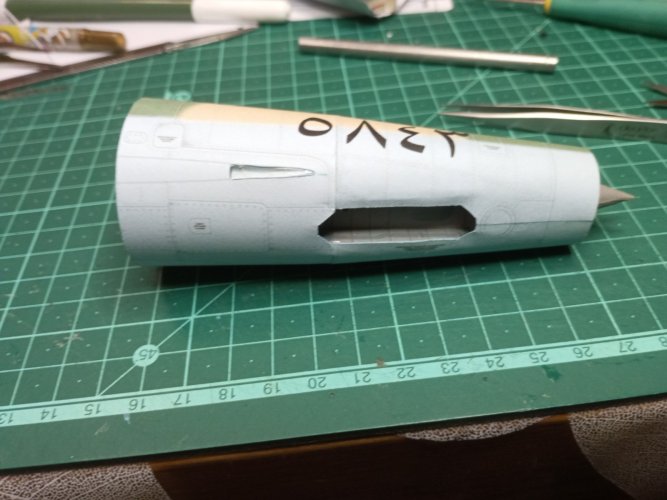
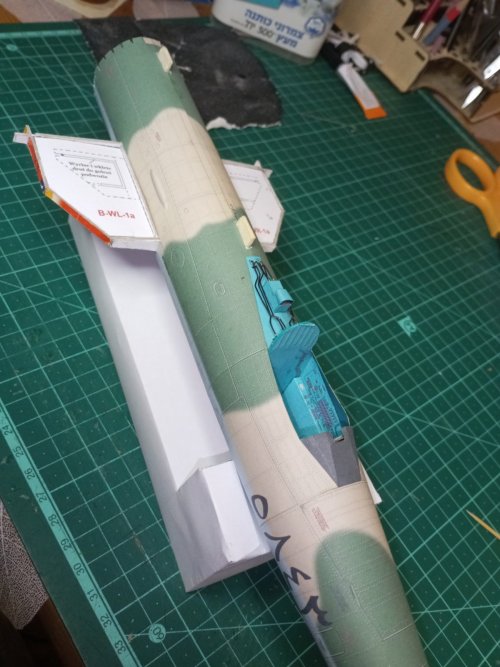
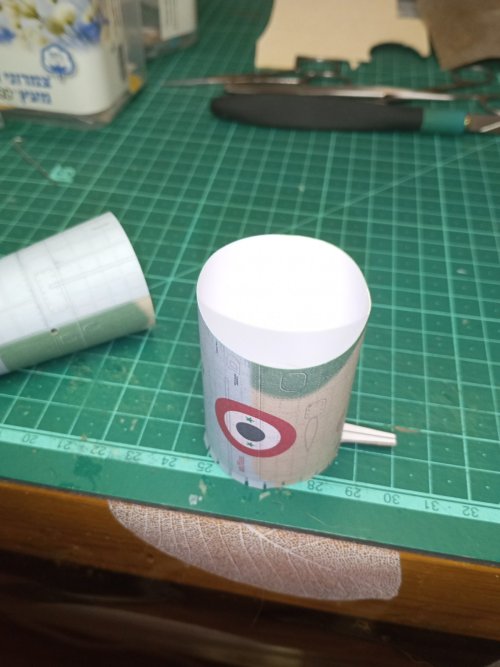
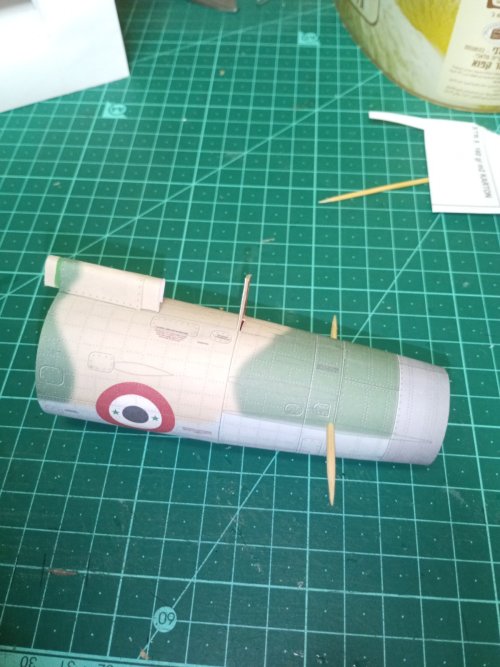
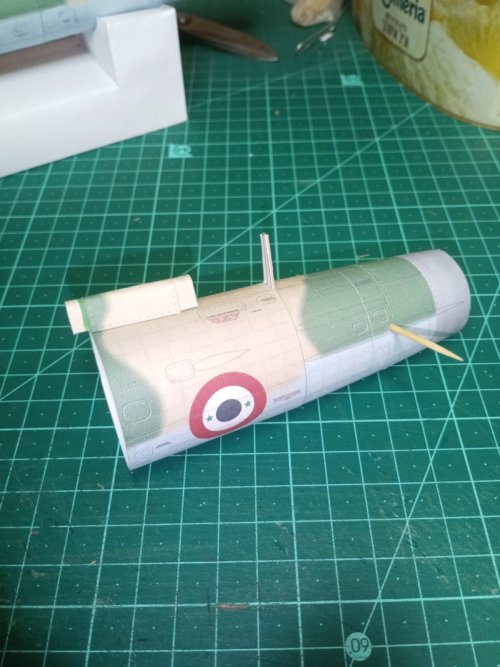
So I attached the cockpit wrapping to the center part and attached the nose inlet part. To make sure that the nose will be heavier than the tail, I added a 10 grams weight used for tyres balancing.
The idea of the developer to use the Heads-Up display cover as a structural member of the wrapping is questionable. It is buildable, no argue, but need to be very cautious not to cause any deformations while trying to attach the front segments together.
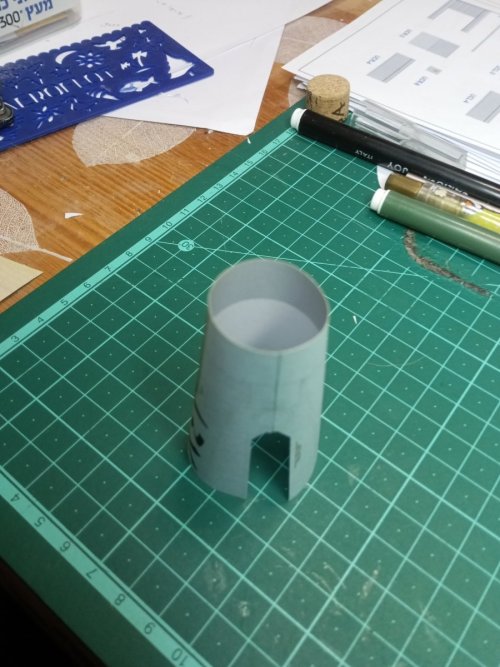
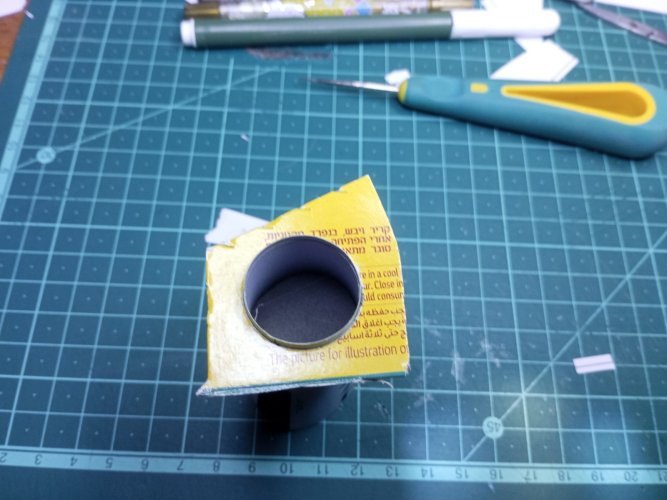
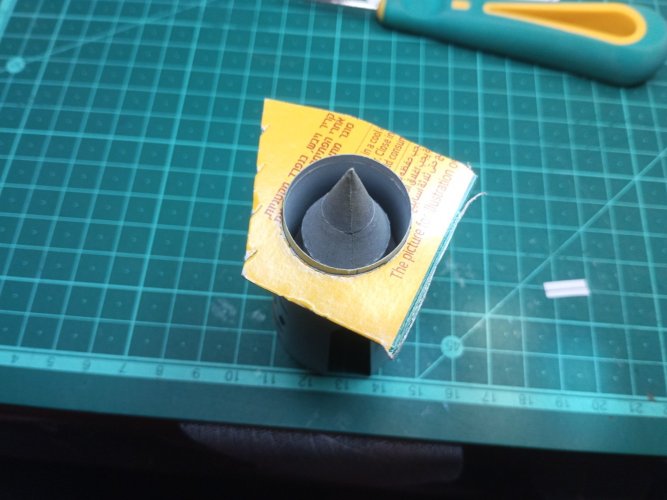
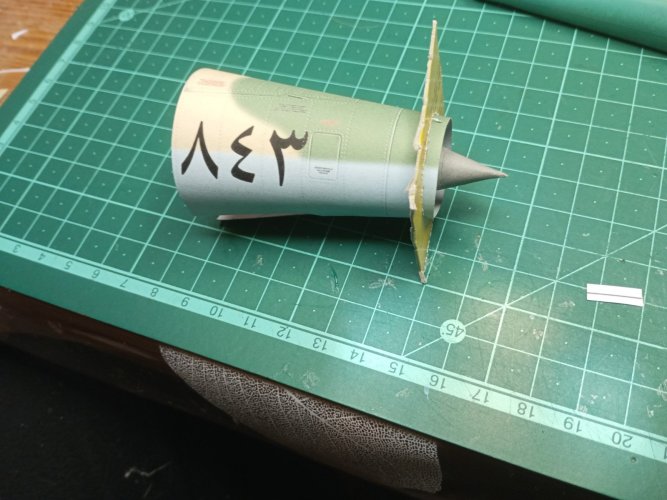
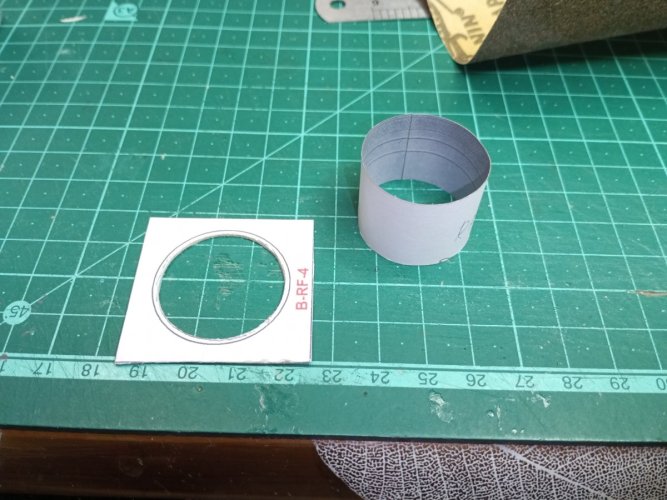
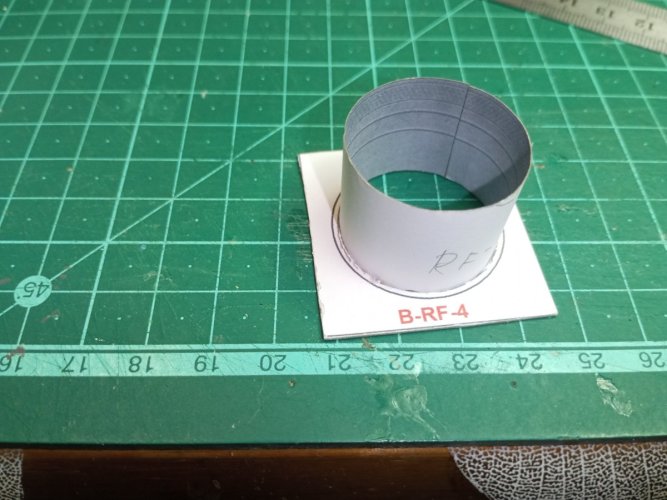
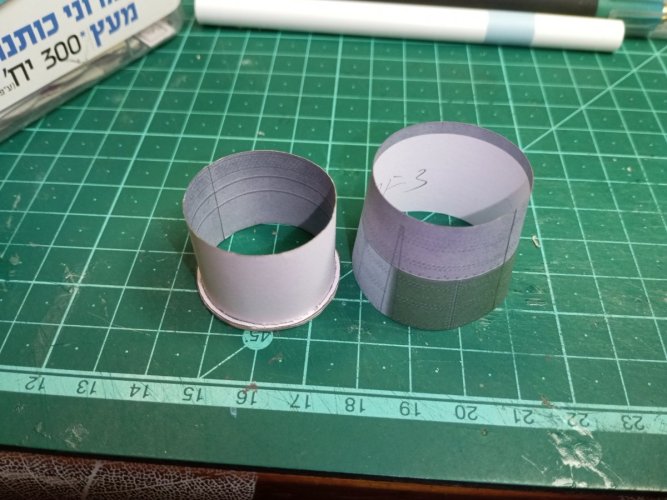
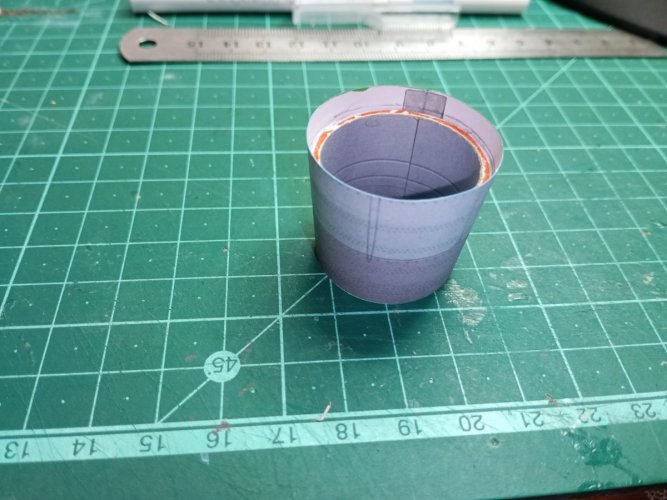
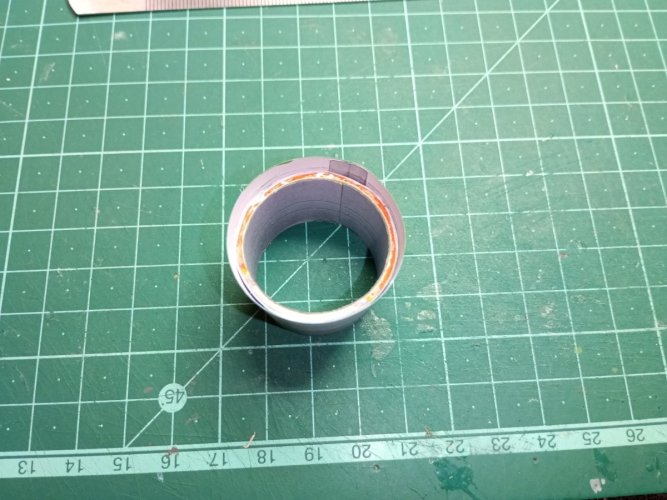
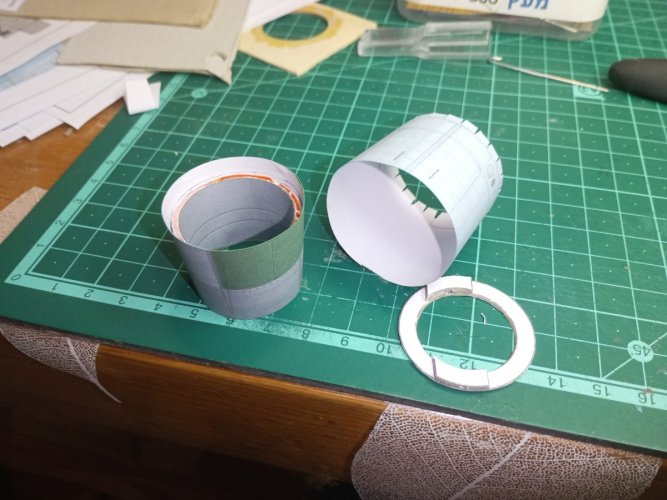
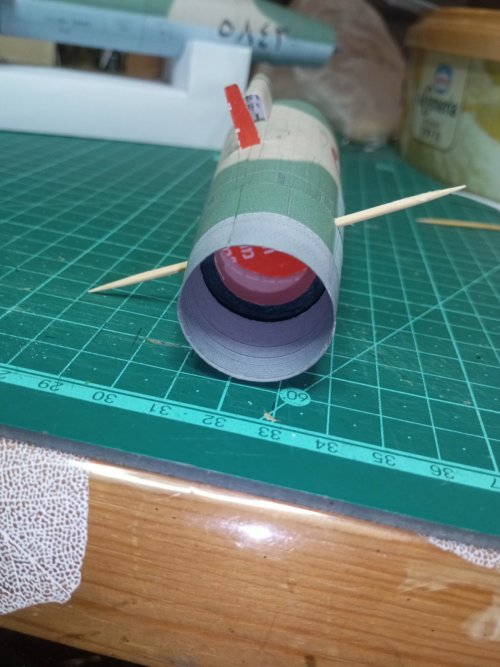
Than I moved to the rear parts. The engine exhaust screen edge acts as a former for the rear parts and also has a former on the front part which is a narrow ring. Not so simple to make this ring, it's 3 mm wide. So, I coarsely cut the outer diameter of the ring and brought it to a needed diameter with 100 grit sanding paper. The second rear ring former was nothing difficult, really.
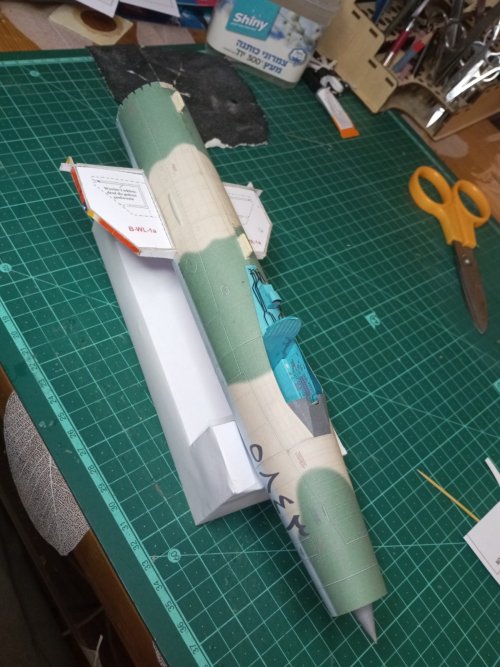
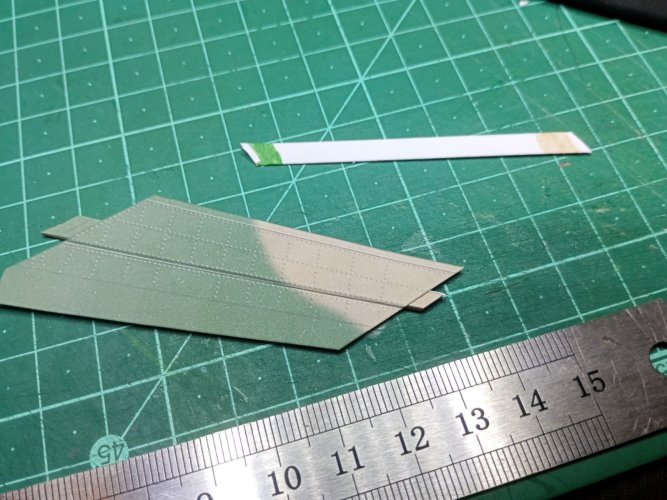
Next I began with the dorsal spine. The designer proposed to mount a cardboard strips on the edges of the dorsal spine wrapping with gluing tabs between the wrapping and these strips and then to insert the formers that would provide the needed shape. Very good idea, this way the spine sides won't sag inwards. Getting to such a small diameter bend is not simple and I glad I decided to use a pretty thin 145 g/sq.m paper.
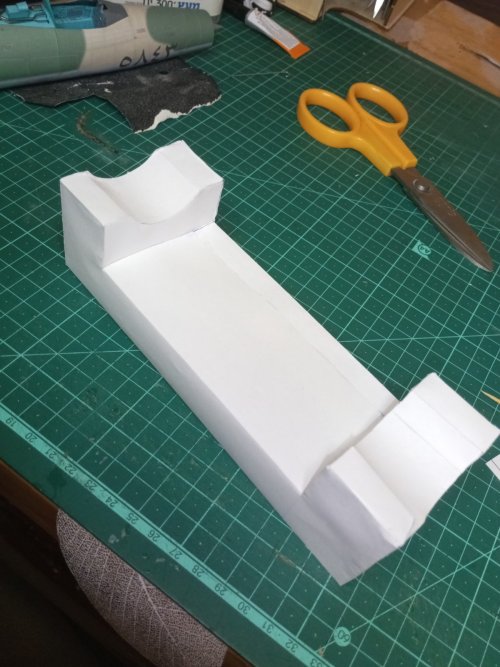
I also prepared a stand on which I could lean the plane's body while I work on it...
In all, excellent parts fit untill now. I have a problem with the cockpit wrapping, its design requires too much carefulness, and I have a bump between the first and the second parts. I'll need to find a solution for this, or hide it somehow.
Well, enjoy the pictures
Happy Passover to the members of the Jewish community, Happy Easter to the Catholics.
I am back to my build of the MiG-21-F13.
Last time I stopped at the nose pieces. I had to reprint and rebuild everything I built up until now since my three-legged dog stumbled and destroyed the model. Sounds weird, but this is what we've got and will have to win with that.
So I attached the cockpit wrapping to the center part and attached the nose inlet part. To make sure that the nose will be heavier than the tail, I added a 10 grams weight used for tyres balancing.
The idea of the developer to use the Heads-Up display cover as a structural member of the wrapping is questionable. It is buildable, no argue, but need to be very cautious not to cause any deformations while trying to attach the front segments together.
Than I moved to the rear parts. The engine exhaust screen edge acts as a former for the rear parts and also has a former on the front part which is a narrow ring. Not so simple to make this ring, it's 3 mm wide. So, I coarsely cut the outer diameter of the ring and brought it to a needed diameter with 100 grit sanding paper. The second rear ring former was nothing difficult, really.
Next I began with the dorsal spine. The designer proposed to mount a cardboard strips on the edges of the dorsal spine wrapping with gluing tabs between the wrapping and these strips and then to insert the formers that would provide the needed shape. Very good idea, this way the spine sides won't sag inwards. Getting to such a small diameter bend is not simple and I glad I decided to use a pretty thin 145 g/sq.m paper.
I also prepared a stand on which I could lean the plane's body while I work on it...
In all, excellent parts fit untill now. I have a problem with the cockpit wrapping, its design requires too much carefulness, and I have a bump between the first and the second parts. I'll need to find a solution for this, or hide it somehow.
Well, enjoy the pictures
Attachments
-
 IMG_20260404_133809_567_copy_1200x1600.jpg283.2 KB · Views: 15
 -
 IMG_20260404_133822_390_copy_1200x1600.jpg276.1 KB · Views: 12
 -
 IMG_20260404_133825_314_copy_1200x1600.jpg315.3 KB · Views: 11
 -
 IMG_20260401_045202_095_copy_1200x900.jpg186.7 KB · Views: 14
 -
 IMG_20260401_045812_679_copy_1200x900.jpg158.9 KB · Views: 12
 -
 IMG_20260401_053232_575_copy_1200x900.jpg172.1 KB · Views: 15
 -
 IMG_20260401_055350_630_copy_1200x900.jpg161.3 KB · Views: 12
 -
 IMG_20260401_055353_809_copy_1200x900.jpg181.6 KB · Views: 15
 -
 IMG_20260402_022101_766_copy_1200x900.jpg165.6 KB · Views: 11
 -
 IMG_20260402_040036_216_copy_1200x1600.jpg205.4 KB · Views: 13
 -
 IMG_20260404_035239_260_copy_1200x900.jpg154.3 KB · Views: 10
 -
 IMG_20260404_035245_510_copy_1200x900.jpg136.7 KB · Views: 11
 -
 IMG_20260404_133840_350_copy_1200x1600.jpg271.4 KB · Views: 15
 -
 IMG_20260404_133848_982_copy_1200x1600.jpg252.6 KB · Views: 10
 -
 IMG_20260404_133903_191_copy_1200x1600.jpg275.3 KB · Views: 11
Last edited:
Hello all
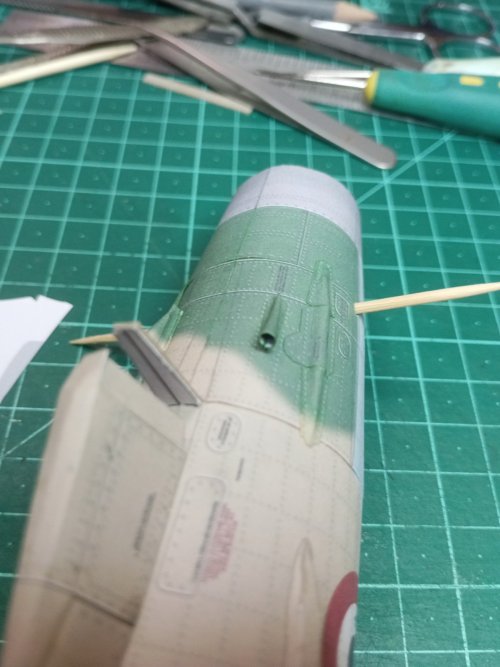
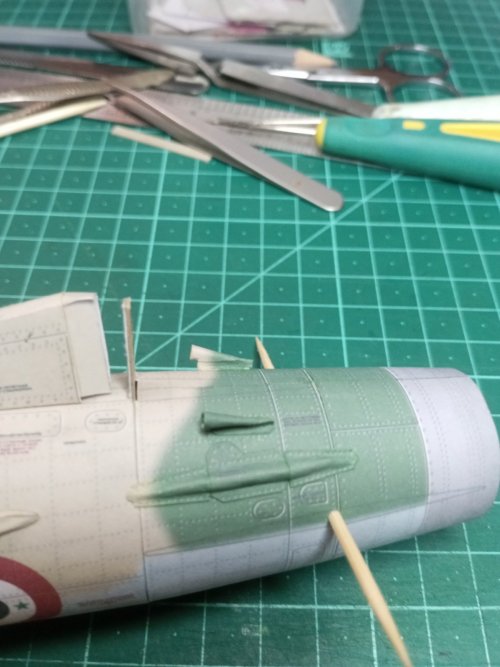
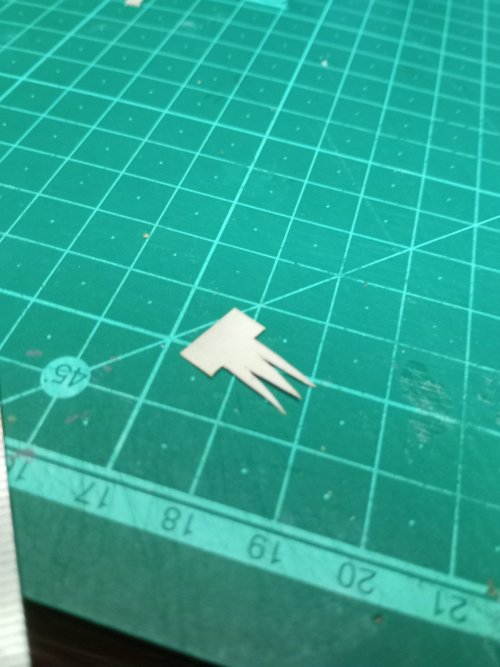
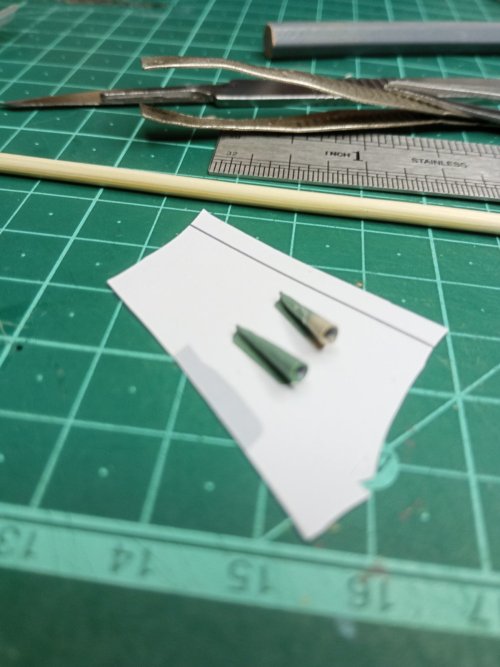
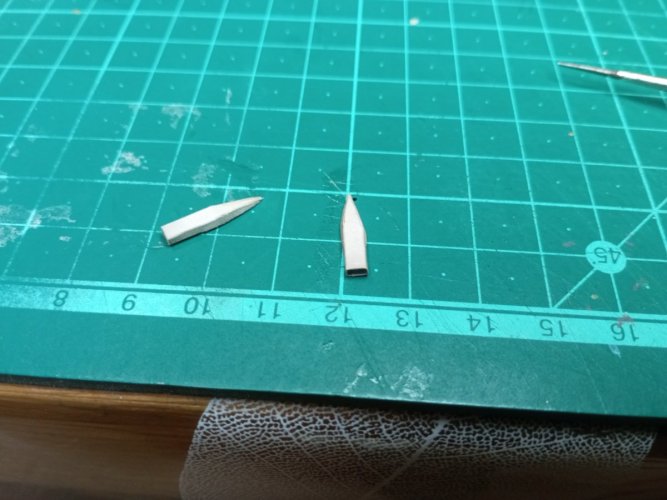
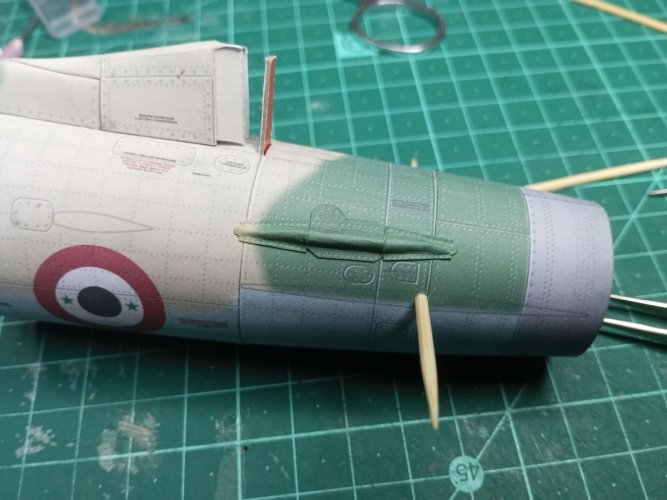
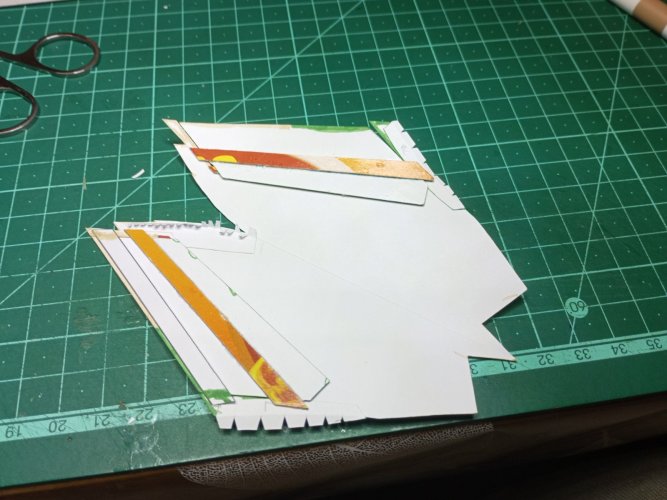
Pretty small update today, at least in size...
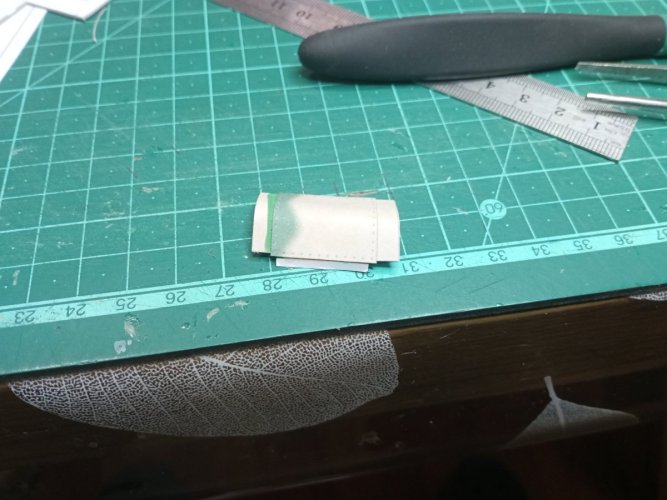
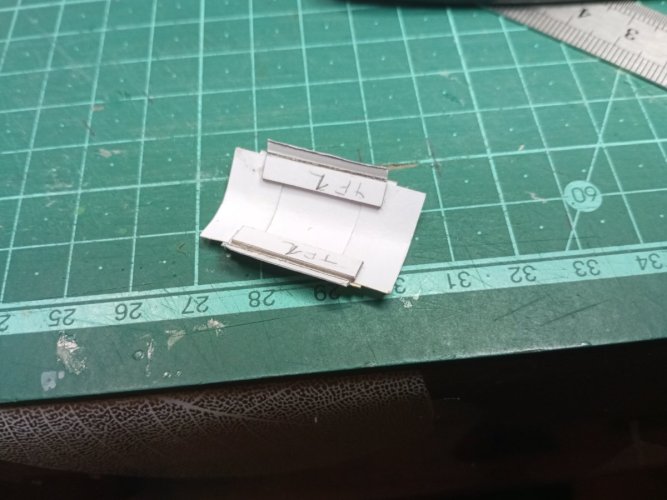
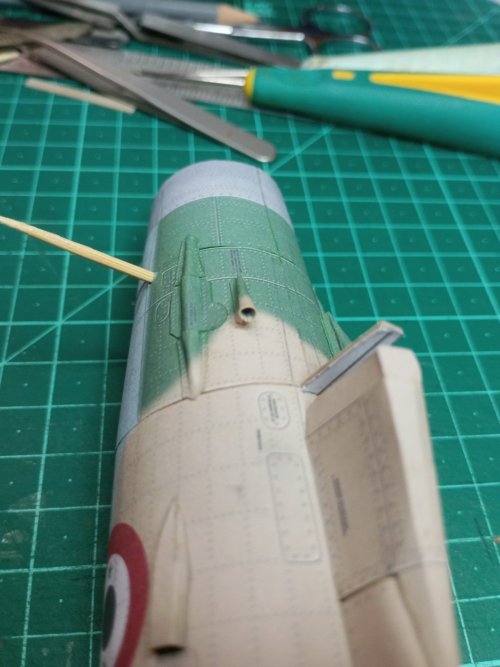
It took me some time to build these small air inlets and the cowlings on the rear of the plane. Knitting needles, tooth picks and the small pincers are the key tools here. Oh, and of course, light wetting of the inside of the part allows closing such a small diameter smoothly.
Pretty small update today, at least in size...
It took me some time to build these small air inlets and the cowlings on the rear of the plane. Knitting needles, tooth picks and the small pincers are the key tools here. Oh, and of course, light wetting of the inside of the part allows closing such a small diameter smoothly.
Attachments
-
 IMG_20260418_014920_201_copy_1200x1600.jpg210.5 KB · Views: 22
 -
 IMG_20260418_014911_746_copy_1200x1600.jpg216.6 KB · Views: 24
 -
 IMG_20260418_014905_263_copy_1200x1600.jpg221.2 KB · Views: 27
 -
 IMG_20260417_225359_543_copy_1200x1600.jpg216 KB · Views: 19
 -
 IMG_20260418_014404_426_copy_1200x1600.jpg213.6 KB · Views: 22
 -
 IMG_20260418_000144_338_copy_1200x900.jpg134.9 KB · Views: 20
 -
 IMG_20260407_042004_344_copy_1200x900.jpg138.5 KB · Views: 24
 -
 IMG_20260407_040921_853_copy_1200x900.jpg132.4 KB · Views: 20
 -
 IMG_20260407_040849_733_copy_1200x900.jpg124.7 KB · Views: 20
 -
 IMG_20260418_005911_399_copy_1200x900.jpg102.4 KB · Views: 20

Hello all
I am trying to get back on track with this Egyptian balalaika, after a pretty long break.
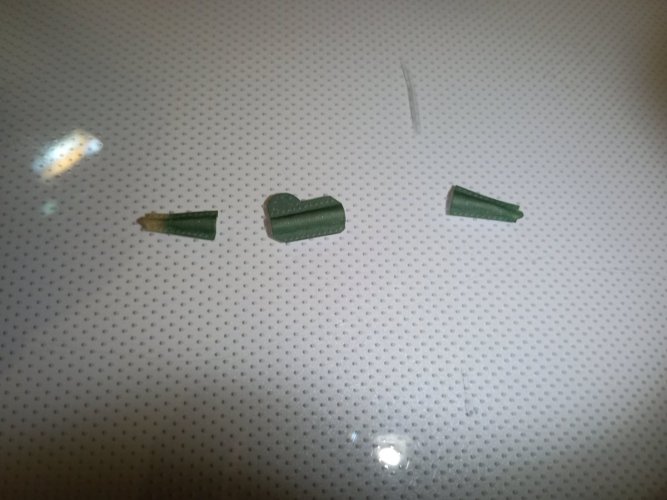
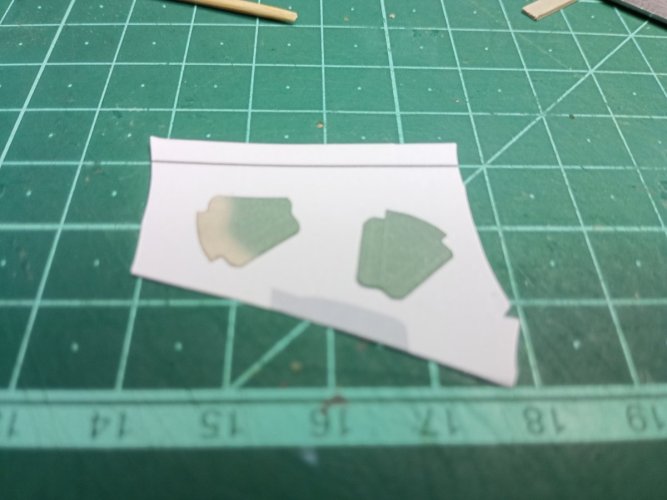
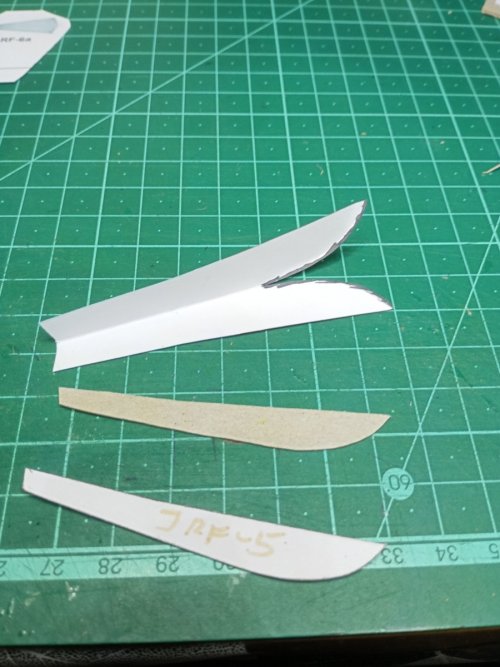
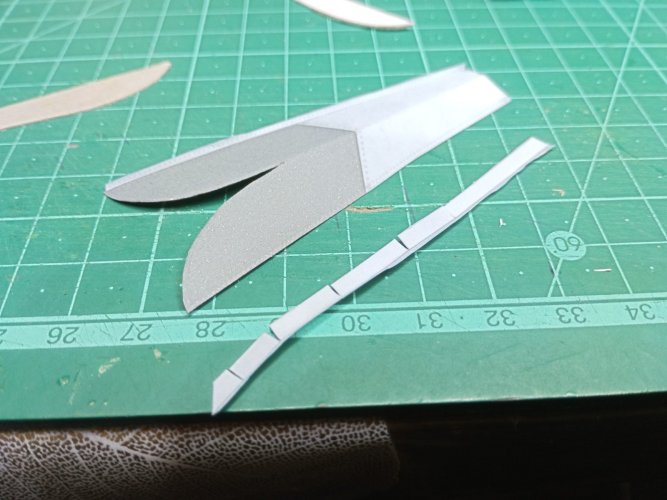
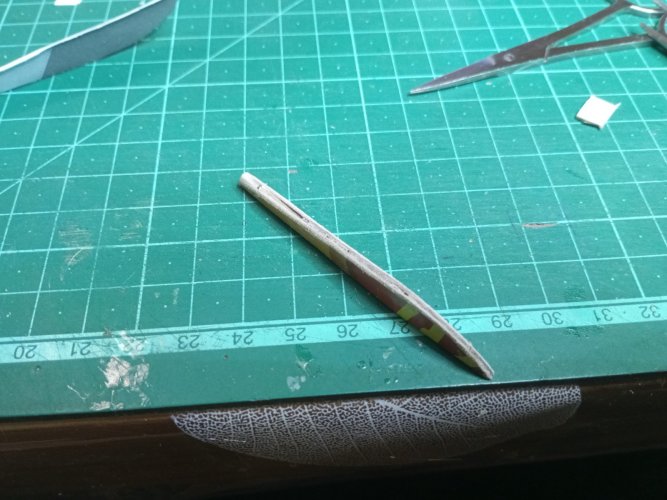
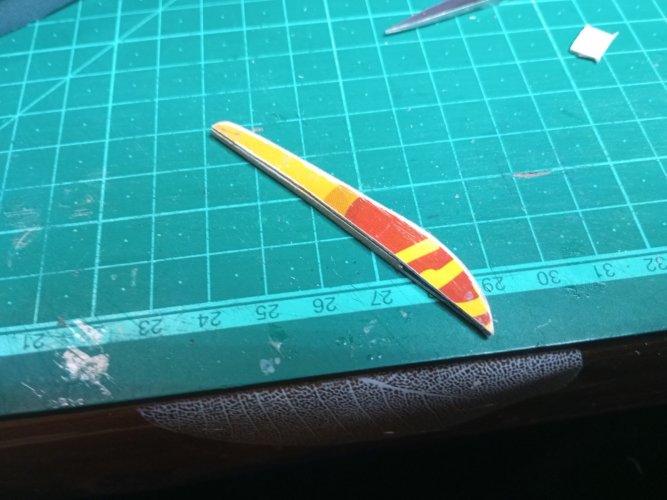
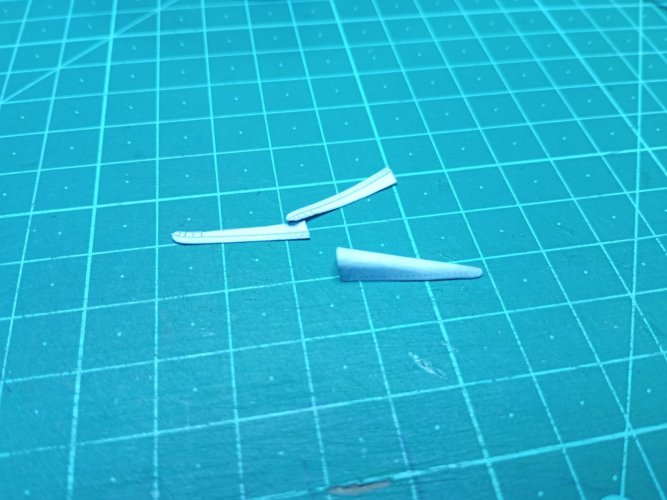
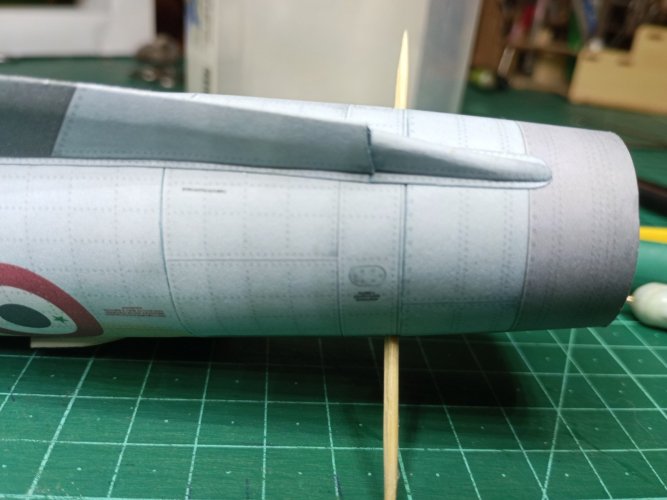
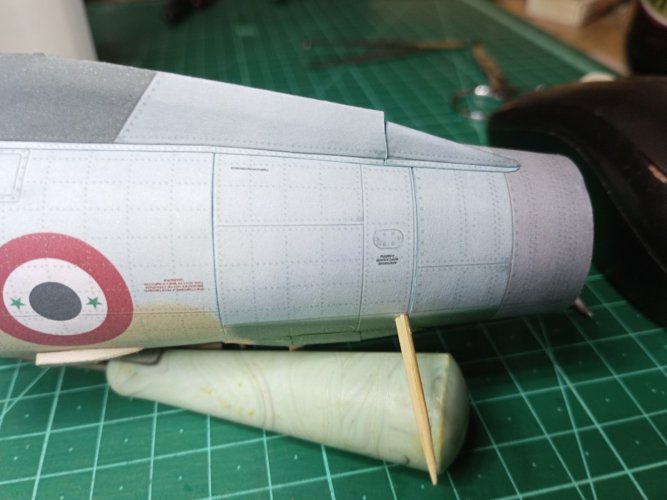
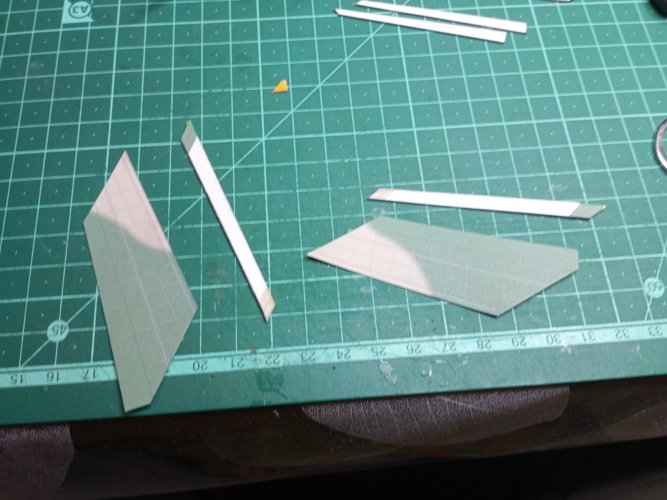
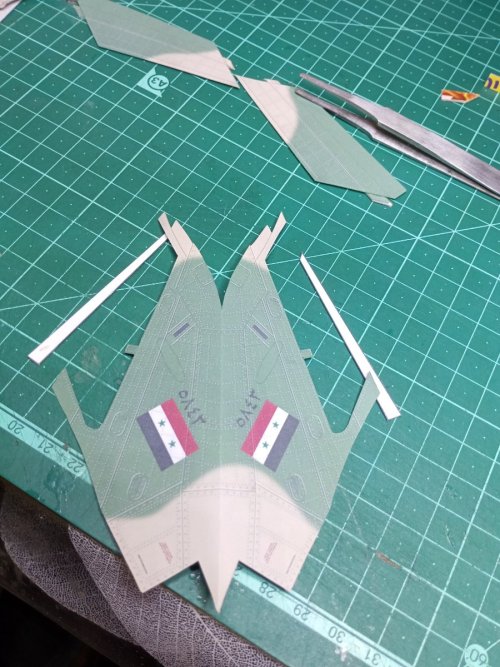
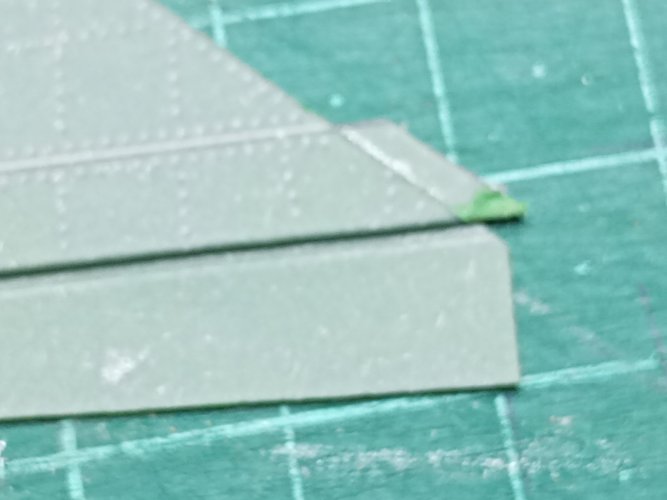
This time - ventral fin.
In real plane this fin has a pretty intricate shape with a changing width and a step in the rear part of the fin.
I didn't really understand what was the designer planning for this part. So I made a three layered inner structure from a cereals box and shaped it to form with a sandpaper. To tell the truth: I see no need in such structure. The actual wrapping of the fin is strong enough to keep its shape. So my advice - shape the fin wrapping and glue it on its place. Don't kill yourself trying to make the unneeded inner structure. Really, no need.
Enjoy some pics
I am trying to get back on track with this Egyptian balalaika, after a pretty long break.
This time - ventral fin.
In real plane this fin has a pretty intricate shape with a changing width and a step in the rear part of the fin.
I didn't really understand what was the designer planning for this part. So I made a three layered inner structure from a cereals box and shaped it to form with a sandpaper. To tell the truth: I see no need in such structure. The actual wrapping of the fin is strong enough to keep its shape. So my advice - shape the fin wrapping and glue it on its place. Don't kill yourself trying to make the unneeded inner structure. Really, no need.
Enjoy some pics
Attachments
-
 IMG_20260509_022556_689_copy_900x1200.jpg151 KB · Views: 18
 -
 IMG_20260509_033614_637_copy_1600x1200.jpg267.5 KB · Views: 17
 -
 IMG_20260509_035842_783_copy_1600x1200.jpg301 KB · Views: 20
 -
 IMG_20260509_050624_147_copy_1600x1200.jpg309.9 KB · Views: 19
 -
 IMG_20260509_050628_002_copy_1600x1200.jpg240.4 KB · Views: 18
 -
 IMG_20260605_234003_267_copy_1600x1200.jpg227.2 KB · Views: 18
 -
 IMG_20260606_001441_218_copy_1600x1200.jpg196.9 KB · Views: 20
 -
 IMG_20260606_001448_868_copy_1600x1200.jpg216.7 KB · Views: 18
- Apr 5, 2013
- 14,441
- 11,078
Actually, MiG21 was nicknamed "Balalaika" in Soviet Air force because of its wings' shape.There was a Mig 15 or 17 parked at Danbury Airport, it had a little plaque on it, it was named "TIN BITCH". The plane few into the airport, was parked there for around 6 months, then flew away. A privately owned Mig.")
- Apr 5, 2013
- 14,441
- 11,078
The one at Danbury Airport (DXR) was privately owned. The guy who owned it named it "Tin Bitch", in respect for it's prowess. So the name "Tin Bitch" was for that guy's private Mig. Some people in America have too much money, so much that they can own their own Mig fighter aircraft.
Hello all.
I am back....
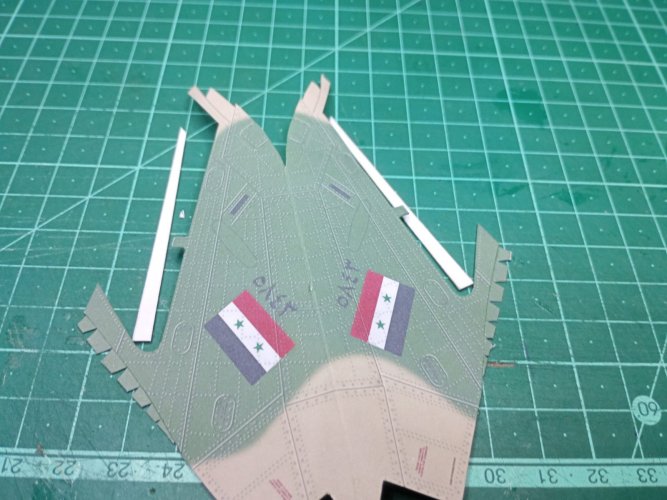
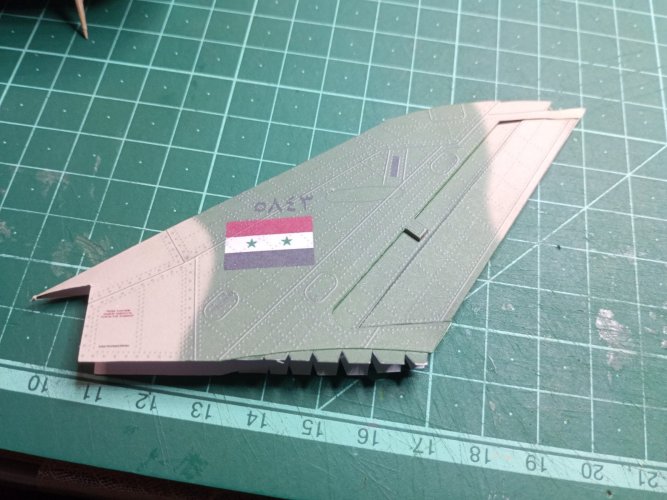
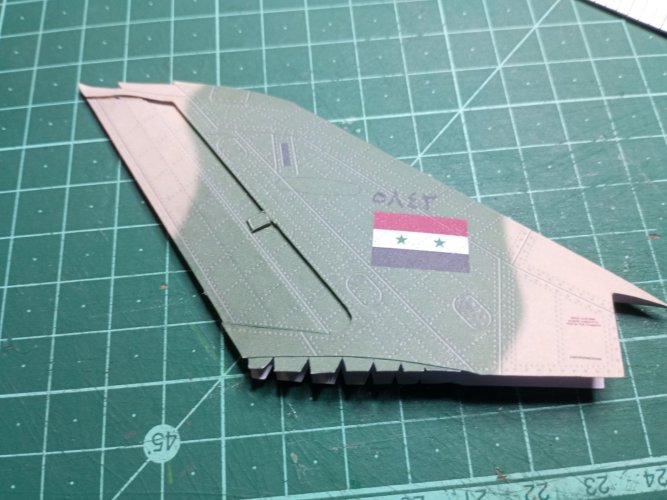
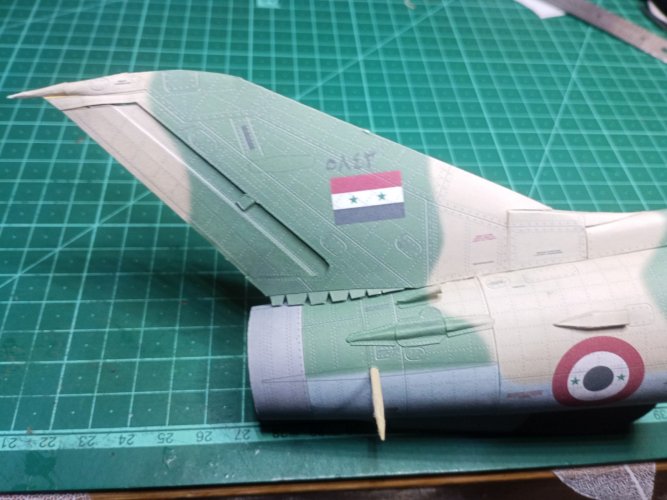
This time is the vertical fin and the rudder.
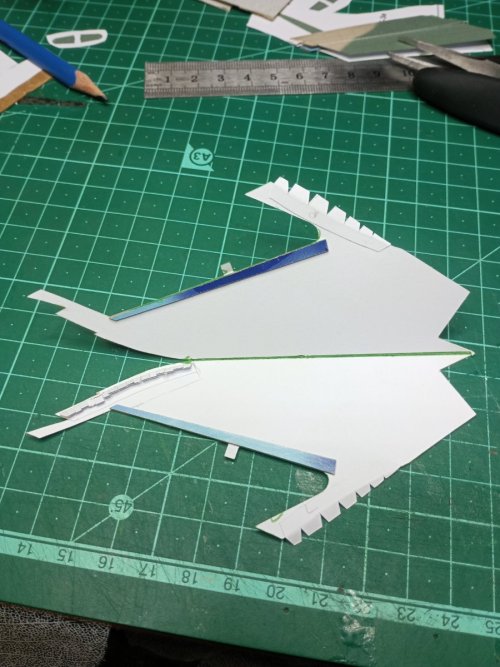
Rudder is a separate part here, in order to have the recess between the rudder and the fin, an interesting trick was used, from one had this trick created beautiful recess but from the other hand, it caused severe step on the top edge of the fin. I had to insert a narrow cardboard piece in order to improve the look of this part .
Also, the base of the inner ribs structure of the fin had to be shortened so that it wouldn't bump into the cardboard strips that create the above mentioned recess.
Also the design of the top antenna cowling is far from being great. Had to adapt this cowling's rear part numerously, and it wasn't simple since it is a pretty small part.
After all, part was mounted and looks ok.
I am back....
This time is the vertical fin and the rudder.
Rudder is a separate part here, in order to have the recess between the rudder and the fin, an interesting trick was used, from one had this trick created beautiful recess but from the other hand, it caused severe step on the top edge of the fin. I had to insert a narrow cardboard piece in order to improve the look of this part .
Also, the base of the inner ribs structure of the fin had to be shortened so that it wouldn't bump into the cardboard strips that create the above mentioned recess.
Also the design of the top antenna cowling is far from being great. Had to adapt this cowling's rear part numerously, and it wasn't simple since it is a pretty small part.
After all, part was mounted and looks ok.
Attachments
-
 IMG_20260620_001701_198_copy_1600x1200.jpg245 KB · Views: 6
 -
 IMG_20260620_002327_776_copy_900x1200.jpg239.2 KB · Views: 4
 -
 IMG_20260620_010013_937_copy_1600x1200.jpg136.1 KB · Views: 4
 -
 IMG_20260620_023628_118_copy_1600x1200.jpg264.5 KB · Views: 4
 -
 IMG_20260627_010455_419_copy_1600x1200.jpg336 KB · Views: 5
 -
 IMG_20260627_015707_311_copy_1600x1200.jpg359.1 KB · Views: 5
 -
 IMG_20260627_025700_599_copy_1600x1200.jpg291.3 KB · Views: 5
 -
 IMG_20260627_031153_810_copy_900x1200.jpg180.4 KB · Views: 6
 -
 IMG_20260627_040814_975_copy_1600x1200.jpg315.7 KB · Views: 6
 -
 IMG_20260627_040821_400_copy_1600x1200.jpg263.6 KB · Views: 6
 -
 IMG_20260711_021838_510_copy_1600x1200.jpg250.7 KB · Views: 6
