Detailing and greebling out (and adding "decals" to) the "Simple" Colonial Viper

I have (FINALLY) finished the engines.
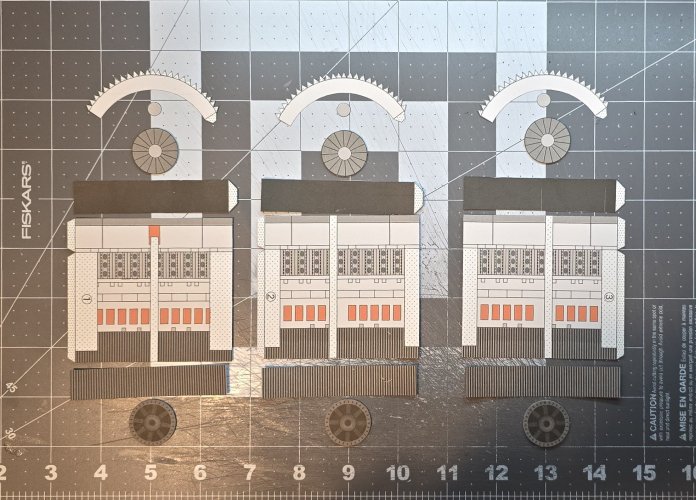
Here are the (main) parts for the engines.
20250920_214843.jpg

Starting with the intake assembly.
20250921_092137.jpg

The fan-blade assembly is assembled.
20250921_101707.jpg

I attached the inner wall of the intake.
20250921_103750.jpg

Here is the part for the intake cone.
20250921_104244.jpg

The intake cone is assembled.
20250921_104305.jpg

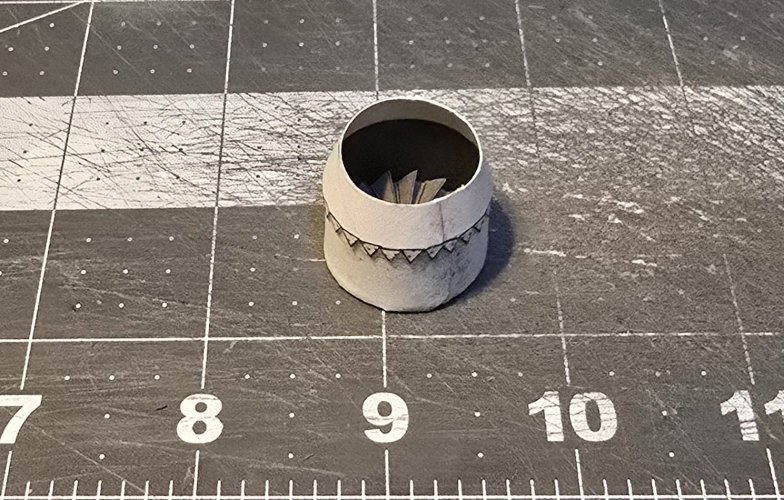
I attached the intake cone to the inner wall.
20250921_104548.jpg

Here are the parts for the main body of the engine and the "recessed" area.
20250921_181131.jpg

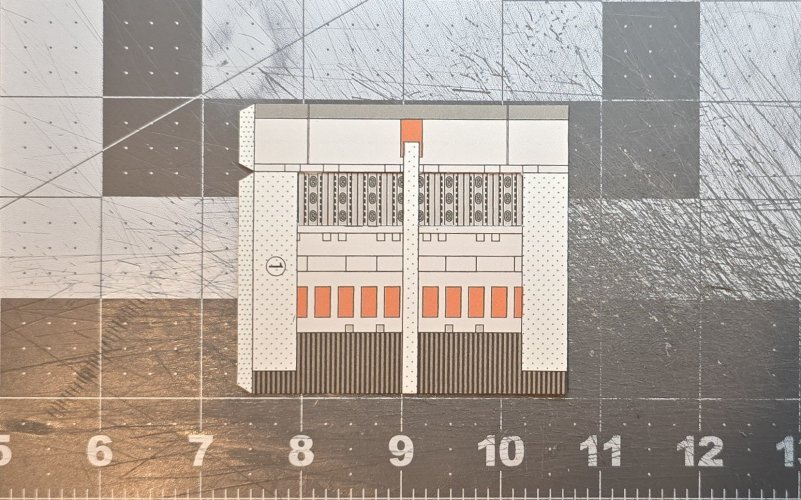
The main body of the engine is assembled.
20250921_181618.jpg

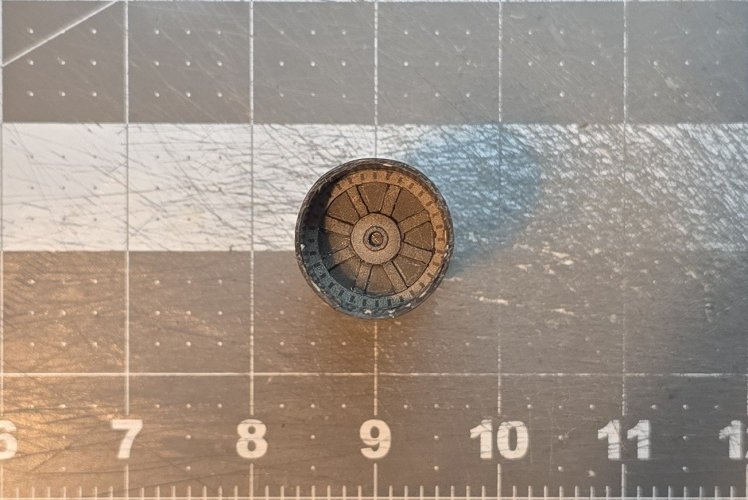
The inner part of the exhaust is assembled.
20250921_195948.jpg

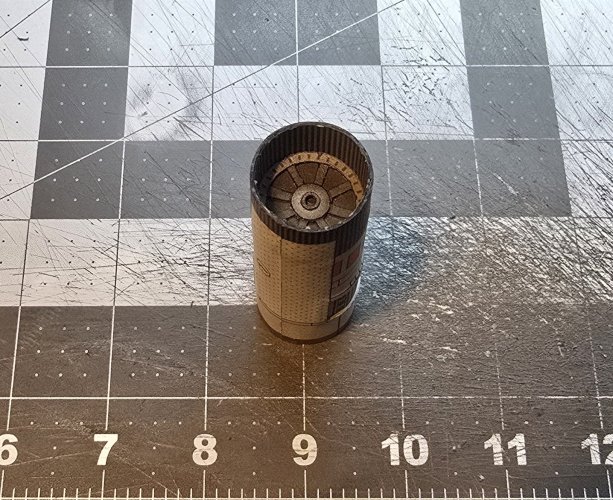
The exhaust component is attached in place.
20250921_200043.jpg

The intake assembly is attached in place.
20250921_201109.jpg

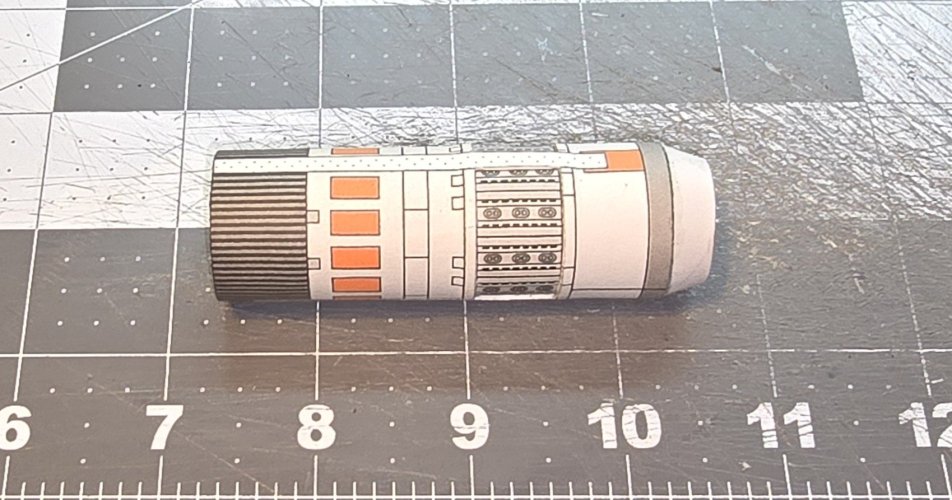
The engine is fully assembled.
Now to add detailed greebling.
20250921_201210.jpg

Here are the greebling for the recessed area.
20250922_143121.jpg

The greebling is attached in place.
20250922_150821.jpg

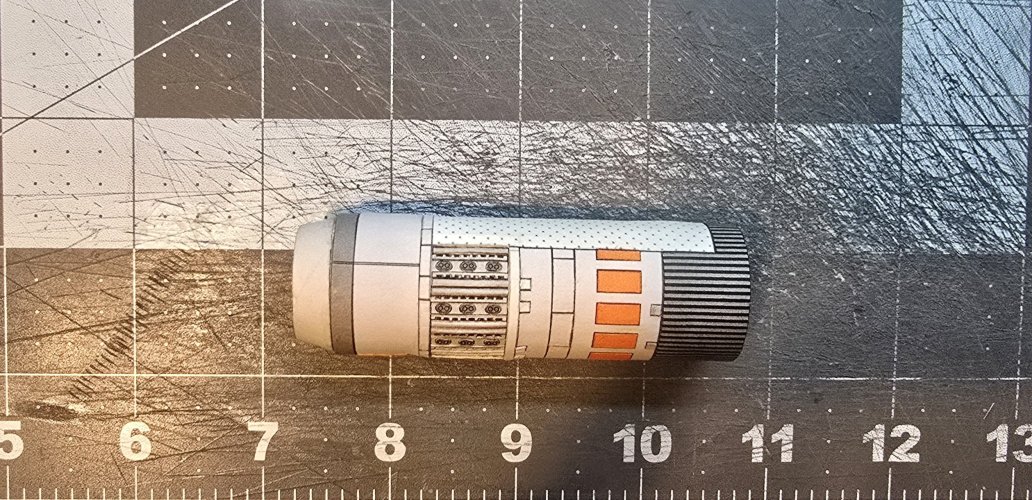
I added the panels (to recess the panel lines).
20250925_130244.jpg

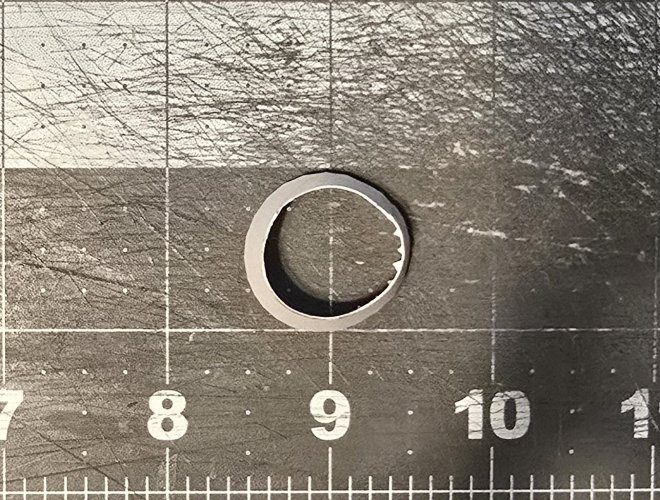
Here are the parts for the exhaust ribs.
20250925_201344.jpg

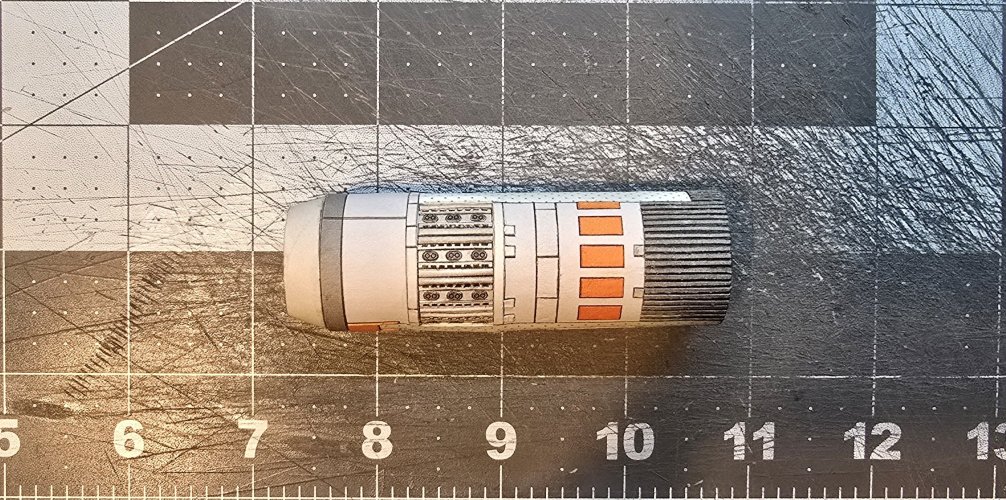
The exhaust ribs are attached in place.
20250925_201419.jpg

20250926_090943.jpg

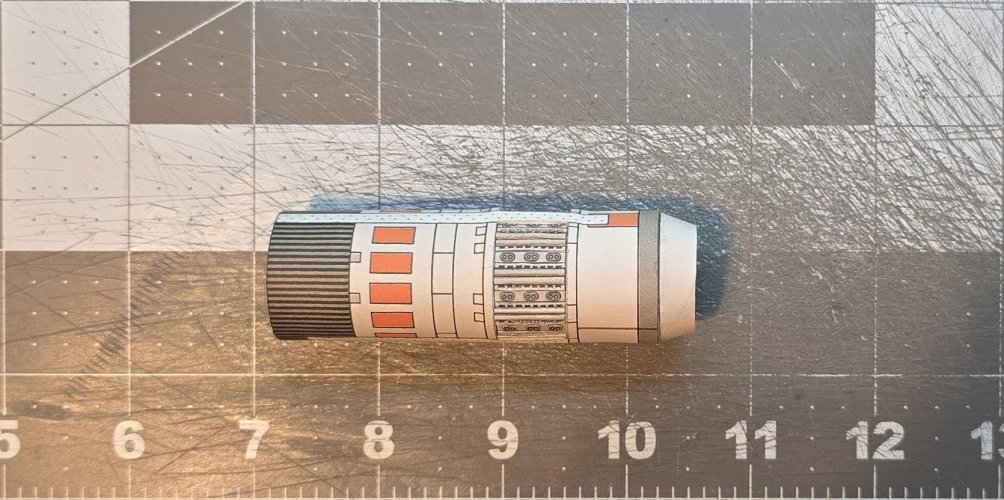
All three engines are fully assembled (and greebled out).
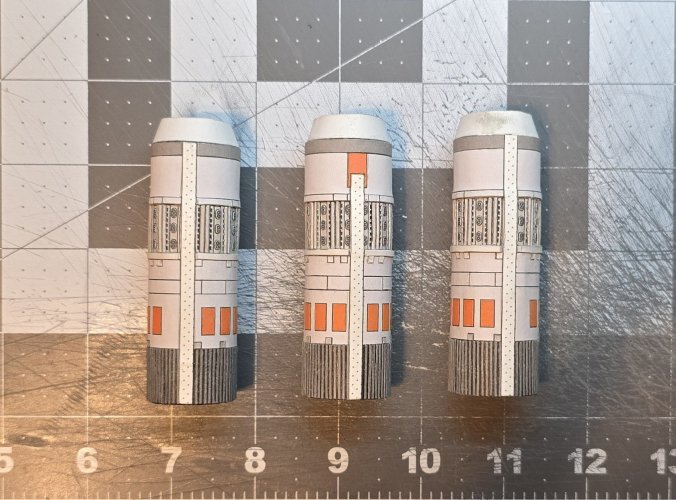
20251002_220007.jpg

Please stay tuned in to your local Colonial Broadcast Network for further updates and they happen.
 
Now to attach the engines to the engine block.

Starting with the (top) engine one.
20251002_220320.jpg

Engine one is attached in place.
20251002_220900.jpg

Here is engine two.
20251002_220941.jpg

Engine two is attached in place.
20251002_221258.jpg

Here is engine three.
20251002_221339.jpg

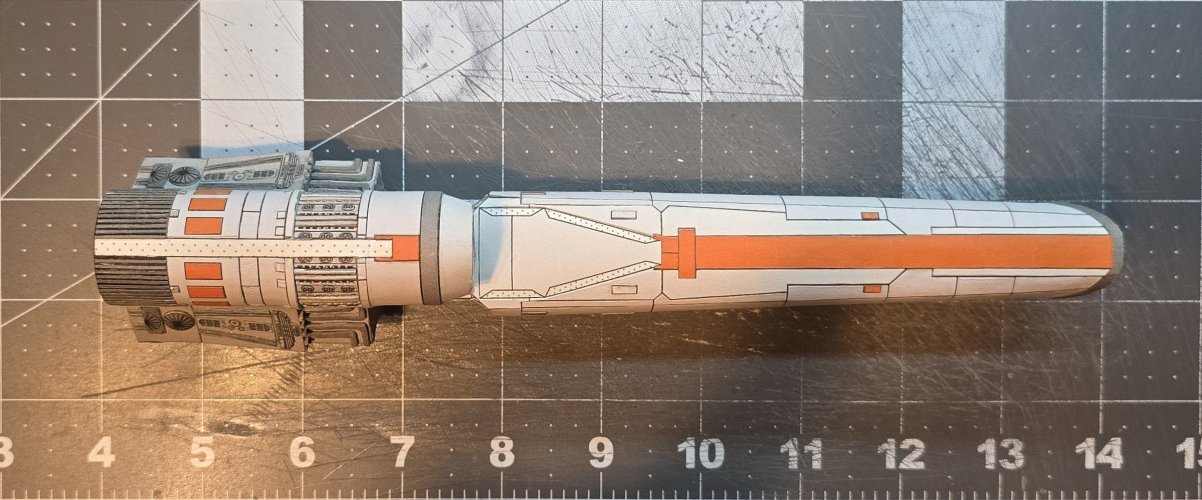
Engine three is attached in place.
20251002_221855.jpg

20251002_221935.jpg

Please stay tuned in to your local Colonial Broadcast Network for further updates and they happen.
 
Moving on to the tail and wings.
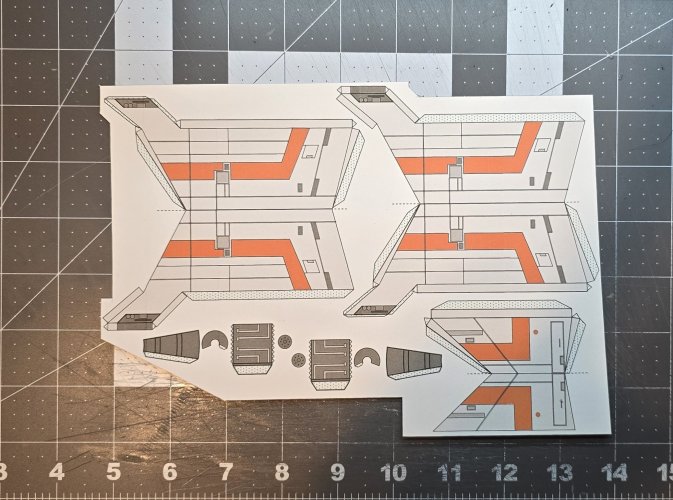
Here are the parts for the tail, wings and pulsar laser cannons.
20251004_102622.jpg

The tail is assembled and greebled out.
20251004_215459.jpg

20251004_215524.jpg

The tail is attached in place.
20251004_215917.jpg

20251004_215942.jpg

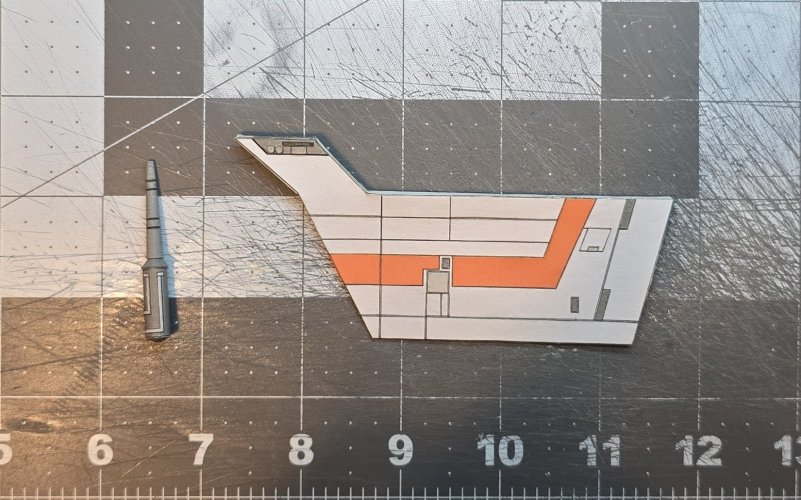
The wing is assembled.
20251006_153835.jpg

The pulsar laser cannon is assembled.
20251006_154910.jpg

The pulsar laser cannon is attached to the wing.
20251006_155132.jpg

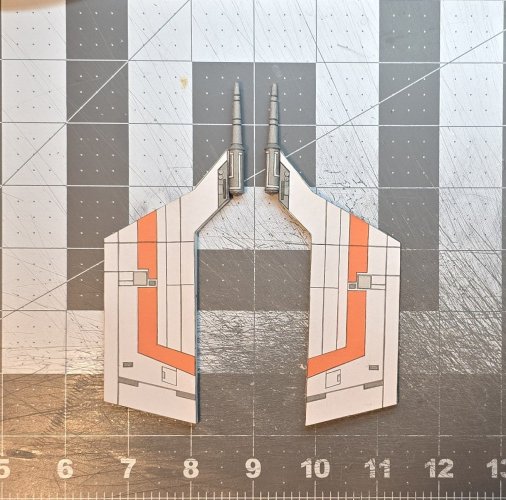
Both wings are assembled.
20251007_210011.jpg

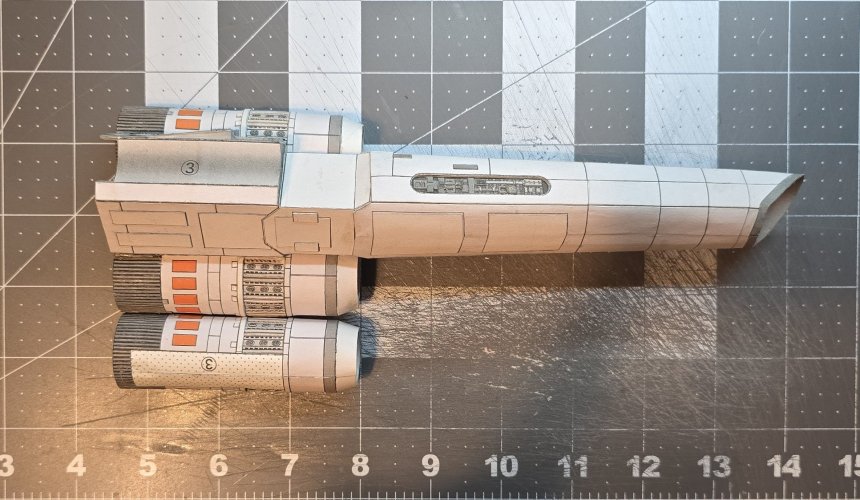
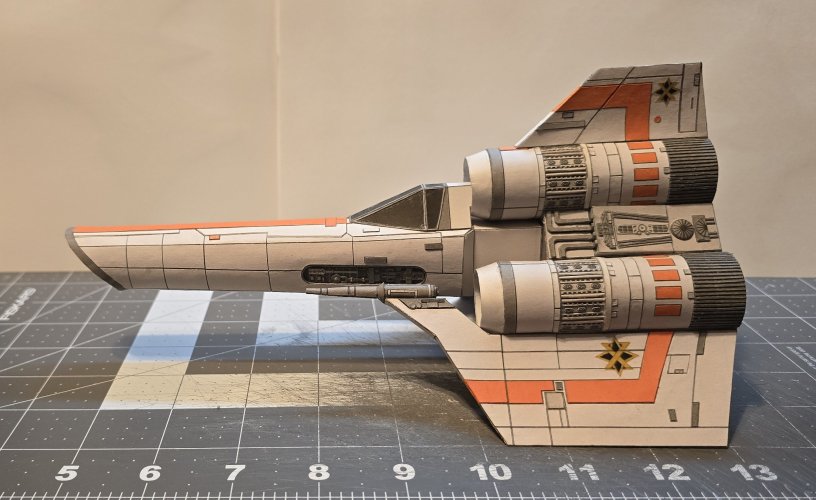
The wings are attached.
20251007_212320.jpg

20251007_212800.jpg

20251007_212824.jpg

Please stay tuned in to your local Colonial Broadcast Network for further updates and they happen.
 
I played around with different insignias to create the "decals" and printed them on (high quality) "tracing" paper.
The top three are (of course) BSG related. The bottom two are US. ARMY insignias (The "star shaped" one is US. ARMY MILITARY POLICE. The other one is 7th INFANTRY DIVISION).
20251007_213133.jpg

I chose the "MILITARY POLICE" insignia.
20251007_215050.jpg

I used PVA glue to apply the "decals".
20251007_223815.jpg

20251007_223841.jpg

20251007_223858.jpg

Please stay tuned in to your local Colonial Broadcast Network for further updates and they happen.
 
,Simple, my a$$, this model is awesome!! :)
Thank you. It was a fun and enjoyable build. The original template, yes is very simple. I have just taken the entire build process to a whole new level.
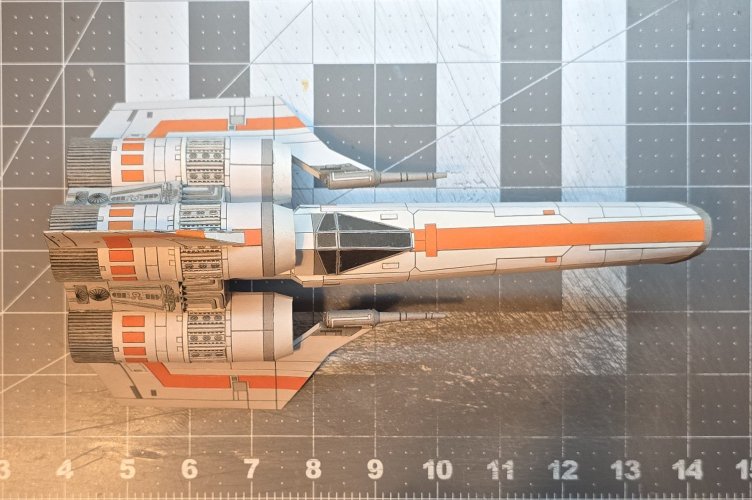
There is still a little bit more left to be done (which I am working on, currently).