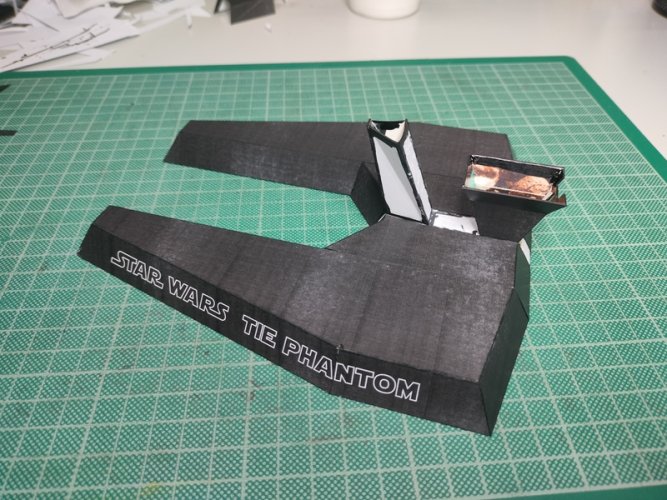
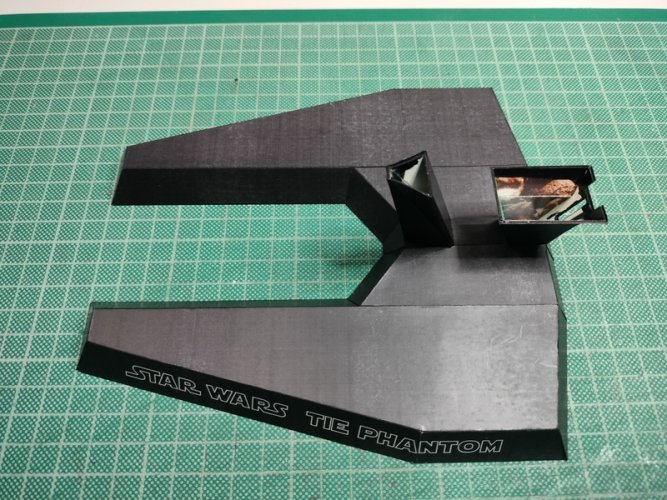
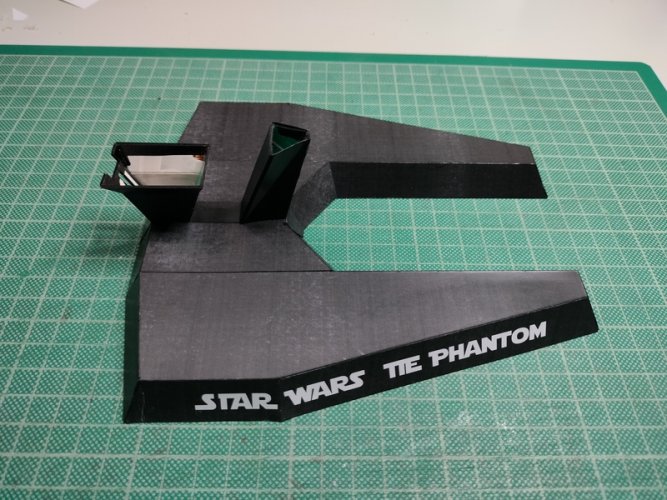
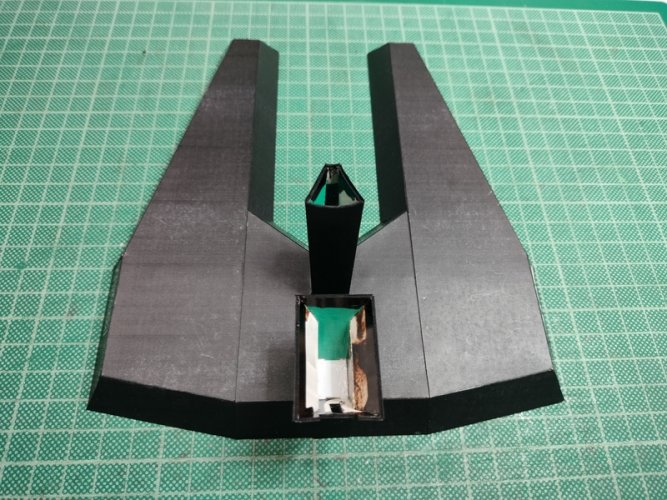
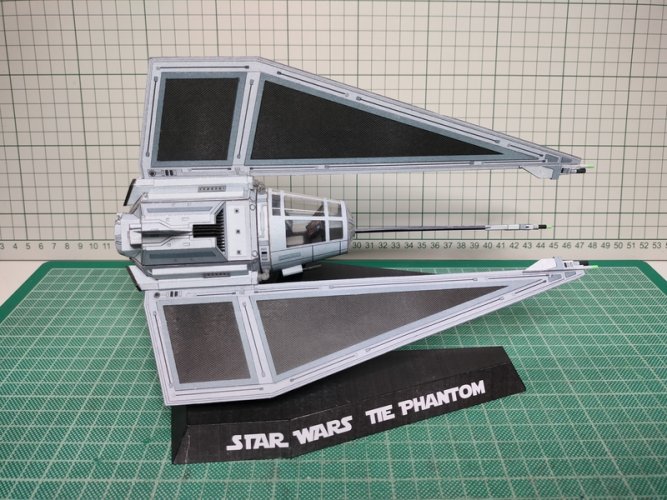
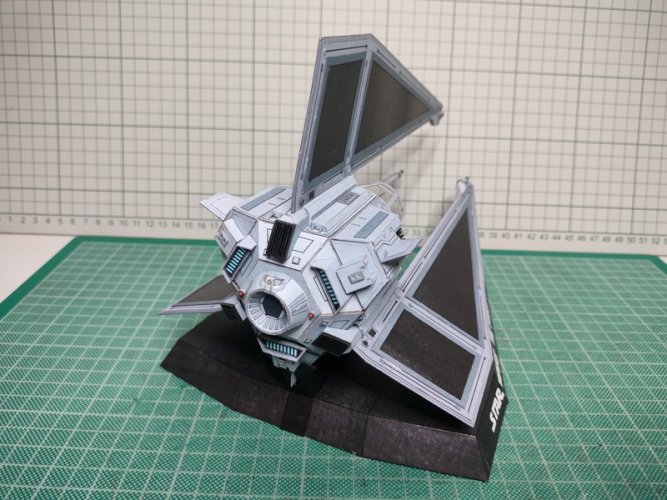
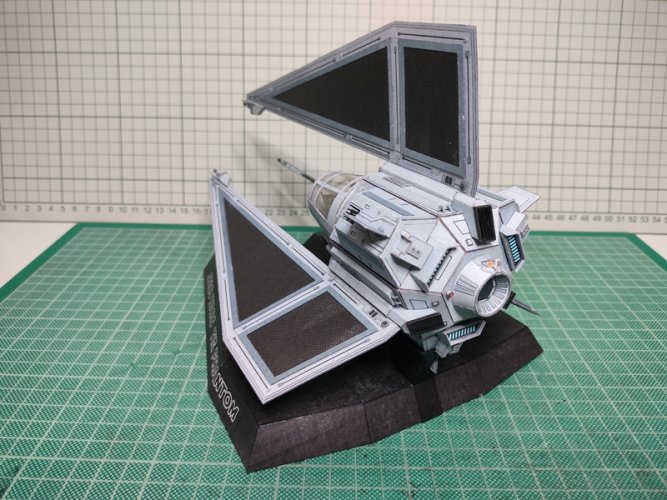
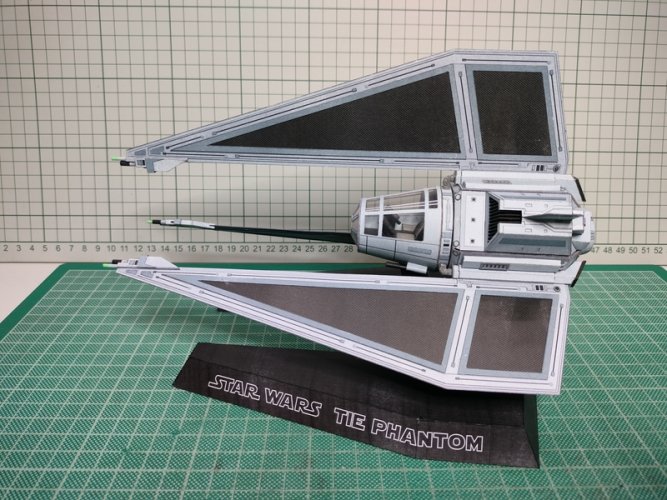
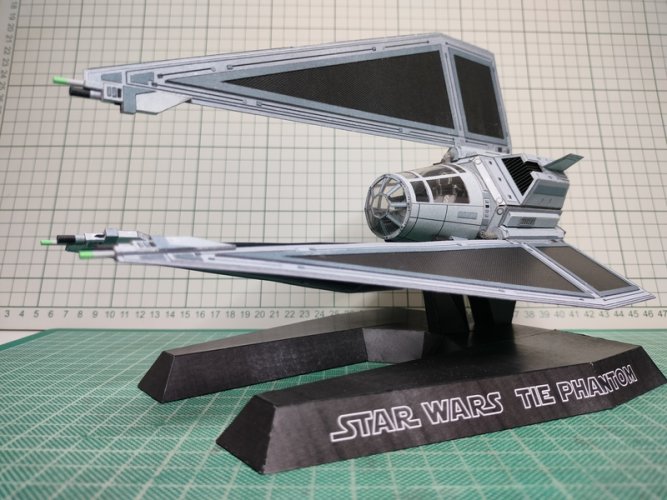
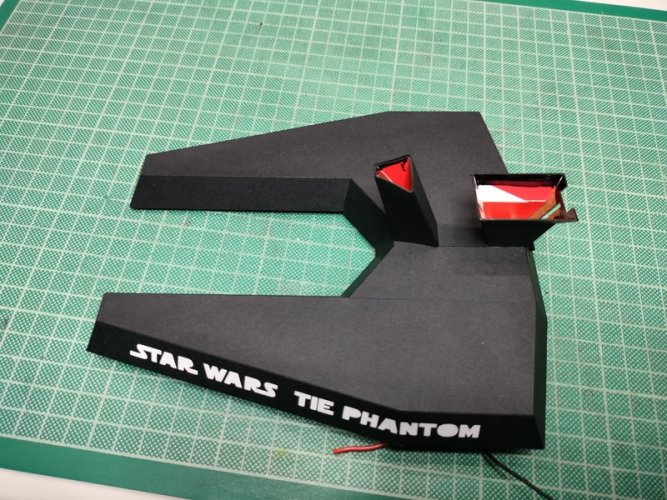
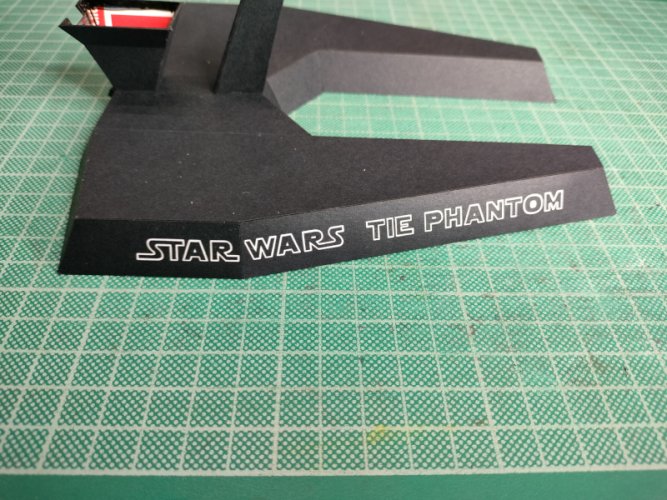
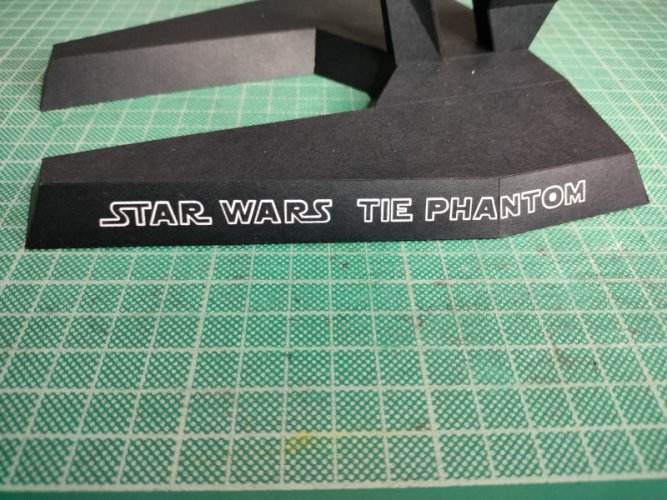
mijob's TIE Phantom

Hello all,

thank you all for your kind words.

but kudos to you for your recycling paper products.

Hello Zathros,
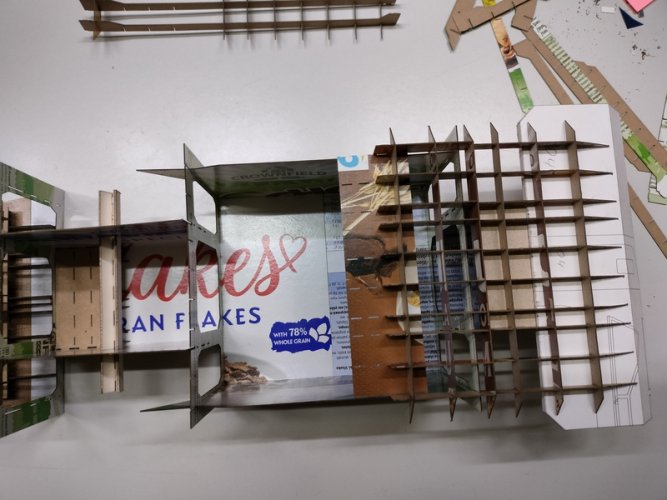
Yes, i love to use cereal boxes for these structures. That material is easy to work with, strong if bent correctly and (almost :cool: ) for free.

wait to get my hands on this one
Patience, .... soon.

Superbe réalisation, c'est de l'artisanat sur mesure.

Although I'm not speaking french,

Merci beaucoup.


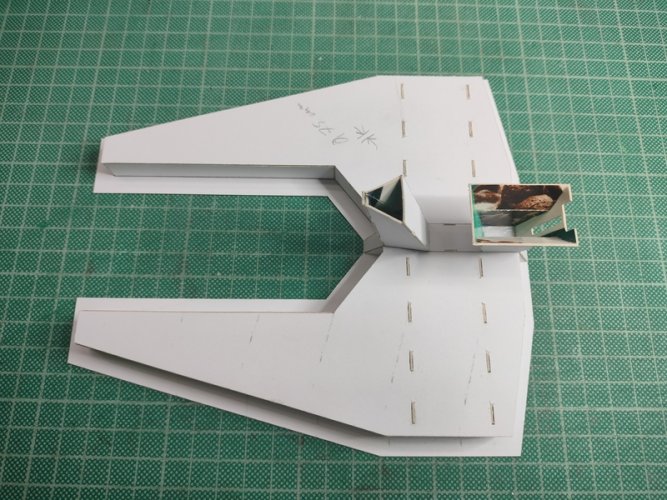
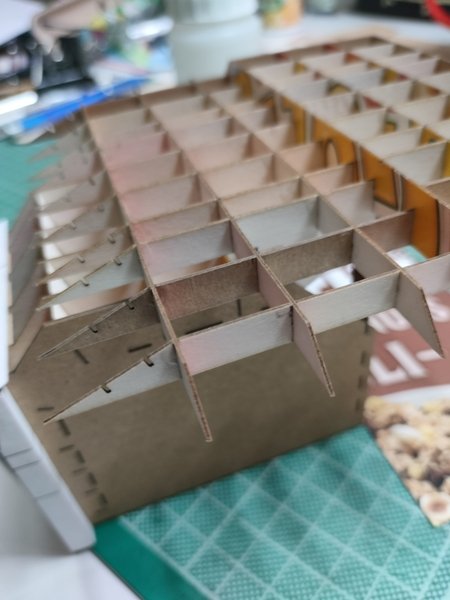
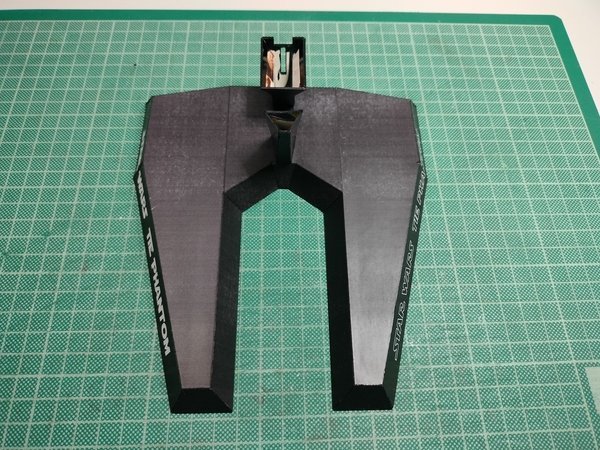
Let us continue with the base.

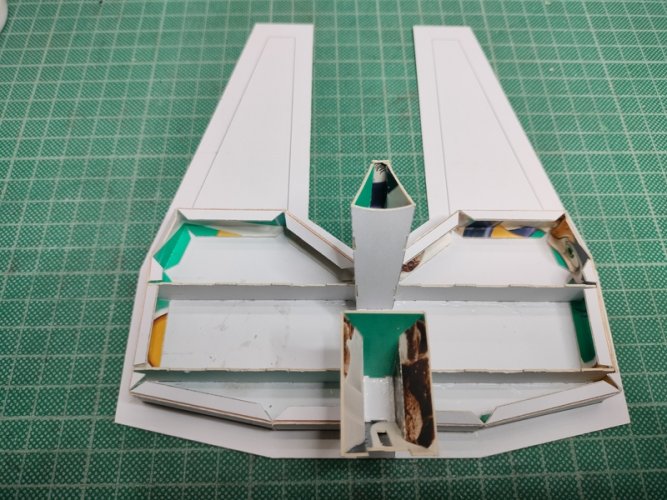
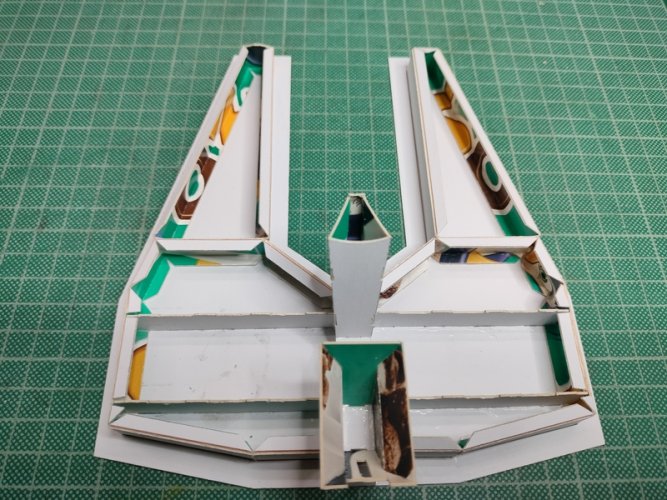
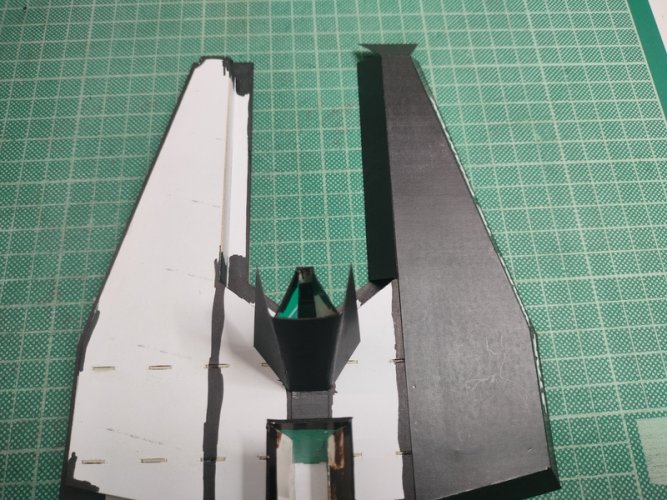
These are the next parts just laid out.

This step is important.
Compare the height of the already glued in long Strips with the height these parts give you when pressed down into "glue position".
If there is a big difference you still can correct it by scoring a bit higher or lower and bend the parts at the desired position.
They are inside, no one will see theme anyway but they are needed to keep a even surface.
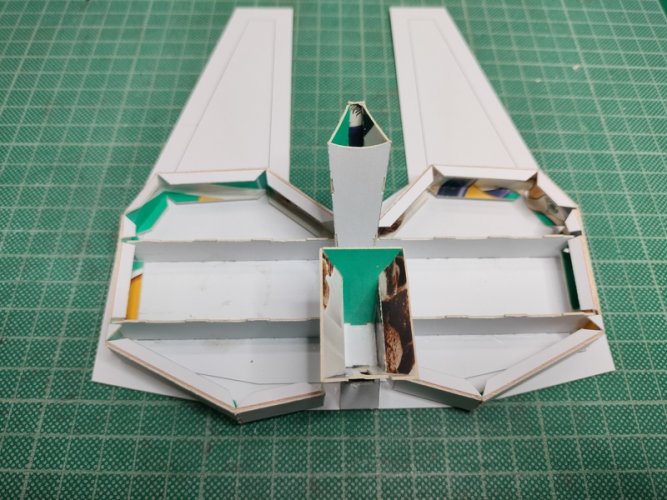
Image102.jpg

Same goes for the other two Parts.

Image101.jpg

Image99.jpg

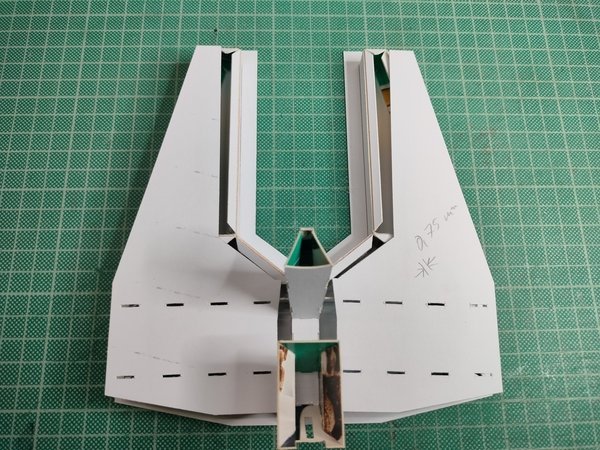
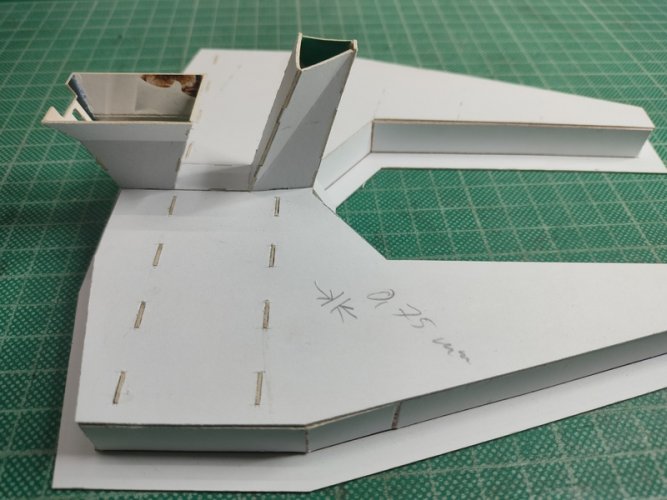
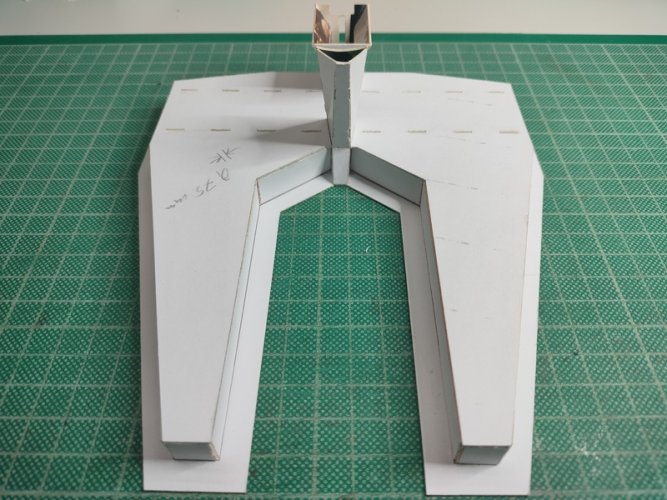
So far so good, ready to close the base.
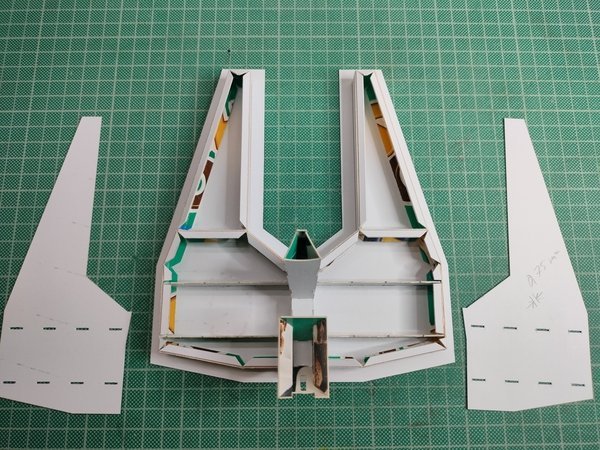
Image98.jpg

Image97.jpg

I dry fitted them both to make sure all slits fit nicely and then i finally glued them on.
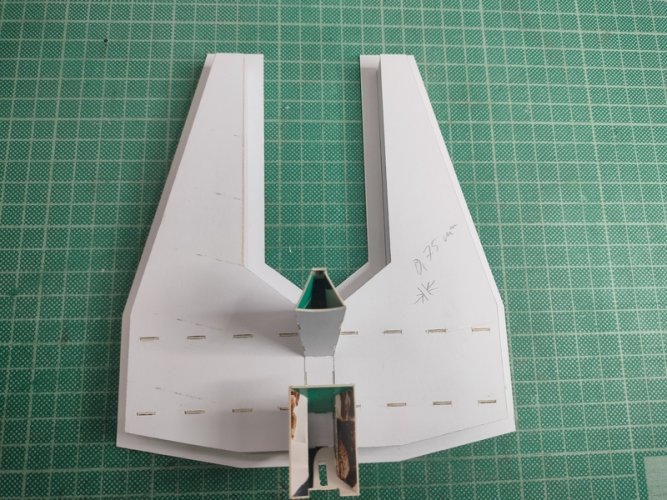
Image94.jpg

Image93.jpg

Image95.jpg

Image92.jpg

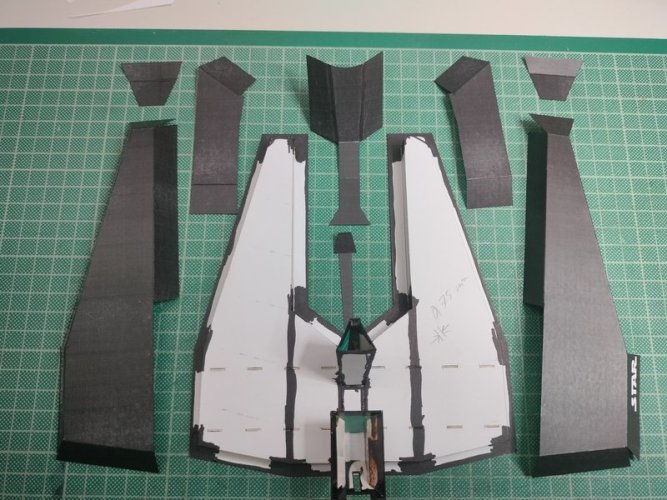
Well, that's it for the base, here comes the " skin "
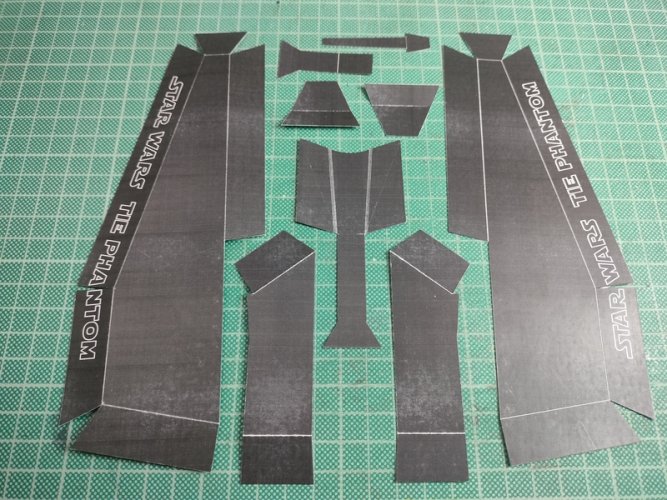
Image96.jpg

Don't worry, this is just to test if everything is fitting.
The final template will not have any white lines.

At this point i realized, that if there where some little gaps because of (the usual) "human error", the white background would shine through, so i took a black marker and tried to cover every connection. On the final template i will have this areas blacked out already.
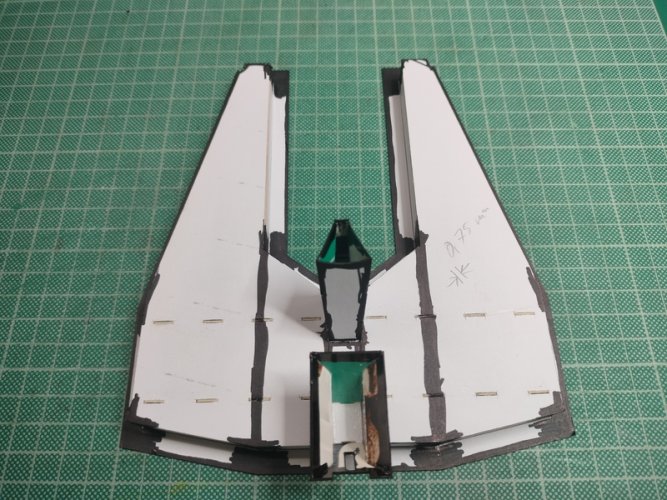
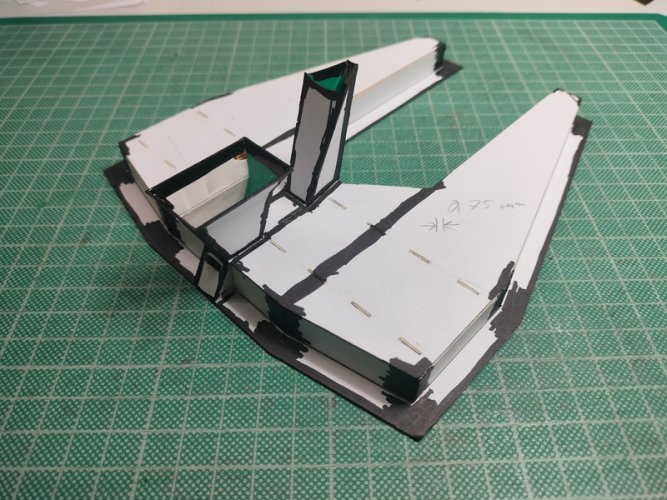
Image91.jpg

Image87.jpg

Image83.jpg

that's it for now,

to be continued very soon.

Thank you

 
Hello all,

Thank you Zathros,

i think you should see the APC structure I'm working on. :biggrin:

Image09.jpg

Image15.jpg

Image04.jpg

Image02.jpg

Image01.jpg

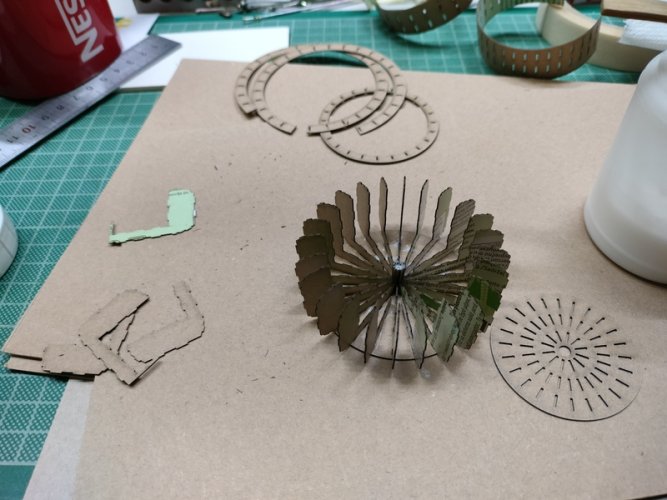
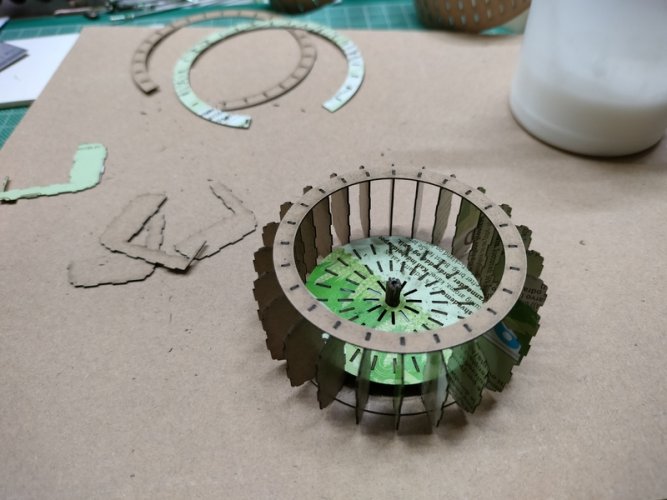
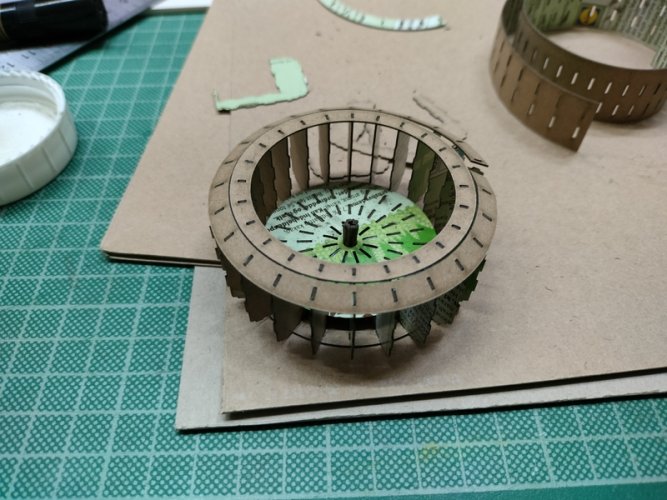
I try to get a stable structure on which i can build on, but i think i over engineered this thing. Here comes the advantage of a laser, these parts are done in a view minutes.
Doing them by hand is a nightmare. (Especially if the hands don't follow the commands of the brain :OOPS:)

Arggh, now i hijacked my own thread.....


Back to the Phantom Base..

Here i glued the first outer part.

Image82.jpg

Make sure it fits well.
For the final templates i will include two different versions. One 'normal' and one with slightly longer side parts to compensate if the base came out higher due to different material thickness.

Next one

Image79.jpg

And the first one from the side

Image78.jpg

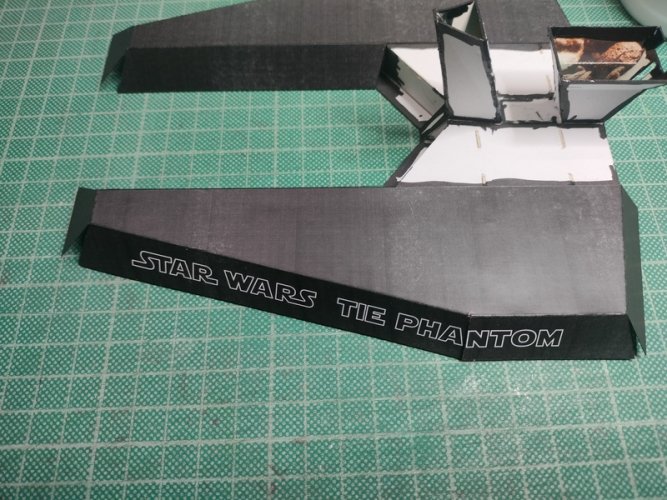
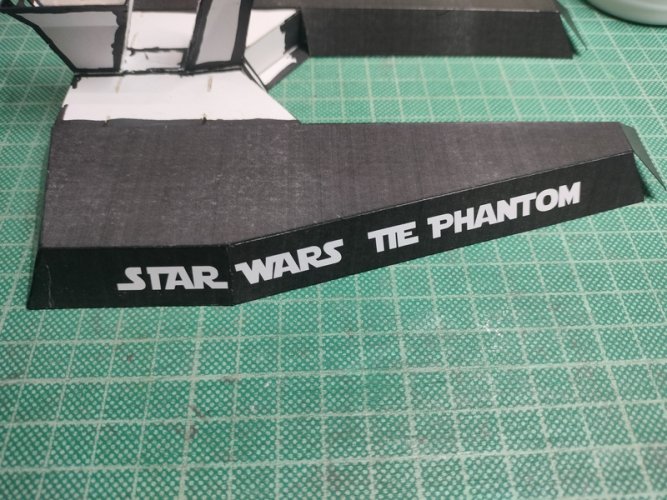
Yes, i know, the fonts are different, you can choose which one you like best for you base.
This base i built only to test all parts. Based on that build i made some corrections on the final templates.

Next are the two other surfaces

Image77.jpg

and the other side

Image75.jpg

Depending on how good the middle part was glued in the center this parts will ether fit nicely or you have to trim one side a little while the other side leaves a little gap.
The blacked out strips should cover for that. :cool:

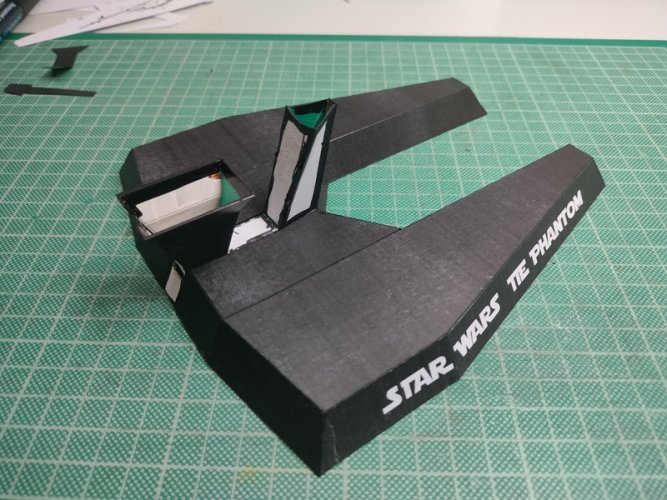
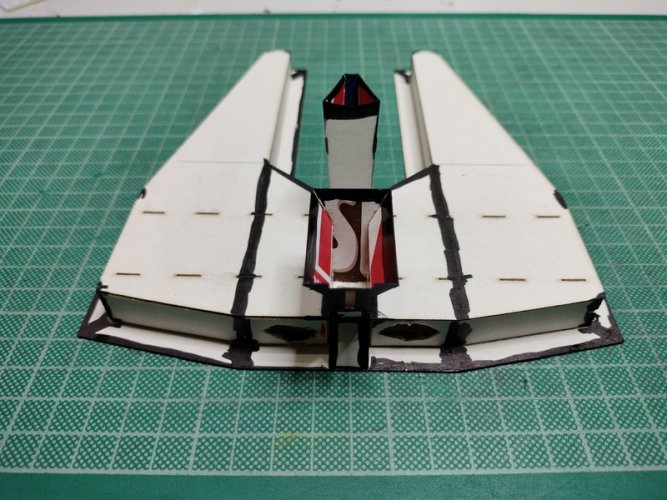
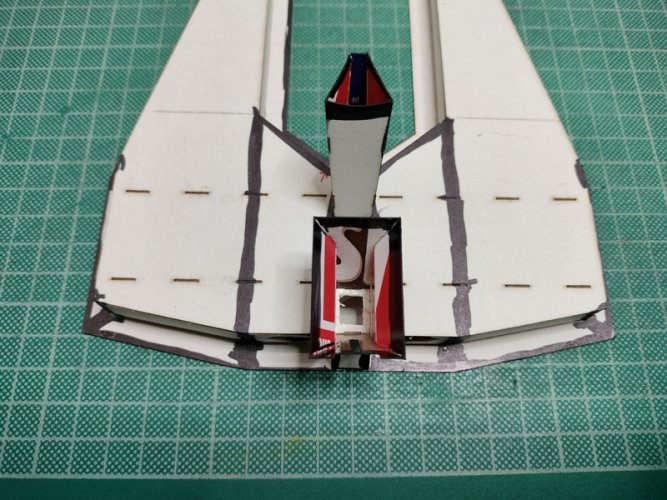
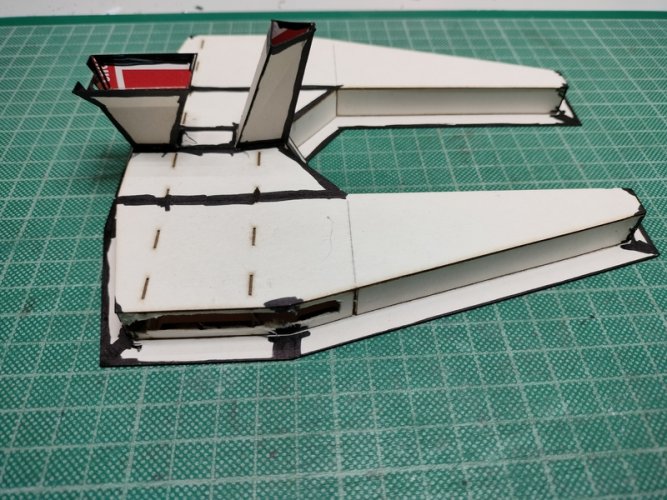
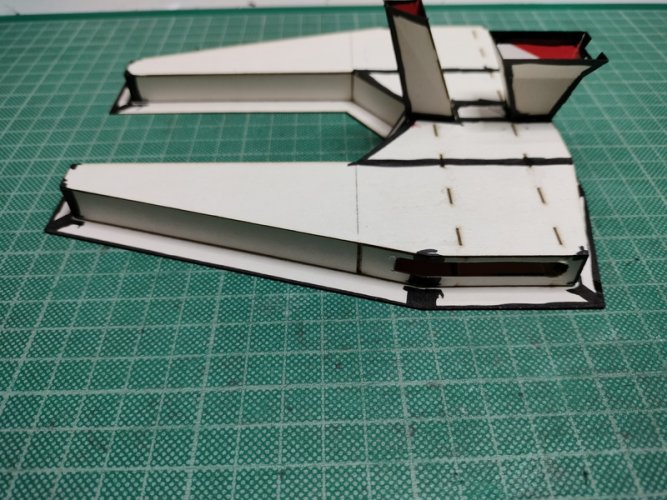
After that its the turn of the two vertical side pieces, and then we glue all parts beginning from the back to the front until we get this.

Left

Image70.jpg

Right

Image68.jpg

Back

Image69.jpg

and Front

Image67.jpg

That's it so far,

There is more to come soon.

Thank you
 
Hello all,

I have to say that that is a very strong stand. I really like your technique for internal formers. It makes sense.
Thank you Sir, I'm happy that you liked it.

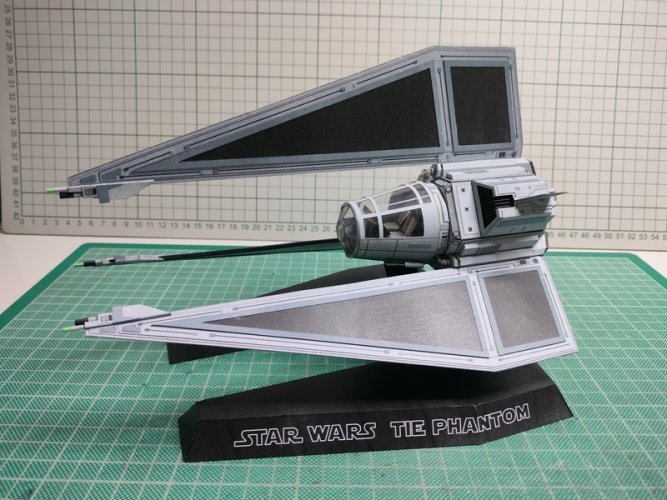
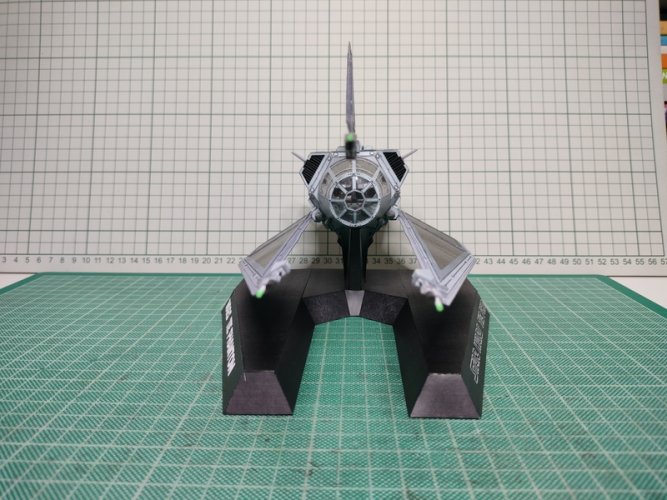
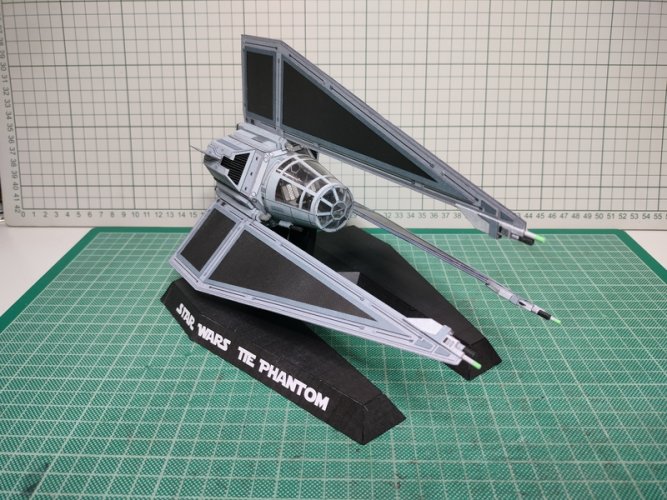
Here i have some shots with the ship on the base.

Image65.jpg

Image63.jpg

Image61.jpg

Image58.jpg

Image56.jpg

Image54.jpg

Image52.jpg

Image49.jpg

I hope you like it.

But....

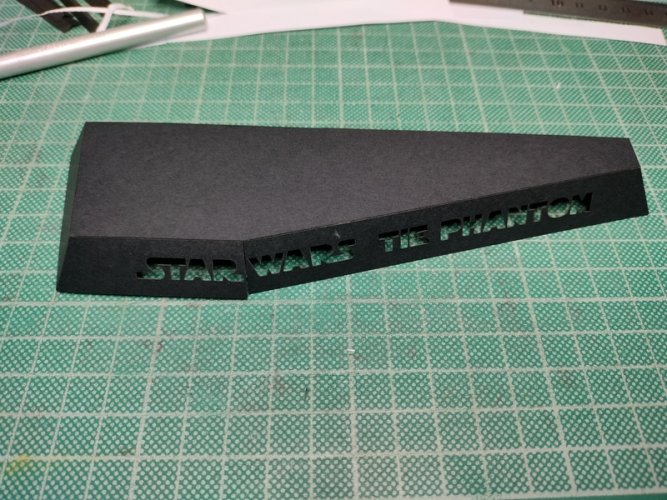
I will actually not use this base. As i mentioned before, this was just to test all pieces and how the two fonts look.

While i was building this one, i got the crazy idea of using LED's on the base, so i started a second on parallel to this one :biggrin: .

This Parts i had the laser cut out. I have neither the patience nor the ability to cut out that small Letters in such a quality.

Image48.jpg

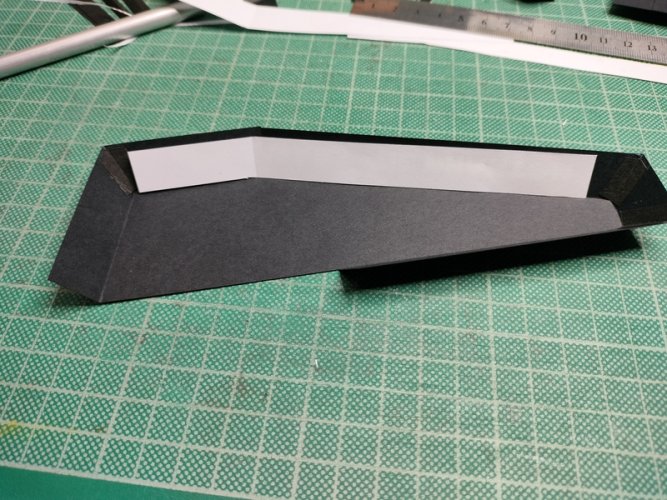
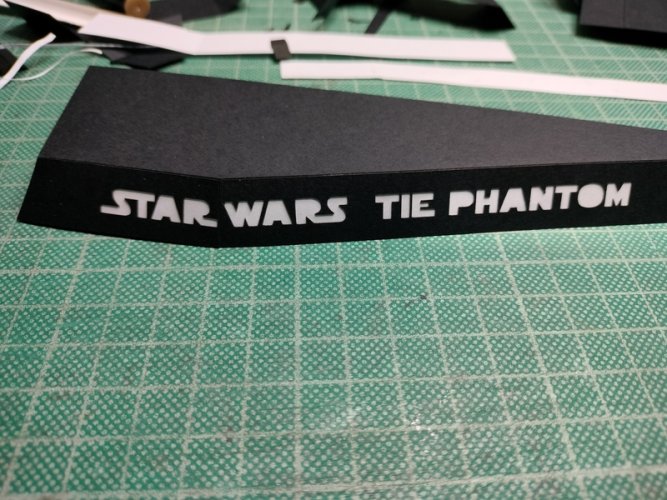
Turned around and back glued with normal 80gr copy paper it looks like this.
Here i also used small strips of the same paper as glue tabs to cover the gaps so no light can escape.

Image45.jpg

Image43.jpg

Now for the Light. I thought because of the length of the title single leds would not evenly spread the light, so why not try Filaments. They come in different lengths, colors and voltages so I ordered some LED Filament from amazon.
This is the first time i use Filaments for my models, (Well, there is a first time for everything) and i must say, they are not so easy to handle but they look much better for this situation then LEDs would do.

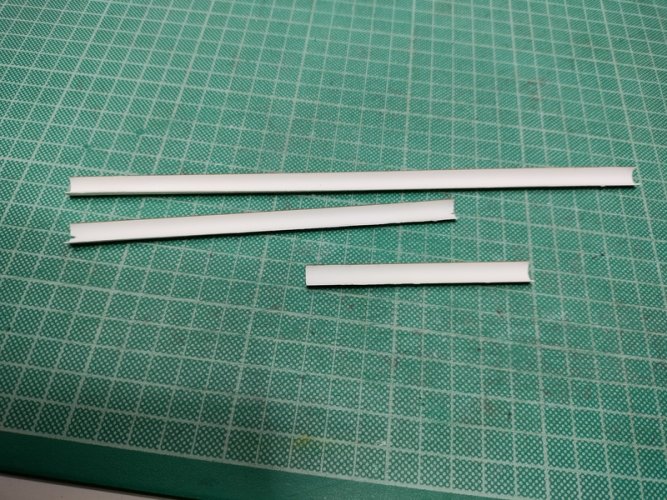
I took a paper straw and split it in half.

Image42.jpg

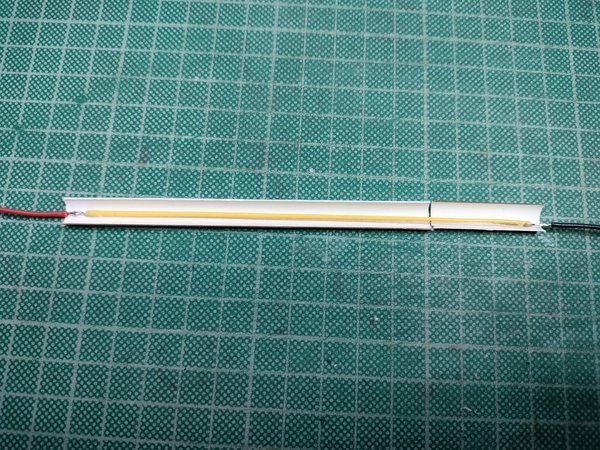
in which i glued the filament

Image39.jpg

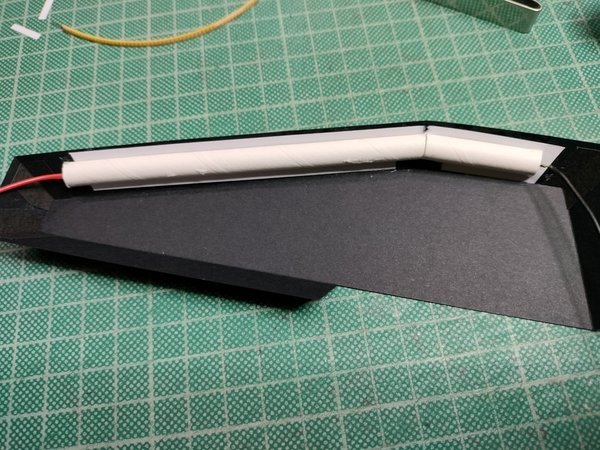
and that i glued to the back of the text.

Image38.jpg

That is it for now

Will continue soon

Thank you
 
Hello all,


Thank you Sir, I'm happy that you liked it.

Here i have some shots with the ship on the base.

View attachment 228417

View attachment 228418

View attachment 228419

View attachment 228420

View attachment 228421

View attachment 228422

View attachment 228423

View attachment 228424

I hope you like it.

But....

I will actually not use this base. As i mentioned before, this was just to test all pieces and how the two fonts look.

While i was building this one, i got the crazy idea of using LED's on the base, so i started a second on parallel to this one :biggrin: .

This Parts i had the laser cut out. I have neither the patience nor the ability to cut out that small Letters in such a quality.

View attachment 228425

Turned around and back glued with normal 80gr copy paper it looks like this.
Here i also used small strips of the same paper as glue tabs to cover the gaps so no light can escape.

View attachment 228426

View attachment 228427

Now for the Light. I thought because of the length of the title single leds would not evenly spread the light, so why not try Filaments. They come in different lengths, colors and voltages so I ordered some LED Filament from amazon.
This is the first time i use Filaments for my models, (Well, there is a first time for everything) and i must say, they are not so easy to handle but they look much better for this situation then LEDs would do.

I took a paper straw and split it in half.

View attachment 228428

in which i glued the filament

View attachment 228429

and that i glued to the back of the text.

View attachment 228430

That is it for now

Will continue soon

Thank you
This is going to look REALLY good when you are done! Looking forward to seeing the end product.
 
Hello again,

thank you all for your kind comments, they are much appreciated.

Let's continue.

After that side was done, i build the other side exactly the same way (just mirrored ;) )
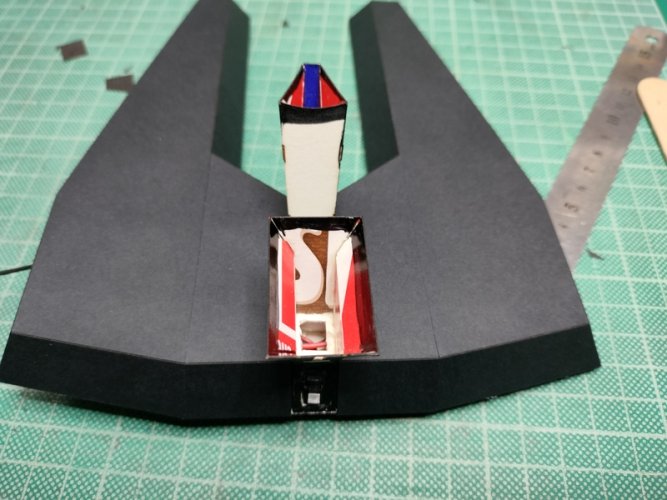
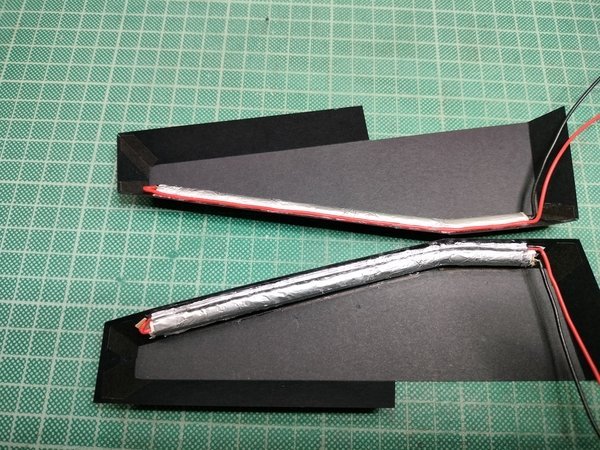
Of course i had to test it. It shined nicely through the 80 gr paper, but it also shined through the white paper straws i used.
So i had to block the lite. At first i thought i would just take a black marker and paint everything but then i changed my mind.
Black absorbs light. Why absorb it if i can throw it back to the front ?

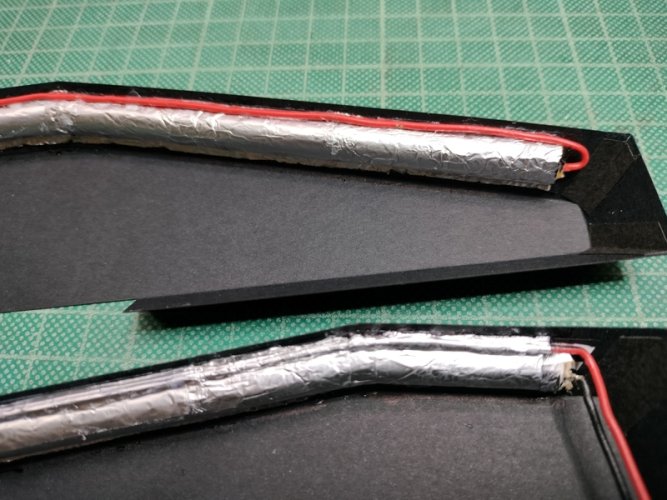
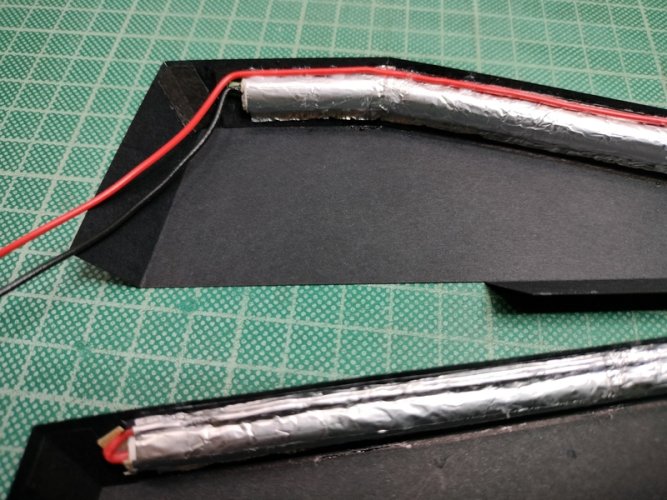
Simple kitchen Aluminum Foil could do so i covered the tubes completely with it . Here is how it looks.

Image32.jpg

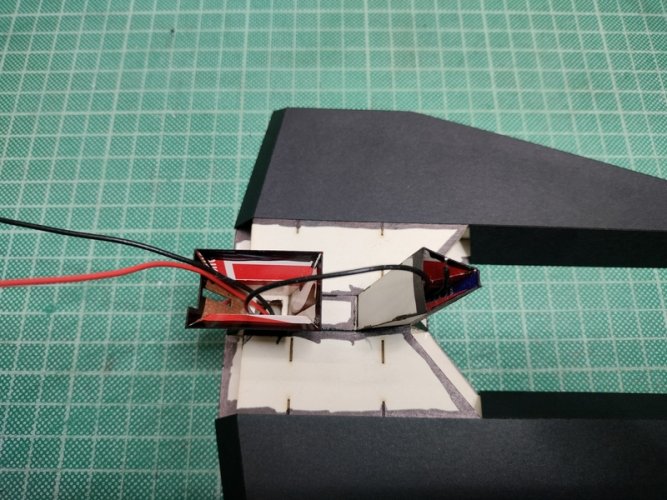
While i was doing that, i also routed the cables to one side

Image29.jpg

Image28.jpg

Ready for the next steps.

Image33.jpg

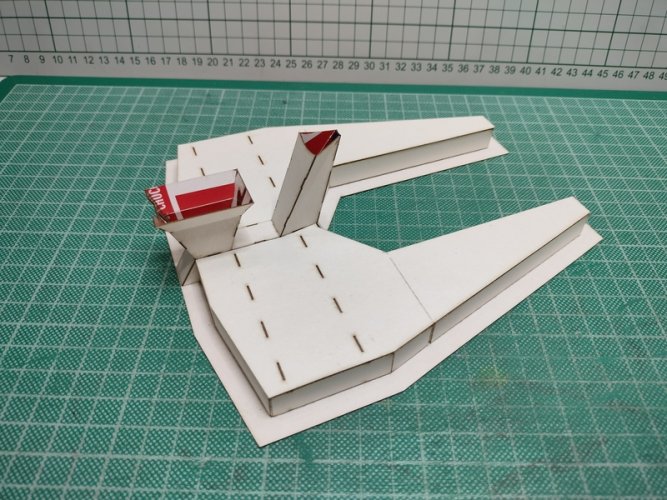
These two need a core base now. I used the first base i built for testing, remember this one ?

Image192.jpg

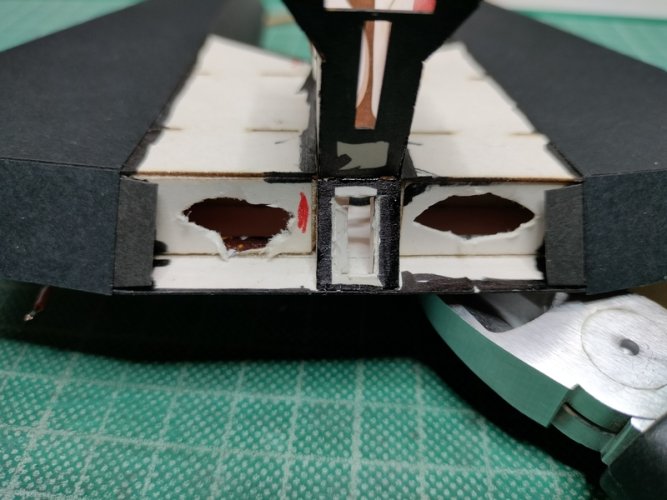
I had to add some holes so i could fiddle the cables through the base.

Image37.jpg

Image36.jpg

Image34.jpg

These i had to make bigger because the straw at this point was a little too big and did not allow to close nicely with the bottom base. That cuts gave a little more space.

Image35.jpg

The time had come to glue them on. First i installed the cable and pulled the part as near as possible to the base leaving enough space to apply some glue.
I don't have pictures of that steps, sorry.
I applied glue only on the top surface and positioned the part. Later when it was set i glued every side surface 1 by one to the bottom base and to its neighbor.
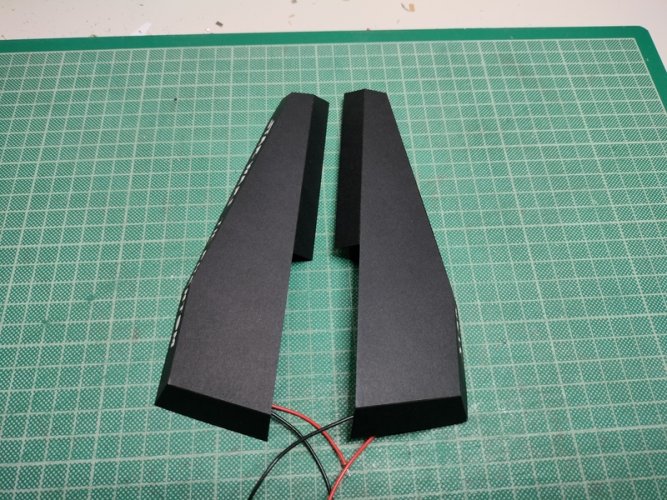
And this is how it looks now.

Image24.jpg

Image23.jpg

Image22.jpg

That's it.

I will continue soon.

Thank you
 
Hello again,

I had some progress with the base.

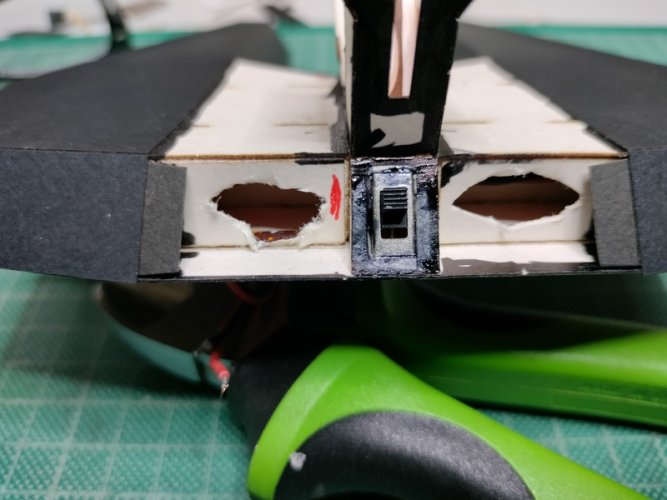
Here i have cut out the hole to receive the switch.

Image20.jpg

and here the switch is installed.

Image18.jpg

then i continued with the "skin parts"

Image16.jpg

Image14.jpg

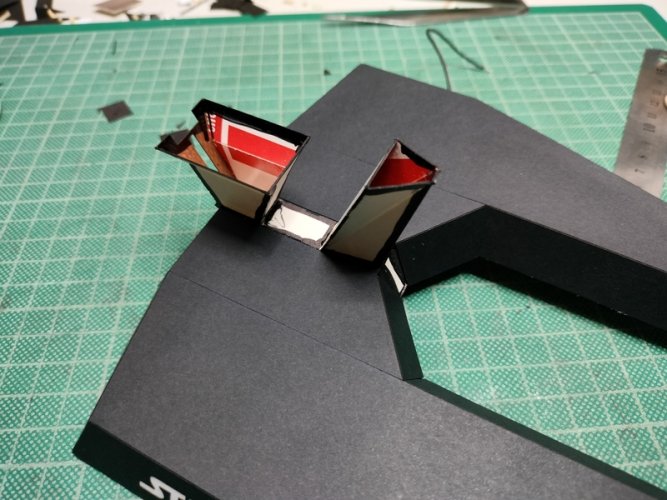
Next where the sides of the "funnel"

Image10.jpg

Image09.jpg

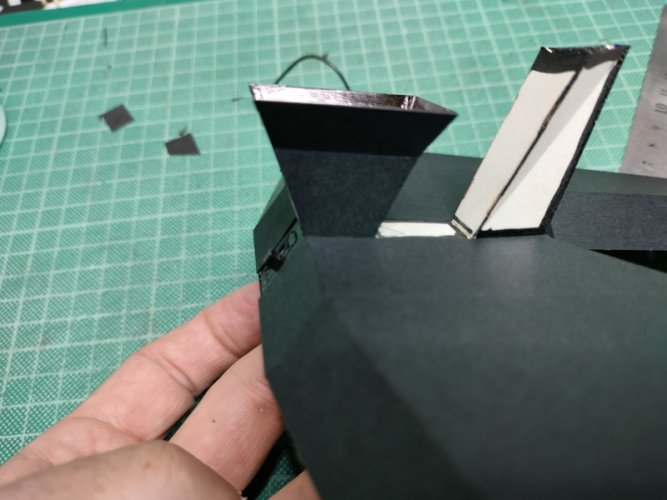
followed by the back and the front piece of the funnel
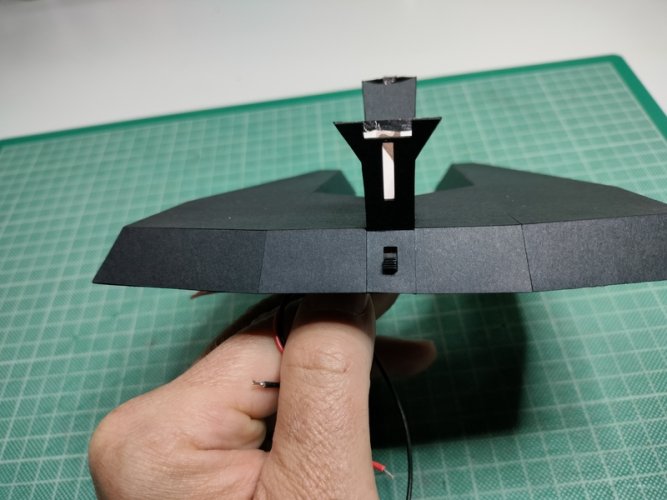
the back i had to make three times until i got the channel for the switch right.

Image08.jpg

Then came the last two pieces of the skin.

Image06.jpg

Done.

Here is a little comparison between the hand cut and the laser cut base.

Image05b.jpg

I hope you liked it so far.

Almost there. there are only two more things to do.

1 - I'm waiting for a small Batteries holder to be delivered which would fit under the base.
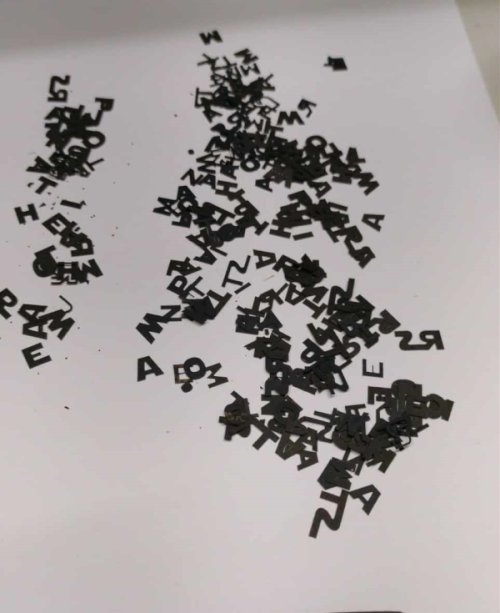
2 - The Letters are not yet finished. Have i mentioned that i also love puzzles ? :biggrin:

Letters.jpg

Will be back soon.

Thank you
 
Hello again,

Thank you Rhaven Blaack.

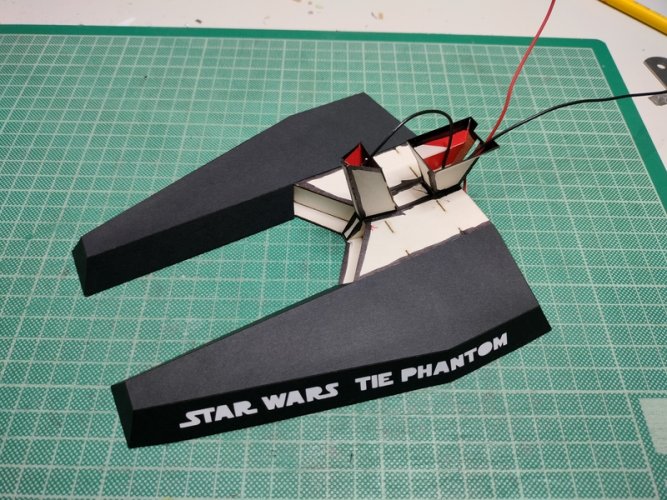
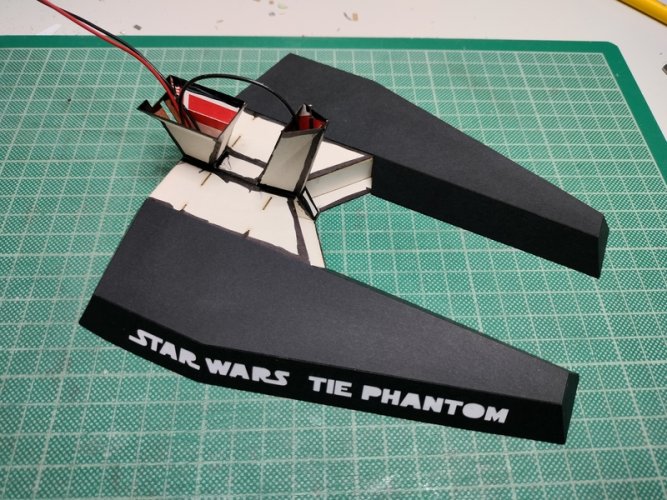
i played with my puzzle and finished the Letters.

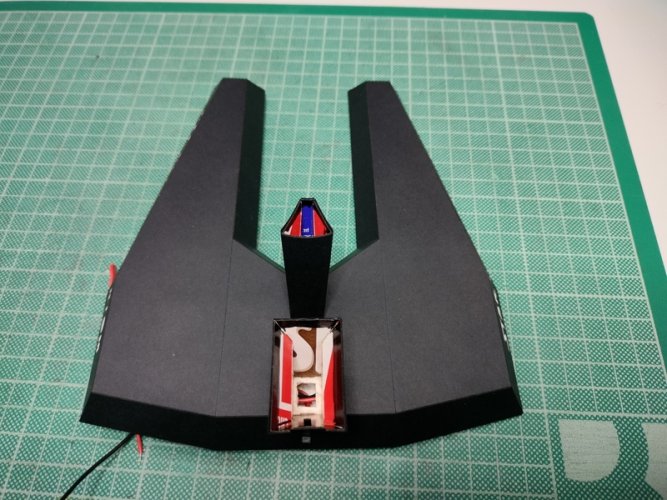
Here is the base before

Image04b.jpg

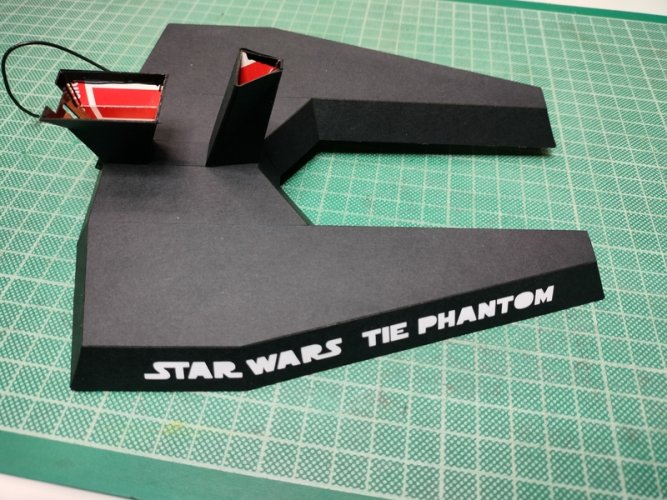
and the other side

Image05b.jpg

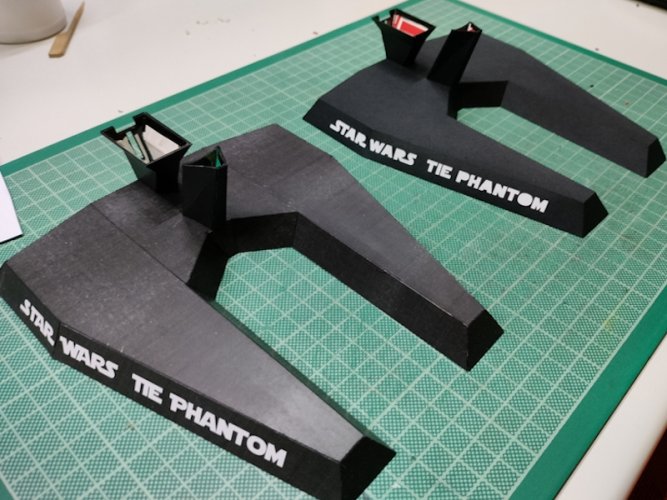
and now with inserted letters

IMG20251026203746.jpg

and the other side

IMG20251026203756.jpg

Basically the base is done, just waiting for the batteries box to finish the electronics and finally put the model on display.

Thank you
 
All those letters! The picture doesn't do it justice.. What an excellent stand. ;)
 
  • Like
Reactions: micahrogers