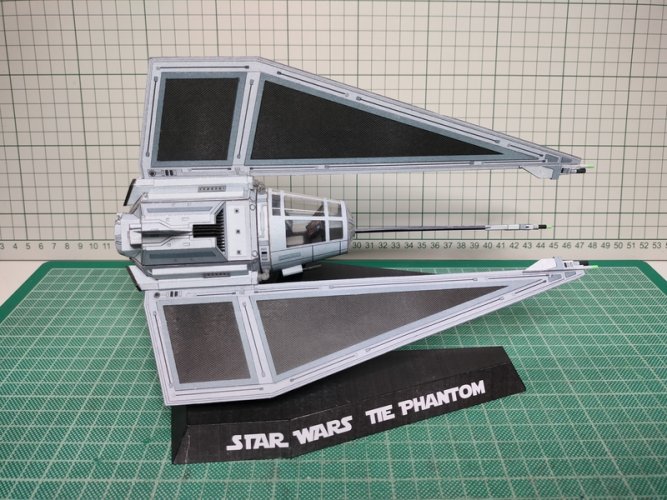
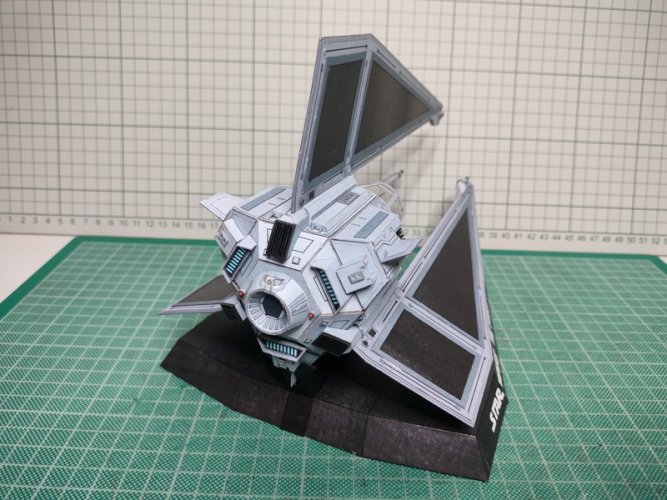
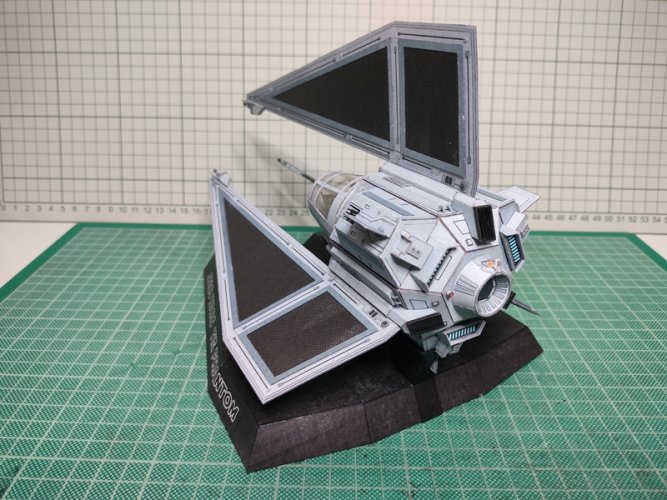
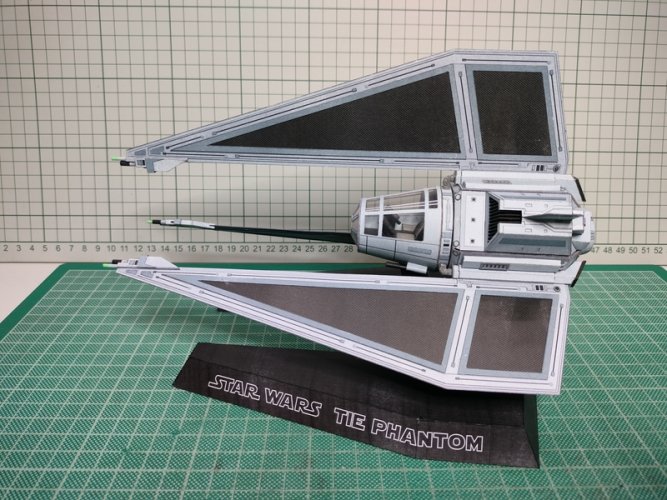
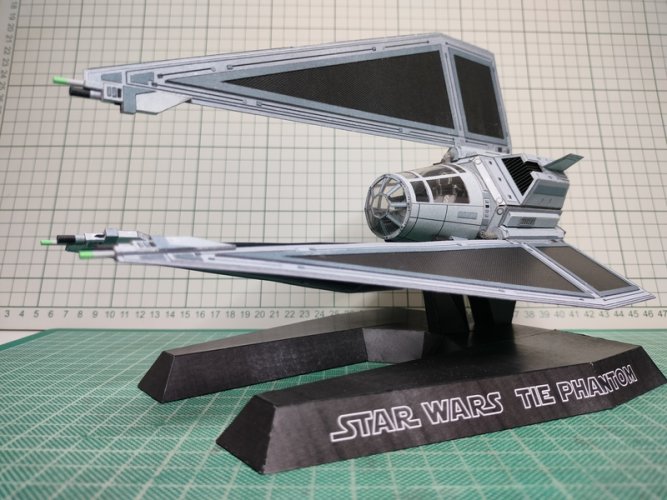
Hello all,
thank you all for your kind words.
Hello Zathros,
Yes, i love to use cereal boxes for these structures. That material is easy to work with, strong if bent correctly and (almost ) for free.
Although I'm not speaking french,
Merci beaucoup.
Let us continue with the base.
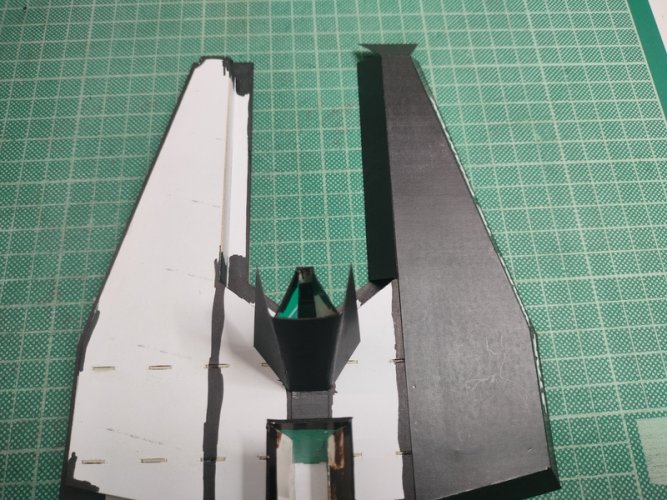
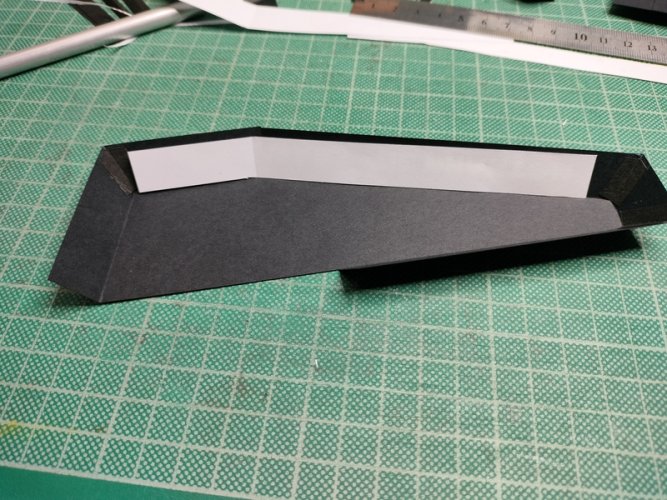
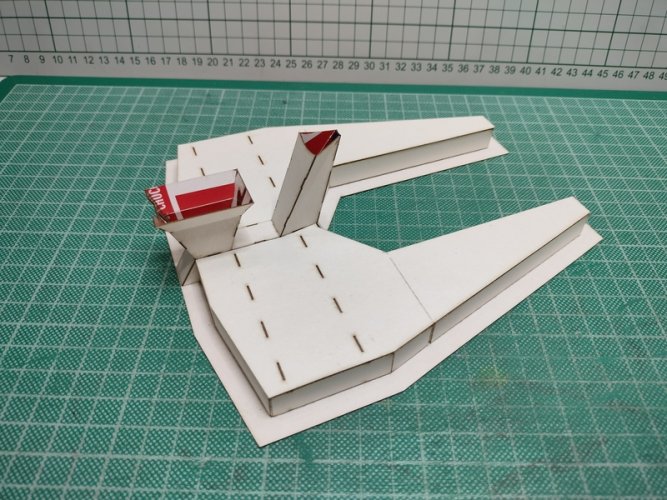
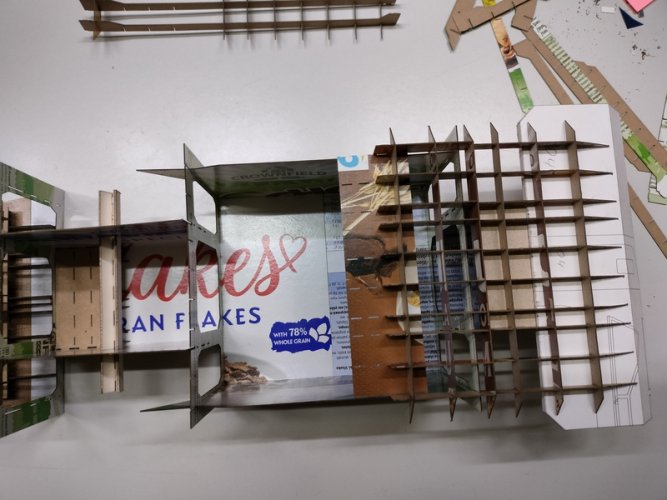
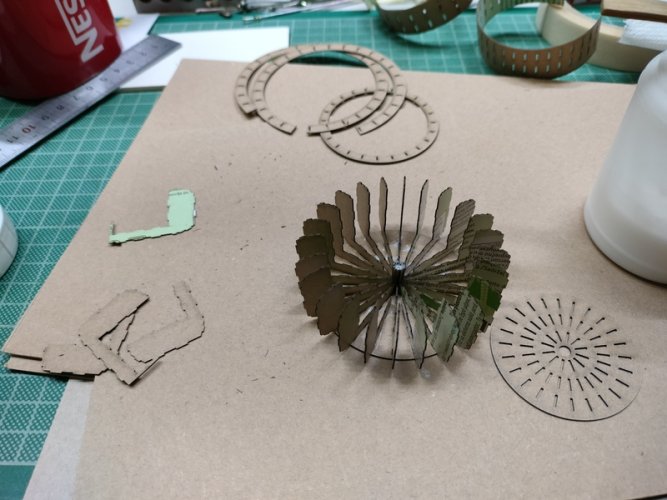
These are the next parts just laid out.
This step is important.
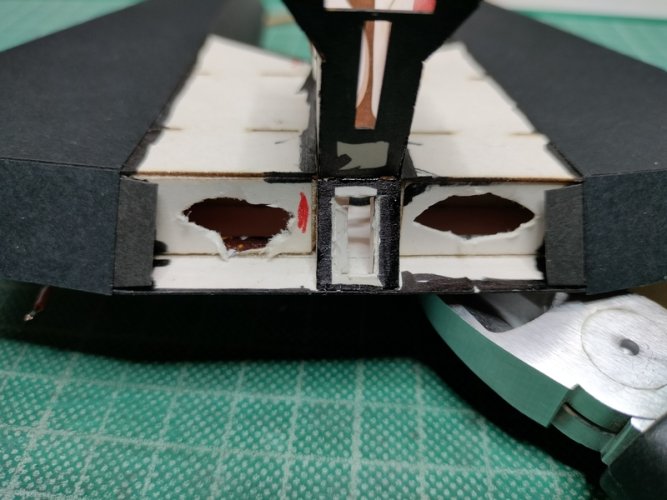
Compare the height of the already glued in long Strips with the height these parts give you when pressed down into "glue position".
If there is a big difference you still can correct it by scoring a bit higher or lower and bend the parts at the desired position.
They are inside, no one will see theme anyway but they are needed to keep a even surface.
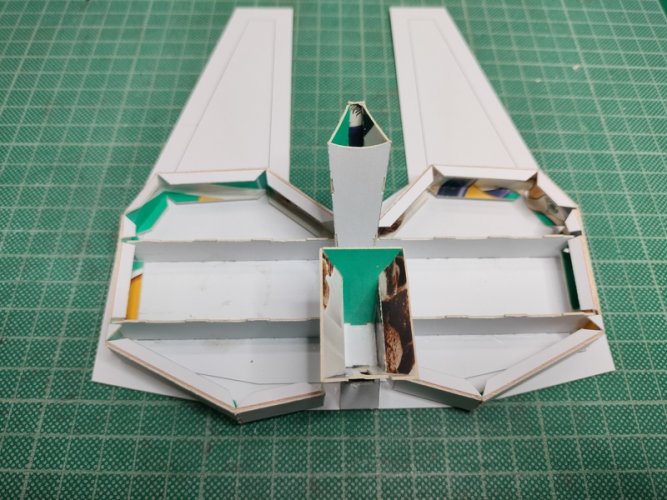
Same goes for the other two Parts.
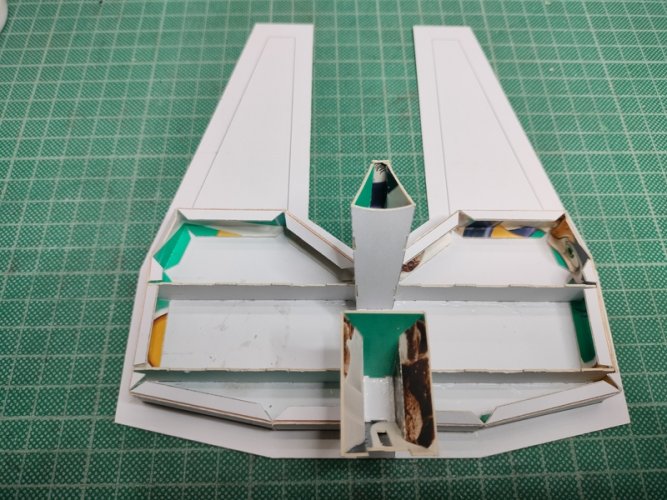
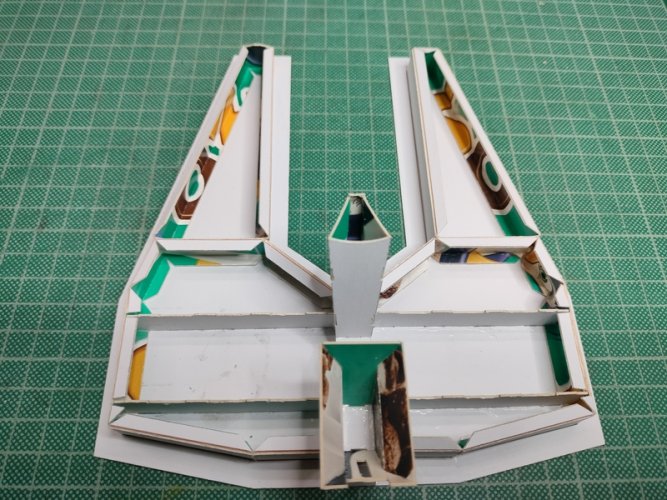
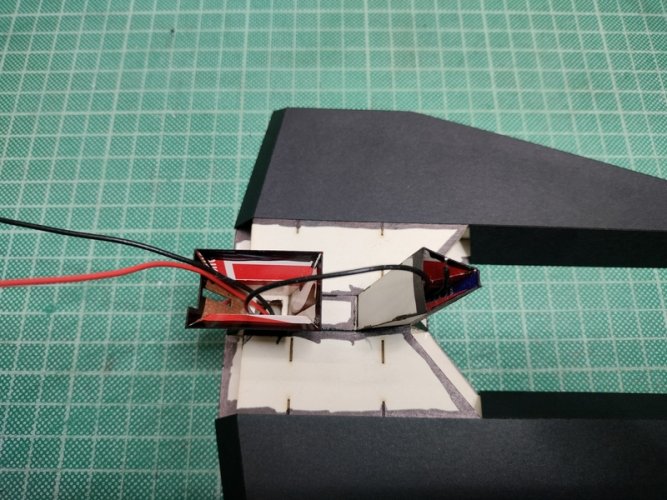
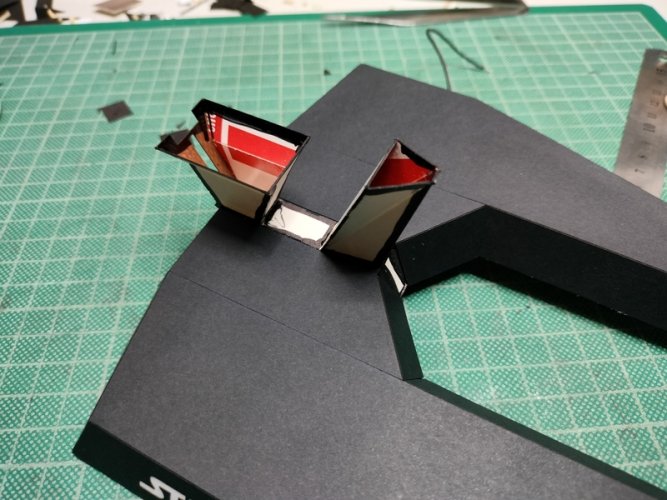
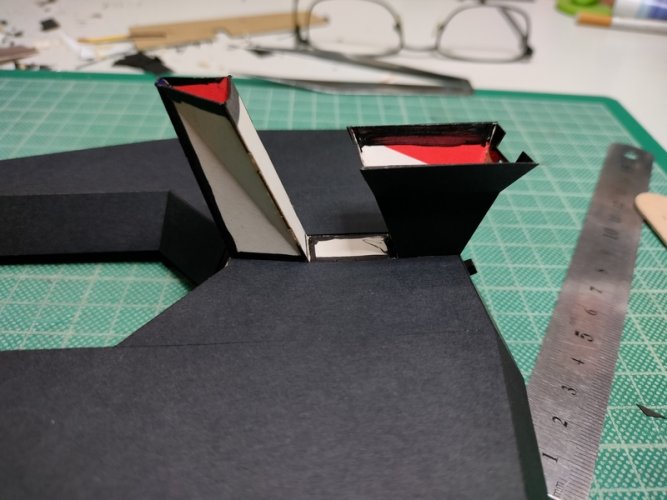
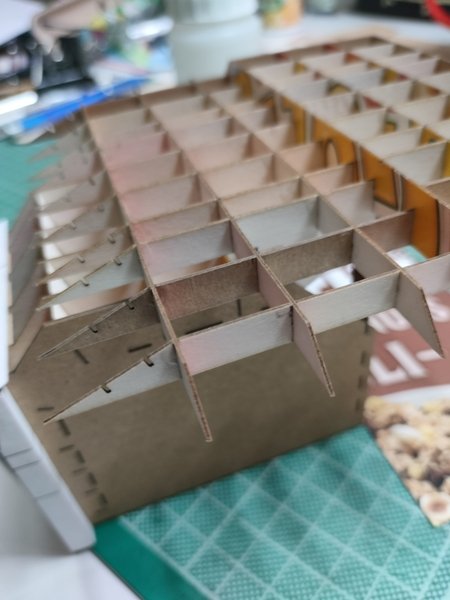
So far so good, ready to close the base.
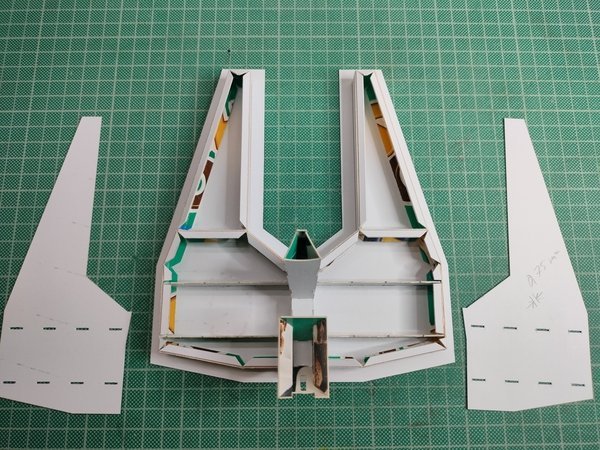
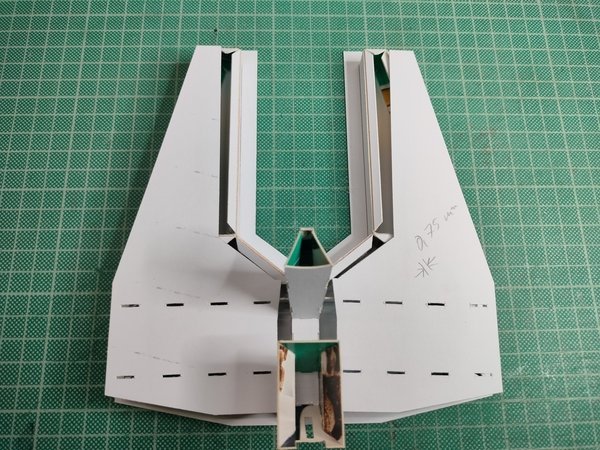
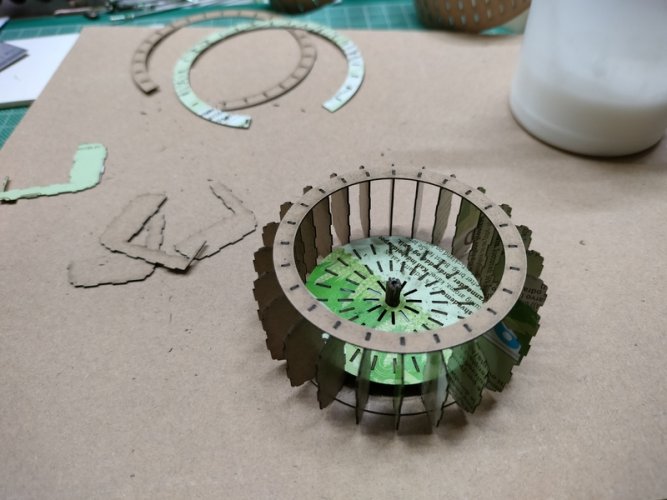
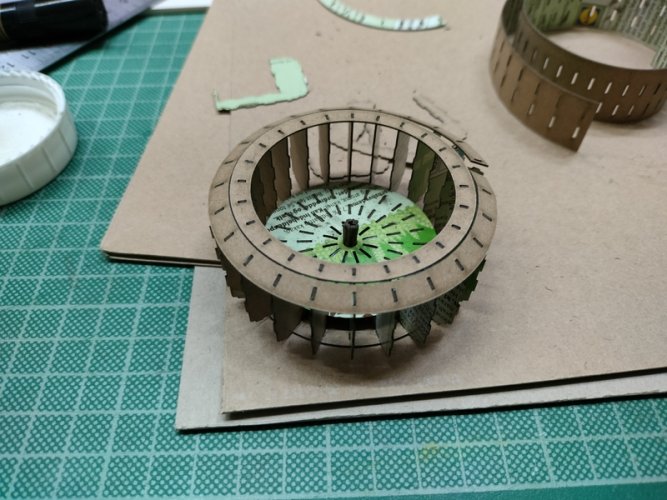
I dry fitted them both to make sure all slits fit nicely and then i finally glued them on.
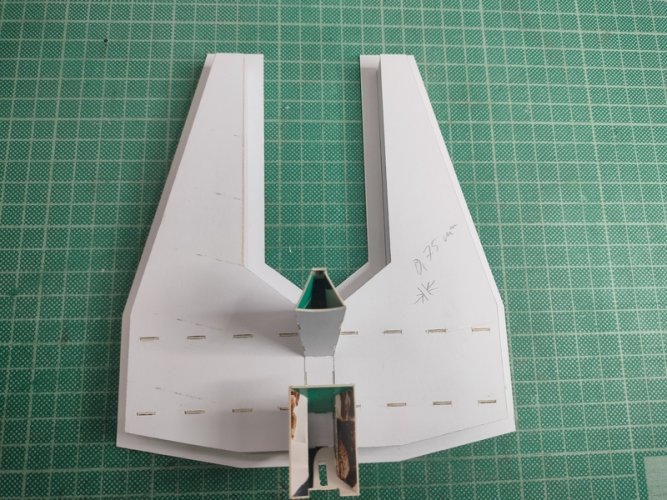
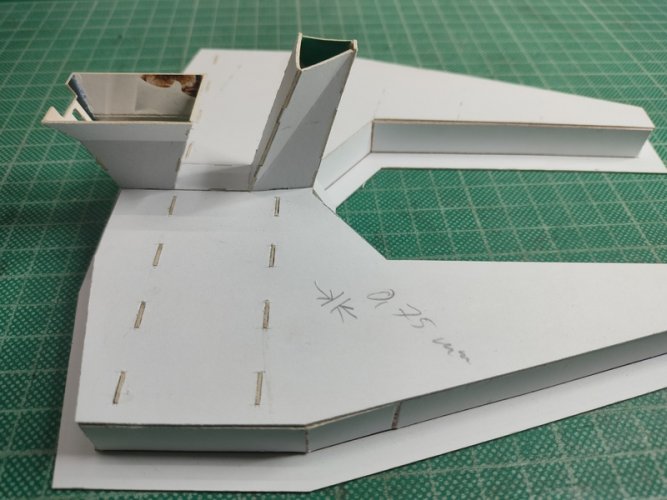
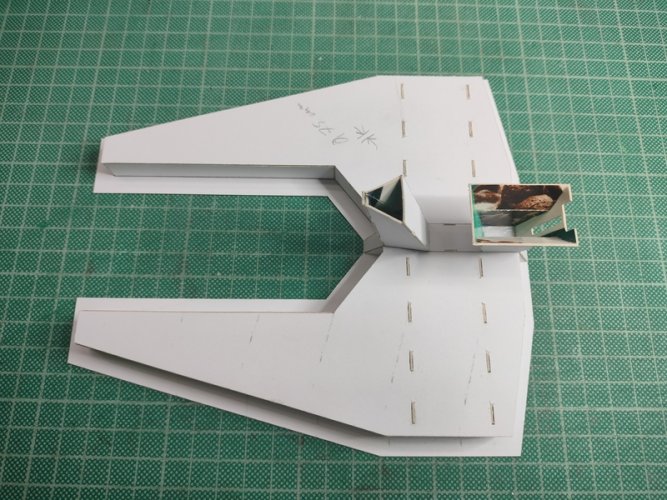
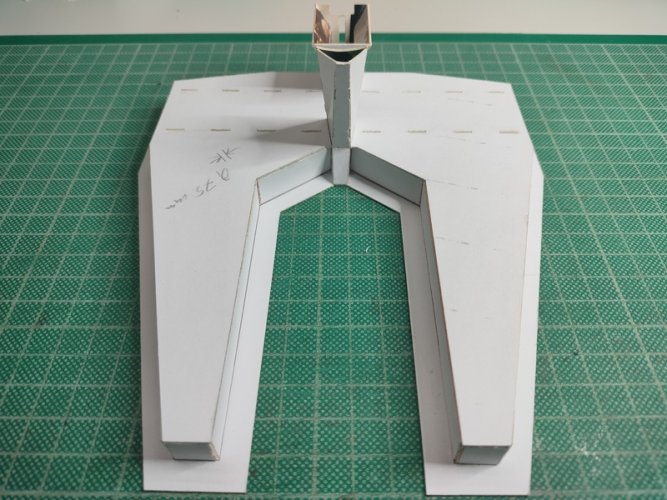
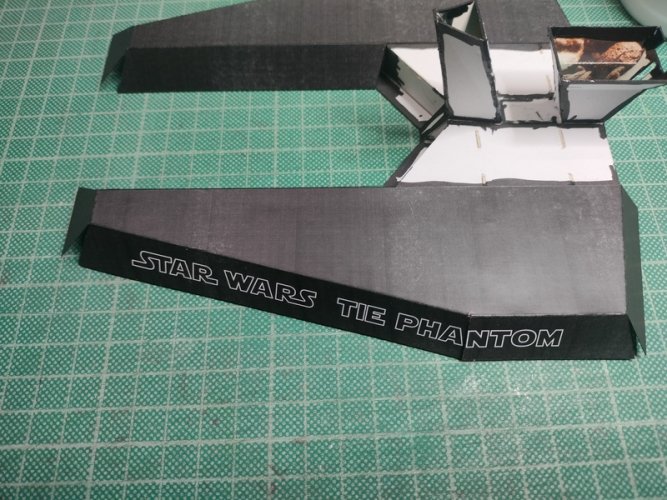
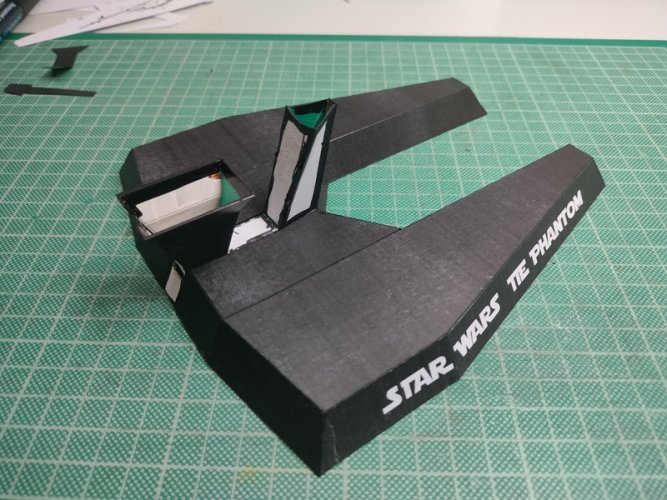
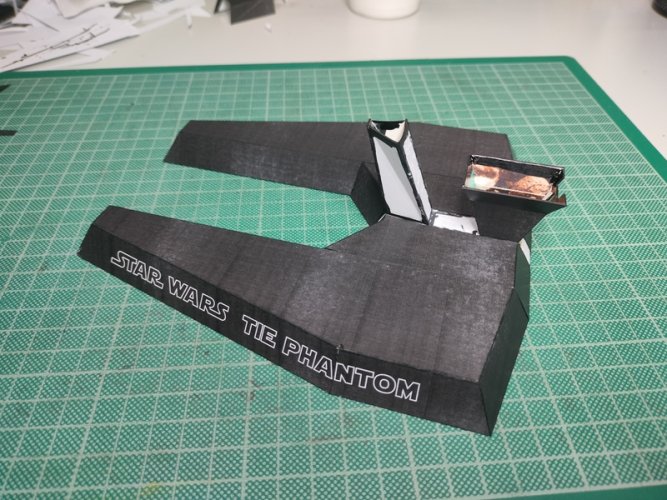
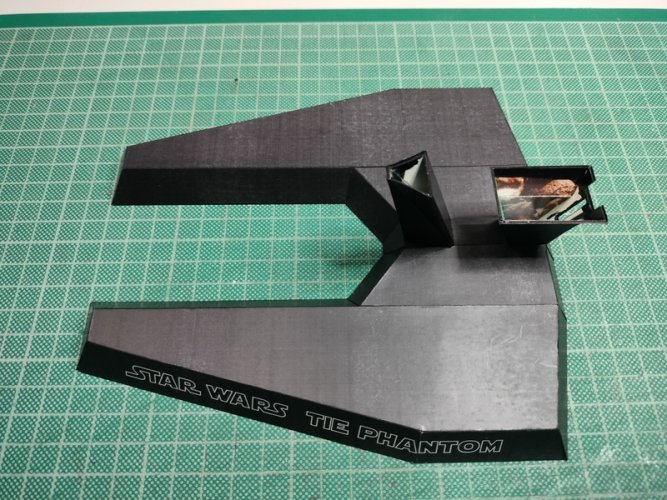
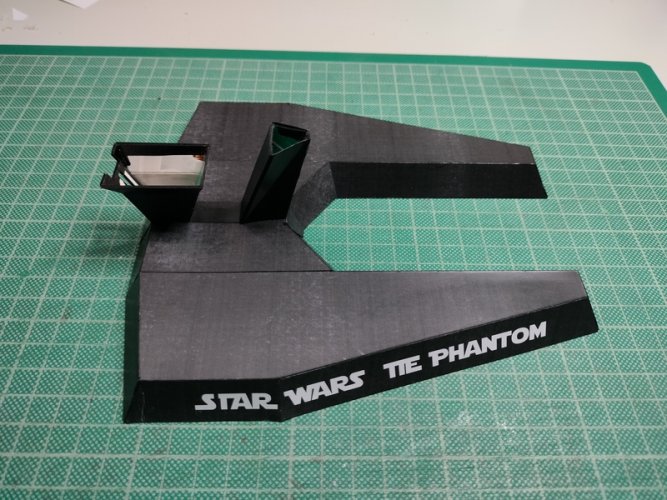
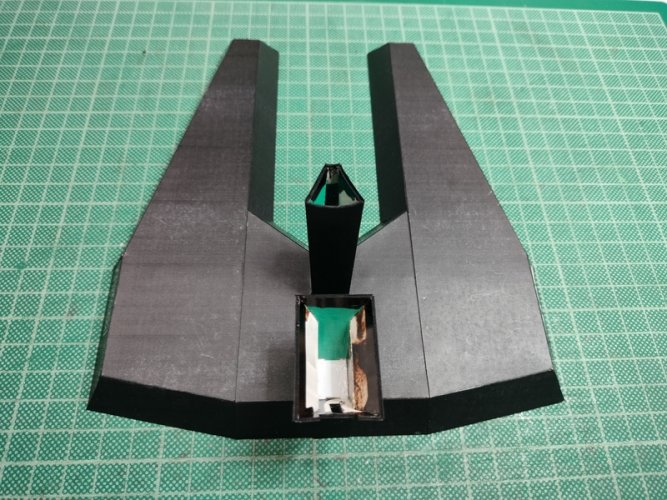
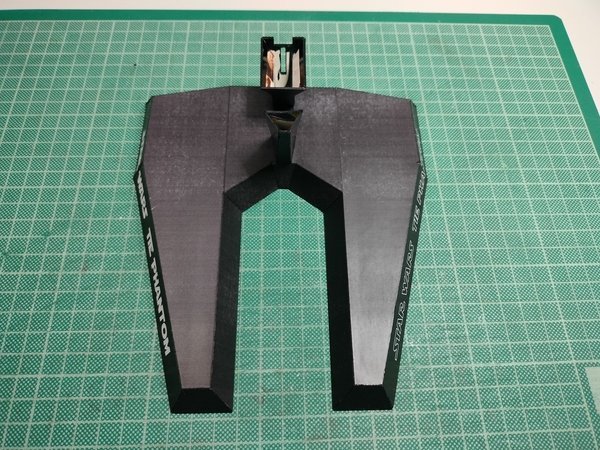
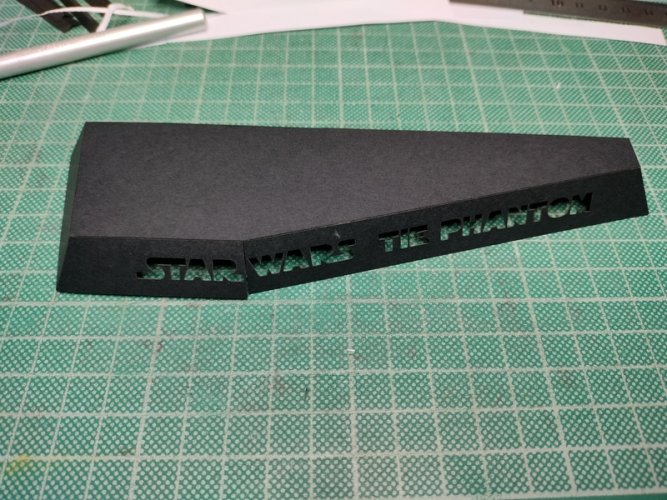
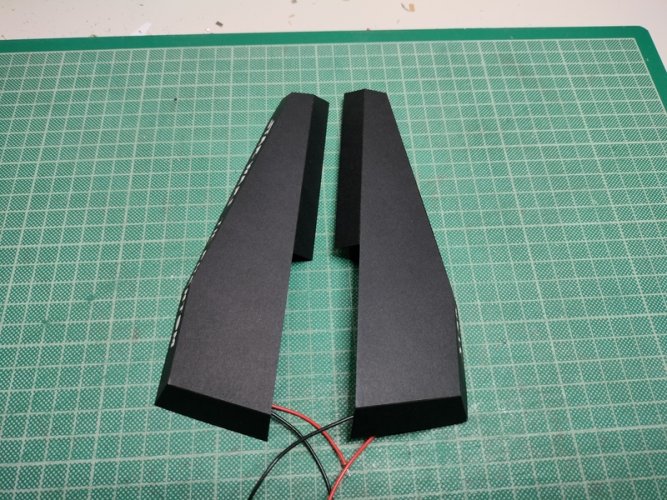
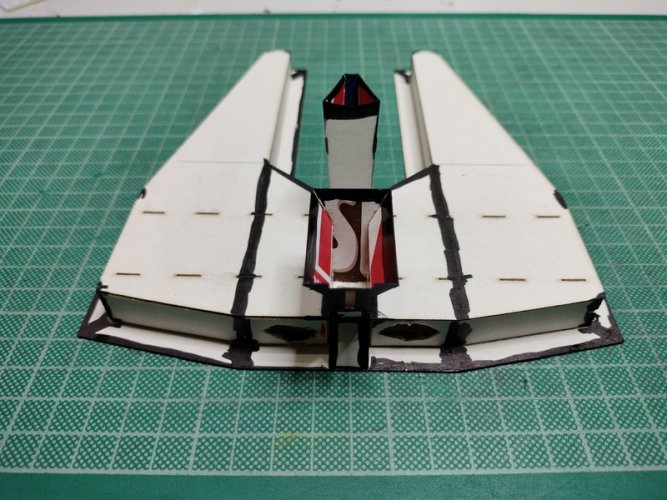
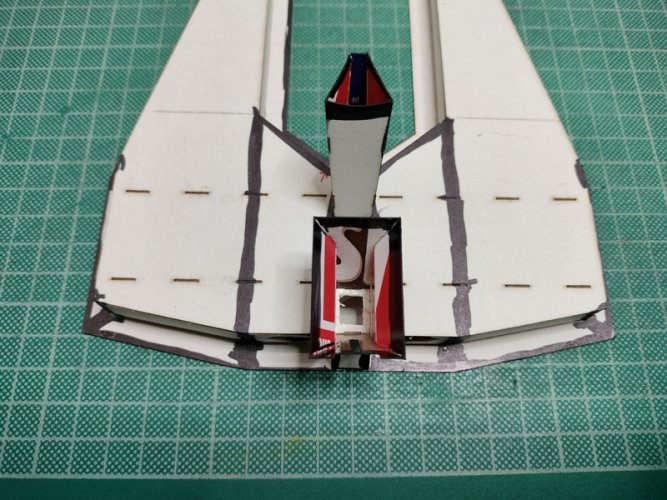
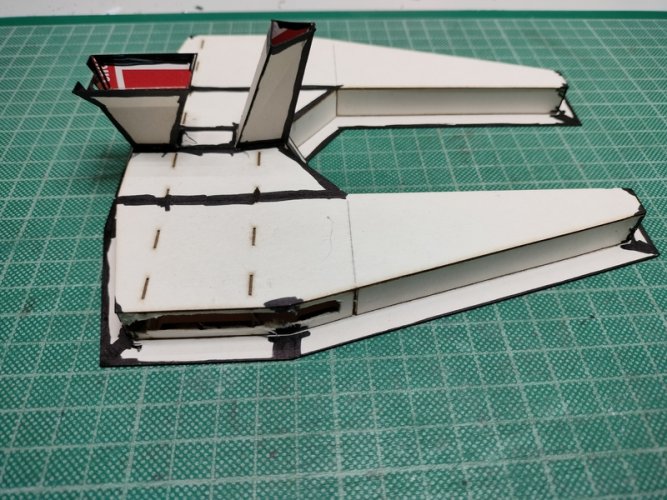
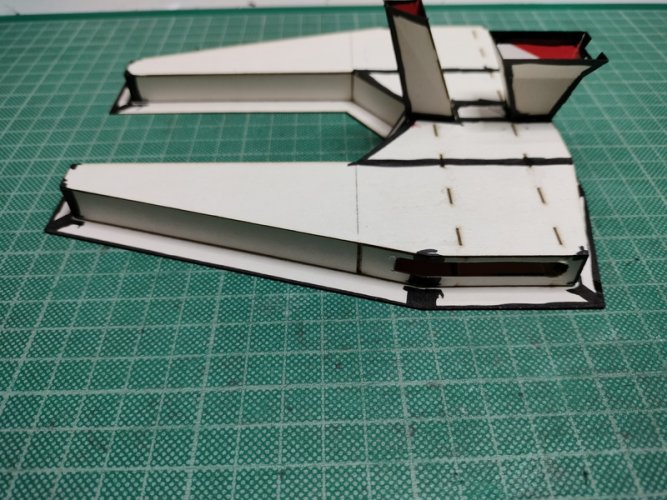
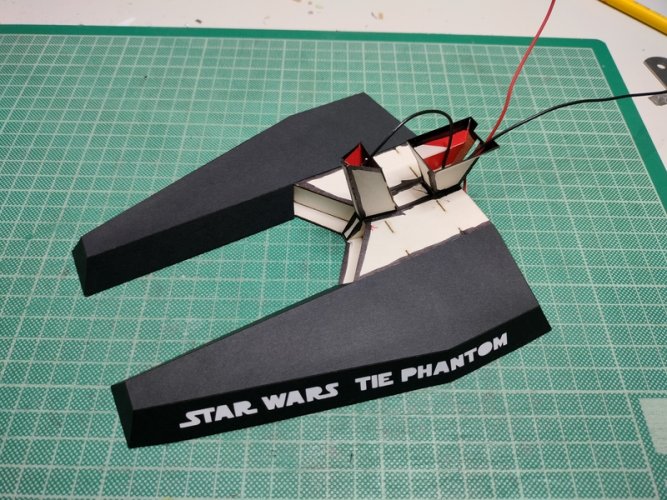
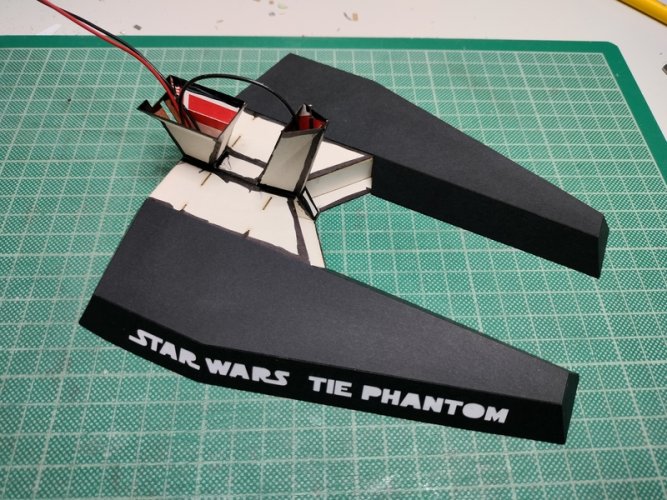
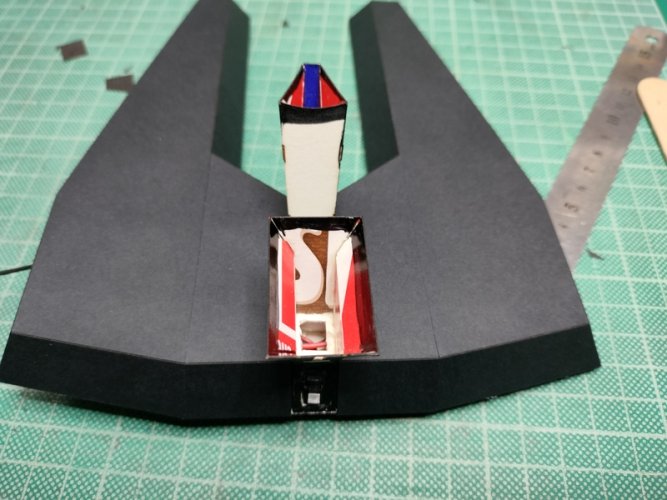
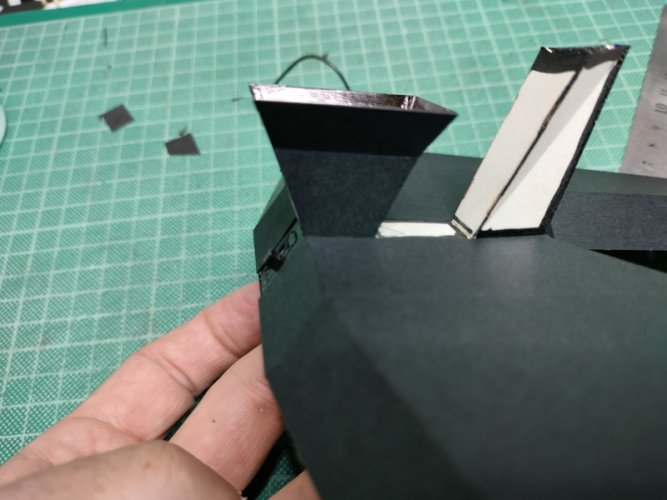
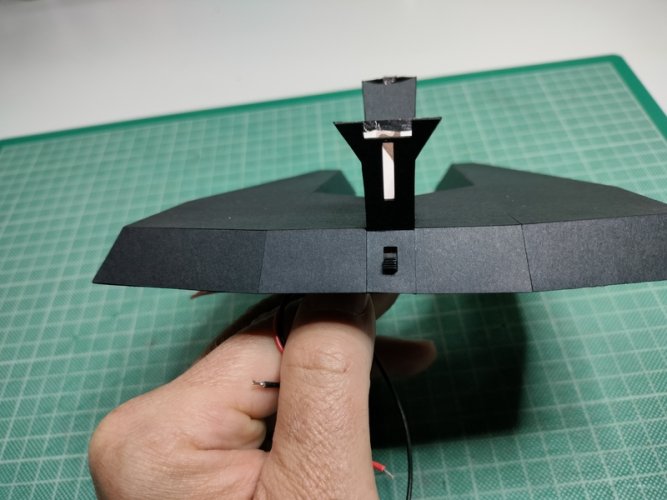
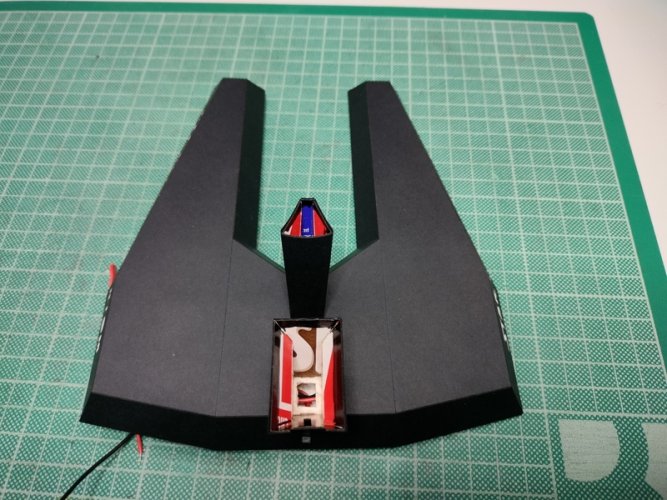
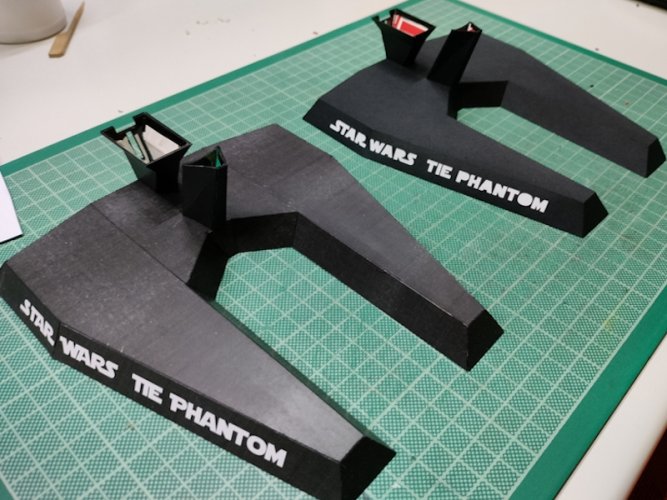
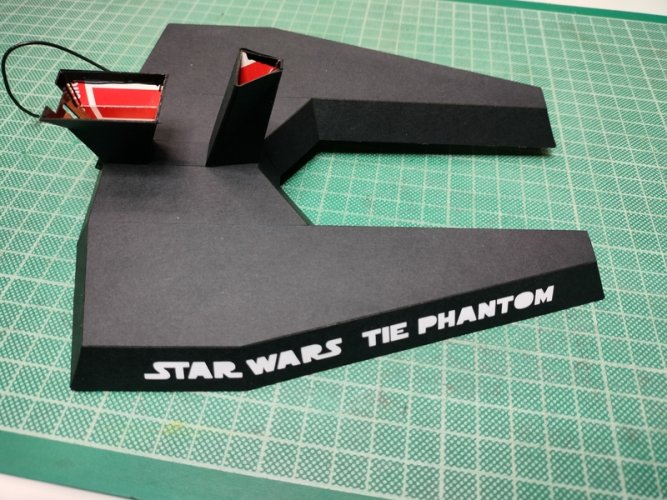
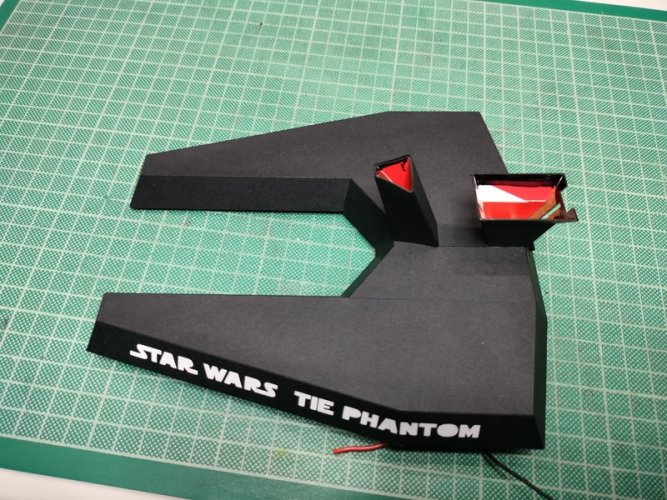
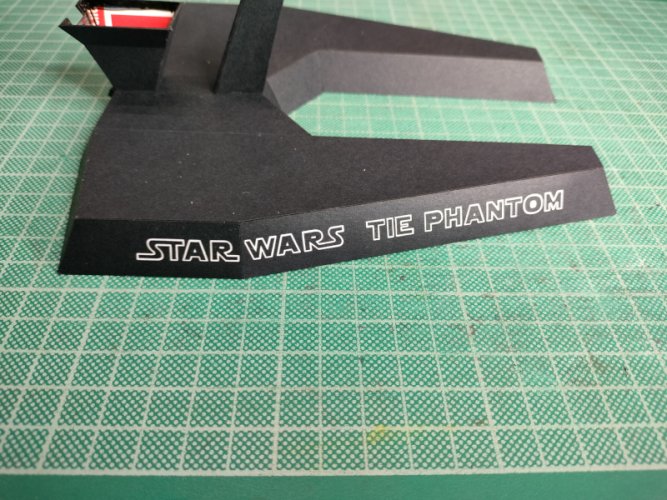
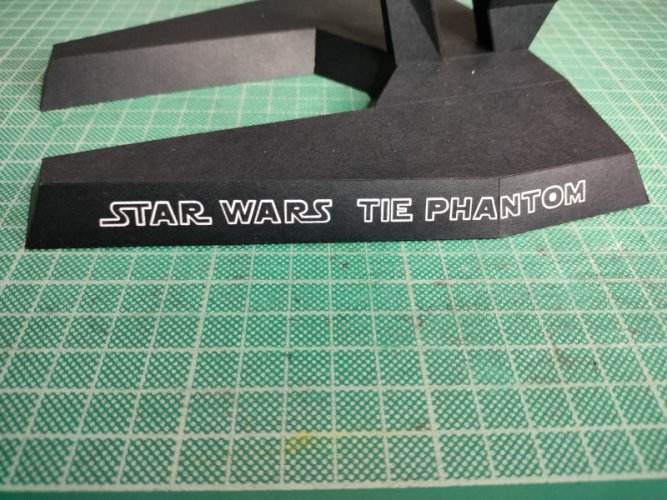
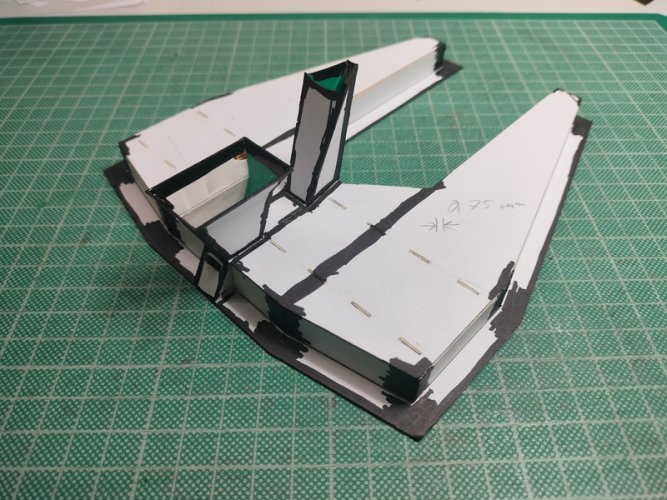
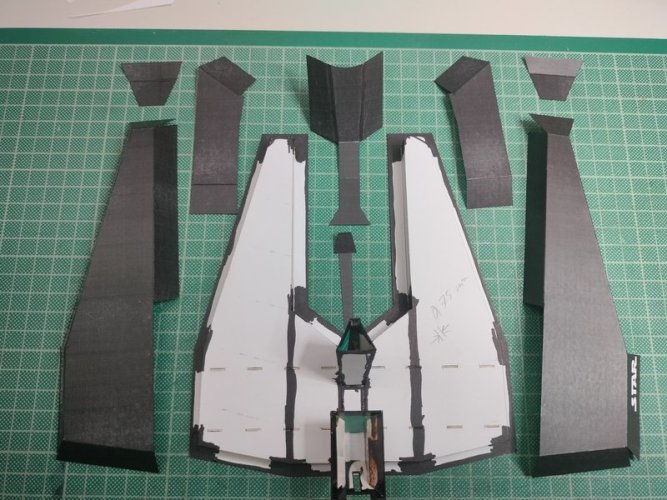
Well, that's it for the base, here comes the " skin "
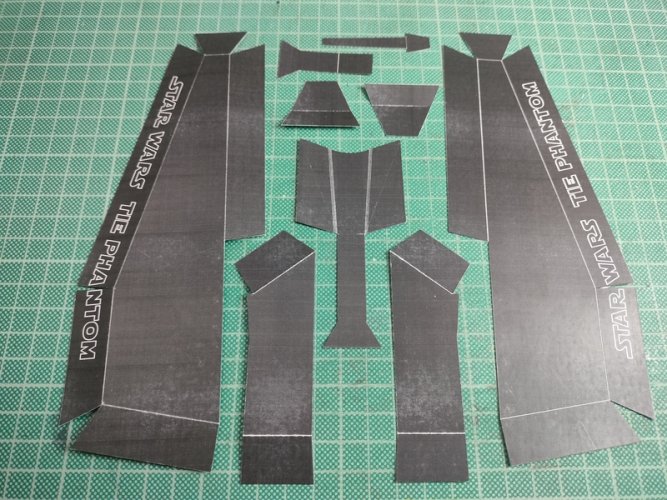
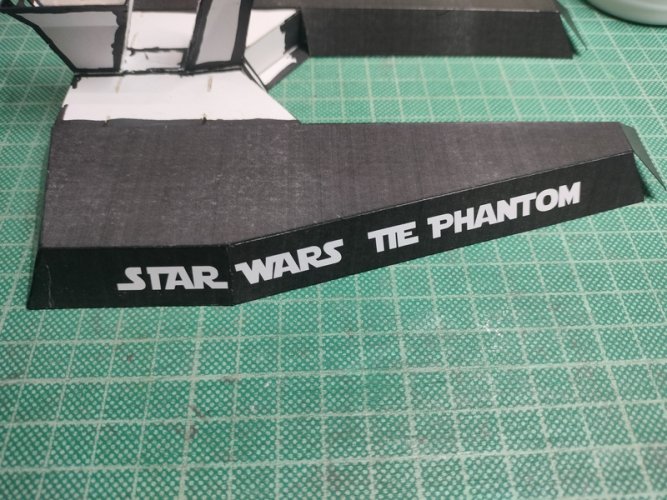
Don't worry, this is just to test if everything is fitting.
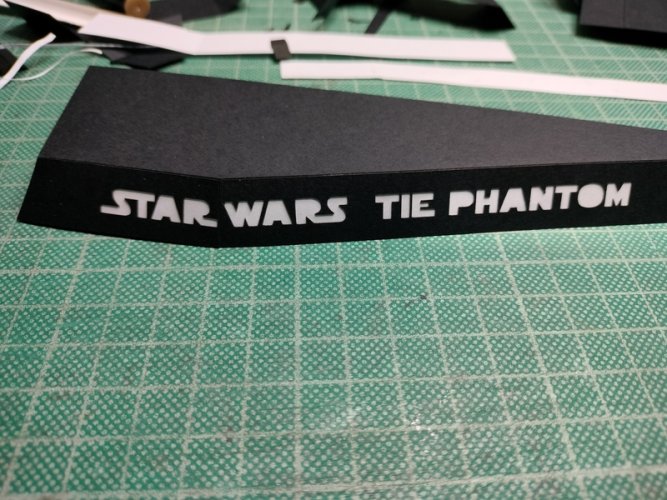
The final template will not have any white lines.
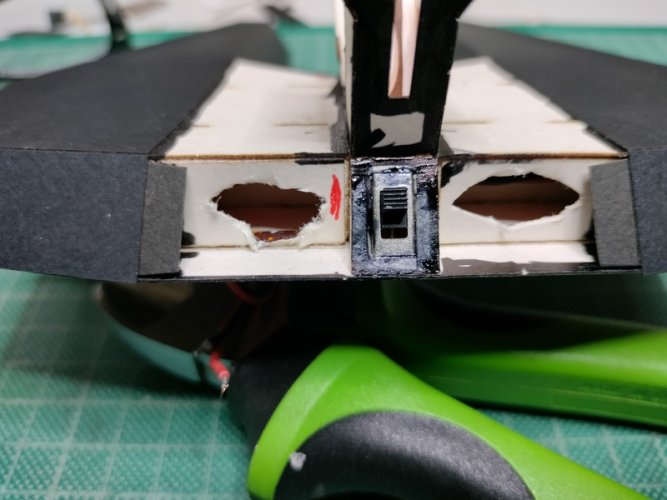
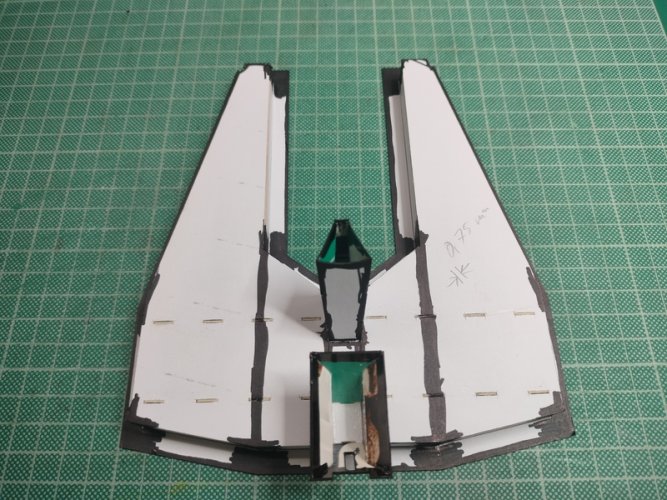
At this point i realized, that if there where some little gaps because of (the usual) "human error", the white background would shine through, so i took a black marker and tried to cover every connection. On the final template i will have this areas blacked out already.
that's it for now,
to be continued very soon.
Thank you
thank you all for your kind words.
but kudos to you for your recycling paper products.
Hello Zathros,
Yes, i love to use cereal boxes for these structures. That material is easy to work with, strong if bent correctly and (almost
Patience, .... soon.wait to get my hands on this one
Superbe réalisation, c'est de l'artisanat sur mesure.
Although I'm not speaking french,
Merci beaucoup.
Let us continue with the base.
These are the next parts just laid out.
This step is important.
Compare the height of the already glued in long Strips with the height these parts give you when pressed down into "glue position".
If there is a big difference you still can correct it by scoring a bit higher or lower and bend the parts at the desired position.
They are inside, no one will see theme anyway but they are needed to keep a even surface.

Same goes for the other two Parts.


So far so good, ready to close the base.


I dry fitted them both to make sure all slits fit nicely and then i finally glued them on.


Well, that's it for the base, here comes the " skin "

Don't worry, this is just to test if everything is fitting.
The final template will not have any white lines.
At this point i realized, that if there where some little gaps because of (the usual) "human error", the white background would shine through, so i took a black marker and tried to cover every connection. On the final template i will have this areas blacked out already.


that's it for now,
to be continued very soon.
Thank you



 )
)