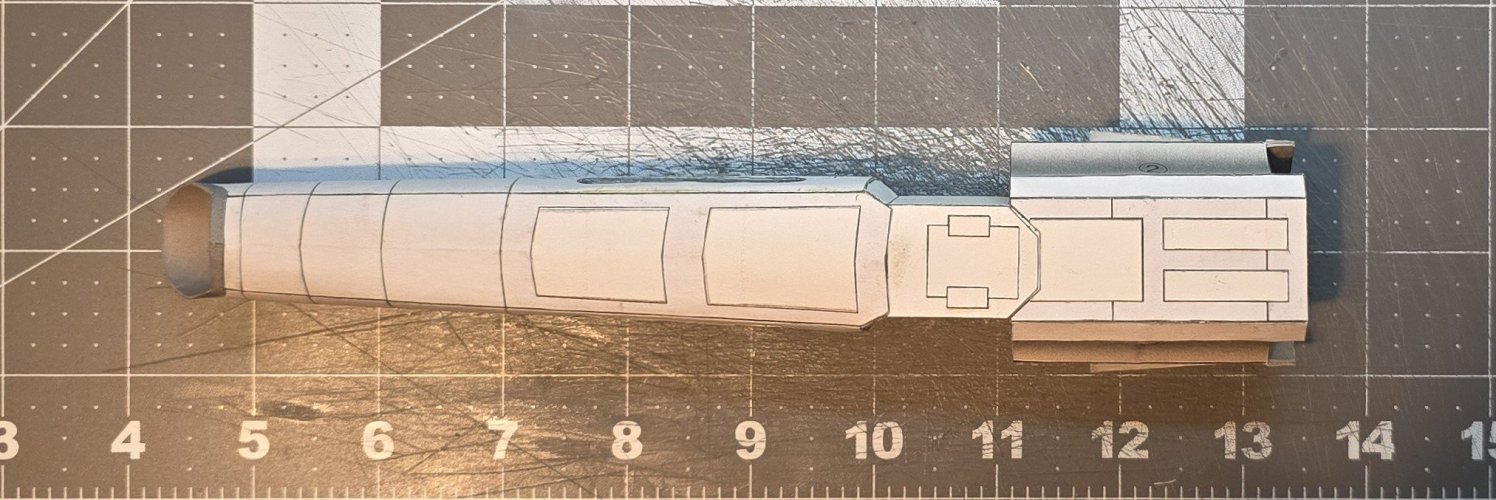
Awhile ago, I was having a conversation with someone about paper/cardstock models (and the "pros and cons" of the hobby as a whole). As the conversation progressed, the person asked me it it was possible to add (regular) decals to a paper model, without changing and/or treating the template (i.e. if one comes across a model that is missing markings or the builder wishes to add additional markings to the (existed) model)? I responded that it is indeed possible. The technique to do so is rather simple.
1) Download (or scan) the decals that you want (need) for the project in question.
2) Resize the decals to the scale needed for the project.
3) Print the decals on either printer paper or tracing paper (it is preferred to print the decals on high quality tracing paper).
4) Cut out the decals and glue them in place.
5) Use a clear coat spray paint to "seal" the model (if desired).
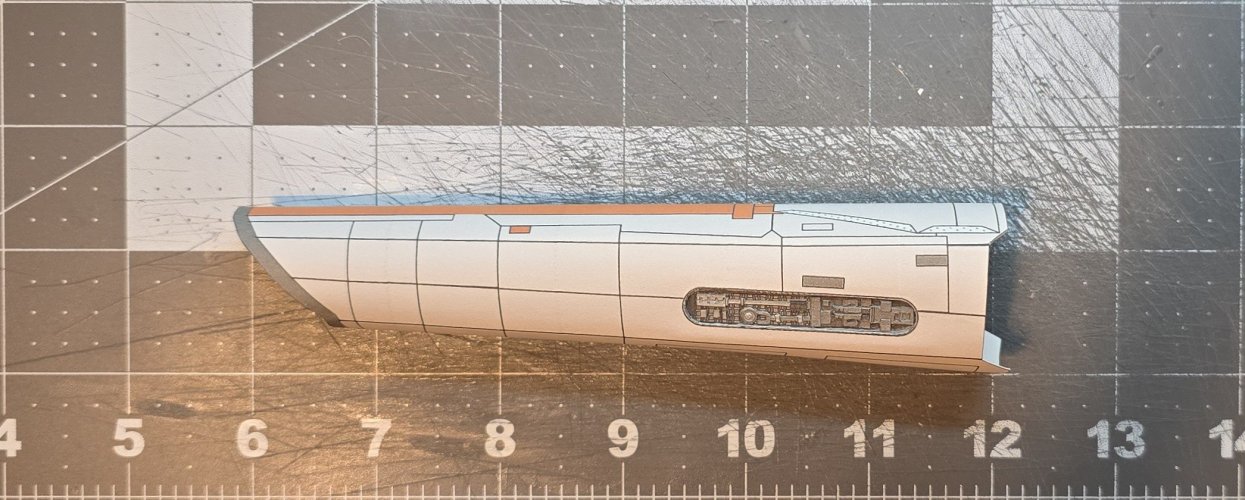
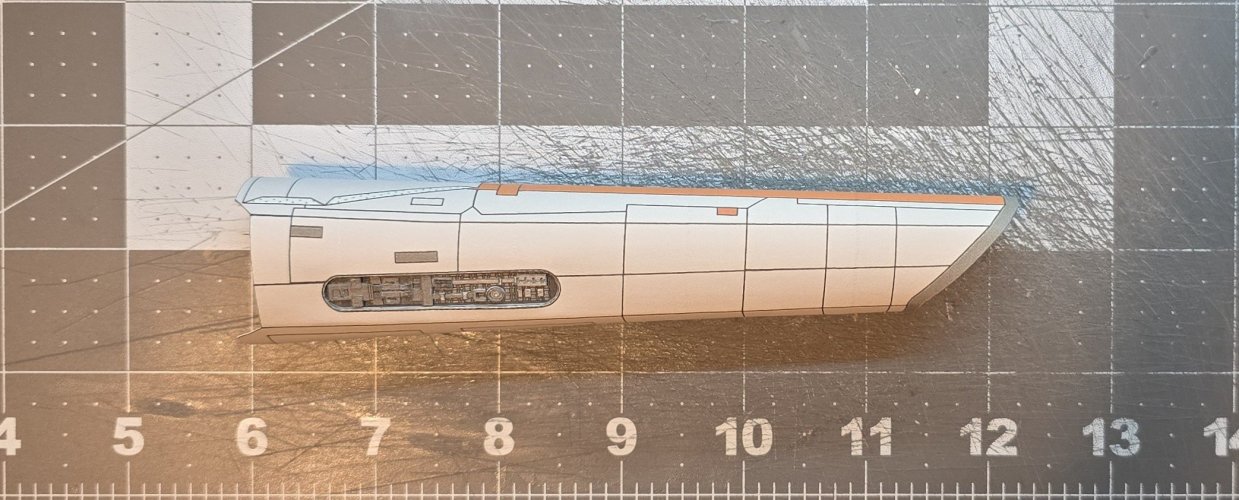
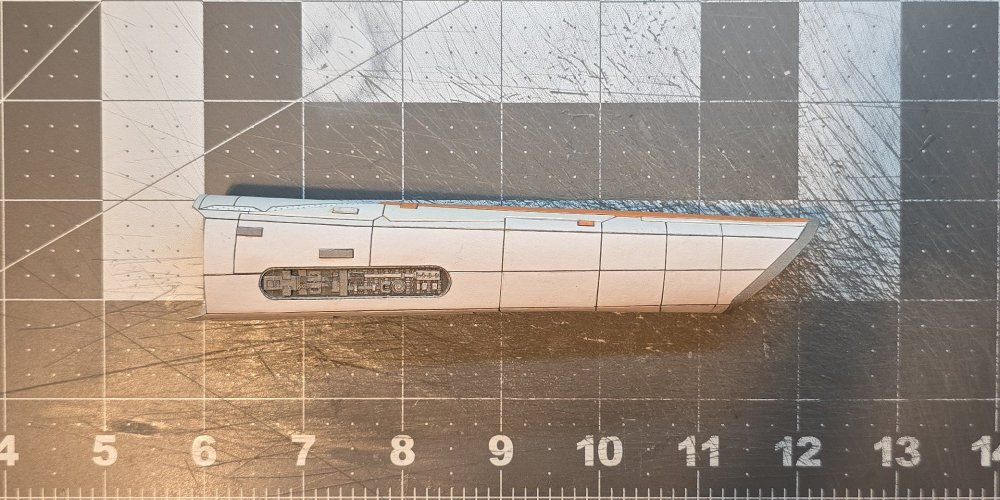
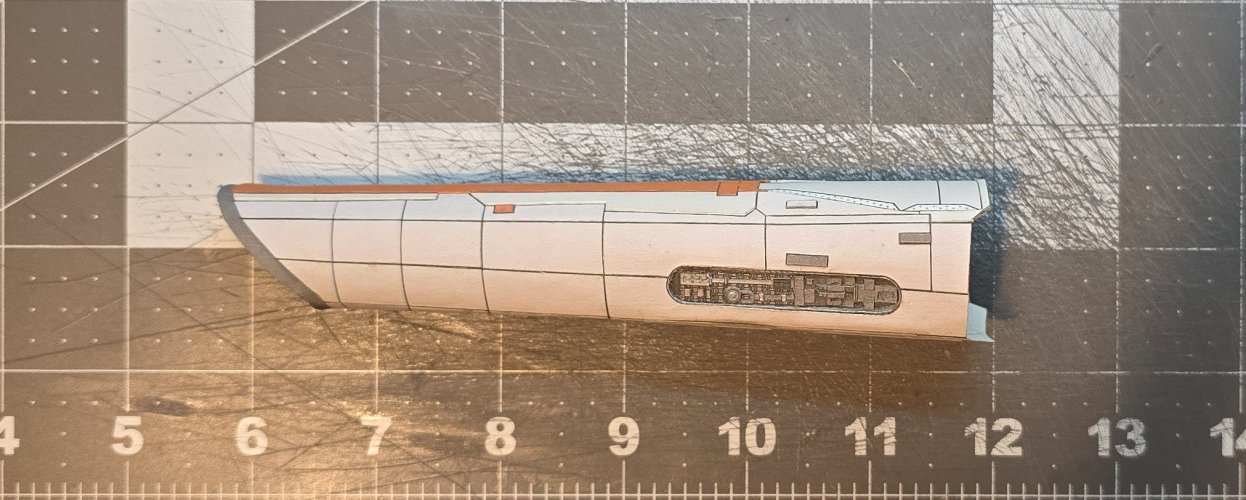
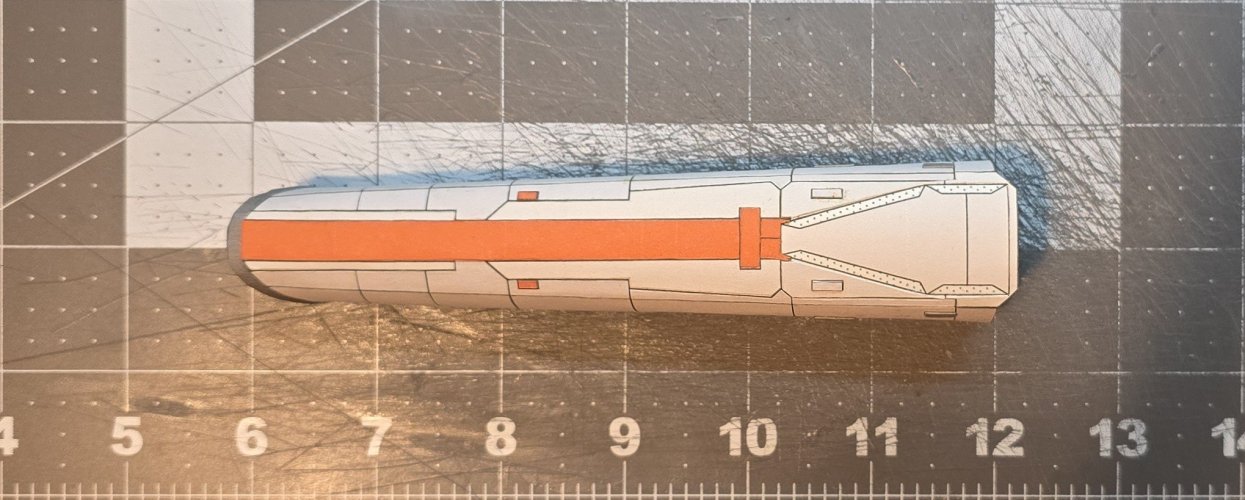
After having this conversation, I decided to build the "Simple" Colonial Viper (that I had repainted), greeble it out (and add the recessed panel lines) and add decals (similar to the ones that one would find on the REVELL/MONGRAM and REVELL models).
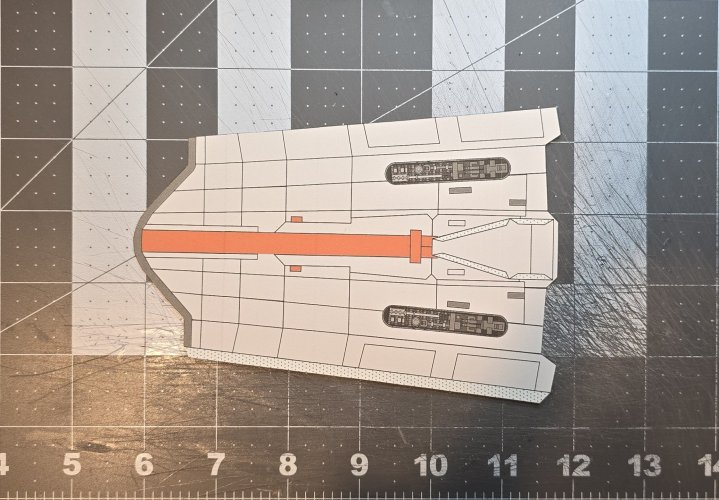
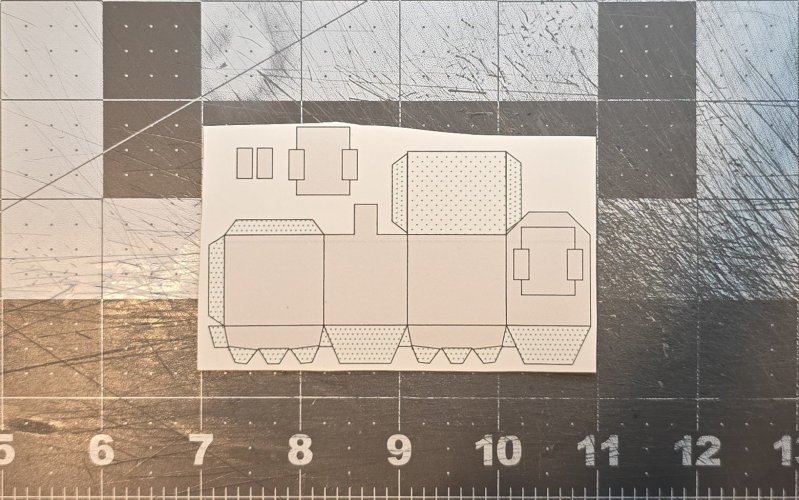
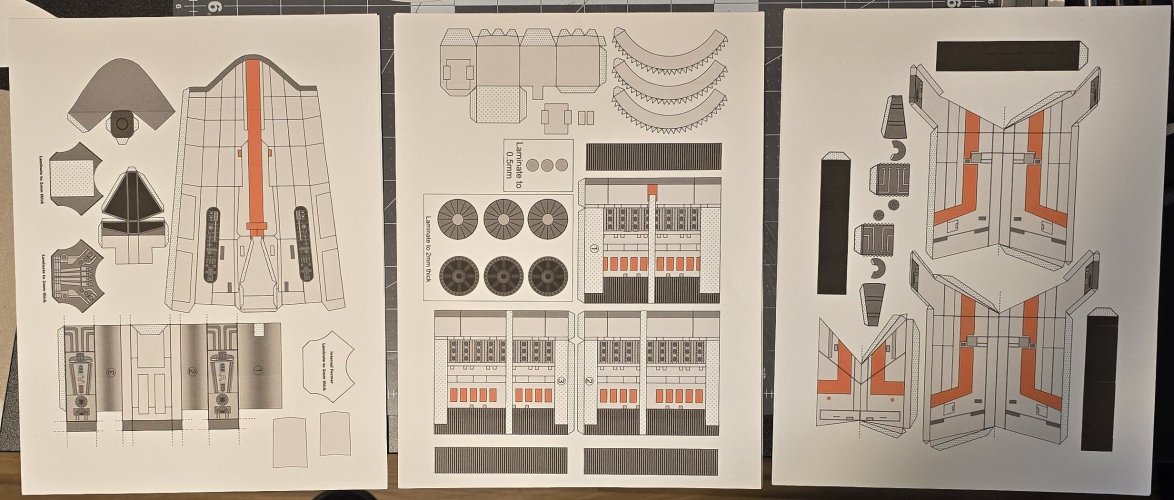
Here are the parts sheets. I have printed this model out several time, in order turn the printed texture into physical texture (which is the easiest for of greebling).
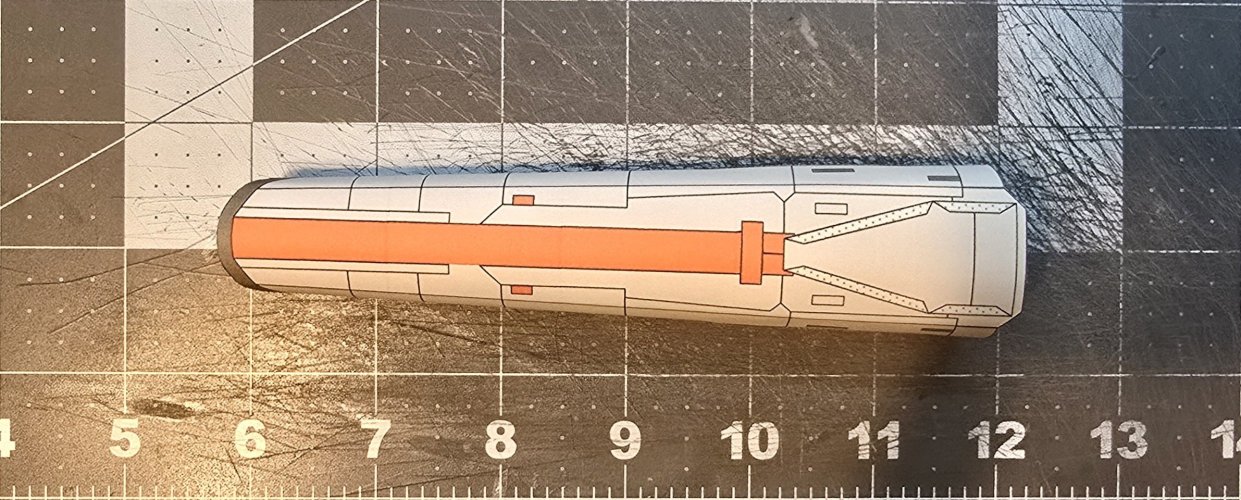
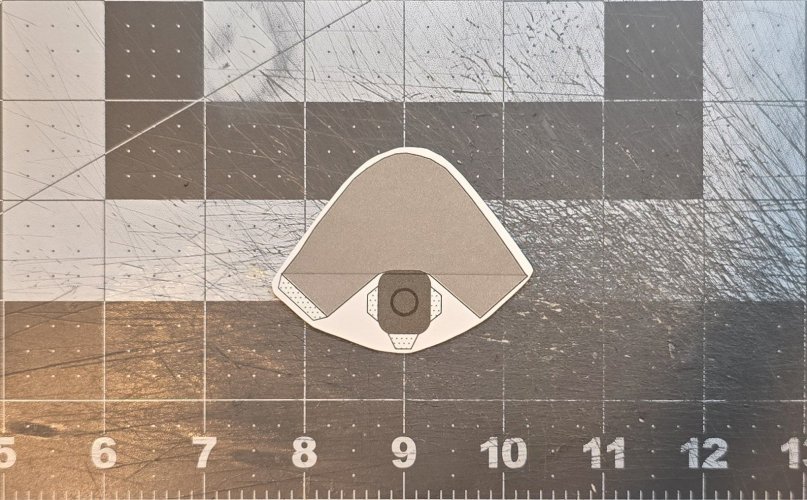
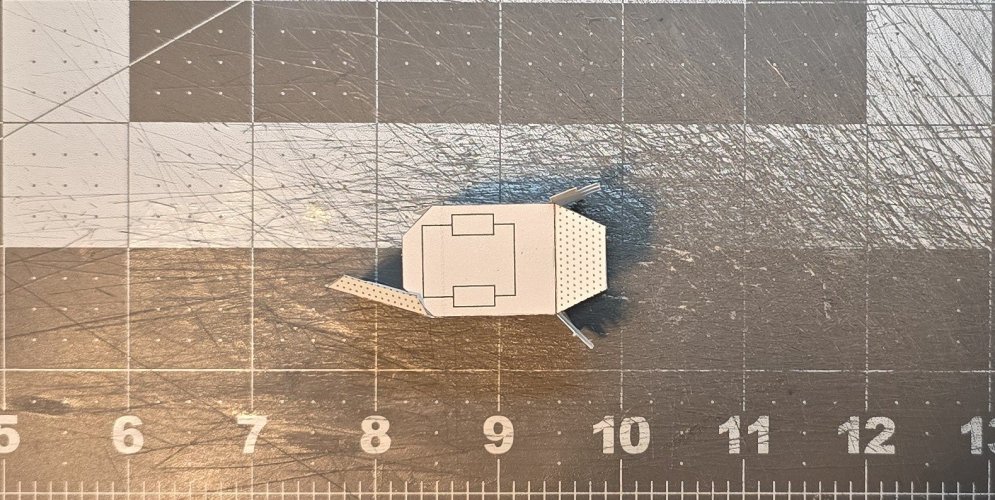
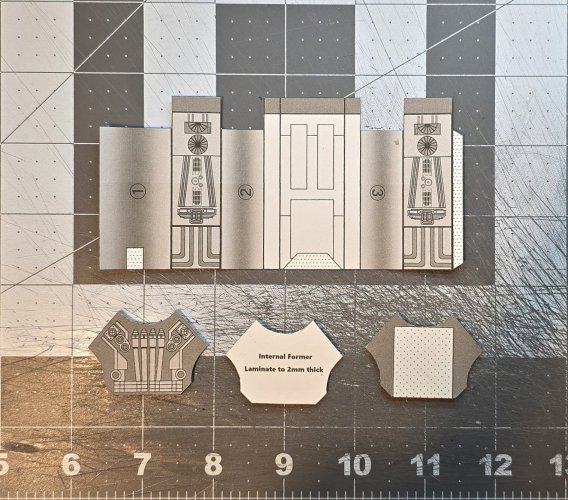
I start with the engine mounting block. I have laminated the end caps and center former to 2mm thick.
The end caps and center former are glued in place.
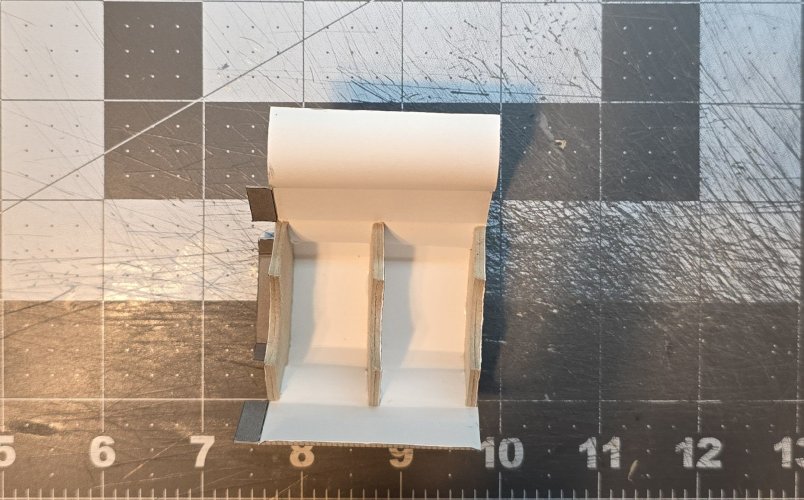
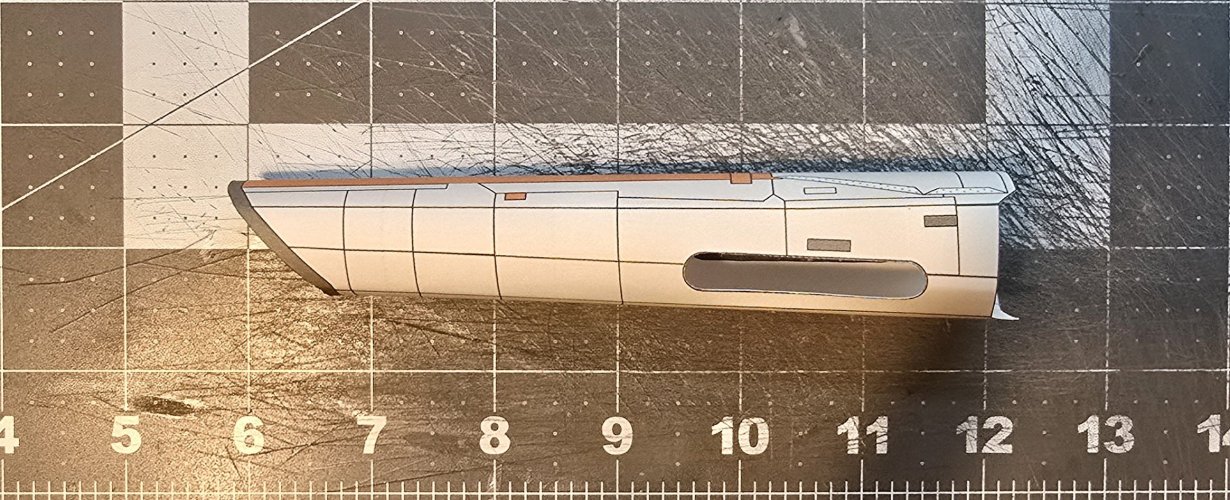
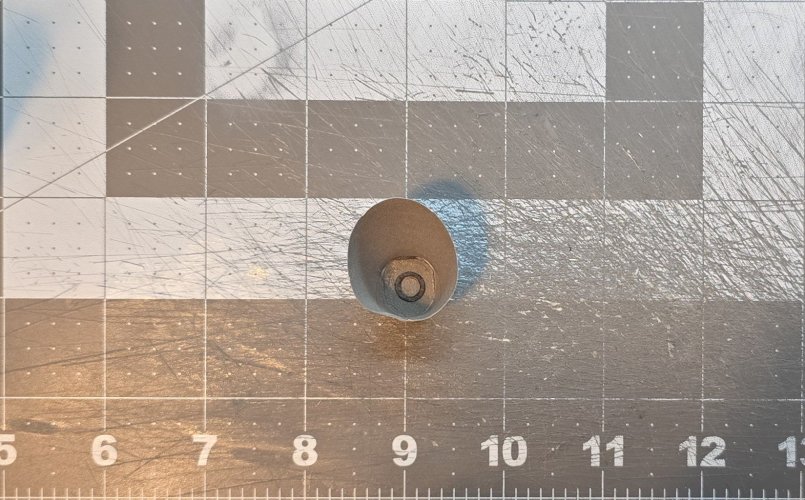
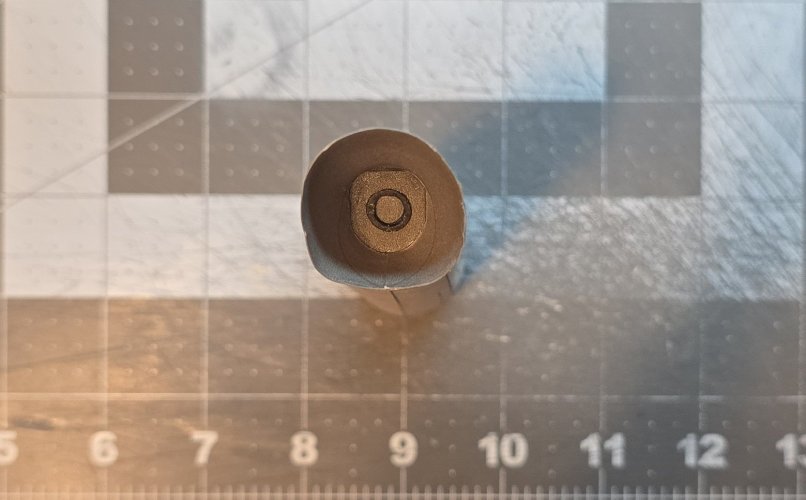
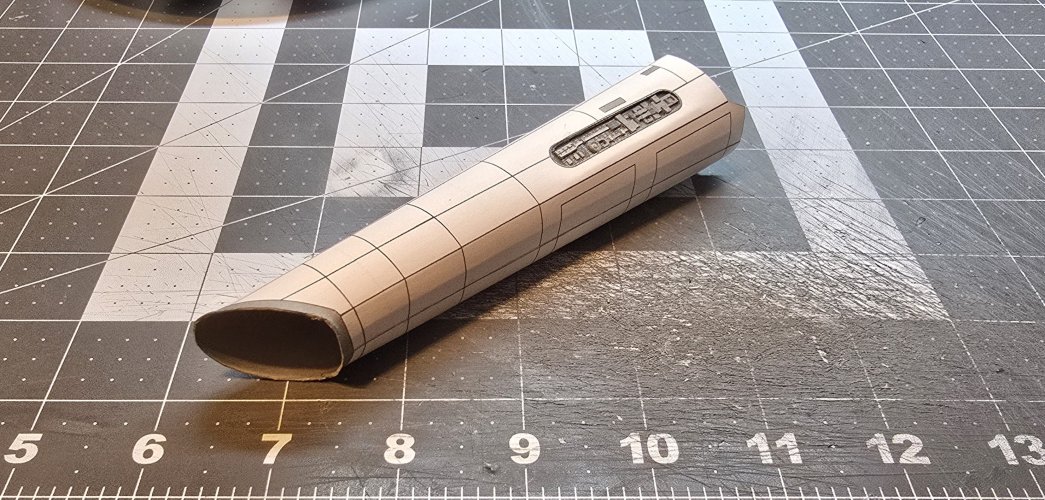
The engine mounting block is assembled.
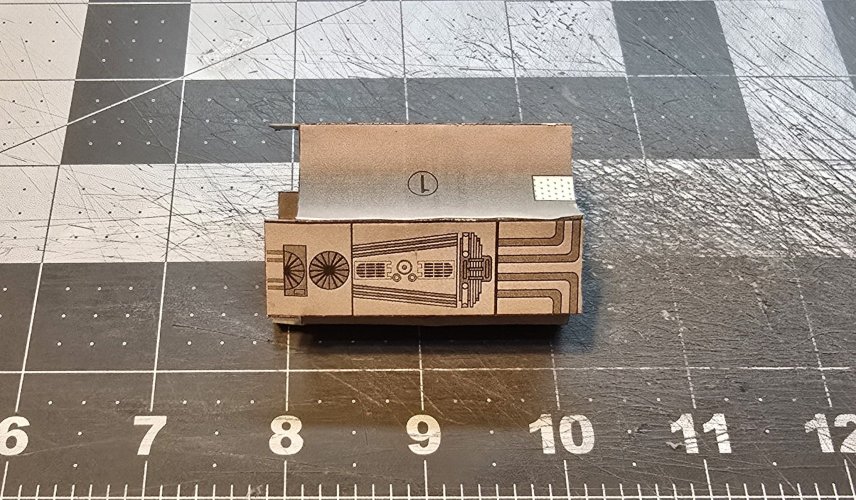
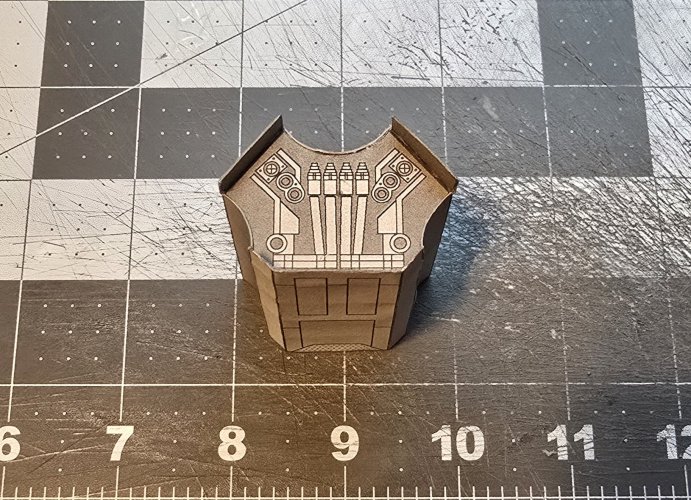
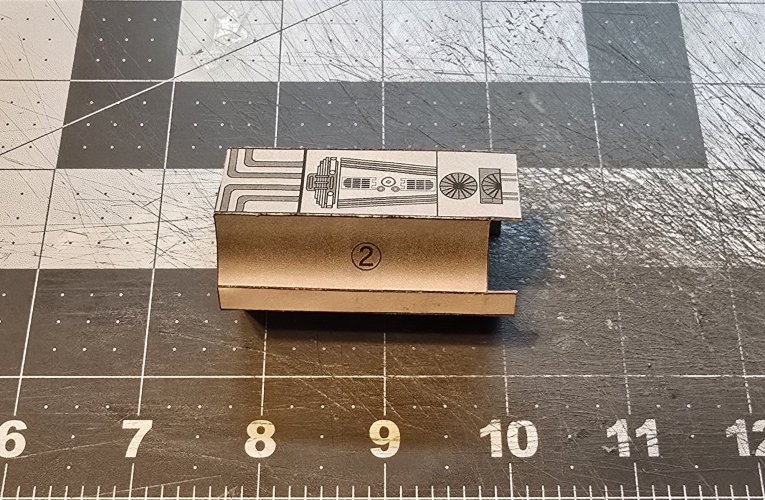
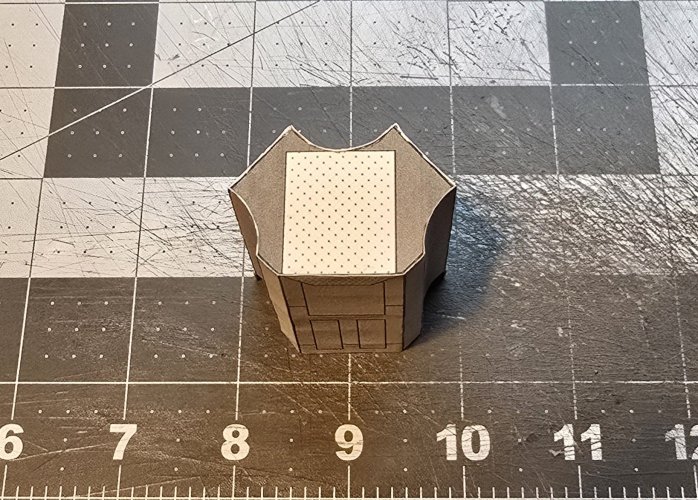
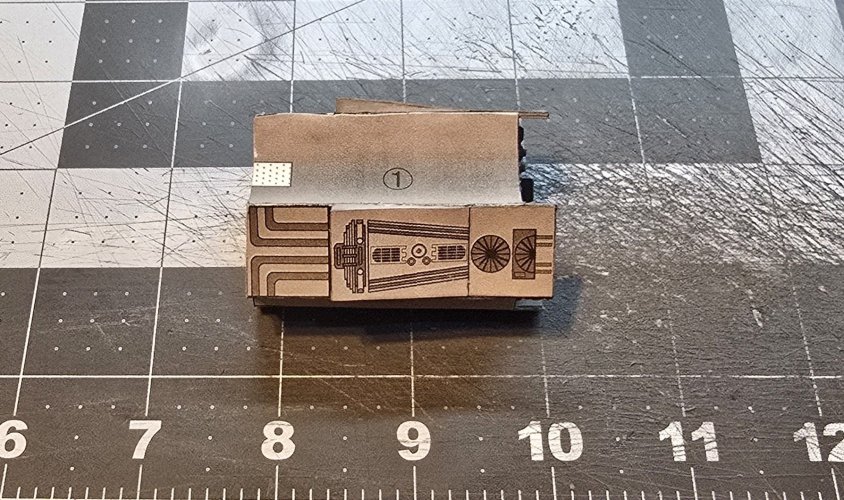
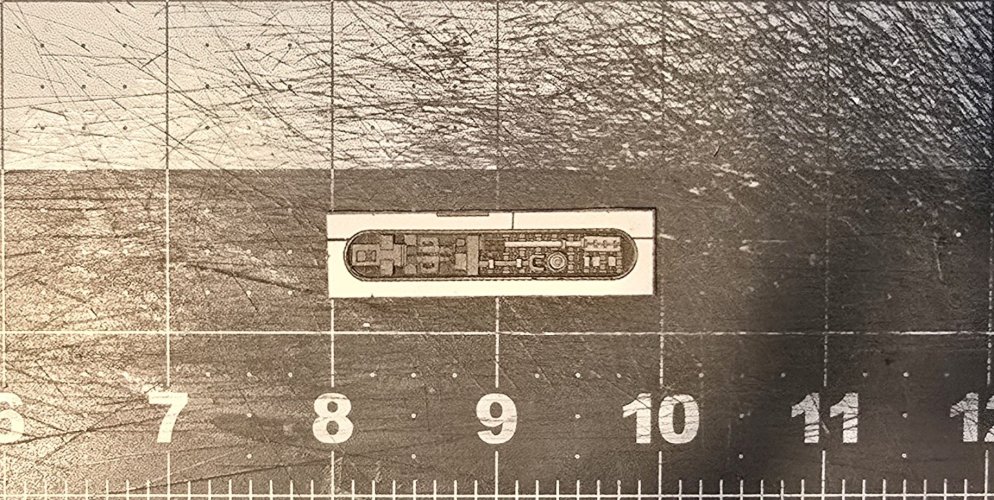
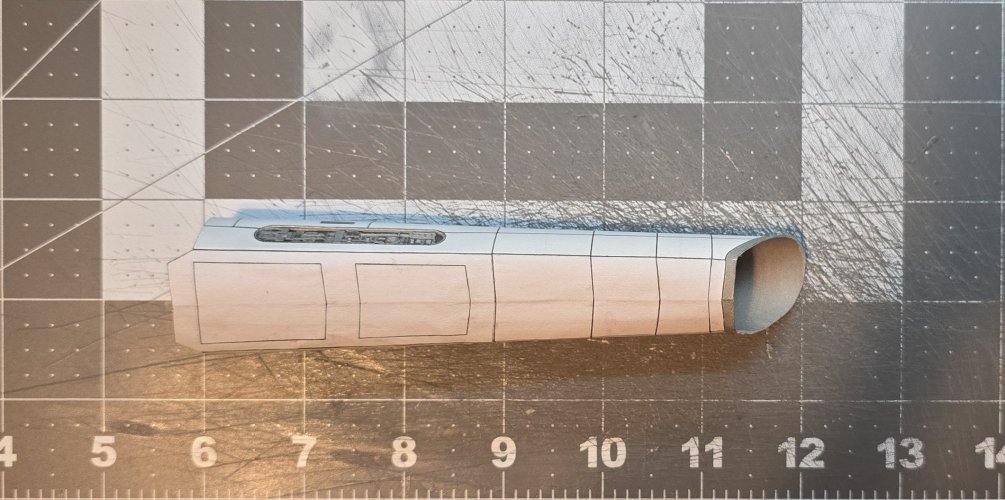
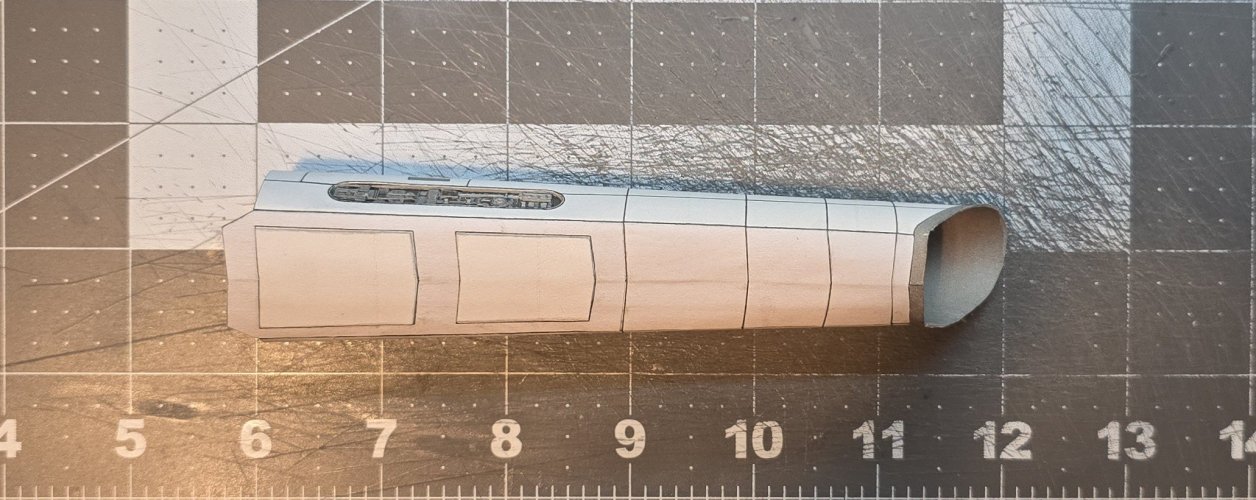
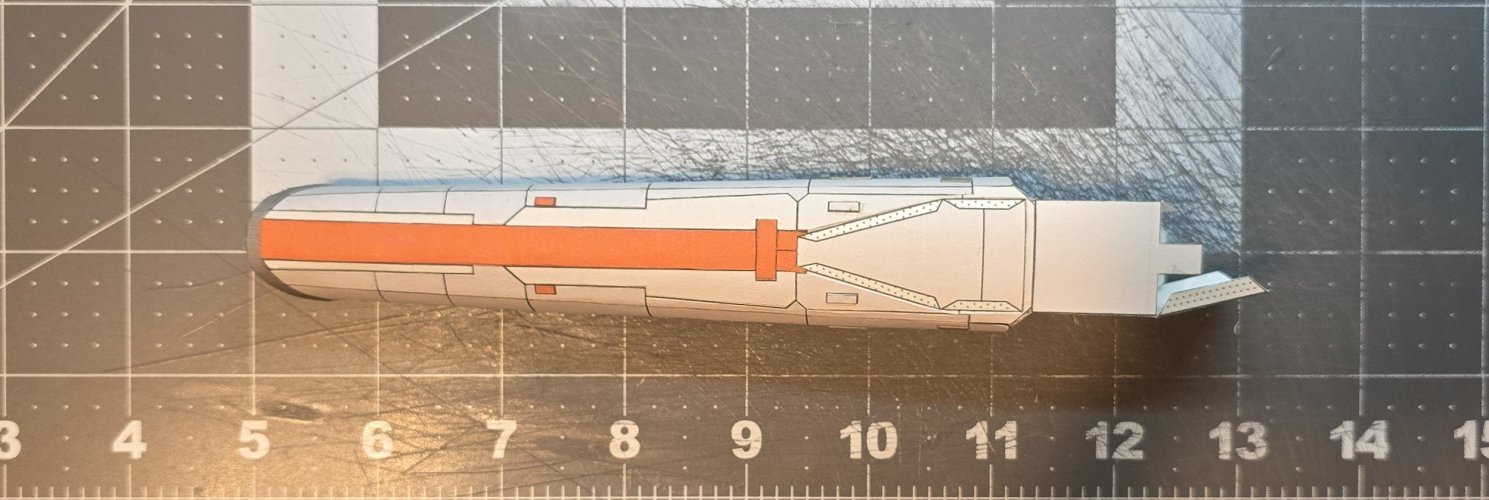
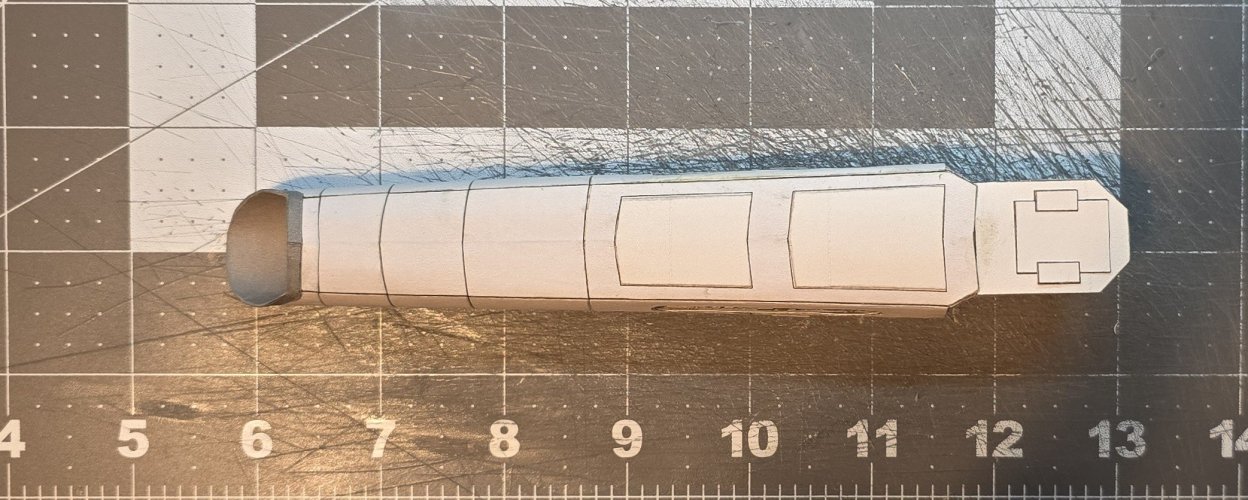
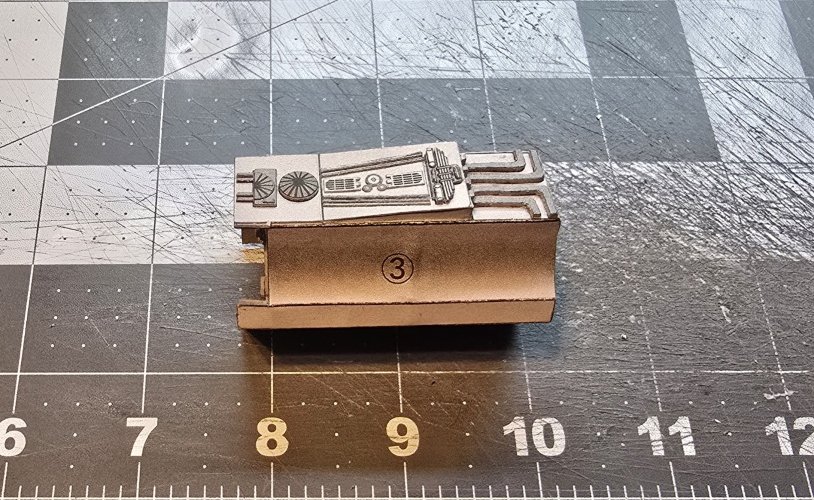
I applied the greebling by layering the printed texture, and turning it all into physical texture.
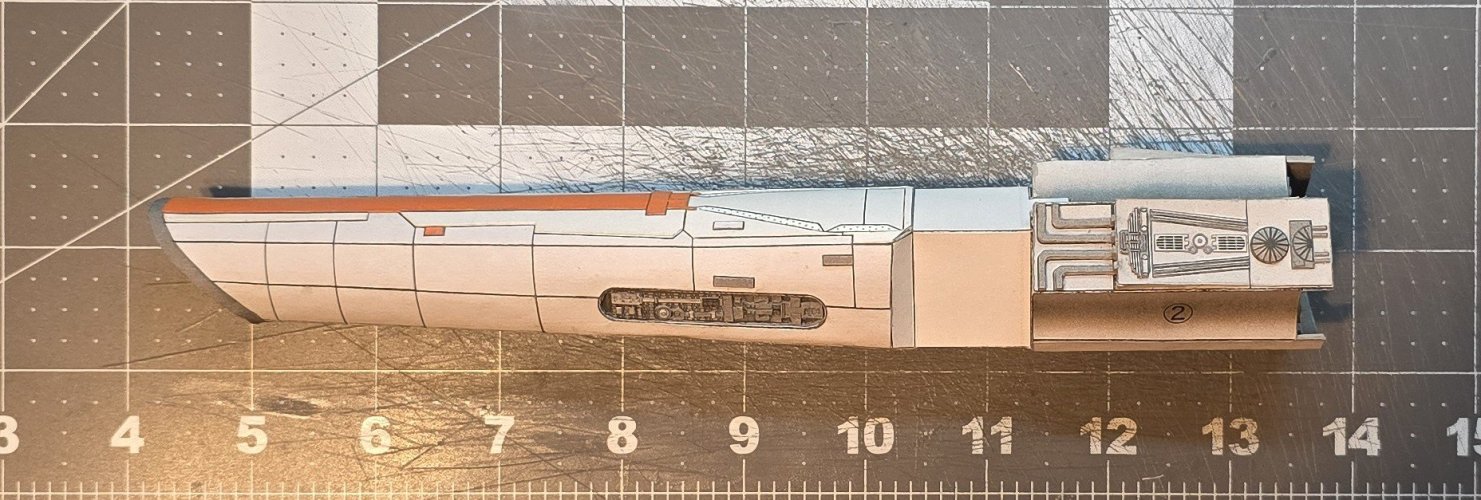
Here is the back of the engine mounting block.
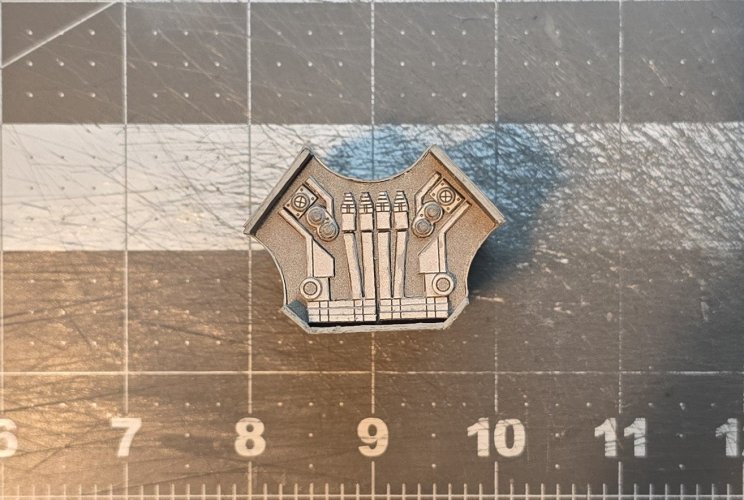
I angled the component for the "conduits to attach to.
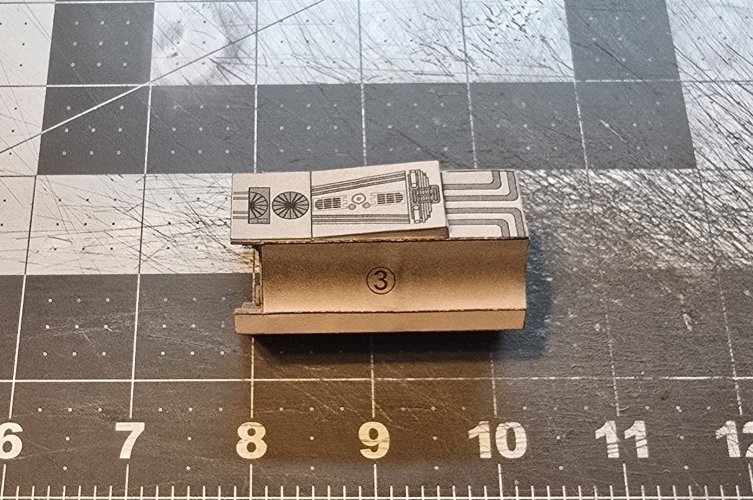
I applied the greebling by layering the printed texture, and turning it all into physical texture.
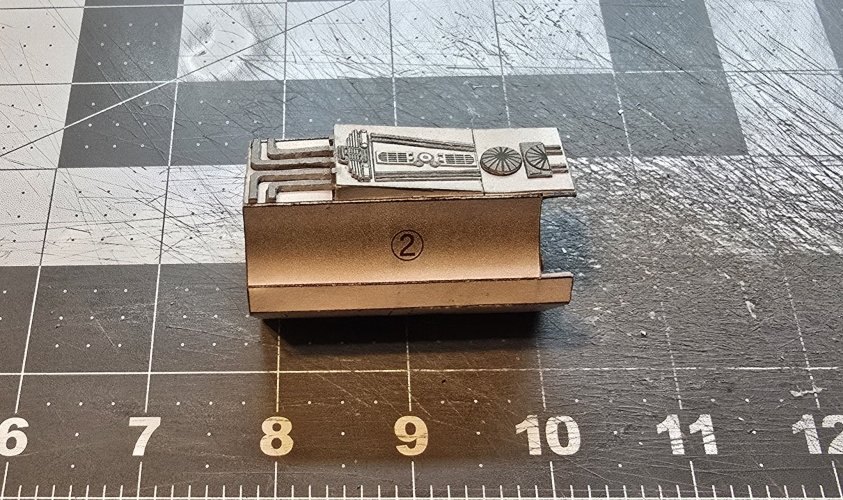
Please stay tuned in to your local Colonial Broadcast Network for further updates and they happen.
1) Download (or scan) the decals that you want (need) for the project in question.
2) Resize the decals to the scale needed for the project.
3) Print the decals on either printer paper or tracing paper (it is preferred to print the decals on high quality tracing paper).
4) Cut out the decals and glue them in place.
5) Use a clear coat spray paint to "seal" the model (if desired).
After having this conversation, I decided to build the "Simple" Colonial Viper (that I had repainted), greeble it out (and add the recessed panel lines) and add decals (similar to the ones that one would find on the REVELL/MONGRAM and REVELL models).
Here are the parts sheets. I have printed this model out several time, in order turn the printed texture into physical texture (which is the easiest for of greebling).

I start with the engine mounting block. I have laminated the end caps and center former to 2mm thick.

The end caps and center former are glued in place.

The engine mounting block is assembled.


I applied the greebling by layering the printed texture, and turning it all into physical texture.
Here is the back of the engine mounting block.

I angled the component for the "conduits to attach to.

I applied the greebling by layering the printed texture, and turning it all into physical texture.


Please stay tuned in to your local Colonial Broadcast Network for further updates and they happen.
