I may guide you through the basic procedure. Please bear with me, if I skip a point by accident ask a question, please. I do this stuff mostly by intuition and since the basic setup is almost the same with each model I skip this phase in my threads because it may become redundant. Well then.

Now the first step in designing a faithful model is to collect references. Search for pictures of the plane, especially side, front, top and bottom views. If you are lucky you will find blueprints like these:
There are several key words which might assist in your searching, like "orthos", "orthographic view", "blueprints", "schematics", "specs". Often a different key words will give you different results, some more, others less suitable.
Take special care by chosing your blueprints. The best case is using schematics from the manufacturer of the plane. However, in most cases you have to rely on fan-made creations which may vary tremendously in their quality. Again, choose the one which comes as close to the original as possible. One of my latest projects is a Ford F-550 ambulance which I will post here soon after basic modeling is complete. I found out that the majority of available 3D models of F-550 trucks are based on the same wrong schematics:
Original:
View attachment 218438
Schematics:
I know these are different models but they are Ford models which share the same basic cabin. If you look closely you can clearly see that the side windows have the wrong shape. In addition, the angle of the front window is wrong and there is no bump in the center of the hood on the real one. So these schematics are not useful at all and will produce a model with wrong proportions if used.
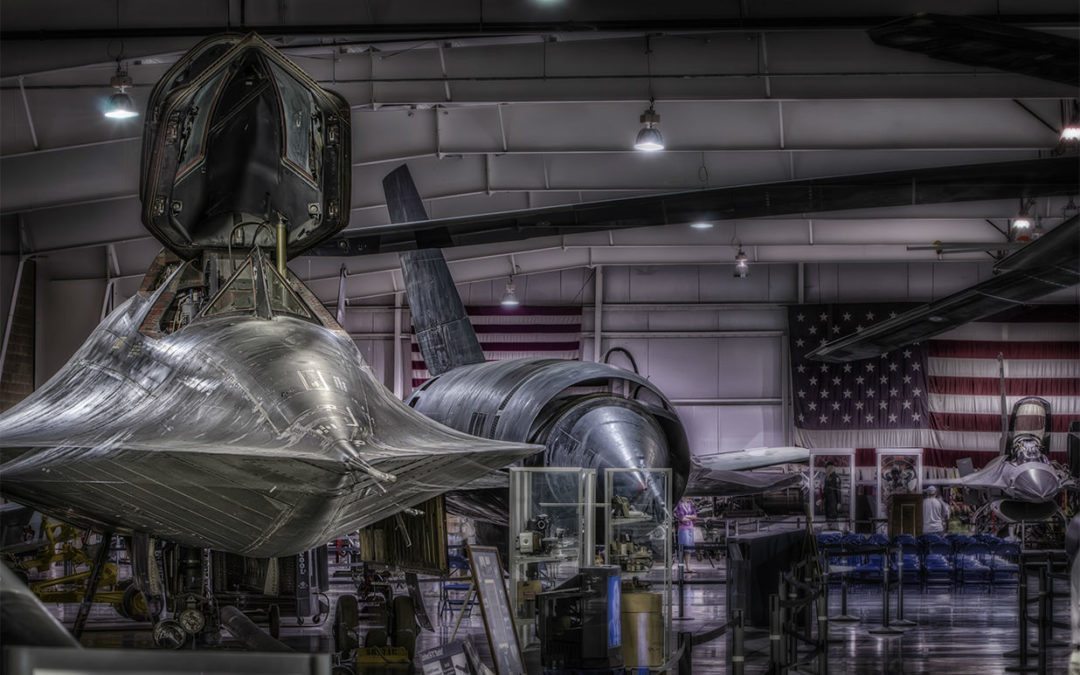
Now back to the Blackbird.
Save the orthos and edit them in a graphic program like Gimp so that they match up in length and width. To do so I crop the graphics so that the front, bottom and side etc. views are displayed without any rim / flesh / white border. Then I take the picture with the biggest length / width and resize the others to match. Do not down-size the graphics in order tokeep small details. I know these graphics are not of the highest quality but I would like to explain the principle. When you are done everything look like this:
View attachment 218439
View attachment 218440
View attachment 218441
The top view and the side view have the same length. The top view and the front view have the same width. Now there are two possible was to proceed.
First, print out the graphics, laminate them to 0.5 or 1mm card and align them. Attach them securely so that they form a stable skeleton.
View attachment 218442
Cut paper to thin strips and start connecting one cross-section to the next. The thinner the strips the smoother the result, especially on rounded or compound surfaces. Cut the strips to shape so that they start on a cross-section and stop at the neighbouring cross-section.
View attachment 218443
Go all around.
View attachment 218444
When you are finished, cut off the the strips from the cross-sections and make them flat. This is called "flattening" or "unfolding". The result should look like this:
View attachment 218445
The flattened pieces can be scanned and traced in InkScape or Corel to produce vectorized parts which will assemble into the desired shape. This procedure requires a lot of attention because the smallest mistake may lead to visible stress folds in the final pattern. It is necessary to build and improve the parts till they fit seamlessly and give a pleasing result.
2) Do the same in SketchUp. The main advantages are: Precise workflow, less wasted paper for testing the parts and no need to scane and trace the parts.
Launch SketchUp.
View attachment 218446
Click on the human figure and delete it.
Switch to camera - parallel projection:
View attachment 218447
Chose Camera - standard views - top:
View attachment 218448
Pull the top view of the schematic onto the canvas.
View attachment 218450
Switch to side view and pull the side view into the frame. Proceed with the front view.
View attachment 218451
This is your basic setup. Do not worry about scale, you may rescale everything later. The most important thing now is to make sure that everything lines up properly. Move all views to the center as shown.