Nautilus - Disney Version

More Nautilus action for the weekend...

Firstly some sub-assemblies - pun intended

Part 10 being the stern plug end, more on that later - The three numbered 11A to 11C being the screw with shaft.

n1.JPG


Rudder 13A and 13B - 12A & 12B are the surround for the screw or propeller.
n2.JPG


Both really easy assemblies - the propeller surround has been put into a roll of tape, hopefully it will help it form a round, if not, I might gently steam it over the kettle.
n3.JPG


Prop assembled
n5.JPG


Three parts 15A to C are for the ramming probe at the front of Nautilus
n6.JPG


Cones formed from A & B, these will be glued back to back, then onto shaft C the cuts in c will slot over the prow
n7.JPG


14A to C are exactly the same - These forming the iconic Captain Nemo's midships lounge.
n8.JPG


An easy construction, but make sure you have your top and bottom figured out before you glue, also duly note the lower numbers 1 & 2 are to face the hull...believe me, its an easy mistake to make, I know, coz I stupidly did it..!
n9.JPG


Part 10 from earlier is installed into the rear of the sub
n11.JPG


Upper hull added to part 10 only at this stage - As with most of this build, all the parts had better alignment from the rear.
Not the prettiest fit, butt erm, but a lick of paint here and the prop will cover it up...I hope.

n12.JPG


With part 10 in place, I decided to glue the top hull to the bottom, progressing slowly along the Port-side only - Everything lined up perfectly, and gluing proceeded all the way to the bow.
n14.JPG

n15.JPG


I have kept the Starboard side open at this point so I can get my hands into facilitate the adding of the super-structure - I could have added this on first, but wasn't sure the the upper hull would fit - The instructions say 'put the top and bottom together first then add the super-structure'
In my case, I'm doing both at the same time, my model, my rules.

n16.JPG


Not far now from having a completed sub, only have 10 more days to get her finished! :)
 
I don't use tabs, but if you do use them, this is the way to use them. Well done!! :)
 
  • Like
Reactions: Chuffy70
More Sub action...well slowly curing card, hardly action!

The super-structure went on fairly easy with no major maladies to speak of, the front of which needs to be left open to accept the front rake.

n1.JPG


The 'said' front rake.
n2.JPG


The rake was a poor fit - even the instructions allude to the fact some reshaping is needed to get it to sit properly.
A friend of mine gave me some French curves a while back, so I made use of them to aid my 'reshape' of said part - albeit it did mean the top of the part where it rests on top the wheelhouse, but mine needed it to follow the nose.

n3.JPG

n4.JPG

n5.JPG


Fit was not too bad, but the front line of sight was a bit wonky...I'll sort this later with some judicious bending when the glue has set.
n6.JPG


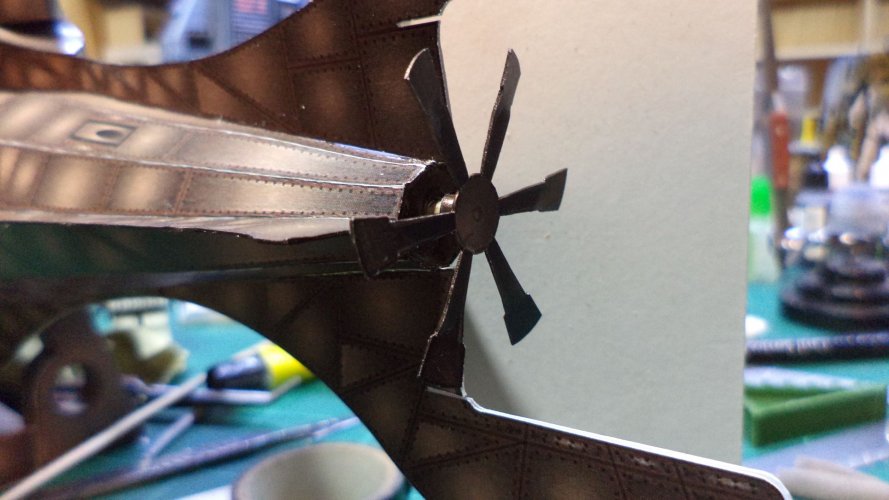
Whilst the front was setting up, attention to the rear was in order. Prop or screw added - a few twists were put into the blades to match reference pics.
n8.JPG


The outer prop-guard which was nicely curved after being on the inside of the tape roll was dry fitted to test the fit.
n9.JPG


Thankfully Hudson has adopted the back of my chair during the last couple of nights, as the temperature has dropped below freezing and he's kept the back of my head warm, rather than taking up valuble building space on the bench. ;)
n10.JPG


not much left now...tempus fugit!
 

Attachments

  • n7.JPG
    n7.JPG
    242.4 KB · Views: 13