King of Red Lions from LoZ Wind Waker (ninjatoes)

ElMäx

Active Member
Nov 10, 2024
117
292
40
I am back to paper crafting after a few months break filled with doing other things.
And here comes a model that I really wanted to build since the beginning.

The King of Red Lions from Wind Waker

It is meant to be a present for a friend who loves the zelda games (I love these games too).
I still have time until end of july for this model. Should be more than enough.

First step this time is a varnish sealing applied with a brush on the printed sheets. For this I used the method I tried in the sealing thread.
That means I use a 2:1 varnish:water mixture, here matt:glossy:water. I applied two layers. Should be sufficient to protect the delicate print during the process. When I have finished it, I think about applying a final sealing layer.
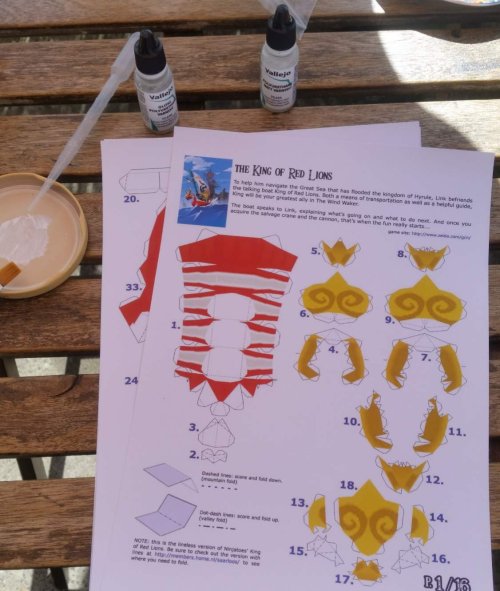
IMG_20250508_004734.jpg

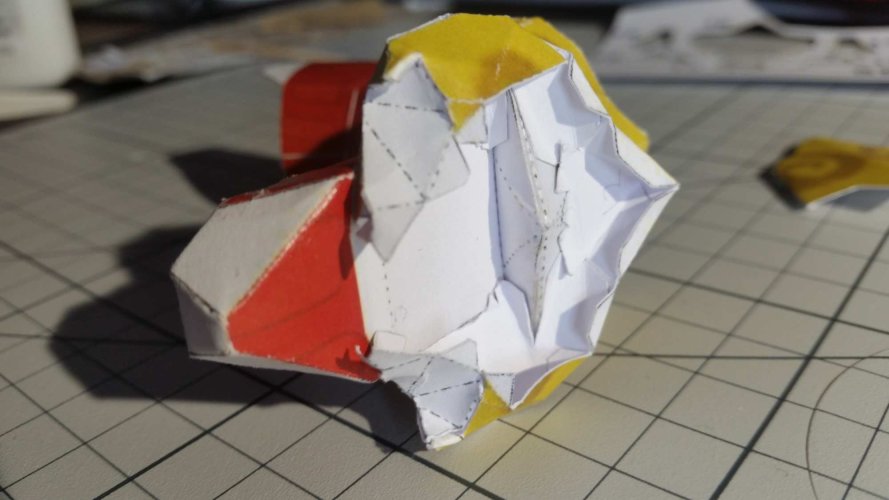
The first part, the neck, was quite easy but I am not quite sure if I folded and glued piece 2 and 3 in the right manner to the upper end of the neck. I guess only time will tell.
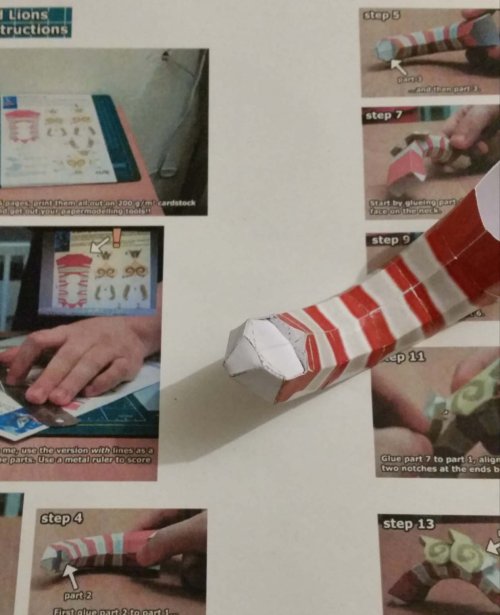
IMG_20250508_004824.jpg

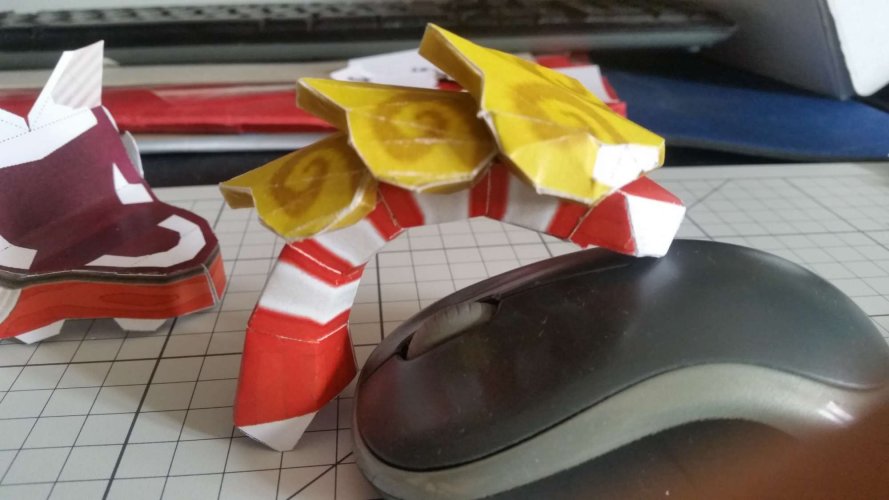
Two hours, the first evening, later I ended with this. Does not look like much but these two yellow neckshields were testing my dexterity and patience seriously.
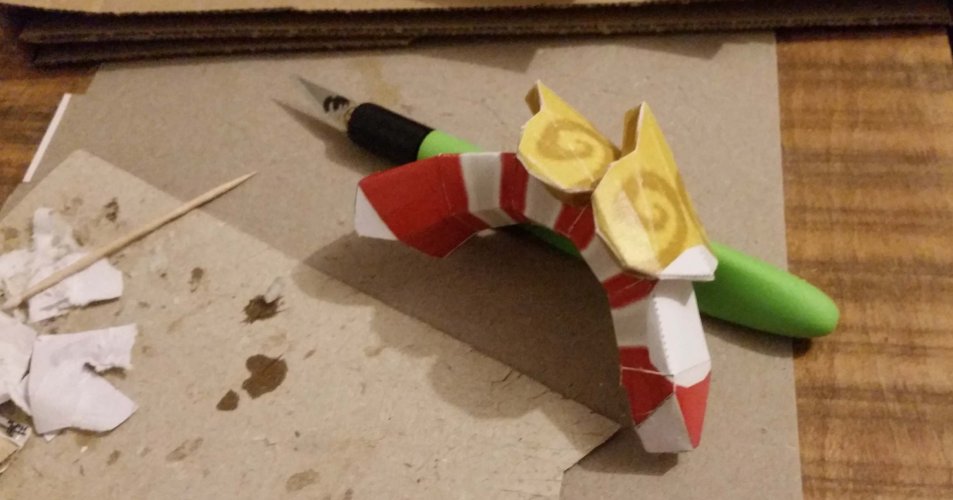
IMG_20250508_004917.jpg


And then I realized I used the yellow pieces from the wrong print. It was the test print which I did not sealed and I can see the color coming of on the fold lines.:headbange:
But I will leave it like that.
 
One more thing: I got the impression gluing the sealed parts together was quite challenging with the glue I used. I was a bit lazy and applied the varnish on the whole pieces, did not leave out the glueing flaps
 
Some glues do have trouble holding the parts if the page is varnished as a whole. I use an acrylic varnish, and Aleen's Quick Grab Tacky Glue.
 
  • Like
Reactions: ElMäx
You can also sand the areas you need to glue together. :)
 
Finally I continued the work on the king.
These 3D shapes come with a bunch of complex patterns and folds. These yellow neck shields took more time and precision work than I expected.
IMG_20250621_001150.jpg
IMG_20250621_001243.jpg

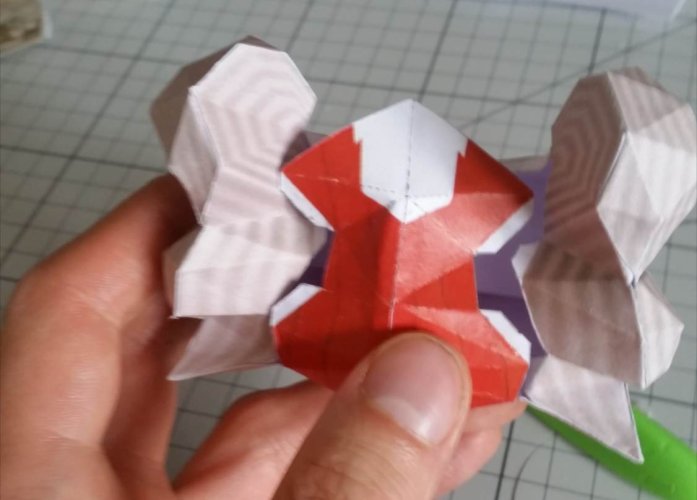
Then came the moment when I thought the back of the head will not fit because it seemed not wide enough and I would have to do the whole work on the head again.
IMG_20250621_001352.jpg

But it just took some brave squeezing and than it worked out.
Now the head is slowly coming together.
On some parts I will have to glue some parts again as extra layers over it. But first I will concentrate on the right shapes
IMG_20250621_001439.jpg
IMG_20250621_001516.jpg
 
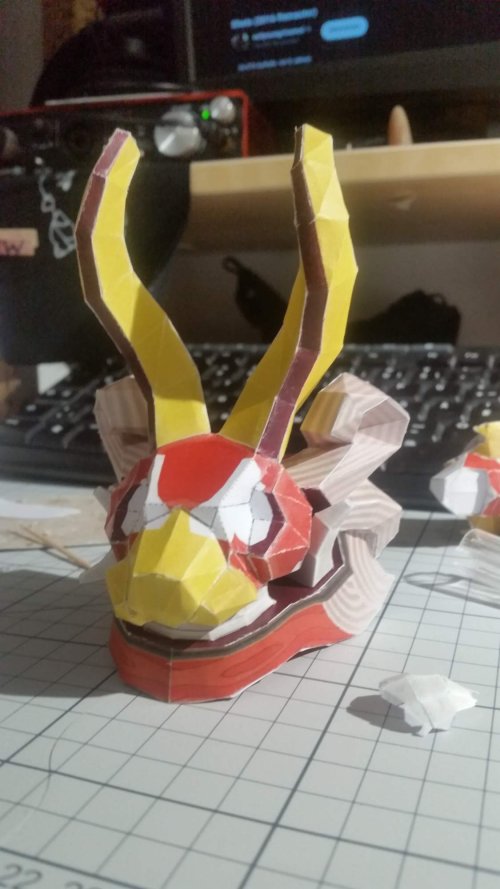
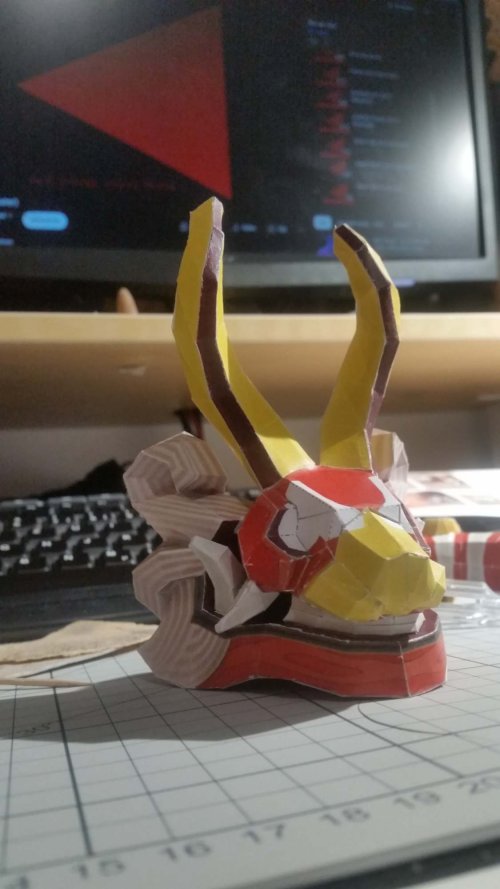
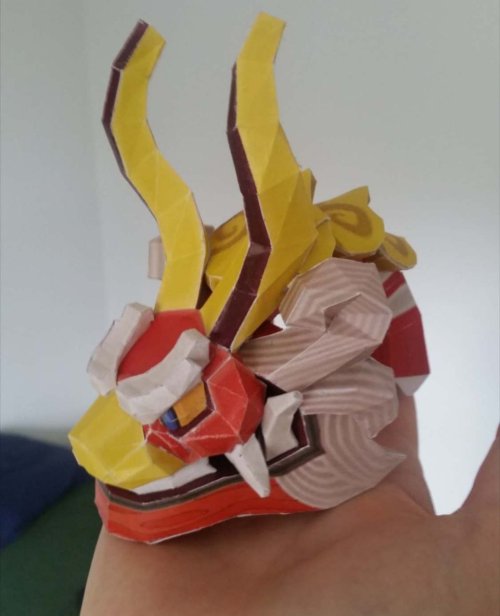
Head is done.
photo_2025-06-25_17-27-50.jpgThe boat parts are bigger and seem less complicated. should come together real quick now.
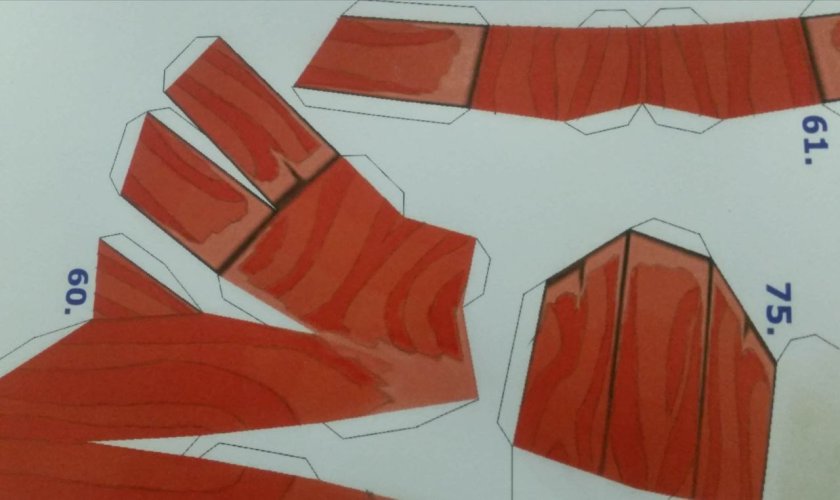
I emphasized the textures on the wooden hull parts with a pencil, just to make them stand out more and to hide the quite bad resolution of the textures.
In the end I could glue on extra layers of the "wood planks" to achieve a more 3D look. But perhabs I will let it be.
And I kept the workflow of sealing the printout with the vallejo brush varnish. good results with that and the color is coming of not so fast.
photo_2025-06-25_17-27-54.jpg

photo_2025-06-25_17-27-56.jpg
 
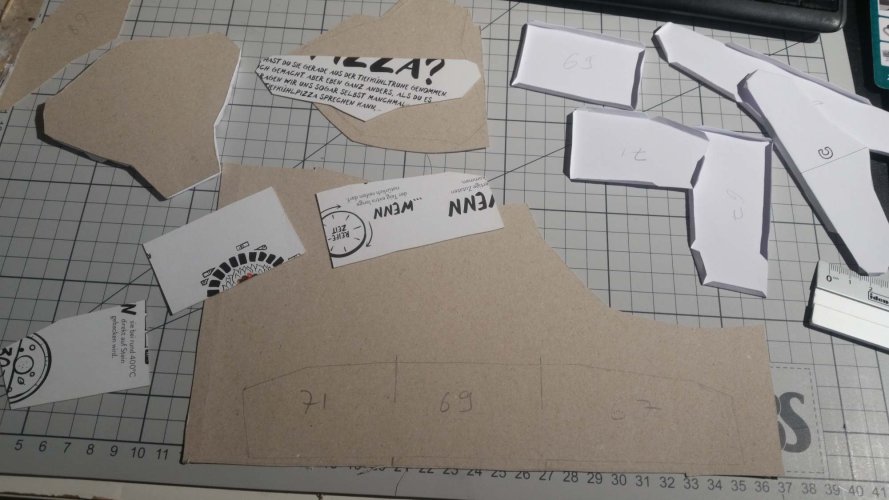
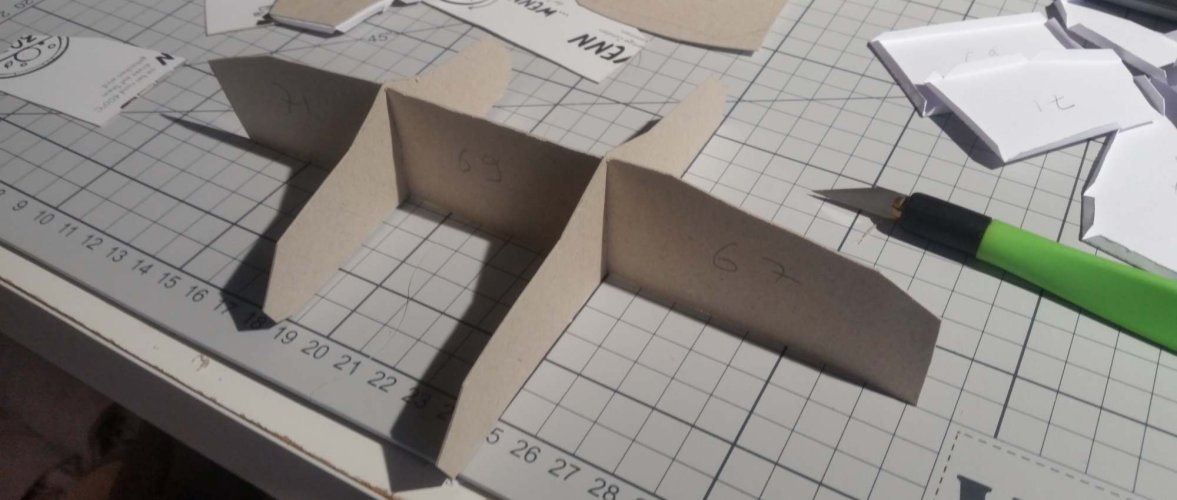
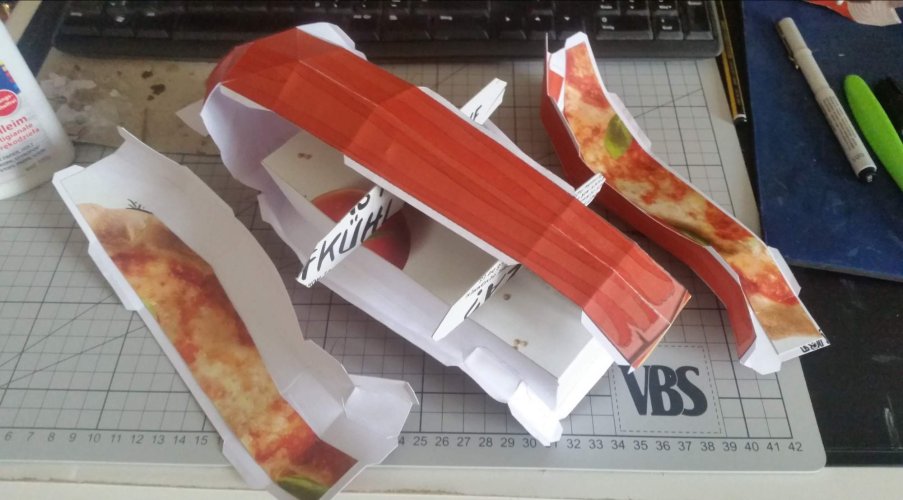
The template gives parts for the internal structure. Like with other models, I thought using gray board will give more stability. Especially with this model using large parts. Thats why I used the separate given parts to build this:
IMG_20250719_011535.jpg
IMG_20250719_011601.jpg
IMG_20250719_011646.jpg

Yes, it's not gray board. It' PIZZA BOARD!!!
Stabilizing the deck underneath and the hull shape.


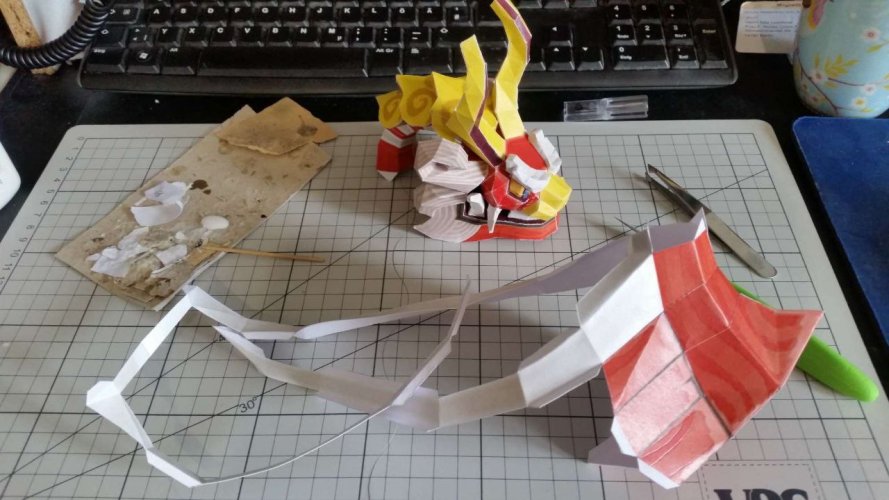
As the hull was coming together I encountered some major discrepancies regarding the shape and the fitting of things. Maybe it is because of the stabilizing board.
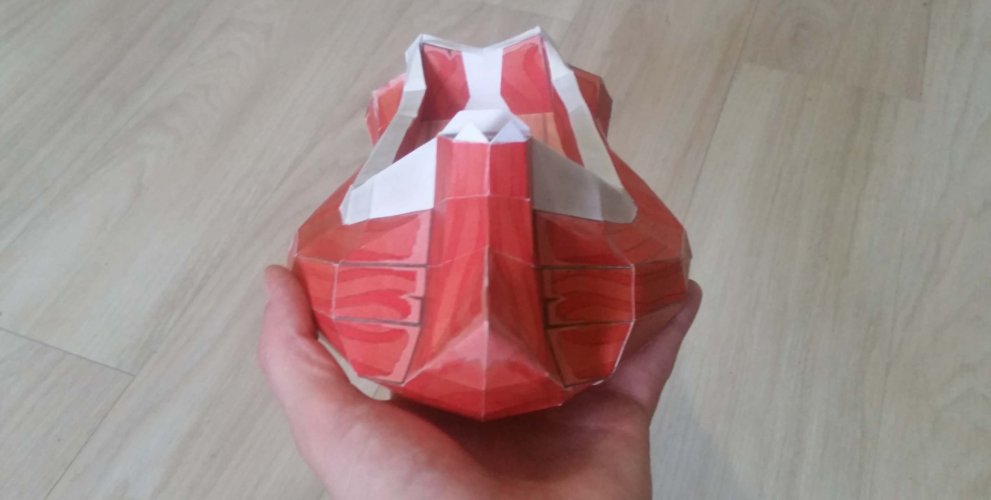
I glued from the bow to the rear. And at the rear is where the discrepancies take shape. I had to apply some force to make the parts fit and you can clearly see the knitted uneven result at the back. Especially when I glued on the back of the hull.
IMG_20250719_011851.jpg
Because I had to apply so much force during the glueing, I had to switch to super glue instead of regular glue. Downside is, the parts in contact with the glue are becoming stiff and I think it is kind of cheating to use that for regular glueing sections. You know what I mean?
IMG_20250719_012002.jpg
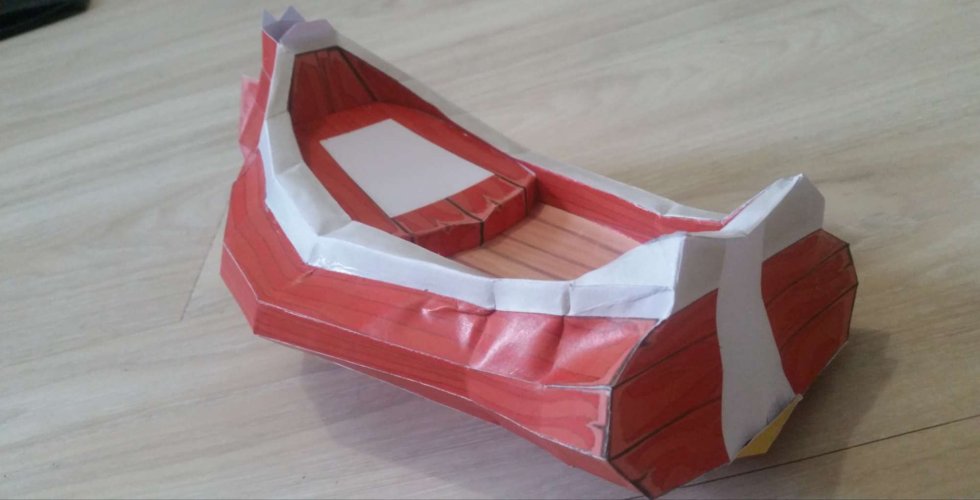
The hull still has a noticeable warp and some ugly uneven faces at the rear. I am not so happy with that. I thought the head will be the hardest part. But it turns out it was just the part that required patience and many pieces with complex foldings to create the complex shape that is the head.
But the boat hull gave me more headaches and unpleasant results (perhaps because of my internal formers but I based them on the given parts of the template)

I think I just prefer smaller models. Because I have a blast with the micro models from prmodels. Finished the uss ecxelsior last week. Looking so nice! And these 1:250 star wars models. So much fun. Like small board game figures and I am running around with them with my 4 year old son, letting the ships zipping through the appartment:biggrin:
 
A question:
Did anyone here built the king of red lions? Any tips or experiences for this particular model?
I am a little bit disappointed with my outcome so far. I don't want to built the hull again. Because it is a birthday present and I don't have the time anymore. Maybe I can hide the uneven faces with a new layer if I have the time
 
Super-glue is a pain to work with, at least in my area. It stains the paper and becomes brittle. So far I haven't been able to see ANY of the advantages it should provide aside from the short bonding time. I'm sorry that the part came out with some wrinkles but maybe it won't be too bad in the end. You may always print and assemble another before it is permanently installed. I encountered this problem on a different model. I printed out only the section in question, assembled it and glued it over the wrinkled part. Be careful not to laminate it or the wrinkles will show through. If necessary you may choose to carefully cut off the center of the wrinkled area so that it doesn't interfere with the patch. Test-fit everything before you make any cuts. If the edges around the patch get too thick carefully cut off along the edges and use paper strips to attach the patch. Finally paint the edges to conceal the manipulation. ;)
 
Super-glue is a pain to work with, at least in my area. It stains the paper and becomes brittle. So far I haven't been able to see ANY of the advantages it should provide aside from the short bonding time. I'm sorry that the part came out with some wrinkles but maybe it won't be too bad in the end. You may always print and assemble another before it is permanently installed. I encountered this problem on a different model. I printed out only the section in question, assembled it and glued it over the wrinkled part. Be careful not to laminate it or the wrinkles will show through. If necessary you may choose to carefully cut off the center of the wrinkled area so that it doesn't interfere with the patch. Test-fit everything before you make any cuts. If the edges around the patch get too thick carefully cut off along the edges and use paper strips to attach the patch. Finally paint the edges to conceal the manipulation. ;)
Thanks for the tips. Yes, I am really thinking about adding another layer to smooth it out again. It worked with the solo millenium falcon and with the uss excelsior (prmodel),the saucer sections on both. The first layer was just to get the shape of the saucer and after that I used more layers on top (and extra greeble hull plates) to smooth it out, to really achieve smooth curved surfaces.

But the lion king is such a big model, big surfaces, more prone to warps and dents, I fear

Usually I just use super glue to tighten things like warp nacelle pylons on the small st ships, or some other delicate parts. Works fine usually. Applying a bit glue on a tooth pick and carefully applying it to the joints in question. That way, I avoid soaking the paper and stains are reduced to a minimum
 
Last edited:
Super-glue is a pain to work with, at least in my area. It stains the paper and becomes brittle. So far I haven't been able to see ANY of the advantages it should provide aside from the short bonding time. I'm sorry that the part came out with some wrinkles but maybe it won't be too bad in the end. You may always print and assemble another before it is permanently installed. I encountered this problem on a different model. I printed out only the section in question, assembled it and glued it over the wrinkled part. Be careful not to laminate it or the wrinkles will show through. If necessary you may choose to carefully cut off the center of the wrinkled area so that it doesn't interfere with the patch. Test-fit everything before you make any cuts. If the edges around the patch get too thick carefully cut off along the edges and use paper strips to attach the patch. Finally paint the edges to conceal the manipulation. ;)
But I also noticed different brands of super glue behave different. One was super liquid, spreading like crazy. Others settled down faster, staying in place. It is a bit of gambling, finding the right one that works and then applying carefully, small amounts, ideally on hidden faces, patching up afterwards if necessary
 
  • Like
Reactions: Revell-Fan