
Kamisato-Ayaka-Summer
- Thread starter Walter2
- Start date
You are using an out of date browser. It may not display this or other websites correctly.
You should upgrade or use an alternative browser.
You should upgrade or use an alternative browser.


 )?
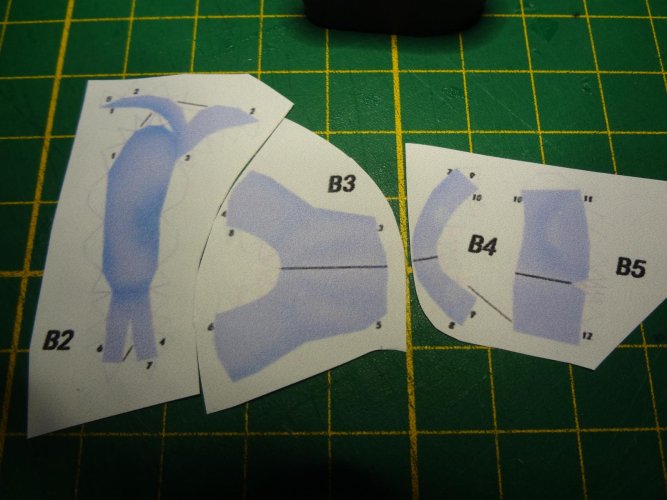
)?It is a complete, somewhat complicated 3D model. There are four face templates, so I'm going to try modeling the eyes in 3D. Zathros suggested that once.
Attachments
Last edited:

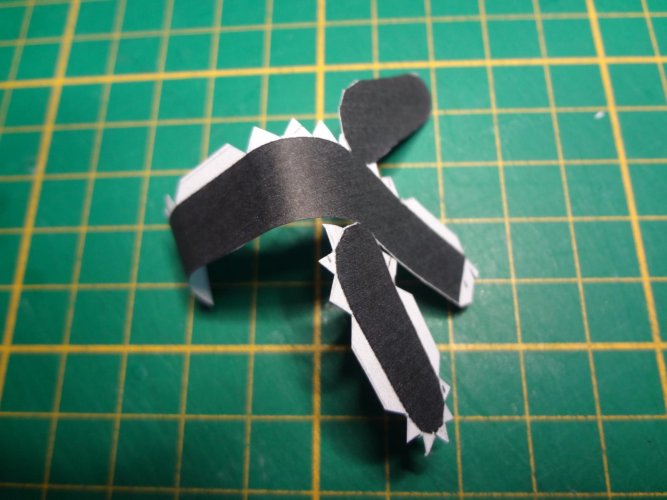
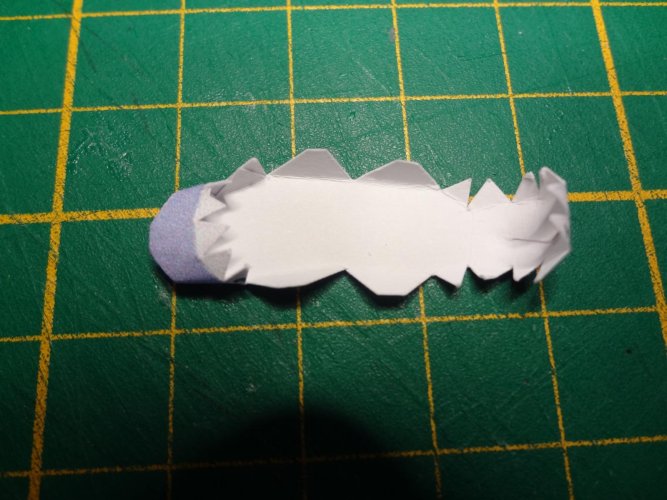
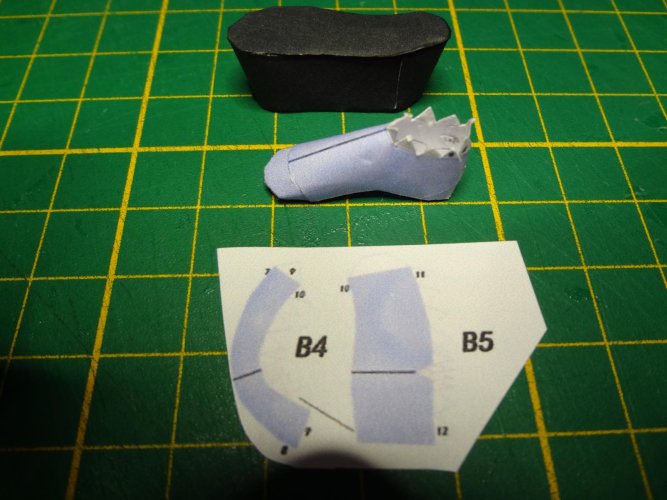
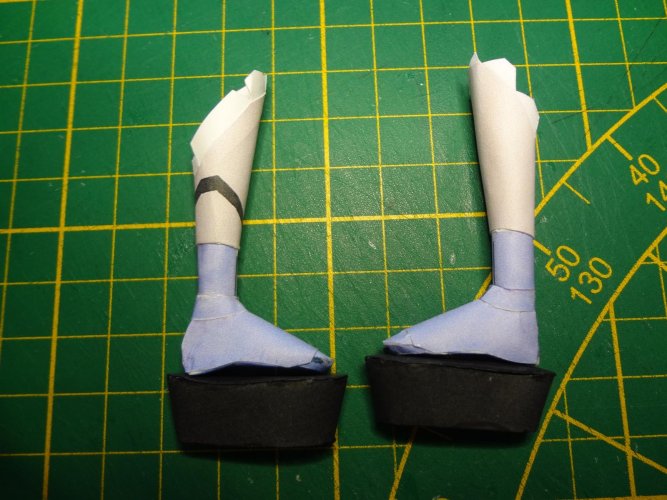
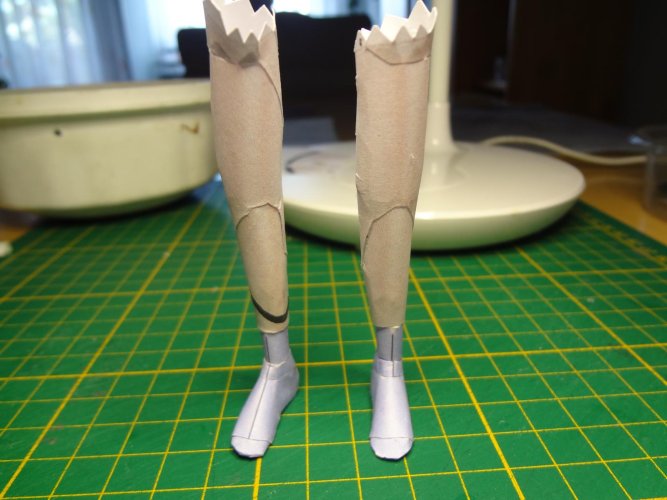
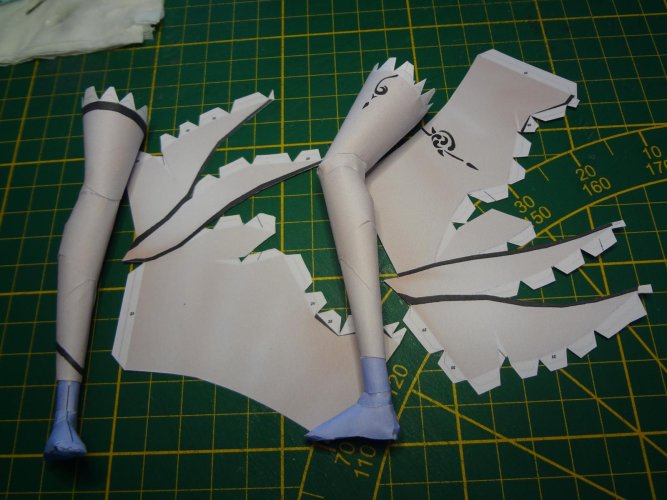
Do not use any tabs on this one. Glue strips only. And reinforce the innards, especially elbows, armpits and legs. And find a crate for storage and dust protection.
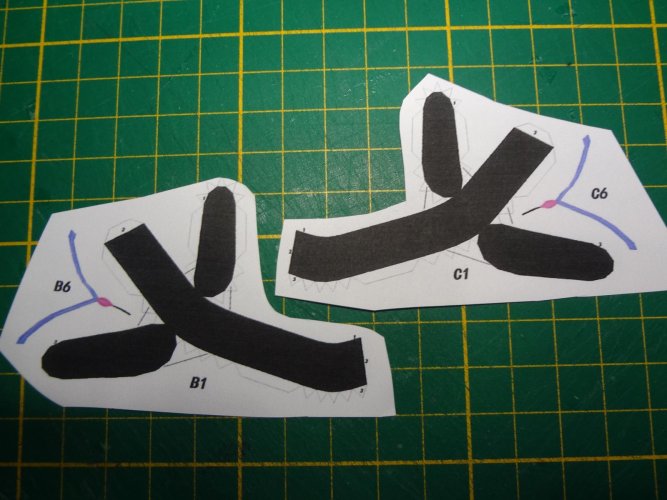
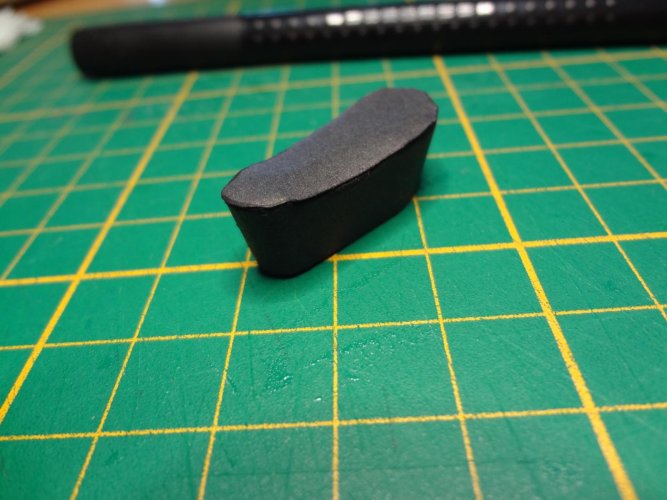
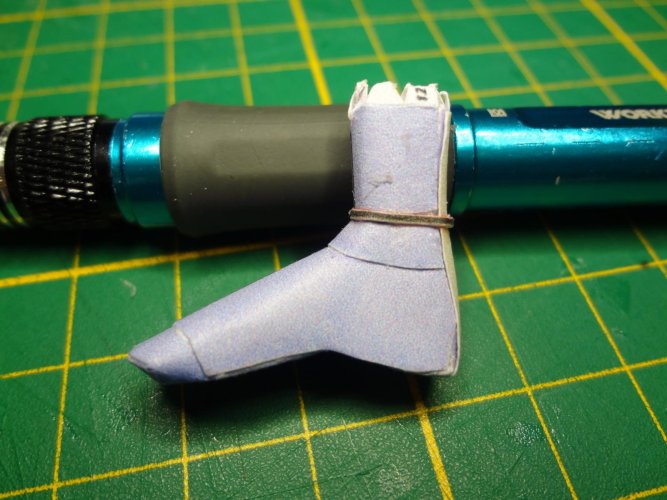
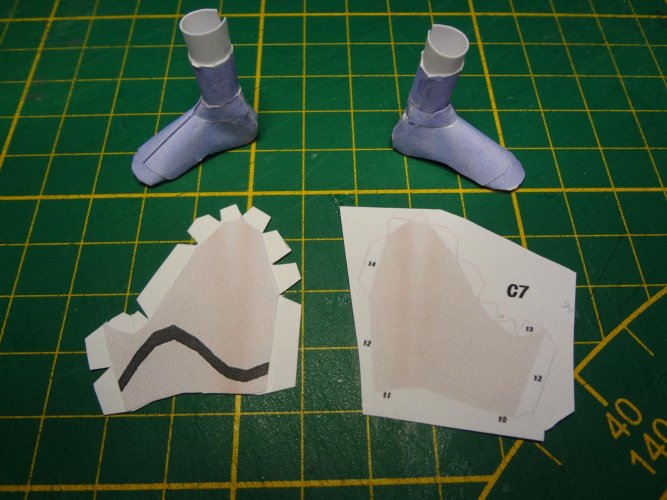
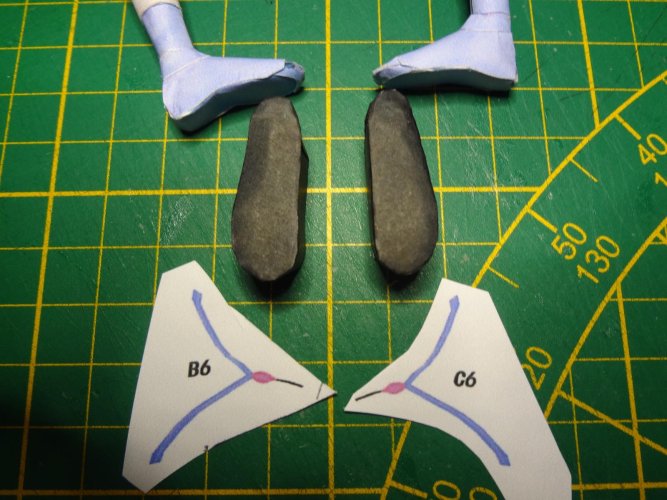
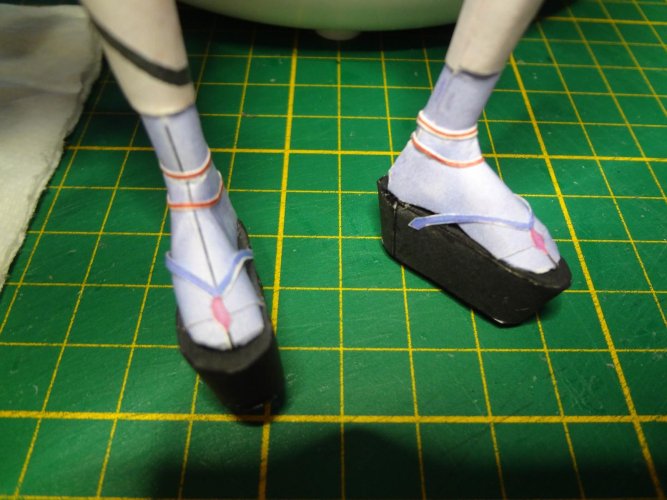
This is what the shoe (blue) is supposed to look like. But I'm going to make it again; there are some flaws in it. Following Revell's instructions.
Attachments
-
 DSC06295.JPG208.7 KB · Views: 18
 -
 DSC06296.JPG166.7 KB · Views: 17
 -
 DSC06297.JPG196.8 KB · Views: 19
 -
 DSC06298.JPG216.4 KB · Views: 18
 -
 DSC06299.JPG197.4 KB · Views: 18
 -
 DSC06300.JPG225 KB · Views: 19
 -
 DSC06301.JPG234.6 KB · Views: 18
 -
 DSC06302.JPG210.6 KB · Views: 17
 -
 DSC06303.JPG182.2 KB · Views: 18
 -
 DSC06304.JPG187.3 KB · Views: 17
 -
 DSC06305.JPG221.2 KB · Views: 18
- Apr 5, 2013
- 14,406
- 11,039
I modeled the eyes in Rhino 5.0 64 and made them about 5 inches in diameter. I copied every line and segment, then color matched it. When I shrunk it down to it's tiny size, I was surprised by how well the detail look. Kind of like Photoshop, but leaving the "Flatten" command out. I felt it was to risque to ever post it. ")
Last edited:
- Apr 5, 2013
- 14,406
- 11,039
Now you have woken my curiosity!Now you have waken my curiosity!
")

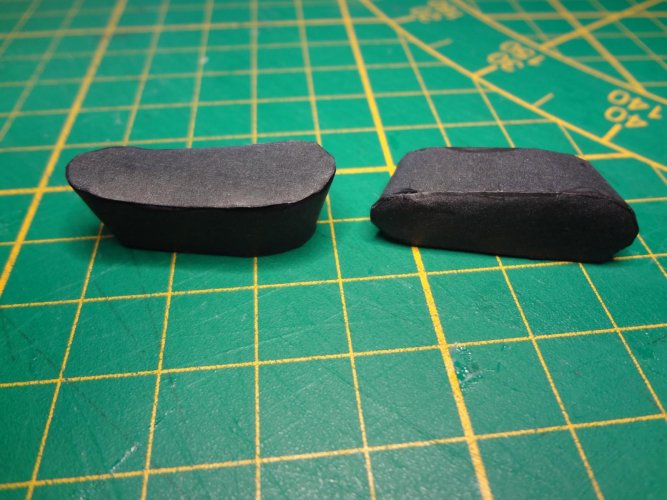
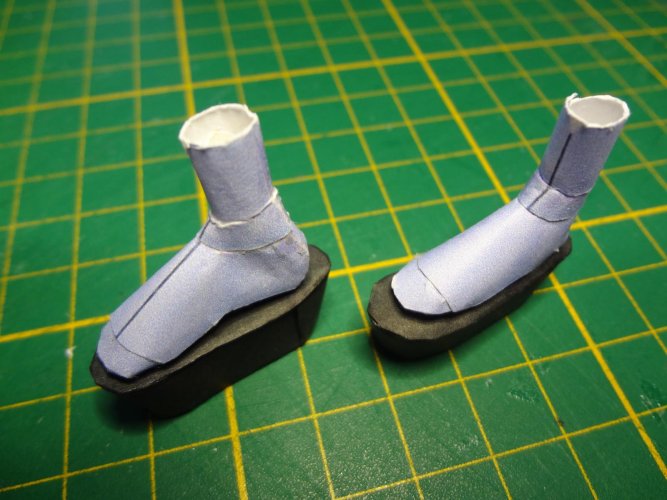
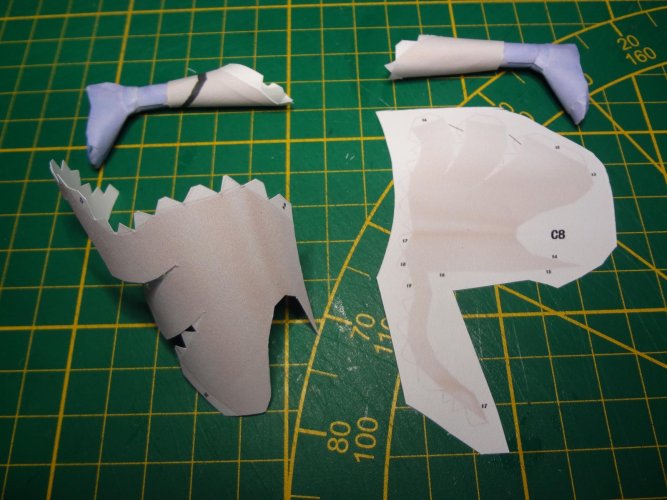
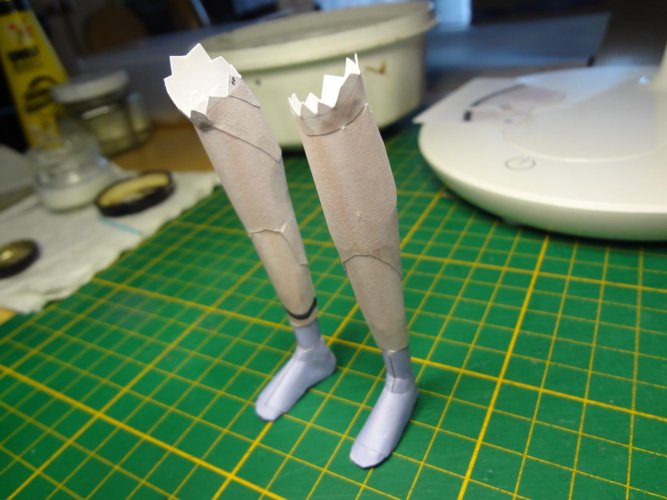
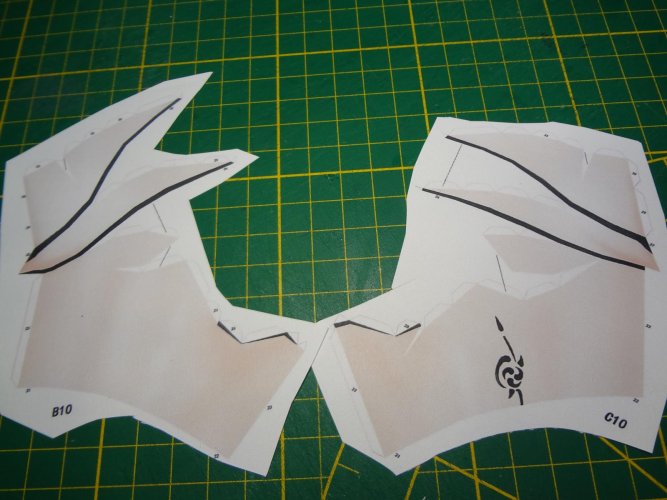
A fresh start... These parts are a real challenge—they're complicated, so they're hard to fit; you can tell. I was about to give up, but I'm going to keep at it... Luckily, I'll be able to cover up a lot of it later with the accessories.
Attachments
-
 DSC06307.JPG237.1 KB · Views: 7
 -
 DSC06308.JPG210.2 KB · Views: 6
 -
 DSC06309.JPG188.4 KB · Views: 5
 -
 DSC06310.JPG239.5 KB · Views: 5
 -
 DSC06311.JPG264.2 KB · Views: 6
 -
 DSC06312.JPG216.7 KB · Views: 5
 -
 DSC06313.JPG291.4 KB · Views: 6
 -
 DSC06314.JPG181.5 KB · Views: 6
 -
 DSC06315.JPG173.7 KB · Views: 5
 -
 DSC06316.JPG238.9 KB · Views: 6
 -
 DSC06318.JPG284.1 KB · Views: 8

You are off to a great start. I am glad to see that you are not abandening this project. I am looking forward to seeing how it will turn out.
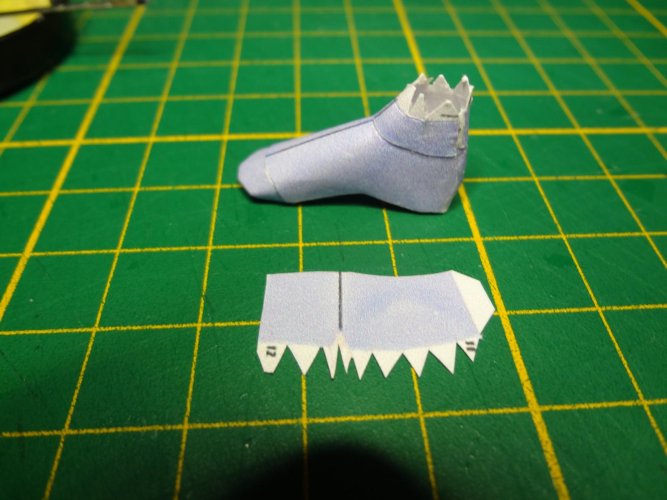
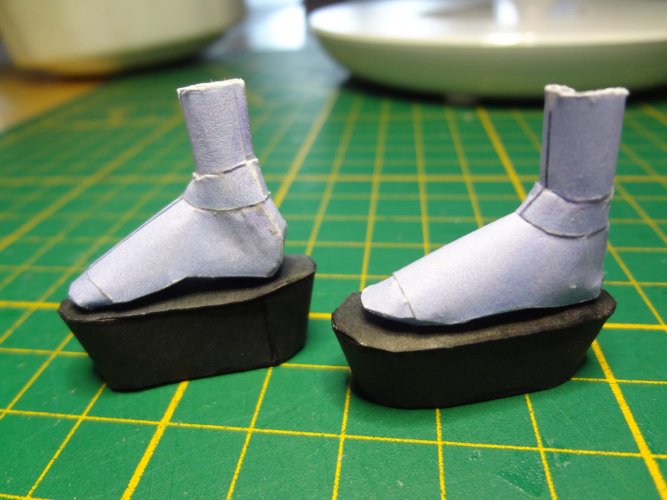
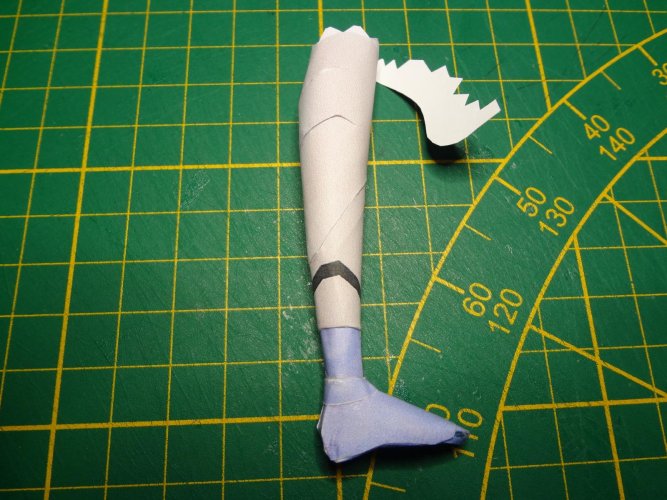
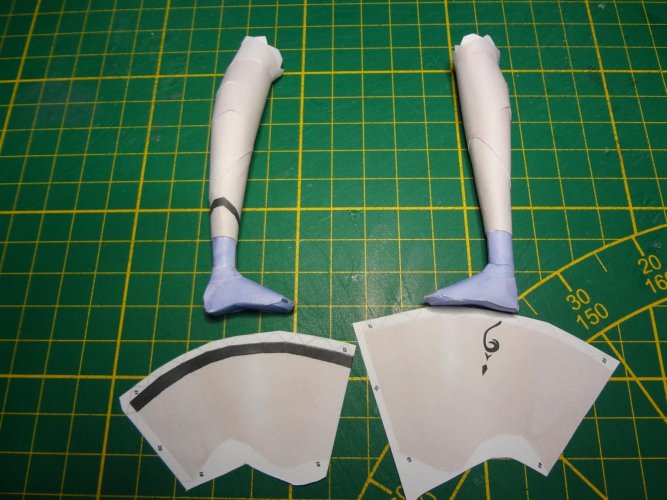
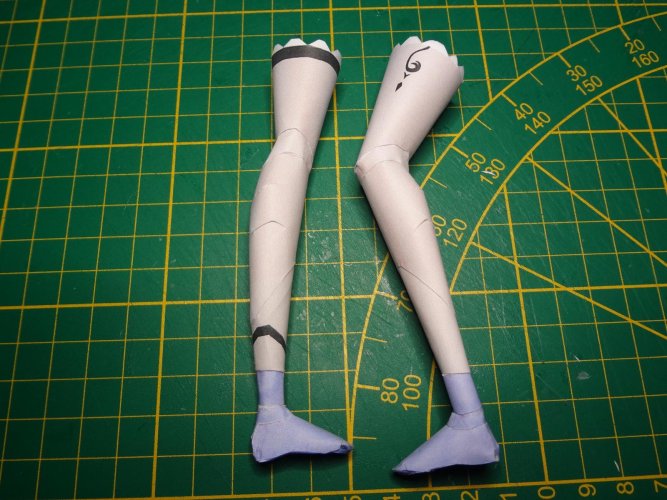
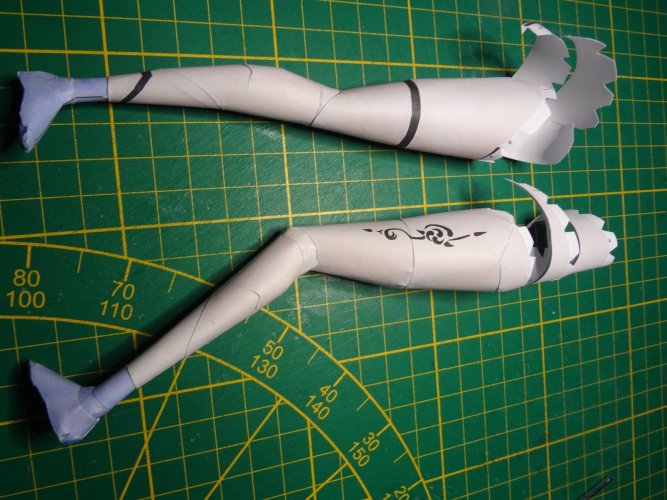
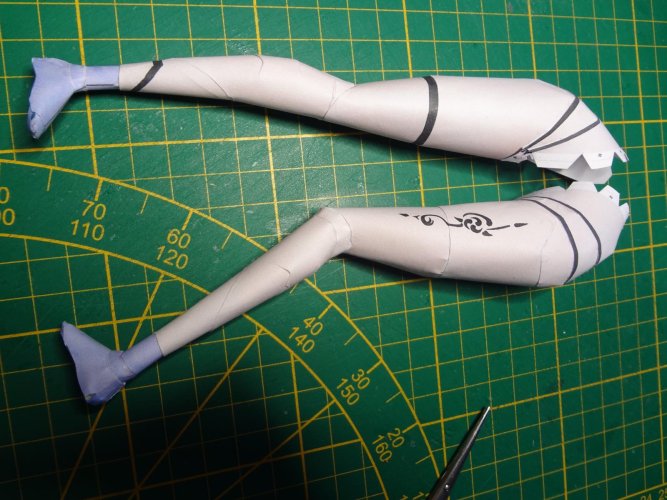
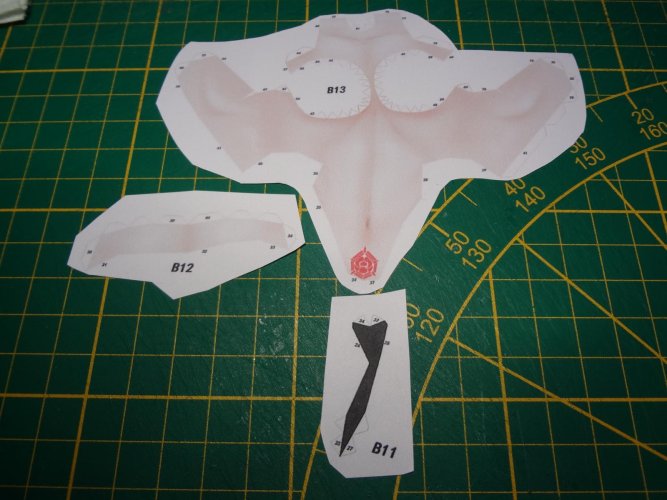
That's it—I'm giving up. Parts B11 and B13 just won't fit the legs properly; they just don't line up...
I'm going to find a new project. The only option left would be to start the installation at No. 13 and work my way down...we'll see.
I'm going to find a new project. The only option left would be to start the installation at No. 13 and work my way down...we'll see.
Attachments
Last edited:
