James Bond Lotus Esprit - Submarine Version

Sky Seeker

Well Established Member
Jun 1, 2015
1,417
1,636
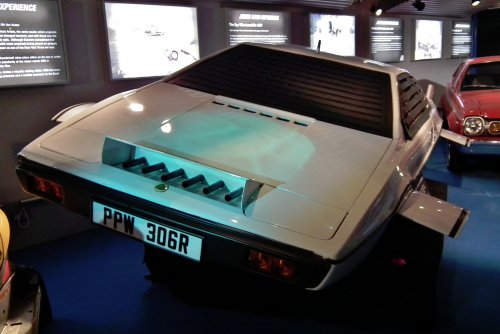
This is a simple model from paperdiorama (originally papercrafts.it) from the 1977 movie "The Spy Who Loved Me".


1628132070229.png

1628132085988.png

A clip from the Spy Who Loved Me with the "car" underwater.

Some shots of the sub in the movie:
1628139228538.png


1628138655742.png

1628138531569.png


1628138947850.png


Thought I'd include this shot as the car / sub is NOT typically shown with it's doors open underwater
1628138552737.png


1628138575781.png

1628139053190.png

1628139083285.png

After having a bit of a hiatus from modeling I thought I'd start out slow, by doing something relatively "simple".
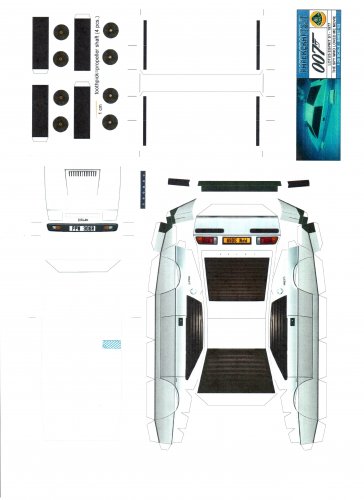
Templates - side control surfaces and hood. Note the lines see below
1628141556174.jpeg

The lines are used to line up scoring for the folds.
1628141678009.jpeg

Scored sections - note how the line up with the marks on the top and bottom.
1628141747663.jpeg

Most template pieces cut out
1628141766787.jpeg

1628141880656.jpeg

Back support areas for the vertical stabilizers
1628141900956.jpeg

Rear portion assembled
1628141947091.jpeg

1628141974290.jpeg


That's it for now.

Sky Seeker
 

Attachments

  • 1628138887258.jpeg
    1628138887258.jpeg
    1.5 MB · Views: 19
  • 1628141983828.jpeg
    1628141983828.jpeg
    522.5 KB · Views: 16
Test fit - horizontal control surfaces. Just wanted to make sure that the cut outs in the side of the vehicle had enough clearance for the horizontal control surfaces.
1628142096424.jpeg


1628142222664.jpeg

Both horizontal control surfaces positioned and glued in place.
1628142248156.jpeg

Top view
1628142304364.jpeg

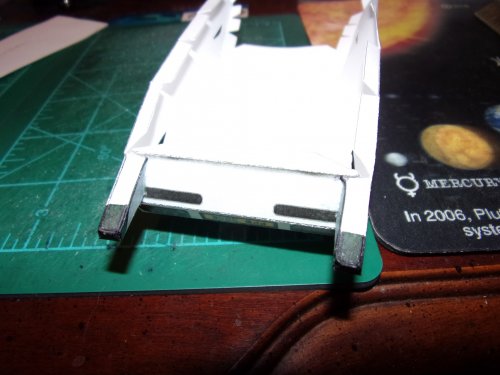
When test fitting the bottom plate - there was a wee bit problem discovered. The plate was too short and the back edges curved inwards too much!
1628142352666.jpeg

The solution - reprint another bottom piece cut off the rear portion that curved inwards too much and attach a longer straight portion onto the main bottom piece. The piece to the right is the correct size piece (see below).
1628142492803.jpeg

Bottom piece glued in place
1628142731590.jpeg


1628142767706.jpeg


That's it for now.

Sky Seeker
 
Last edited:
Ok here are some new pics.

1630187275037.jpeg


Various greebling bits

1630187316835.jpeg


Thrusters - in looking at the original design (see below and look at the rear) I noticed that they were just a bunch of cylinders glued together

1630187433314.jpeg


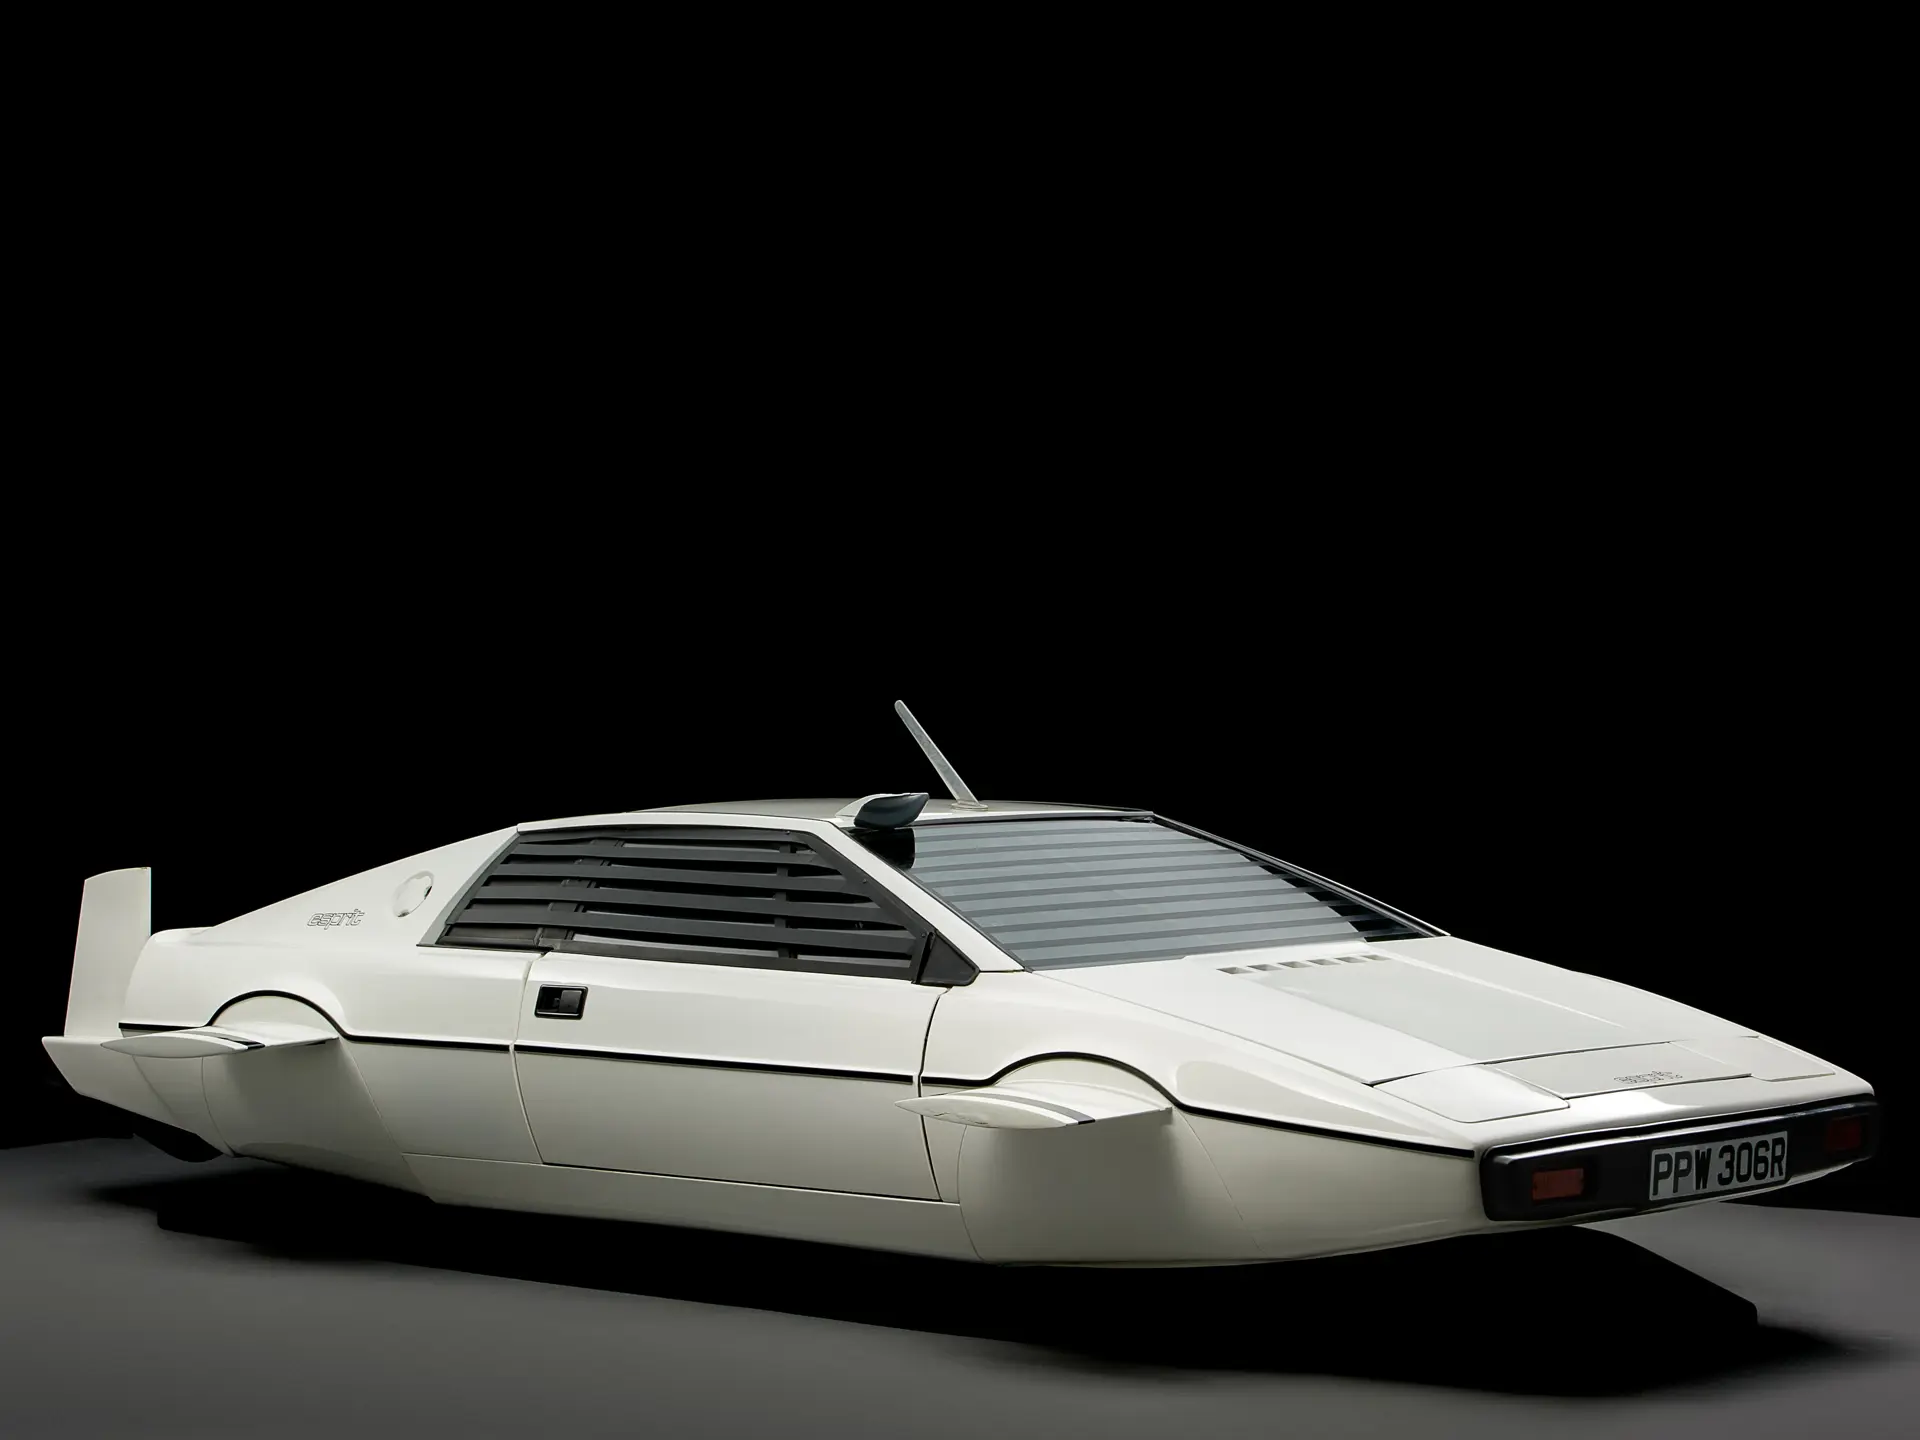
This is what the movie version looked like

1630187497235.png


Needless to say I thought a "few" changes needed to be made

individual pods - the sections in black are the pods for receiving the propellers. You can see the stock propellers below. In the picture you can see the outline of the propellers pretty clearly, but in real life they are difficult to cut accurately. The white strip on the left will be used for a support for the propellers.
1630187353404.jpeg

The back side of one of the pods colored in black marker.
1630187764909.jpeg

All the pods colored. One of the tabs have been left on, but per Zathros' past instruction on the matter all tabs for cylinders are cut off before and re-glued on prior to final assembly.
1630187811446.jpeg


All pods assembled.
1630187942872.jpeg

After the pods are assembled, they are pushed together and lined up with a ruler. In one of the pods you can see how the tabs are positioned internally. This gives a smooth outer surface on the pods.
1630187970913.jpeg

Next they are glued. While it looks like it will be sloppy, the glue dries transparent.
1630188055131.jpeg

The struts are cut from the strip of white cardstock mentioned earlier. The height is roughly the diameter of the pods. One for each pod.
1630188135172.jpeg

The struts with gluing of the underside of the pods.
1630188240554.jpeg

At this point you can see that the efforts for cutting the provided propellers were kind of fruitless (see the middle circular parts). At this point it was decided to find a picture of an actual marine propeller, scale it down for the desired use, print and cut as needed. Yes these propellers on the lower level are scaled real life propellers.
Looking at the strut on the furthest right side, a rolled up piece of excess cardstock was cut and rolled between the fingers to create a prop shaft. It was originally intended to be able to rotate, but it worked out that it just stuck in place.
1630188321605.jpeg

Close up look at the strut and the shaft prior to gluing. The center was cut with an exacto knife then a punch was used to widen the hole. A small nail could be used as well.
1630188665391.jpeg


That's it for now.

Sky Seeker
 
Last edited:
More pics

The remaining struts have been punched while the right hand most strut has been glued in place. In retrospect it sort of is resembling a tie fighter (that's just sheer coincidence);). Note that one of the propellers has been cut. I thought it was a definite improvement over the older propellers.
1630188903443.jpeg

The struts are now fully assembled with their respective shafts. It looks like I might be have another movie on the mind.;) Please feel free to guess which one! Actually, any resemblance is purely by chance and just an accident.

The propellers have all been cut out with the edges colored in black marker. The top of the pods seemed to have air holes formed when the glue was drying so another layer of glue was added to removed gaps.
1630189130456.jpeg


The ends of the shafts were cut and split to receive the propellers. The propellers might look cut up in the pics, please keep in mind the scale. In real life they look fine and you can't see the cuts.
1630189459839.jpeg

The struts colored with a black marker.
1630189606072.jpeg


The propellers assembled on to the struts. Please keep in mind the scale at which this detail is being done these struts are roughly 3/8" - t-i-n-y. All ready to be inserted into the pods.
1630189669124.jpeg


While I was waiting for the struts / propeller assemblies to dry, the front missile launcher was placed on the vehicle. In real life you can barely read the lotus insignia on the vehicle. If you use glasses you definitely will need them to read it.
1630189830898.jpeg


That's it for now.

Sky Seeker
 
Last edited:
I really like the work and detailed greebling that you are putting into this project!!!

Thanks appreciate it. :) I feel like the more research that is done on this project the more that the movie "magic" is being ruined, but then again I'm getting a greater appreciation for the art they have created along the way.

Thanks for stopping on by.
 
Its not a simple model any more with all the effort and greeblings that you put on this model. I like the way you chare your thoughts with us. :BRAVO:
 
  • Like
Reactions: Sky Seeker
Here's the finished product done last night.

1630282833059.jpeg

For anybody that wants the new template for the propellers here it is to proper scale:

1630283345973.jpeg


Here's another link for the Sotheby's auction with more pics of the car.


Next up the horizontal and vertical rudders near the propeller assembly.

Sky Seeker
 

Attachments

  • 1630283356698.jpeg
    1630283356698.jpeg
    648.5 KB · Views: 22
Last edited:
Its not a simple model any more with all the effort and greeblings that you put on this model. I like the way you chare your thoughts with us. :BRAVO:
I get detailed with how things are done so that if others want to do this they can. When making the complex you just do a whole lot of simple steps. One builds on the other.

There's still more detailing that needs to be done. Here's the laundry list:

Horizontal and vertical rudders for the propeller assembly
Rear tail lights and license plate
Front bumper
Front rear and side window louvers
Diorama stand (this came with the model - will tweak accordingly)

That's all I can think of, but if you have any more ideas I'll see what can be done.

Sky Seeker
 
Looks like your doin a bang up job on this, and thank you for sharing the link, I nabbed this to try later.
 
  • Like
Reactions: Sky Seeker