How to easily replace missing, damaged or outdated pictures - UPDATE 2025! NOW MUCH EASIER!

Revell-Fan

Co-Administrator
Staff member
Administrator
Moderator
Aug 1, 2009
12,626
14,313
228
Vreden
Hello fans,

in this tutorial I'm showing you how to easily edit, update or replace a picture in your post. The way I present here is very useful if you have to edit many pictures because the picture is inserted at the exact position of the old one (you save some clicks).

Go to the post which contains the missing or outdated picture.

Click the "Edit" button at the bottom of the post.
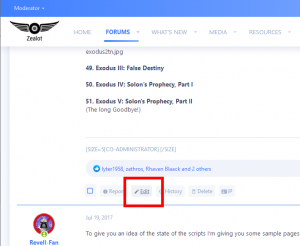
0.png


Click on the text data or the picture in question:
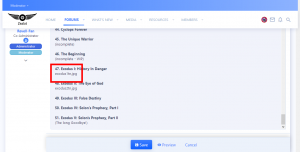
1.png

The edit window pops up. Now you can replace the picture by hitting the center button:
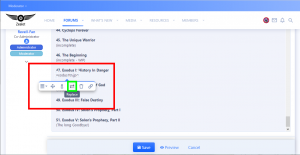
2.png

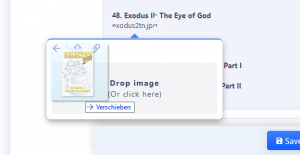
Drag and drop the new picture into the upload field:
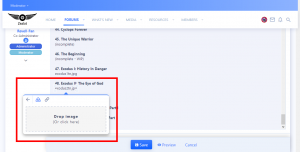
3.png


4.png


5.png


The new picture is uploaded and inserted. Then scroll to the botom of the edit window.

8.png

Remove the old picture / picture information(s) by clicking the "Delete" button at the right of the picture(s) in question to clean up the post and "Save".

DONE! :)

 
Thank you, Tonino! :)

I know what you mean... :sadno:

I suggest to tackle one thread at a time, starting with the most actual ones. That's what I do. The file names which are still there are very helpful to determine the position of the pictures. I'm still kicking my butt for not having saved your threads to my personal archive when they were complete. Then I could have assisted you in restoring them. I had never thought that such a catastrophy could happen. :-/
 
  • Like
Reactions: zathros and Tonino
+++ UPDATE 2025 +++

Hello fans,

by accident I found out that there is even a much more straight-forward way to replace pictures in your posts.

The most significant aspect of this method is that you do not have to edit anything in the "posting" window any longer - no cursor placements, no extra deletions; just do everything inside the "manage attachments" window.

This is how you do it:

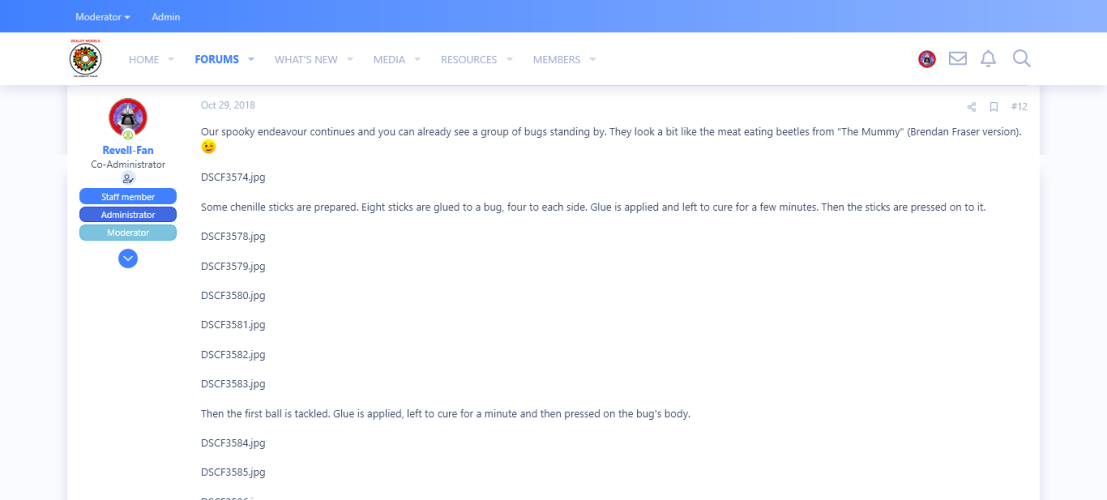
1. Open the thread with the pictures to be replaced:

FireShot Capture 727 - Something new for Halloween _-) - Zealot Models - www.zealotmodels.com.png

2. Hit the EDIT button at the bottom of the post.

FireShot Capture 729 - Something new for Halloween _-) - Zealot Models - www.zealotmodels.com.png

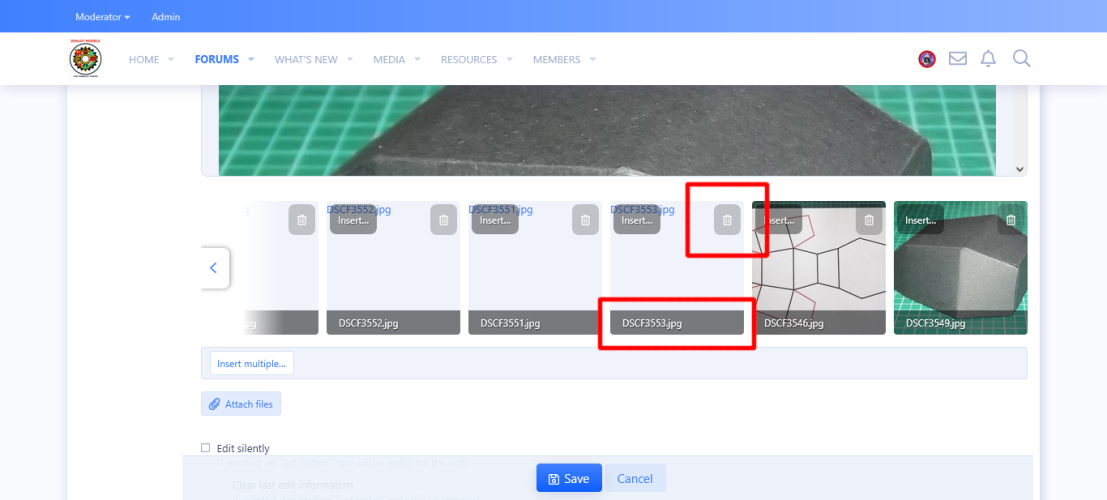
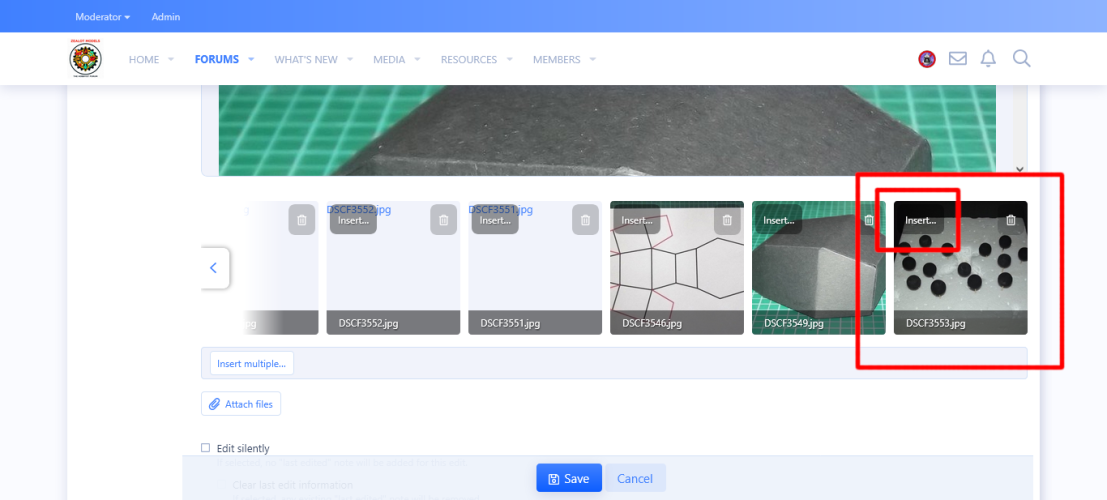
3. Scroll down to the manage attachments window. Choose a picture you want to replace / update. Hit the DELETE button in the top right corner.

FireShot Capture 721 - Something new for Halloween _-) - Zealot Models - www.zealotmodels.com.png

The old image disappears.

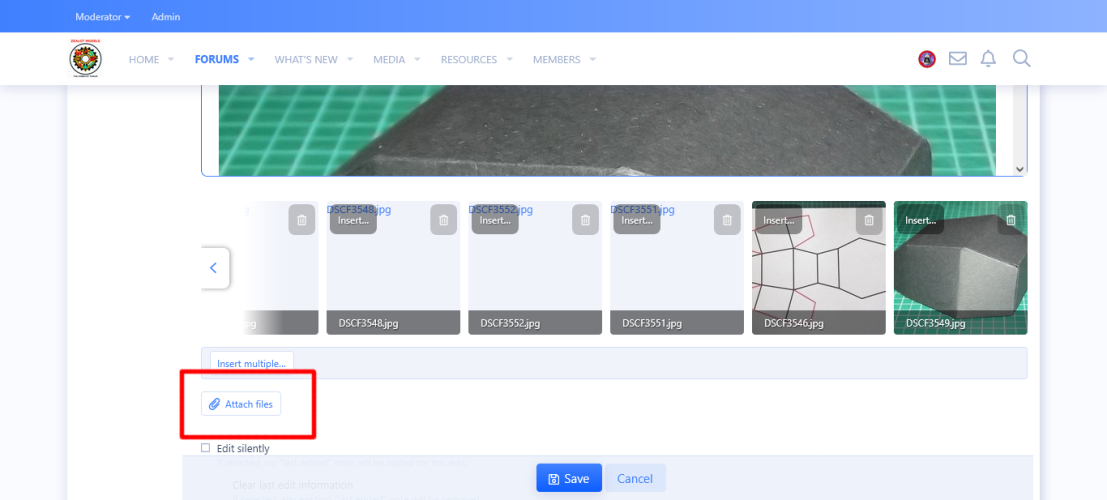
4. Hit the ATTACH FILES button and upload the new picture:

FireShot Capture 722 - Something new for Halloween _-) - Zealot Models - www.zealotmodels.com.png

The new image appears as thumbnail.

5. Hit INSERT:

FireShot Capture 723 - Something new for Halloween _-) - Zealot Models - www.zealotmodels.com.png

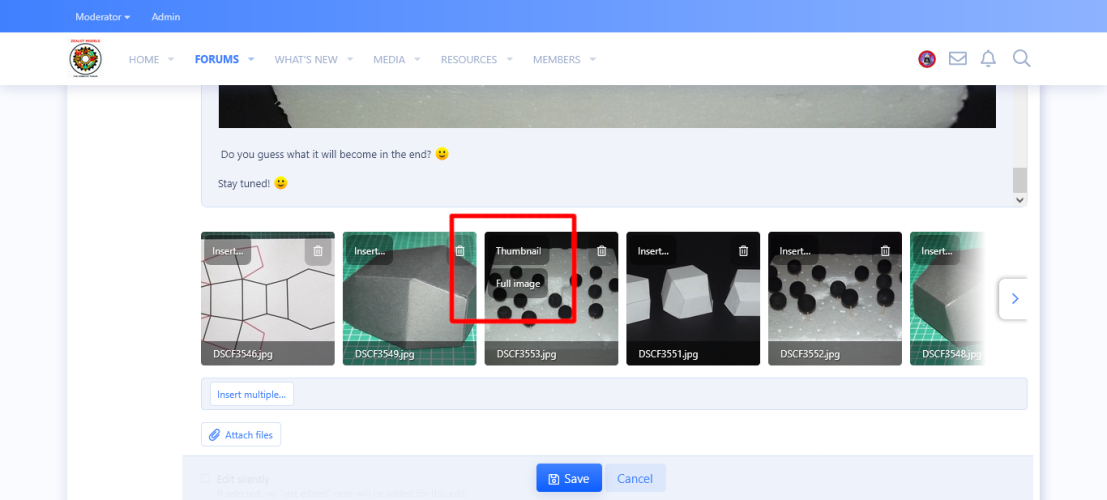
6. Choose "Thumbnail" or "Full image".

FireShot Capture 730 - Something new for Halloween _-) - Zealot Models - www.zealotmodels.com.png

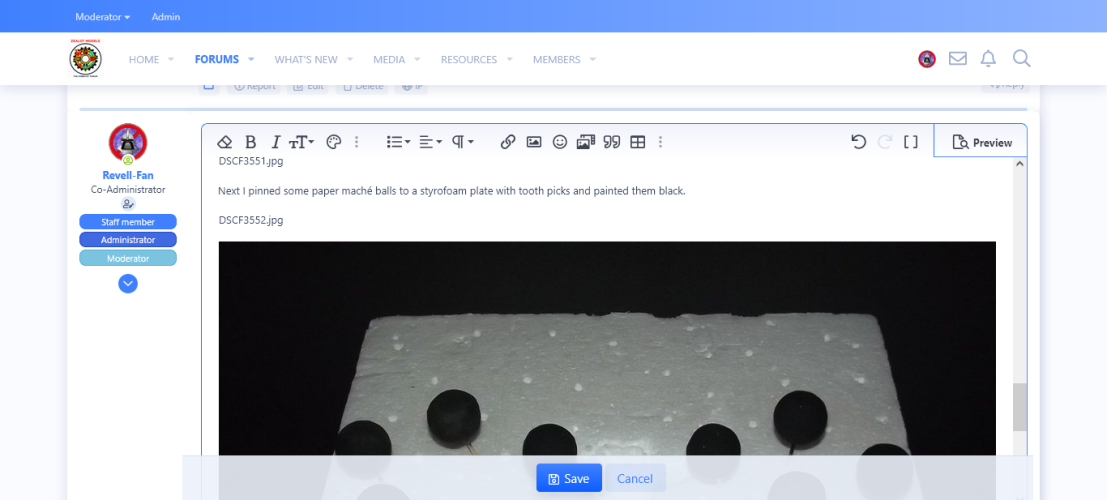
The image is inserted in the exact same position of the old one! No extra editing needed! It's like MAGIC!!!!

FireShot Capture 724 - Something new for Halloween _-) - Zealot Models - www.zealotmodels.com.png

7. When you have finished editing, click SAVE.

DONE!

Congratuations, you have successfully edited your post with minimal effort! :)
 
Last edited:
This is the way I've always done it. Thanks for bringing it to those who may have not known. On forums like these, tricks and tips get pushed down, and sometimes the Search Engines is useless. :)
 
It is extremely important to first delete the old picture and then upload the new one and insert it. And only edit one picture at a time. You must not deviate from this sequence or you will have to fiddle around with the posting window again. ;)
 
Definitely. this should encourage people to go back and fix or update their threads, this forum being a repository of so much work. Thank You Revell-Fan!! :)