


It has become a tradition that my colleagues at work get a small treat for Halloween. This year I chose the hanging bat cones from brother:
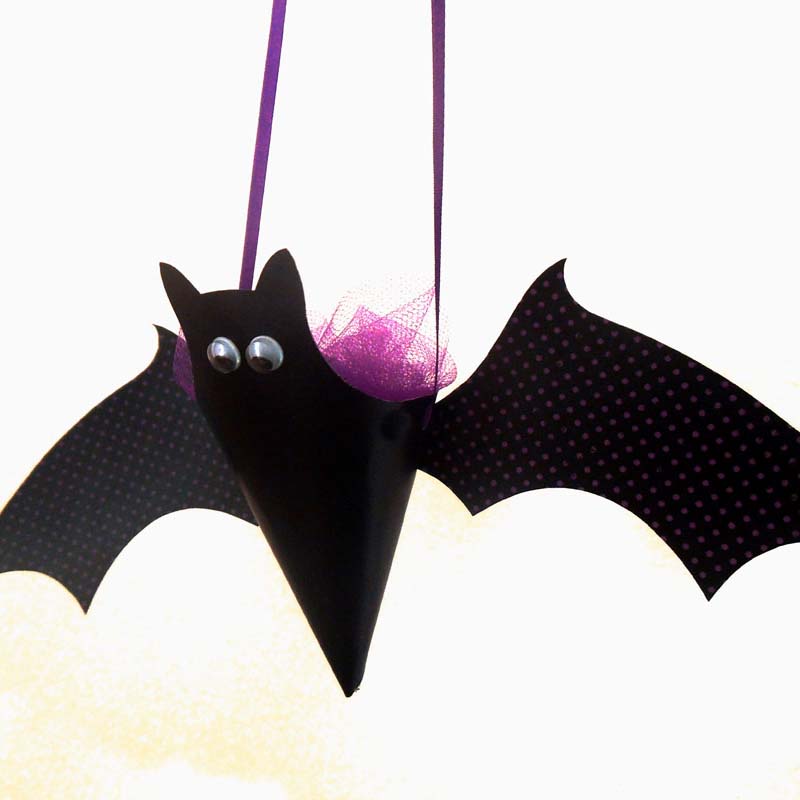
The pattern is very simple and consists of only three parts with two of which are mirrored (the wings). Since the provided pattern was too small for my purpose I enlarged it by about 75 % and printed the outlines. I also made another pattern for a coloured inlay to spicen up the look a bit.

The pattern was glued to some scrap cardboard and cut out. This gave me three stencils for tracing on black and purple card.

I used a white pencil so that the lines were easier to see on the black card.

I always make a limited edition of 15 pieces which are given to those who I meet first as soon as I enter our house. So it's kind of a lottery who will get one. Naturally, if someone doesn't get one and asks me for one I'll make another.

15 bodies and 30 wings had to be cut out.
To bend the bodies into a smooth cones I brushed them with water.


The inlays were traced, cut out and formed:


The pattern is very simple and consists of only three parts with two of which are mirrored (the wings). Since the provided pattern was too small for my purpose I enlarged it by about 75 % and printed the outlines. I also made another pattern for a coloured inlay to spicen up the look a bit.
The pattern was glued to some scrap cardboard and cut out. This gave me three stencils for tracing on black and purple card.
I used a white pencil so that the lines were easier to see on the black card.
I always make a limited edition of 15 pieces which are given to those who I meet first as soon as I enter our house. So it's kind of a lottery who will get one. Naturally, if someone doesn't get one and asks me for one I'll make another.
15 bodies and 30 wings had to be cut out.
To bend the bodies into a smooth cones I brushed them with water.
The inlays were traced, cut out and formed:
Last edited:


