Howdee fans,
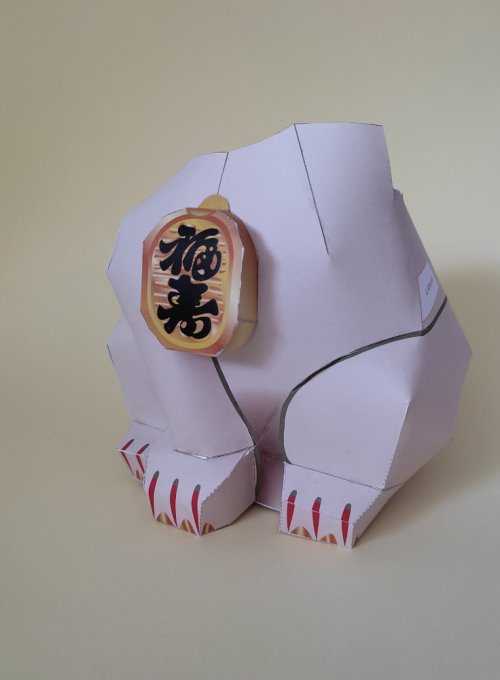
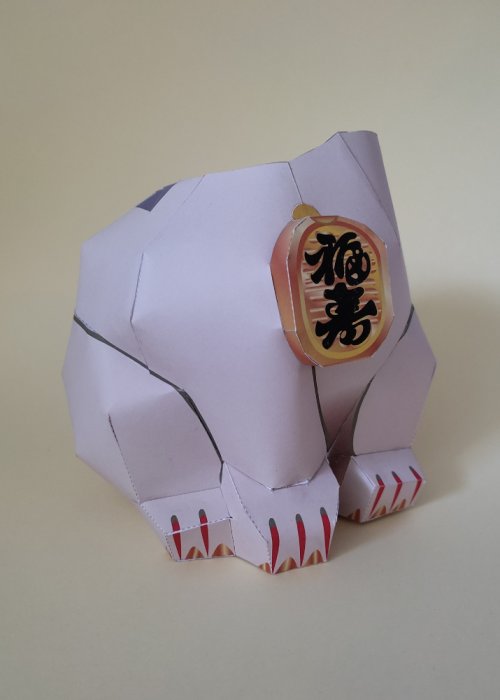
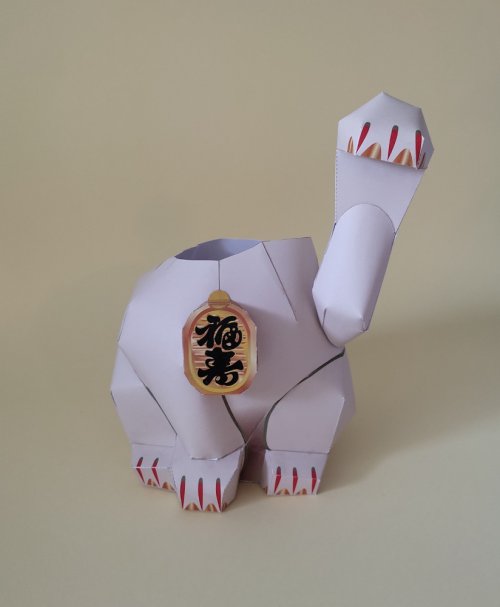
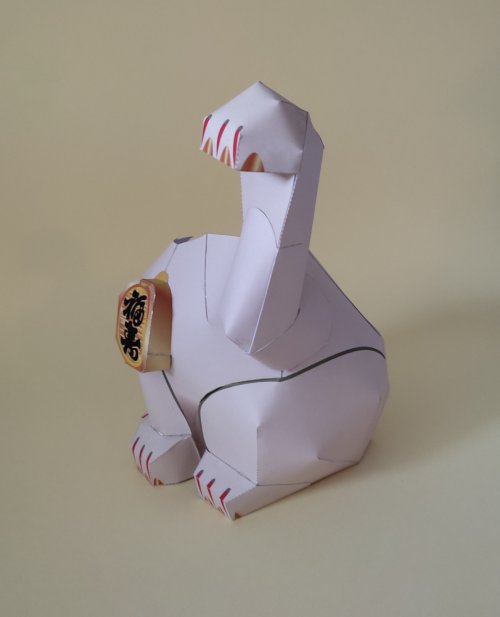
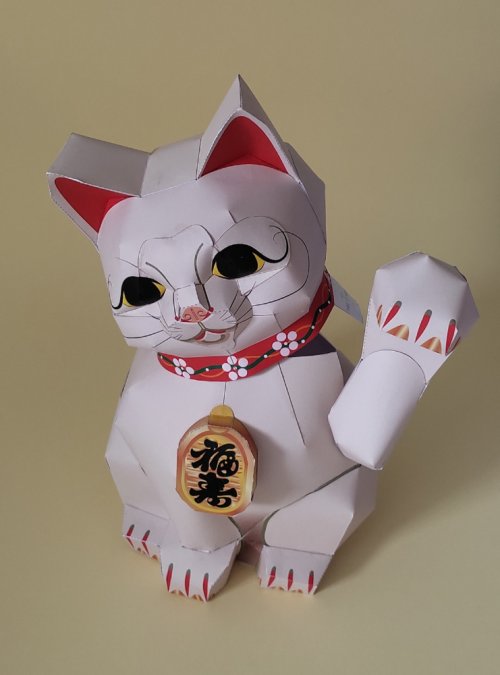
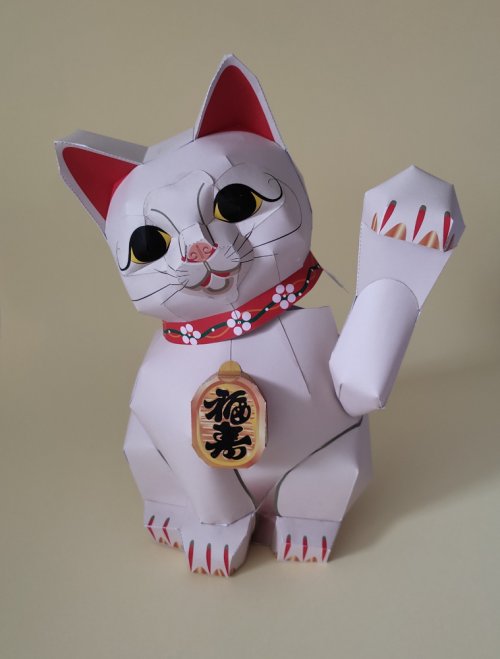
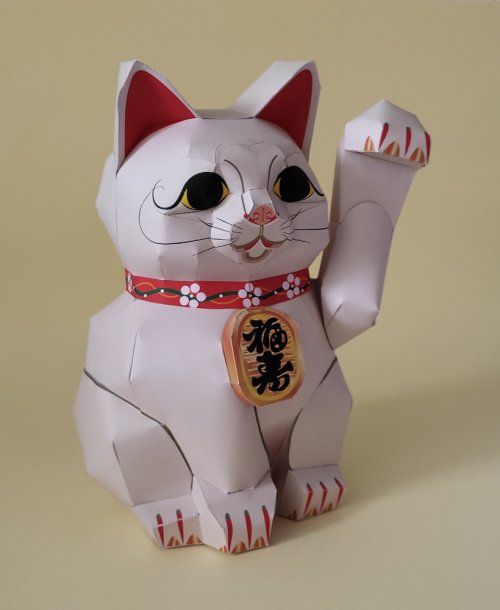
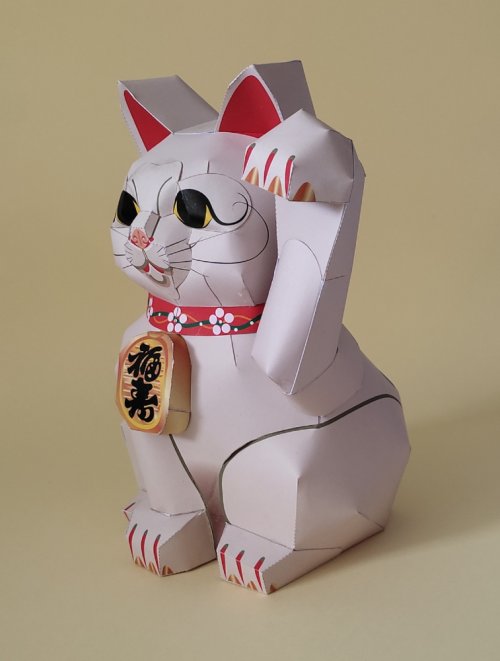
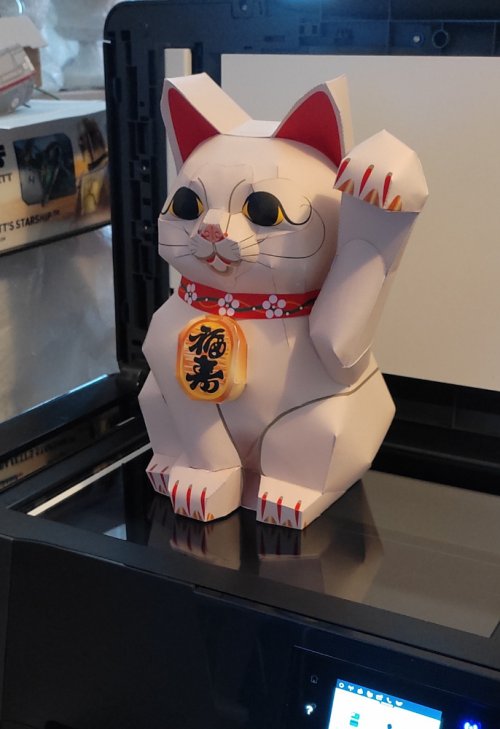
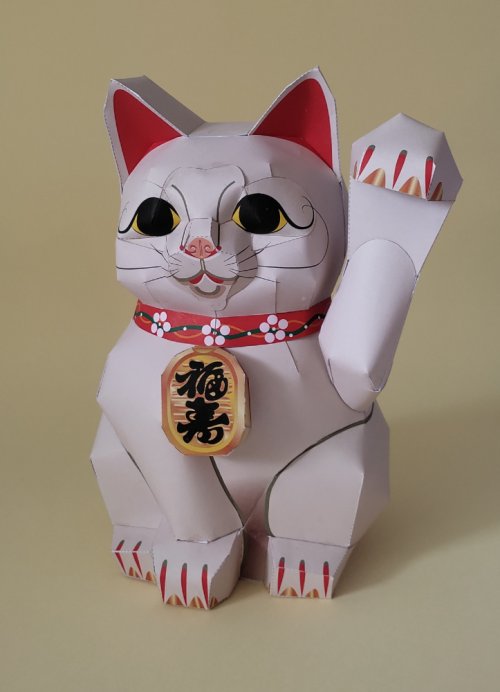
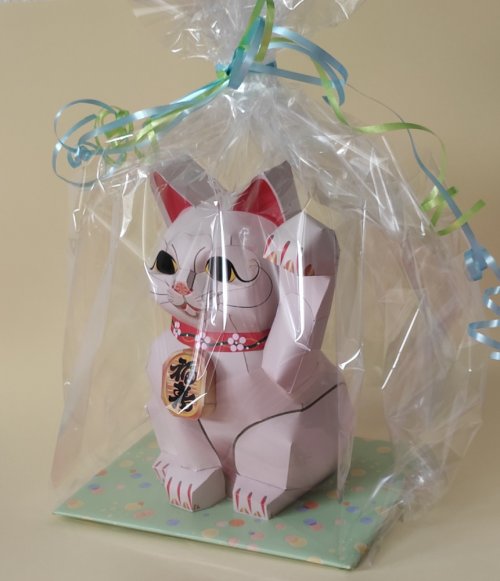
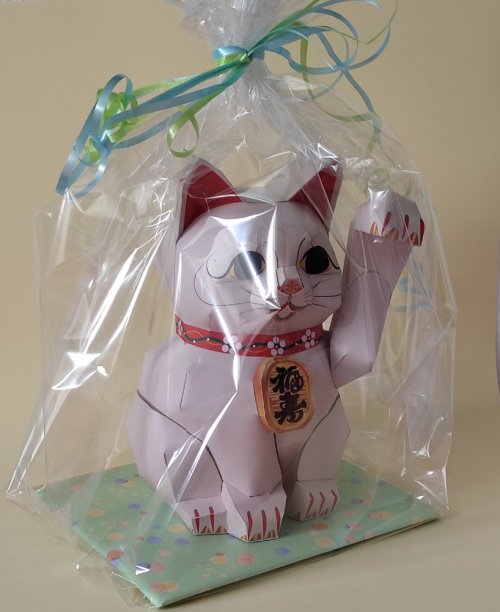
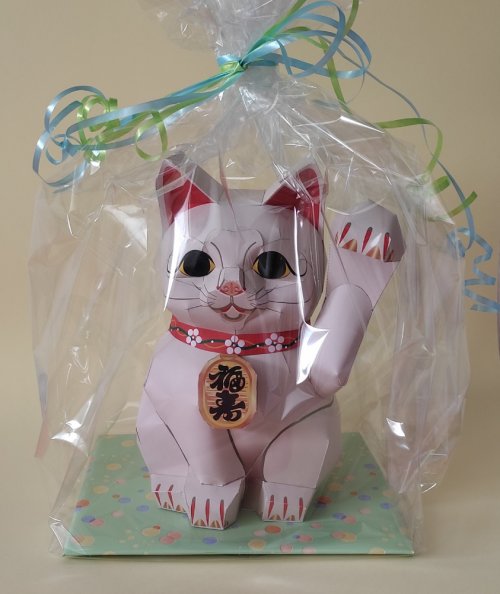
after a very long time I built another Canon lucky cat. This time it was supposed to be a farewell present for a colleague of mine who was retiring.
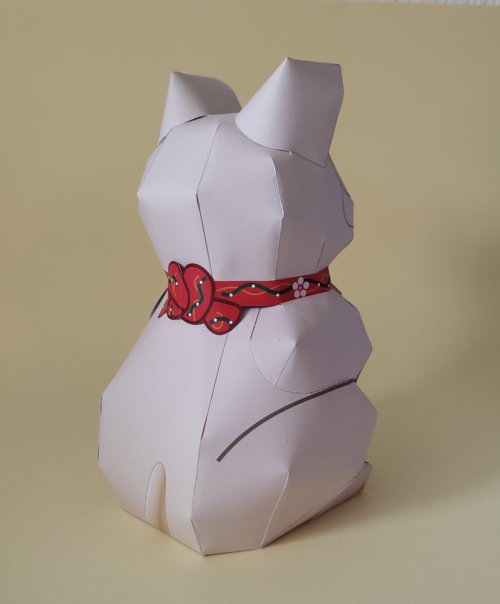
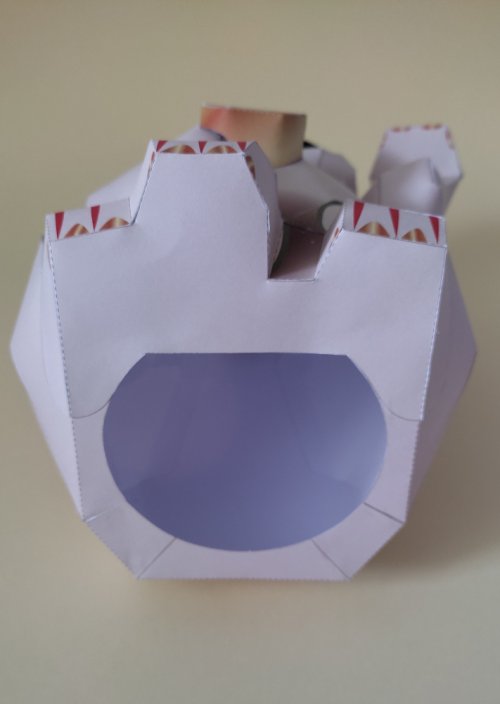
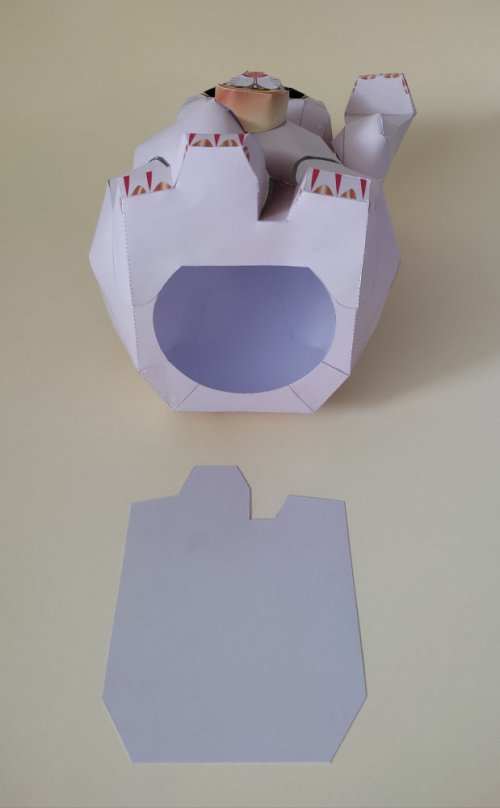
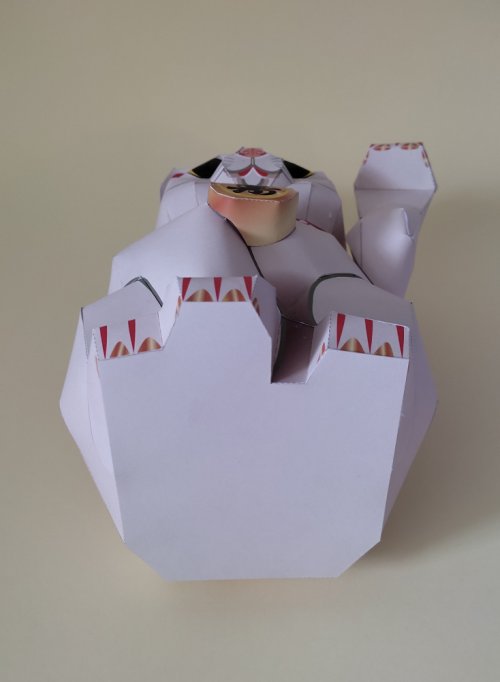
The last time I built this particular model was 11 years ago. I gave it to a dear colleague who was leaving the company to pursue a new career in the jewelry making business. This time I didn't stuff the model but built it as is. The only change I made was I added a plate to the bottom to close the hole. Another difference: this time I took some build pics for you to enjoy. Last time I skipped those because I thought the instructions provided enough info to assemble the model and I was unsure if additional build pics would be of any real value. Now I think, why not. I had the time, there was enough light to take good pictures, so let's do it "properly" this time.
And so it begins!
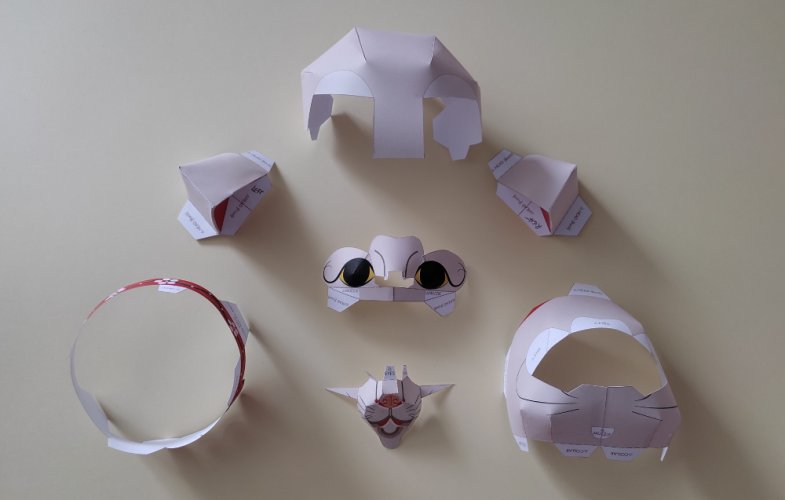
The parts were printed on my trusted 160gsm paper. Assembly is pretty straightforward and the instructions are very well done. There is no step which is not clear. So major kudos to the designer.
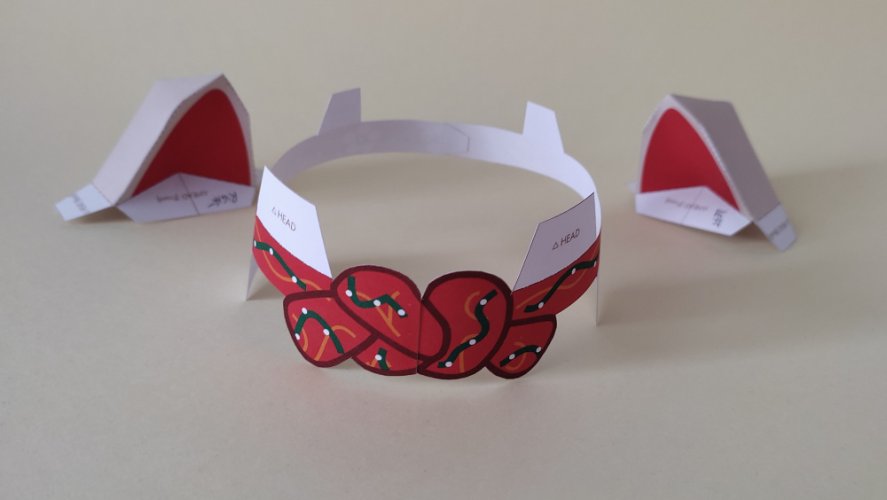
The collar is a simple ring:
The face is the first challenging part. I pre-shaped everything using a dowel and painted the cutting edge of the eyes with a black marker.
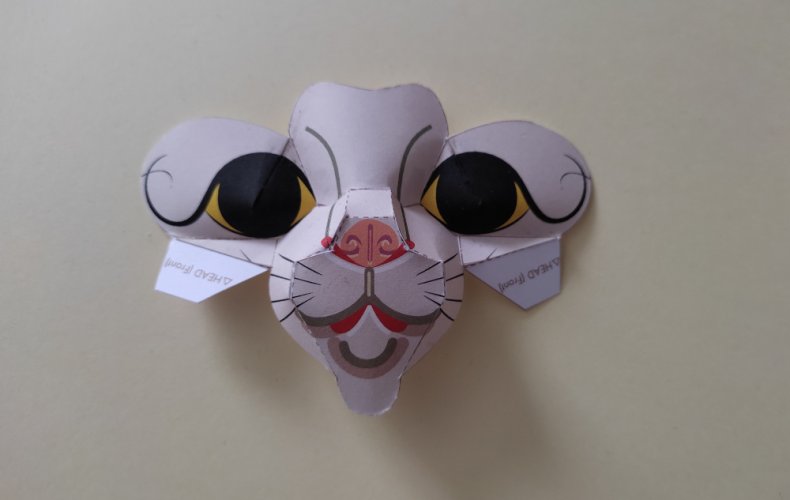
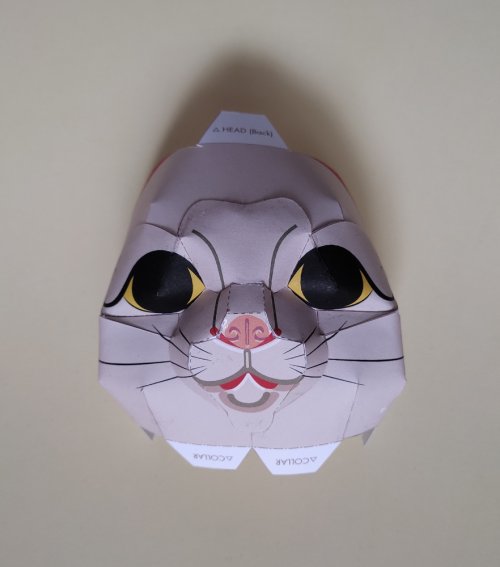
She looks a bit like a rabbit here.
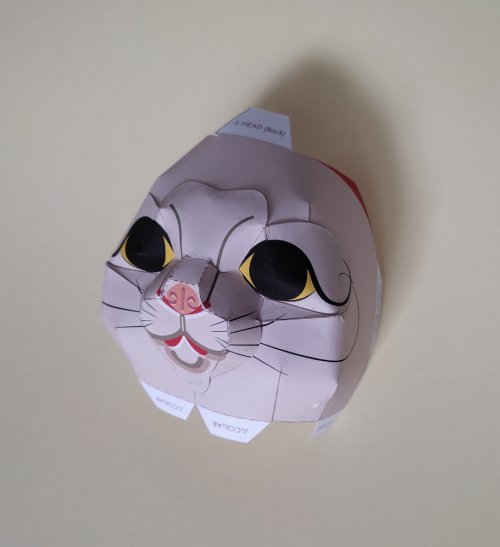
But not for long because the ears make a difference!
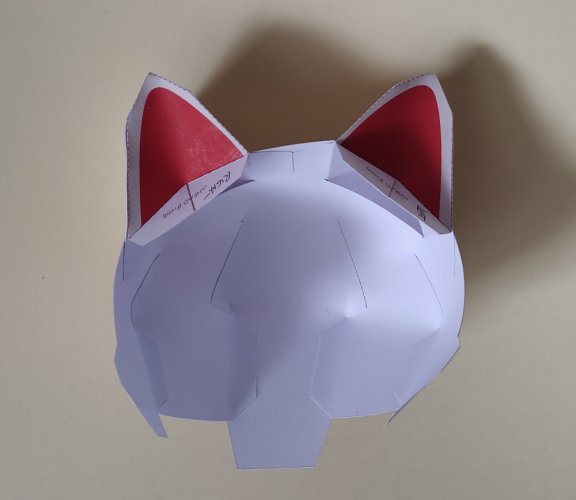
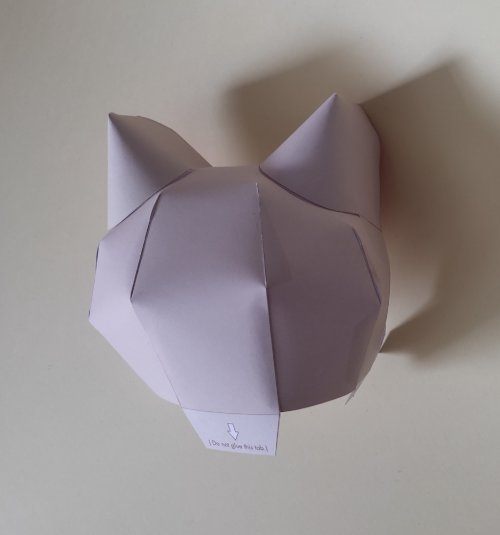
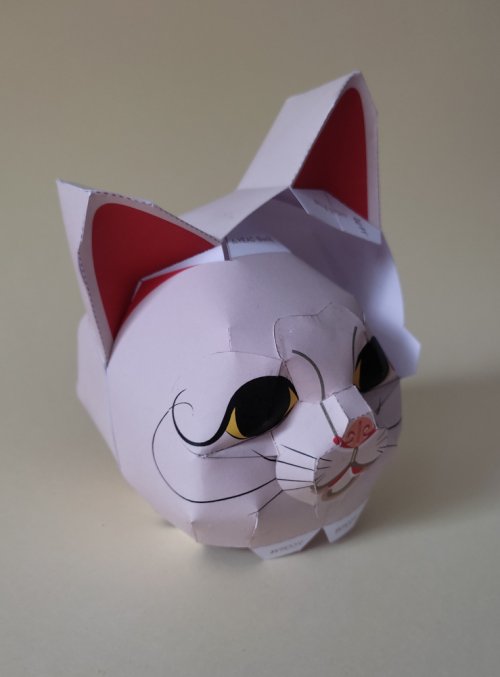
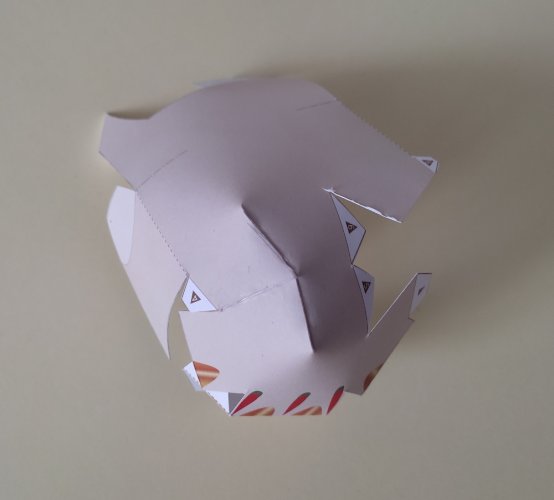
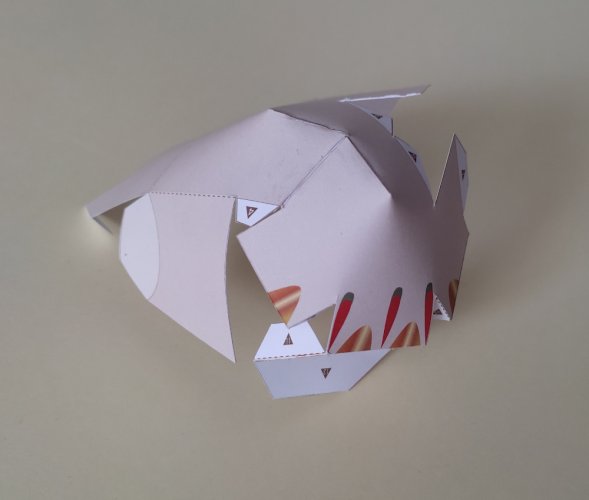
Gluing both halves of the head together is a bit challenging. Due to the alternating tabs it is ensured that the areas do not shift by accident. This technique was very cleverly applied here and thankfully it was used on every part of the body.
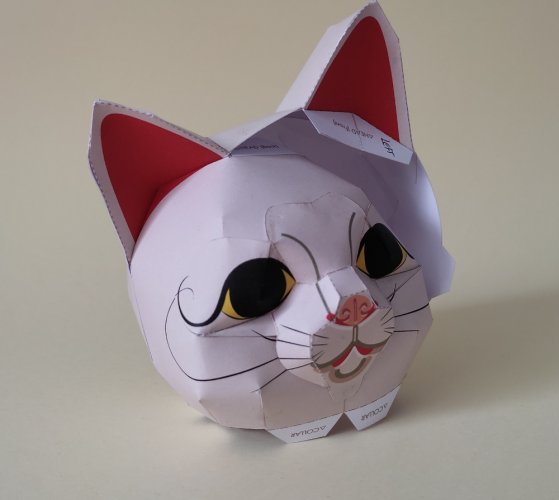
Start on one edge and continue with each successing flap until you have glued everything together.
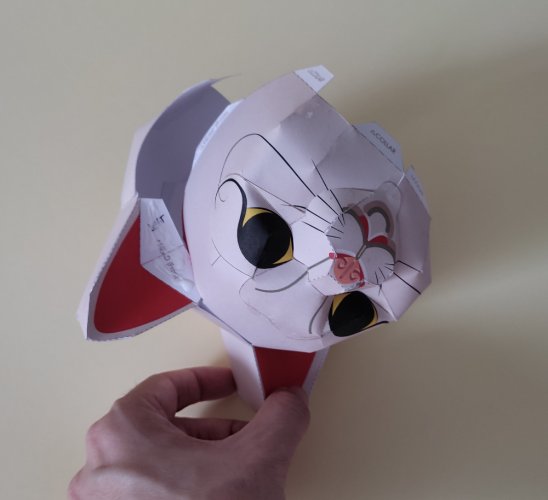
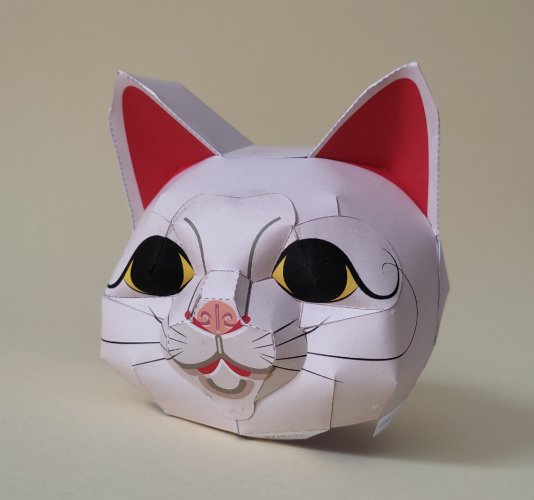
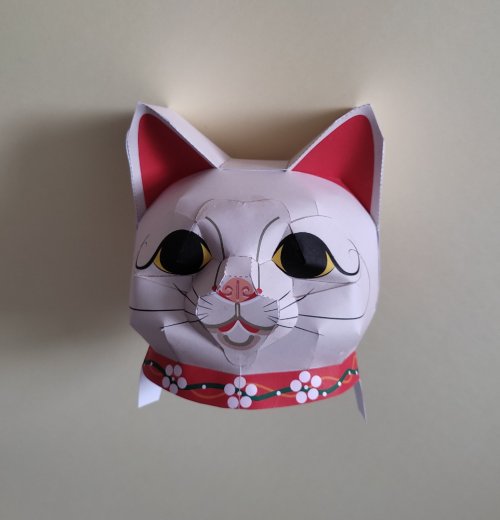
What a nice little cat head we have here!
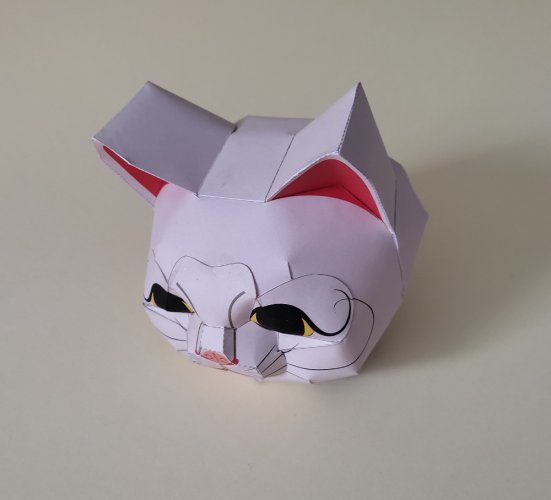
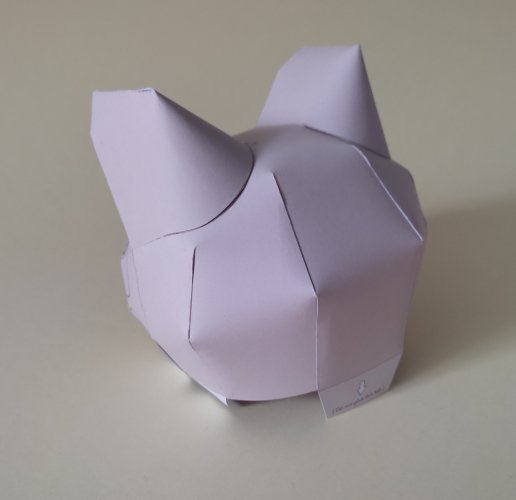
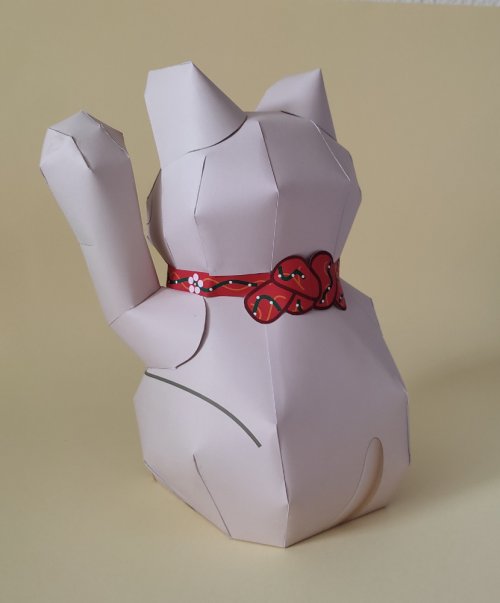
The whole modeling of the model is absolutely fantastic and a testimony of the skills and ingenuity of the designer. He managed to create an organic looking shape with so little cuts and folds. It is fascinating and evokes a strong satisfactory feeling when you look at the final result.
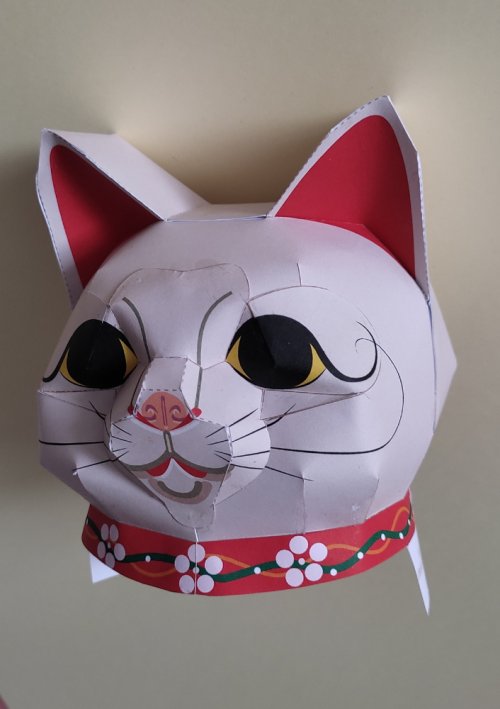
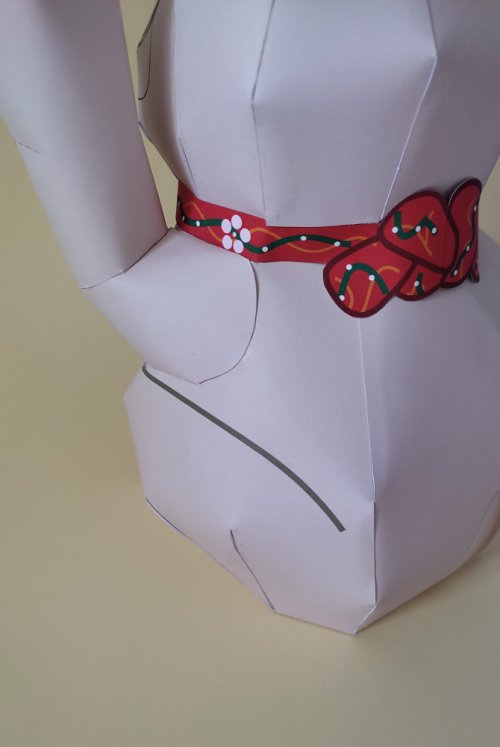
The collar was added.
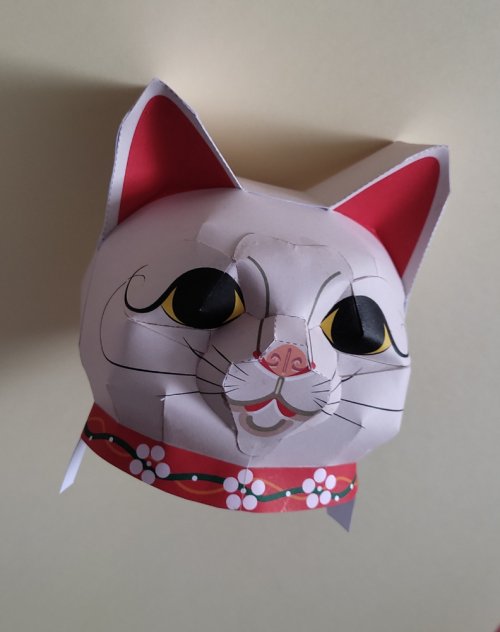
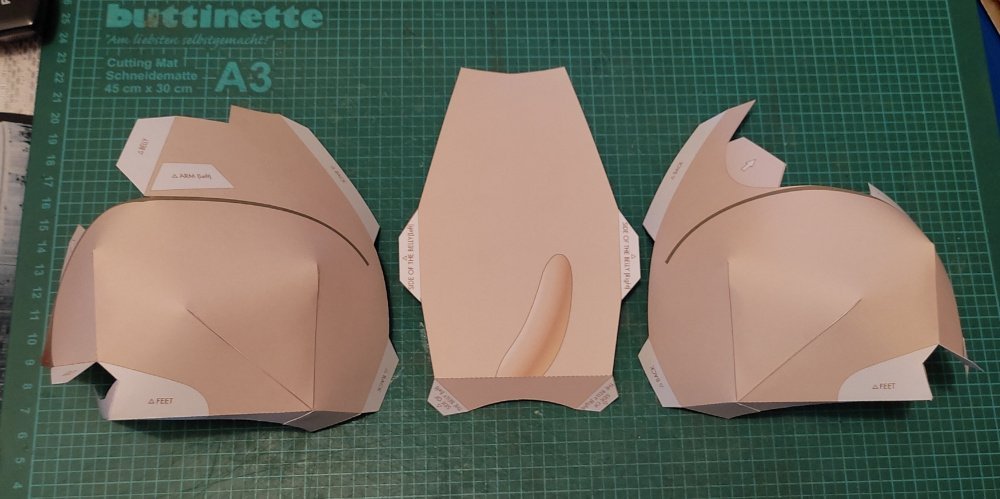
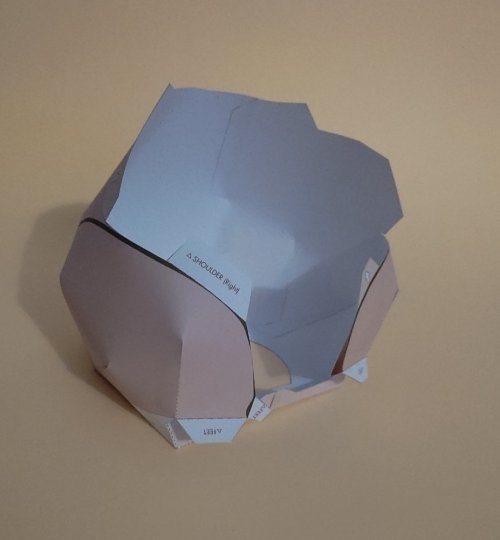
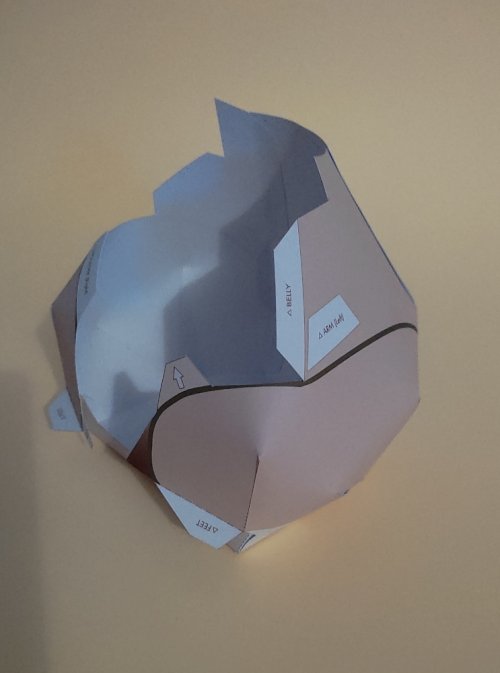
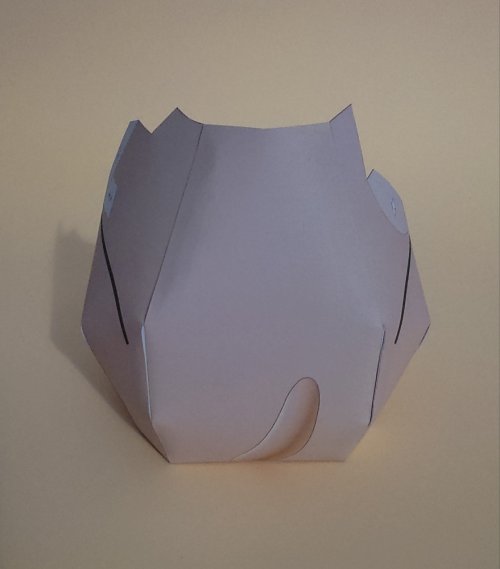
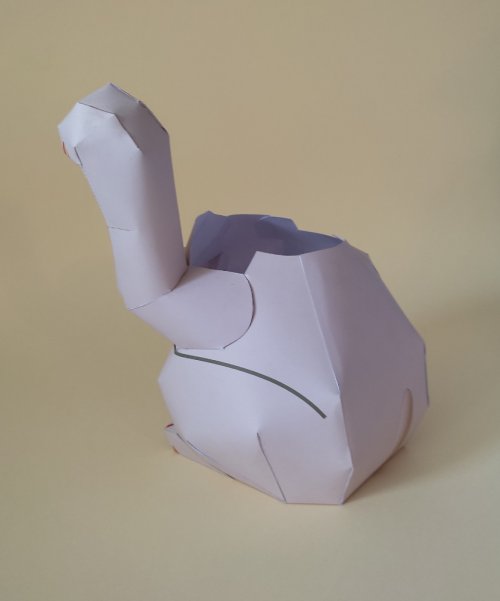
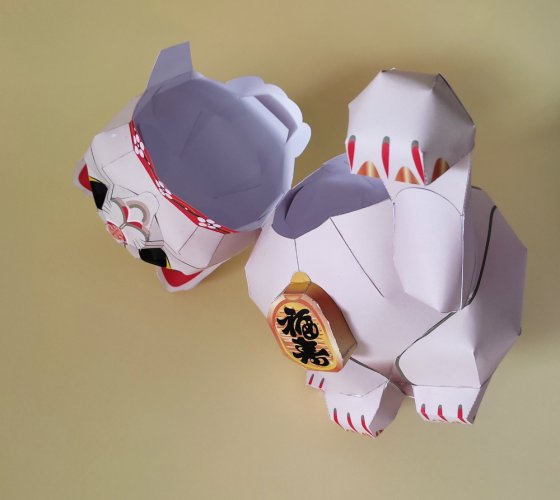
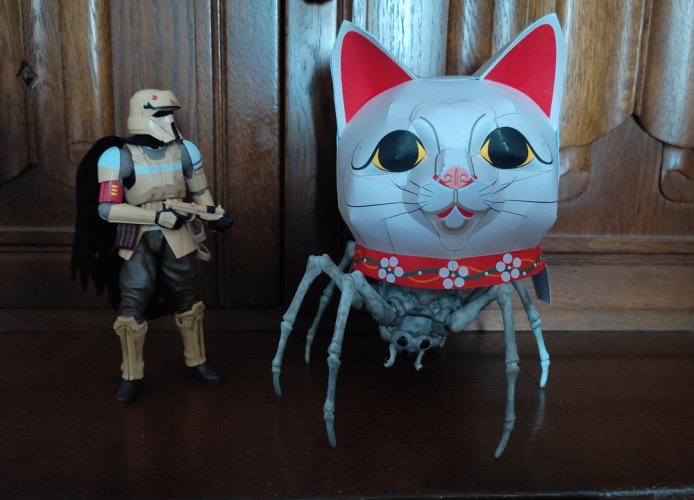
Time to deal with the body now. I put the head aside for the time being but somehow it started to live a life of its own...

after a very long time I built another Canon lucky cat. This time it was supposed to be a farewell present for a colleague of mine who was retiring.
The last time I built this particular model was 11 years ago. I gave it to a dear colleague who was leaving the company to pursue a new career in the jewelry making business. This time I didn't stuff the model but built it as is. The only change I made was I added a plate to the bottom to close the hole. Another difference: this time I took some build pics for you to enjoy. Last time I skipped those because I thought the instructions provided enough info to assemble the model and I was unsure if additional build pics would be of any real value. Now I think, why not. I had the time, there was enough light to take good pictures, so let's do it "properly" this time.
And so it begins!

The parts were printed on my trusted 160gsm paper. Assembly is pretty straightforward and the instructions are very well done. There is no step which is not clear. So major kudos to the designer.
The collar is a simple ring:

The face is the first challenging part. I pre-shaped everything using a dowel and painted the cutting edge of the eyes with a black marker.


She looks a bit like a rabbit here.

But not for long because the ears make a difference!


Gluing both halves of the head together is a bit challenging. Due to the alternating tabs it is ensured that the areas do not shift by accident. This technique was very cleverly applied here and thankfully it was used on every part of the body.

Start on one edge and continue with each successing flap until you have glued everything together.


What a nice little cat head we have here!


The whole modeling of the model is absolutely fantastic and a testimony of the skills and ingenuity of the designer. He managed to create an organic looking shape with so little cuts and folds. It is fascinating and evokes a strong satisfactory feeling when you look at the final result.

The collar was added.


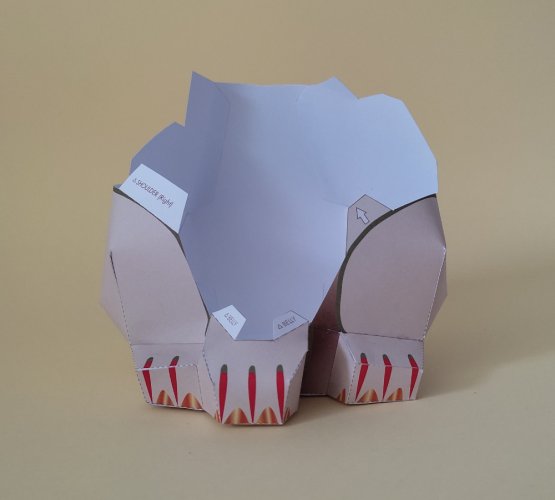
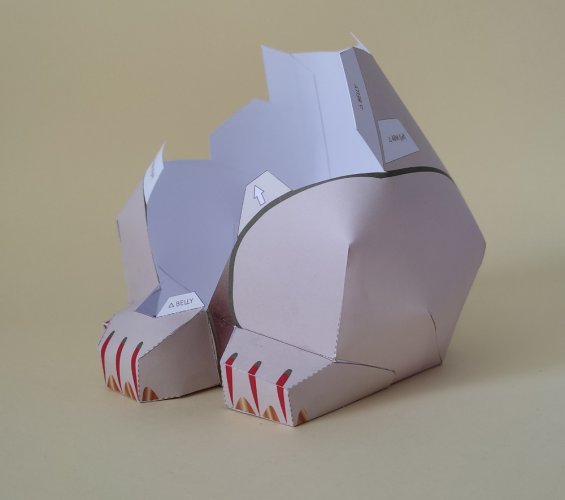
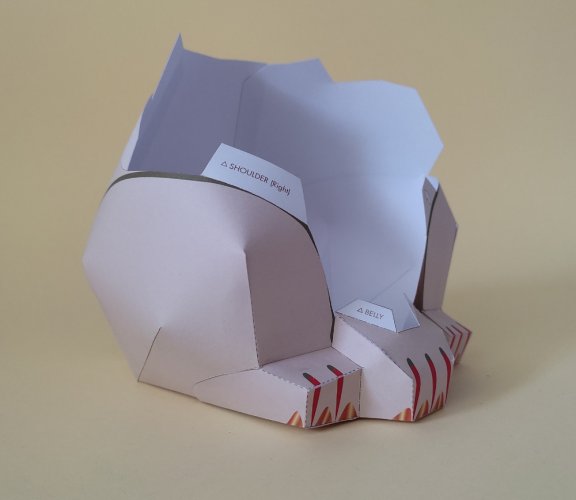
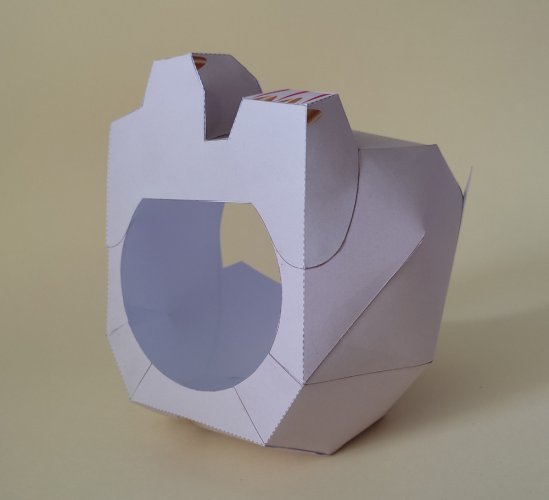
Time to deal with the body now. I put the head aside for the time being but somehow it started to live a life of its own...




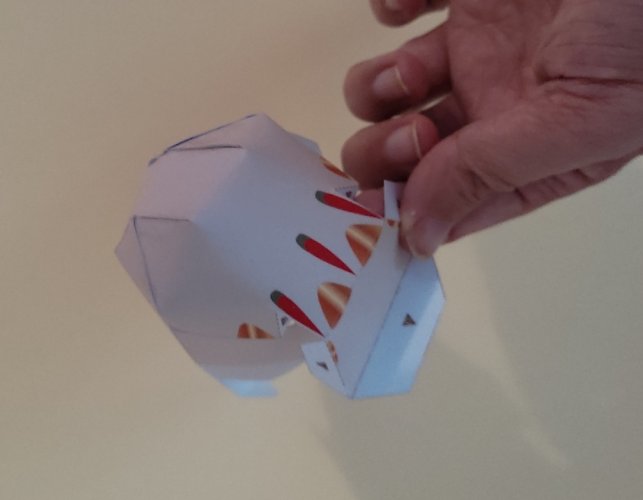
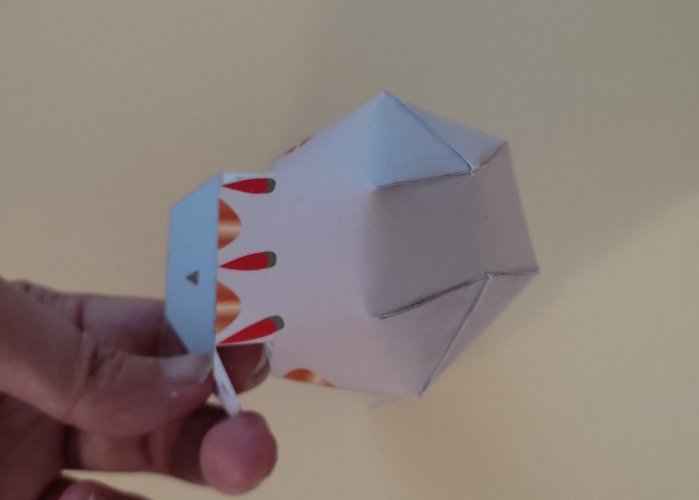
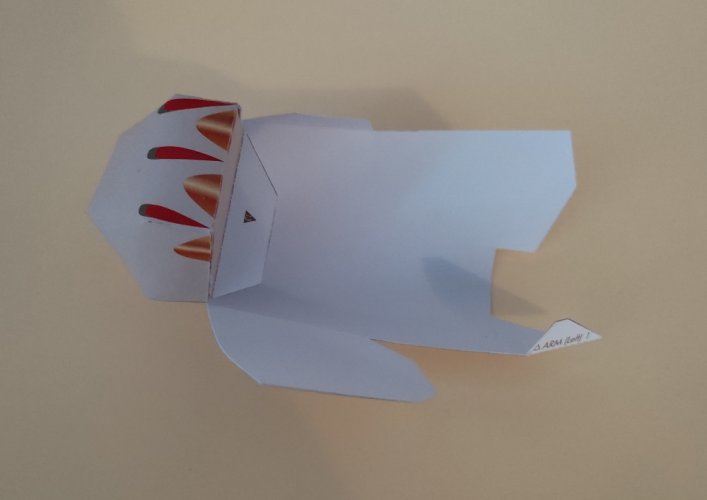
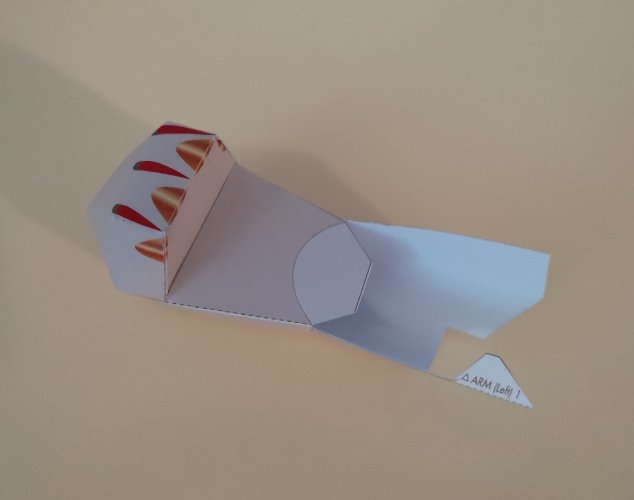
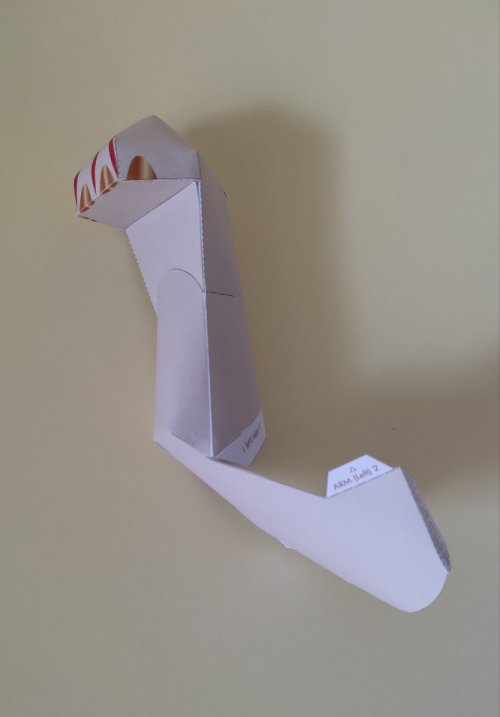
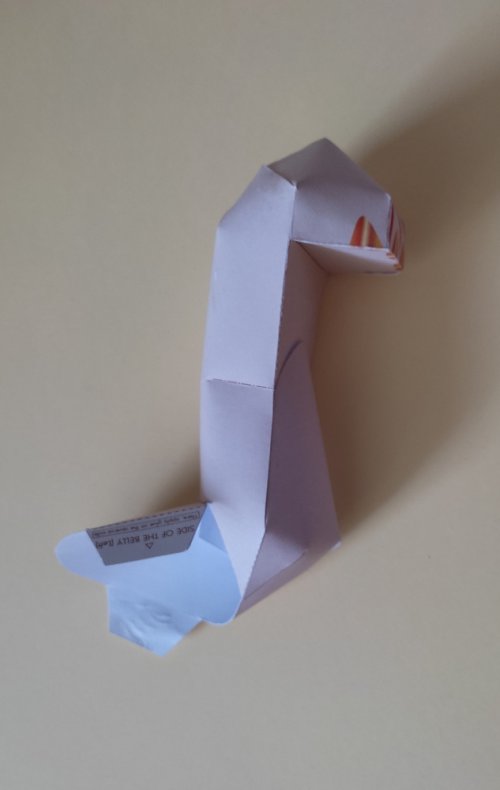
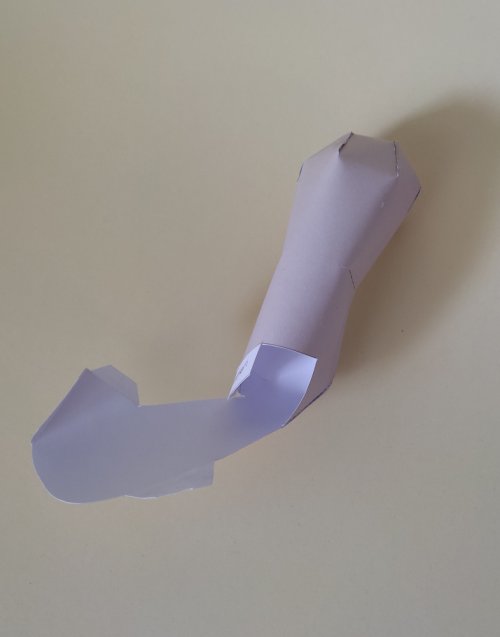
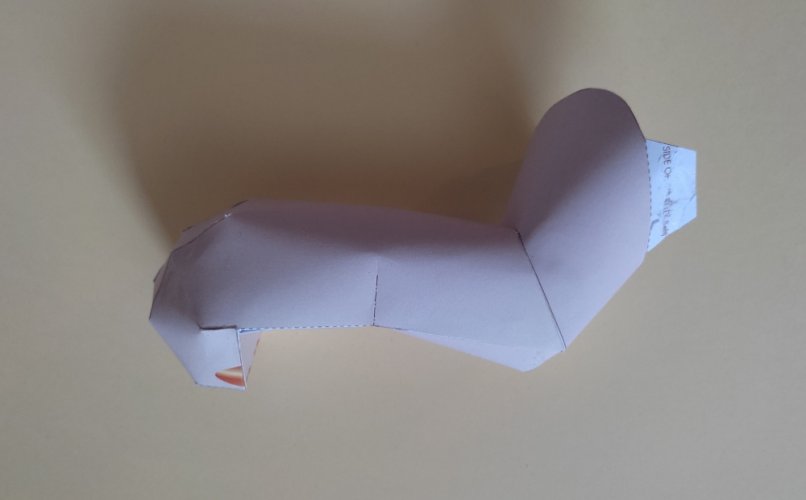
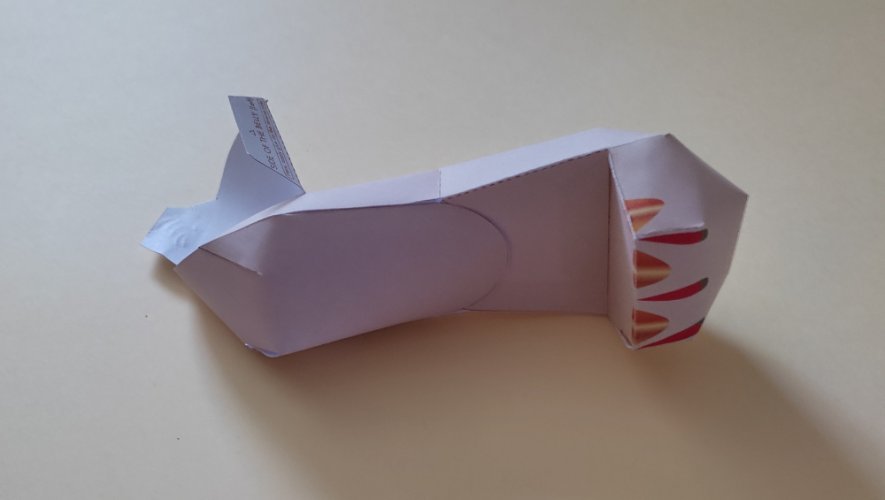
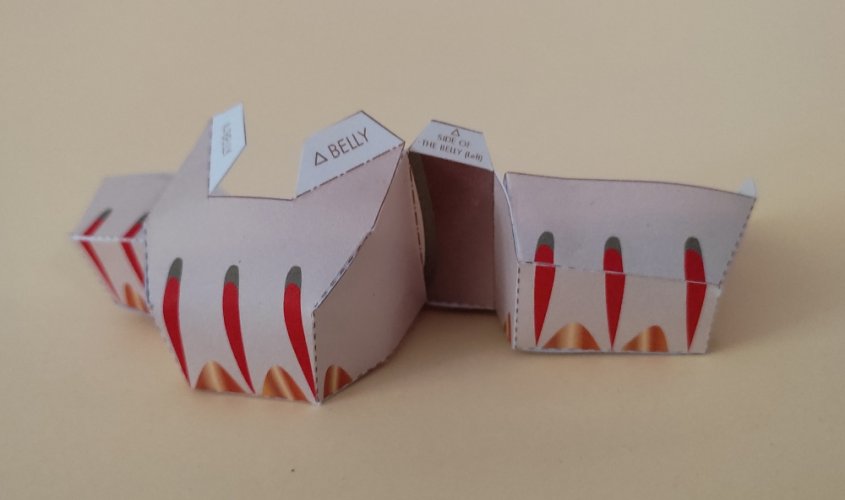
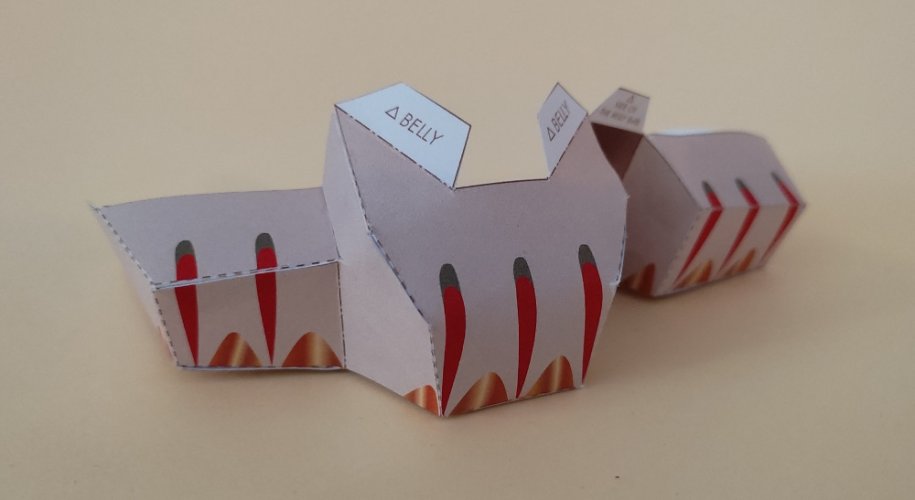
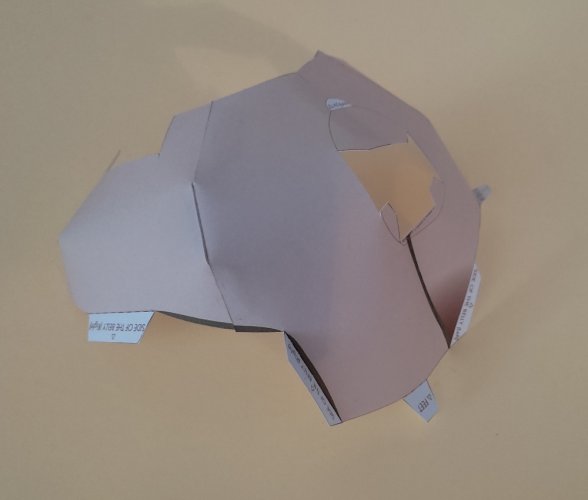
 ) here comes the continuation.