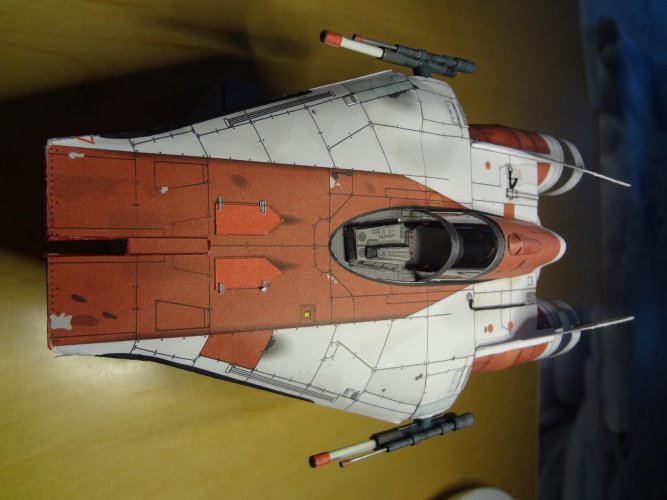
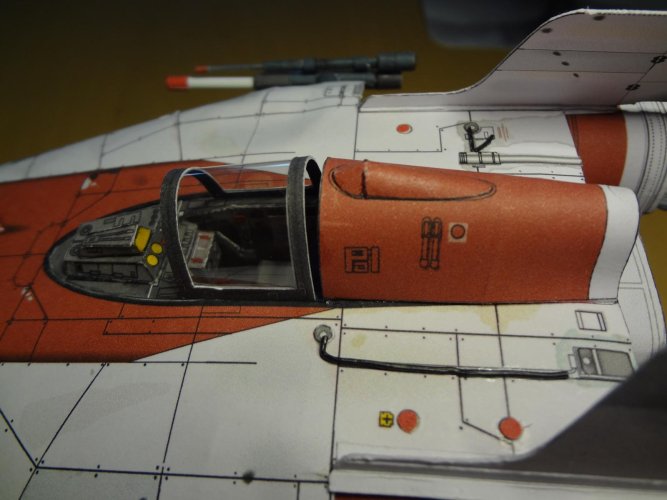
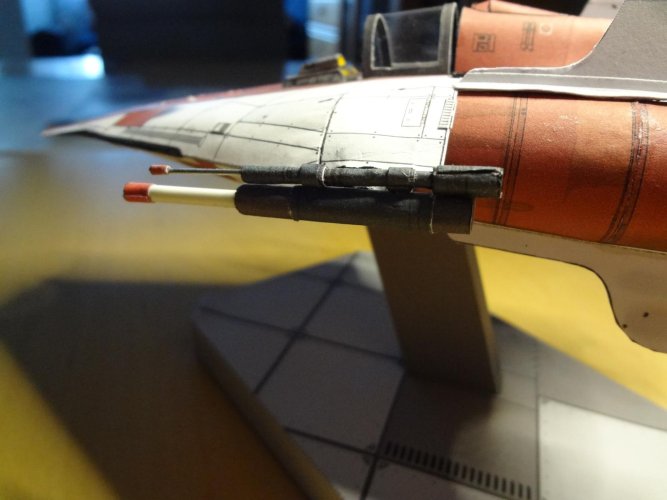
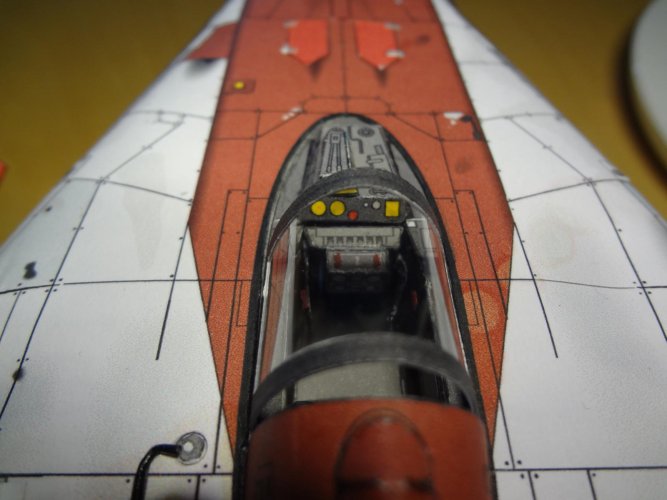
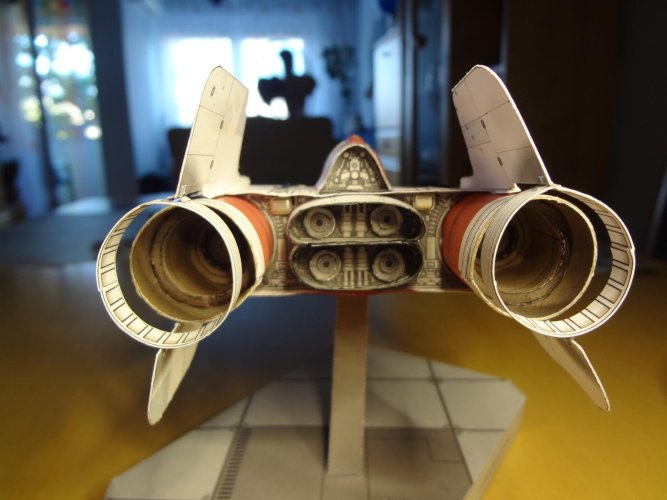
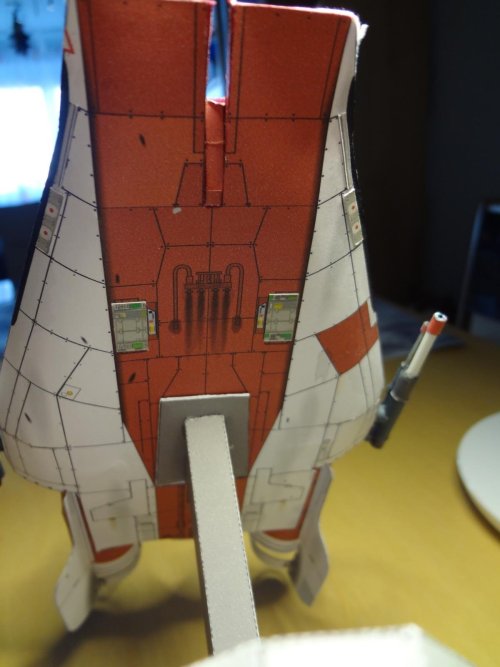
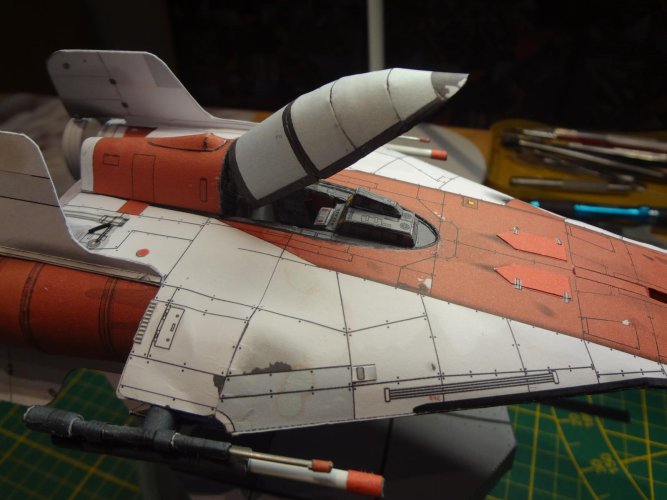
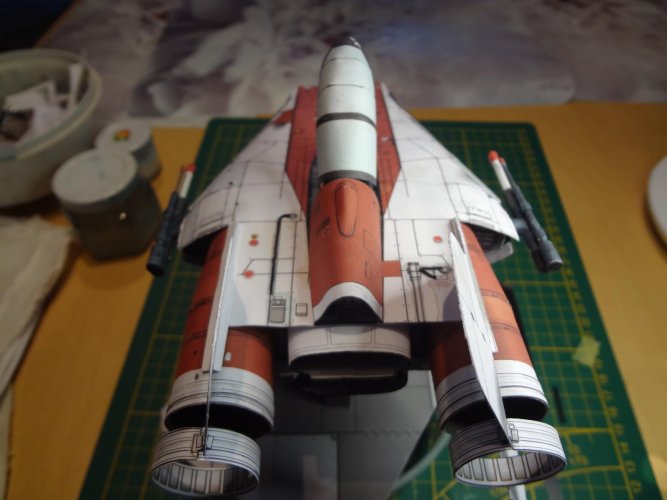
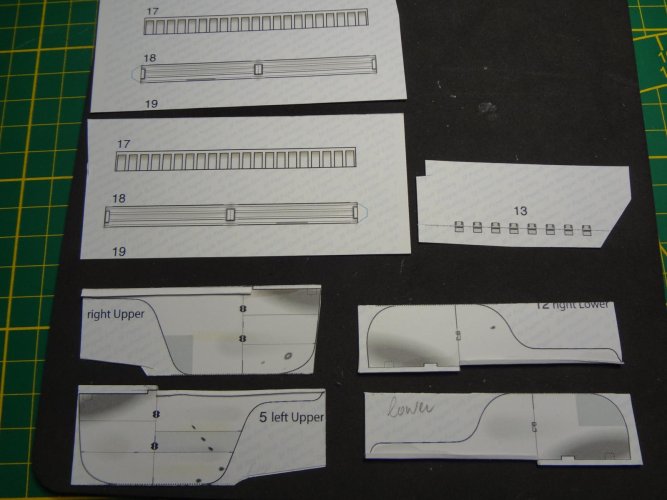
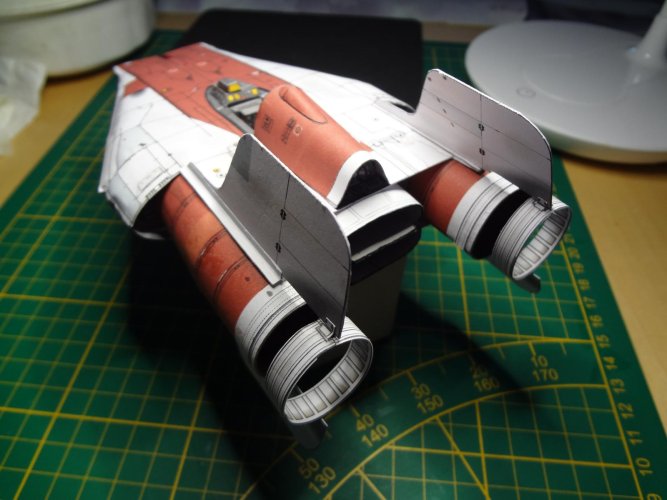
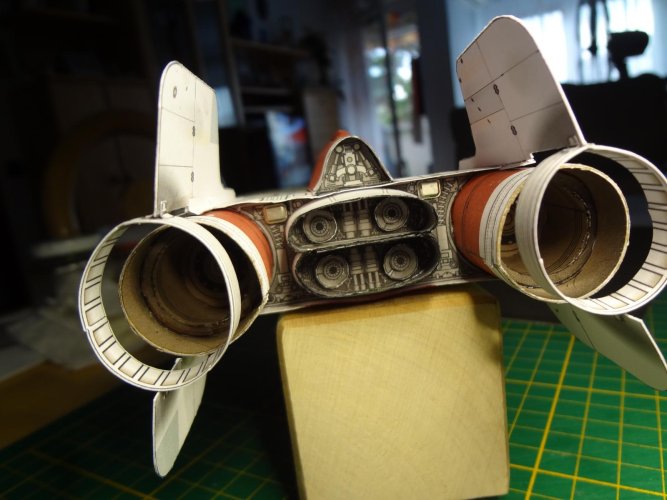
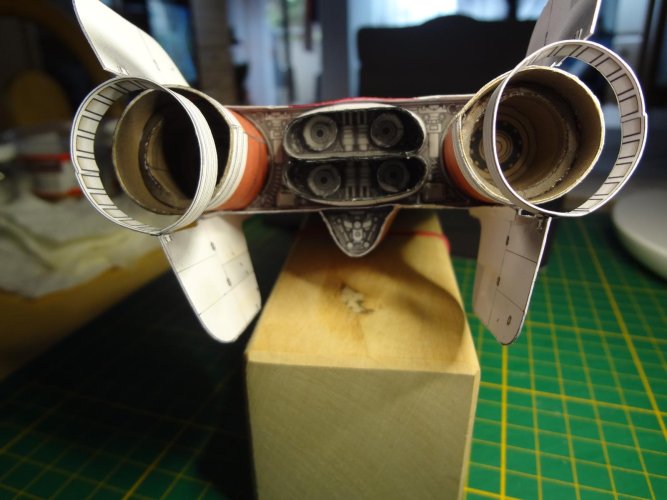
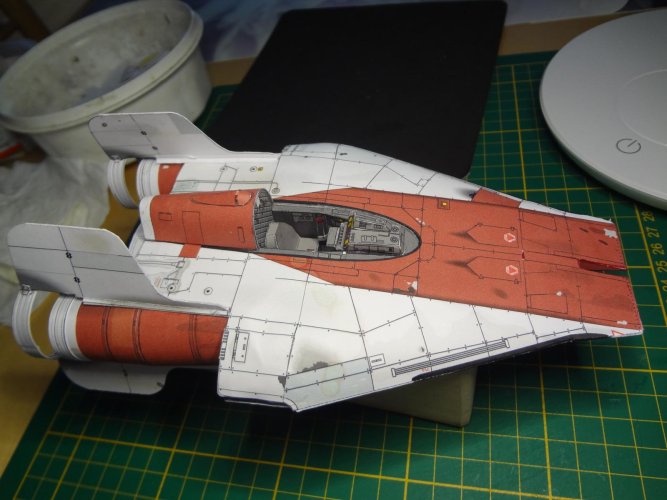
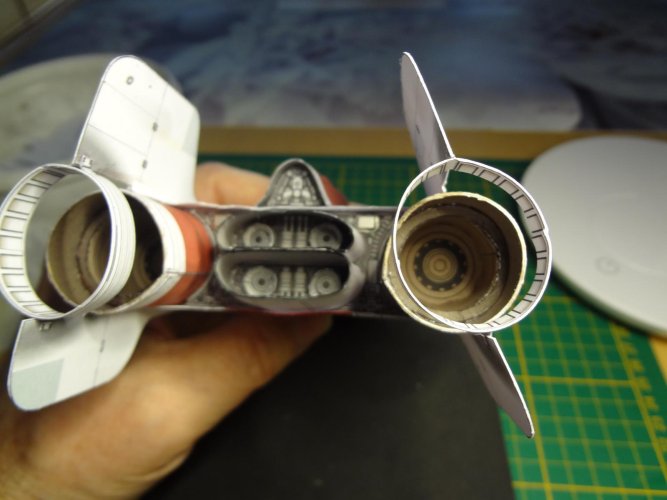
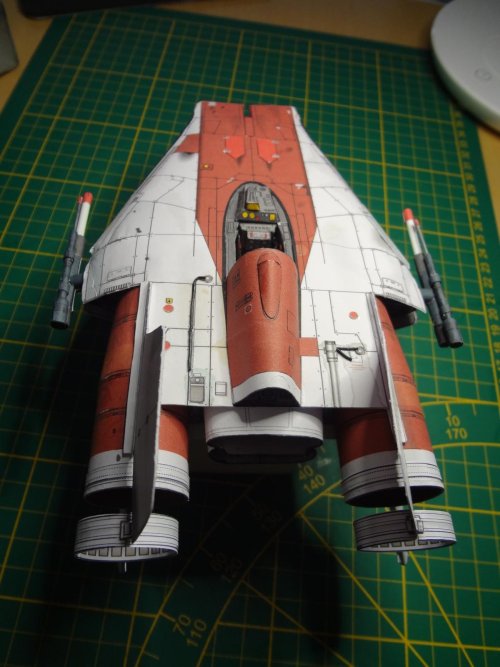
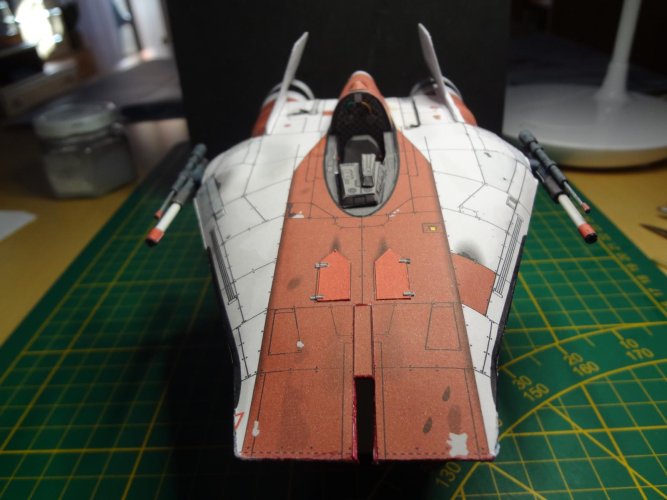
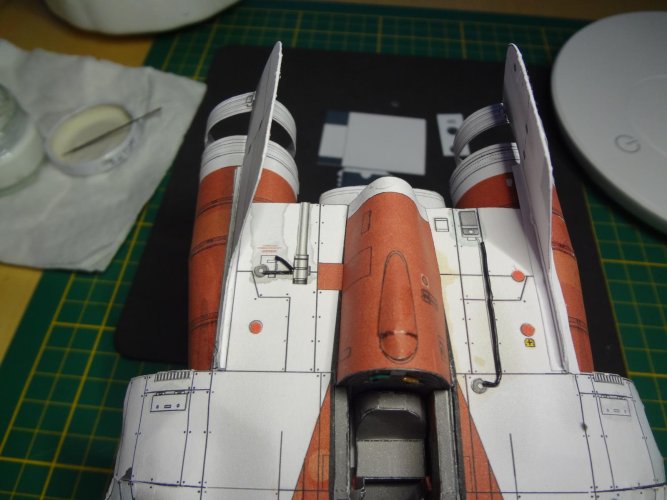
Engine and wing.
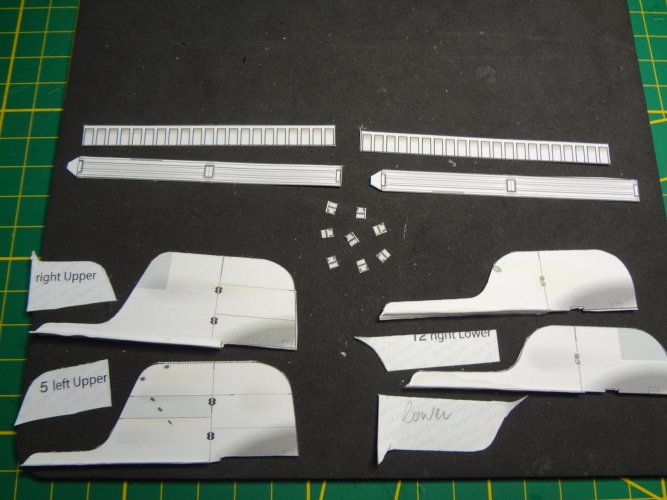
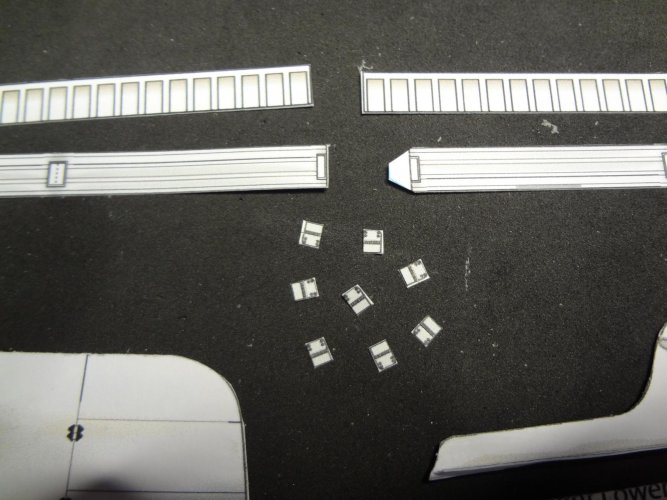
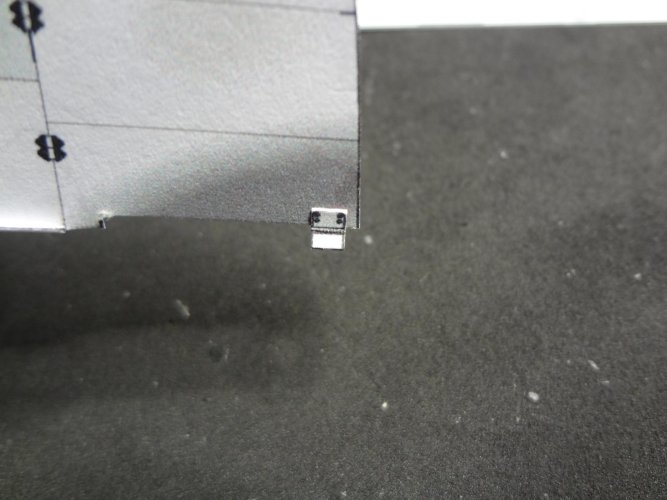
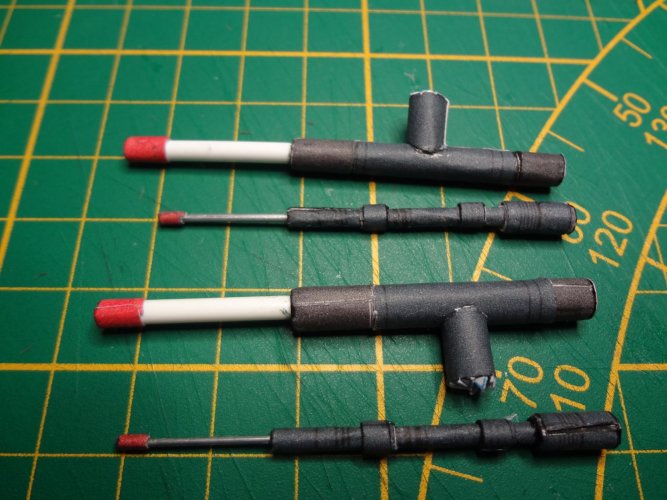
Attachments
-
 K1600_DSC05668.JPG167 KB · Views: 2
 -
 K1600_DSC05669.JPG173.5 KB · Views: 2
 -
 K1600_DSC05670.JPG195.7 KB · Views: 2
 -
 K1600_DSC05671.JPG251.1 KB · Views: 2
 -
 K1600_DSC05672.JPG164.7 KB · Views: 2
 -
 K1600_DSC05673.JPG107 KB · Views: 2
 -
 K1600_DSC05674.JPG211.9 KB · Views: 2
 -
 K1600_DSC05675.JPG191.6 KB · Views: 2
 -
 K1600_DSC05676.JPG166.1 KB · Views: 2
 -
 K1600_DSC05677.JPG168.7 KB · Views: 2
 -
 K1600_DSC05678.JPG182 KB · Views: 2
 -
 K1600_DSC05679.JPG170.7 KB · Views: 2
 -
 K1600_DSC05680.JPG190.3 KB · Views: 2
 -
 K1600_DSC05681.JPG139.6 KB · Views: 2
 -
 K1600_DSC05682.JPG141.6 KB · Views: 2


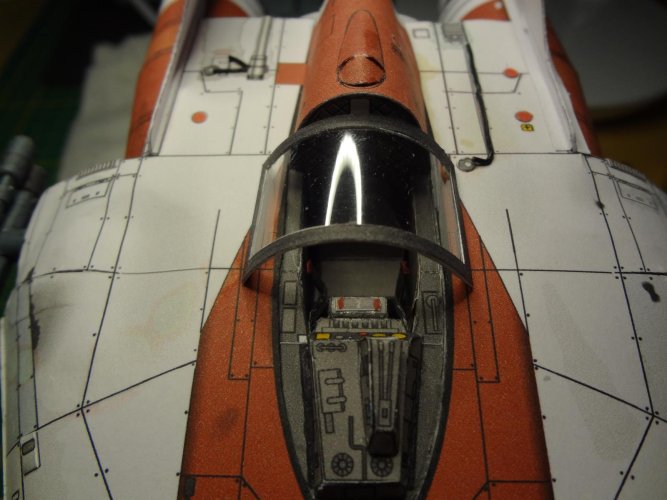
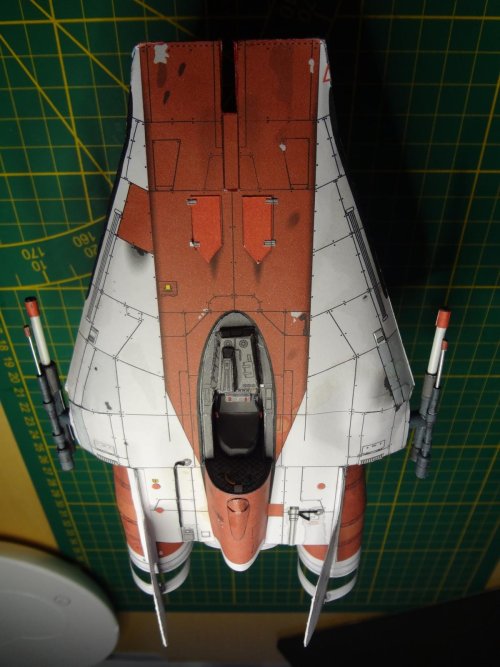
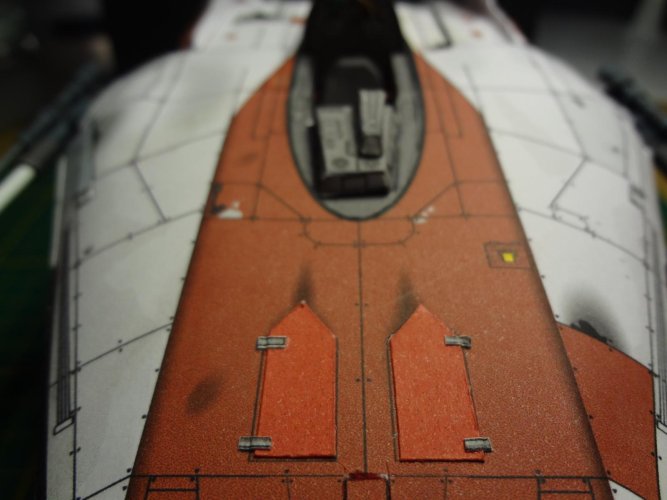
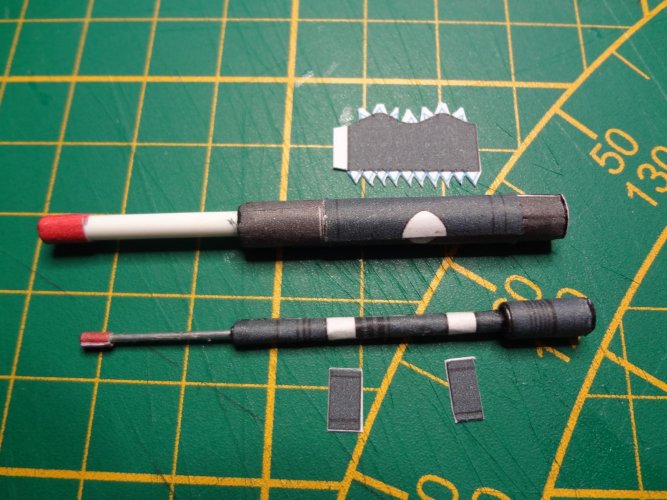
 And i still think there is more potential for greebles, but at some point a model has to finish....
 )
)")

")