NASA Shuttle Atlantis (by paper-replika)

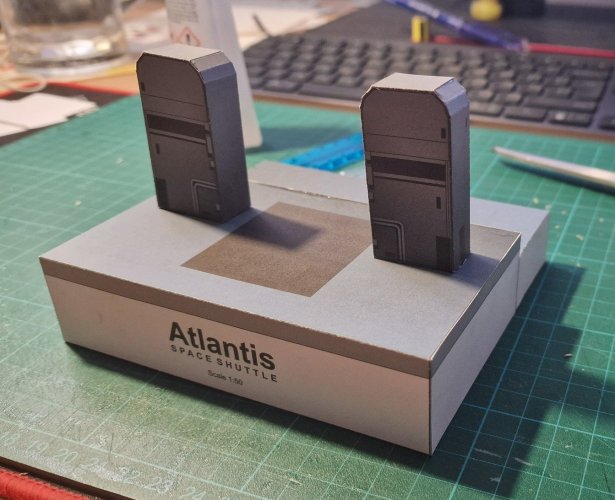
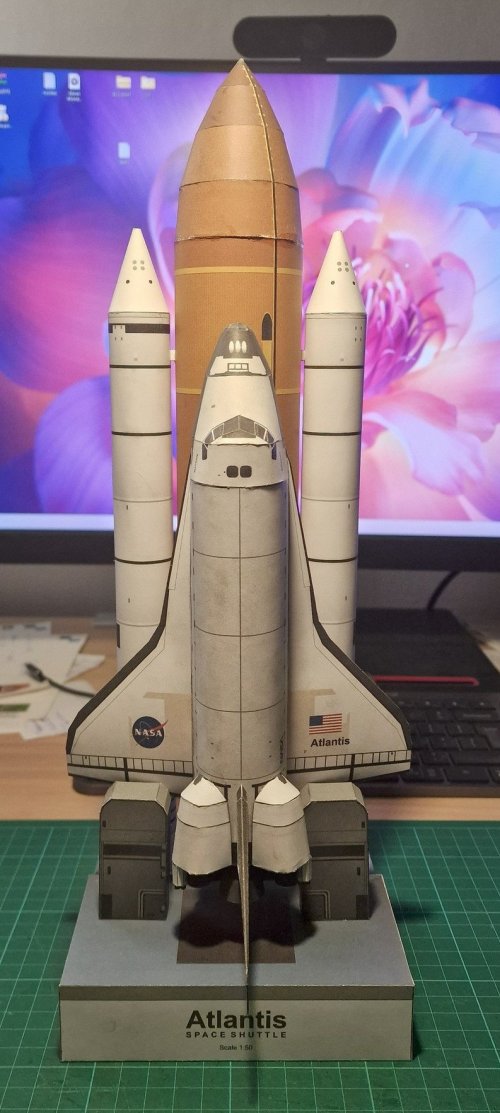
After a long week, filled with social commitments, and after a Saturday away from home, Sunday finally came with some free time.

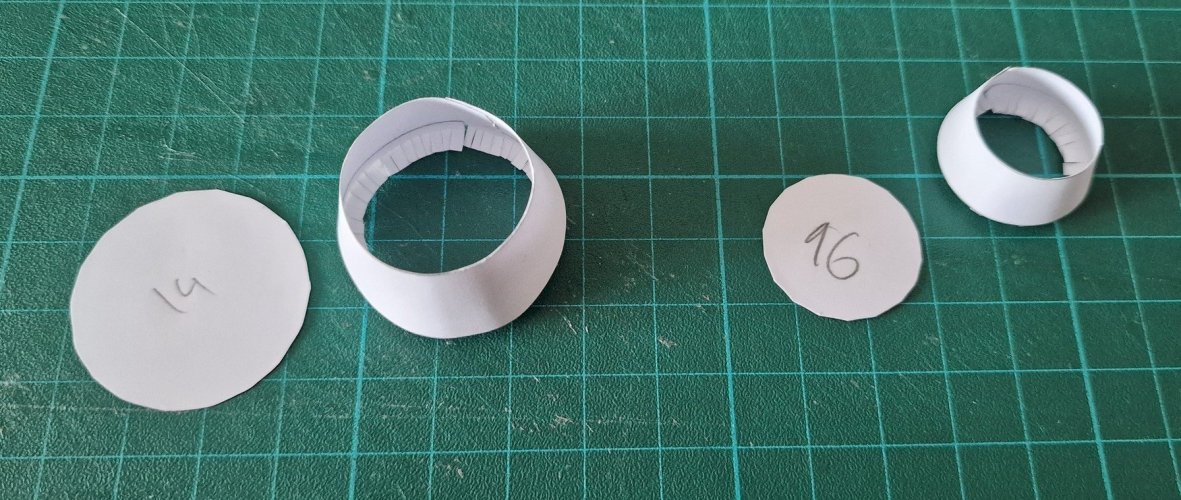
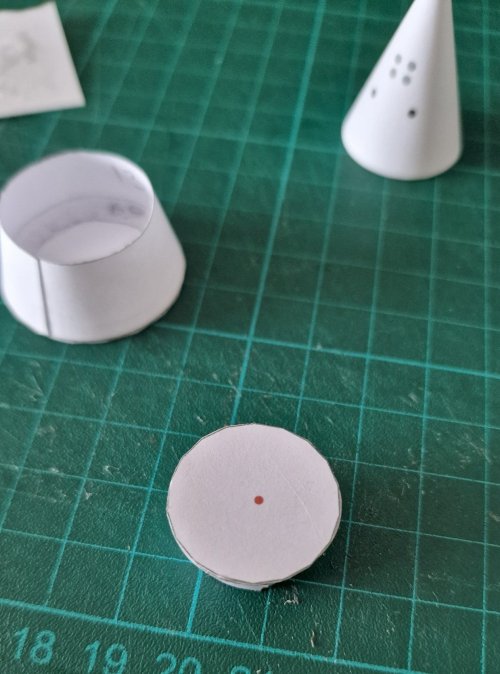
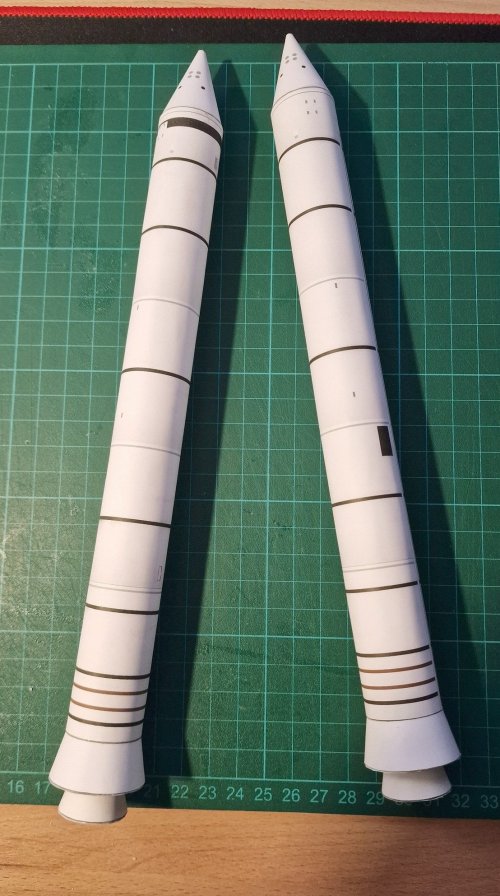
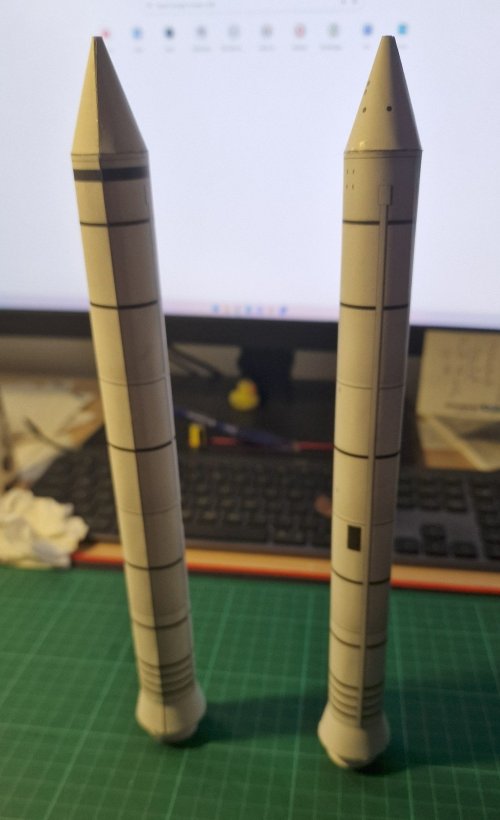
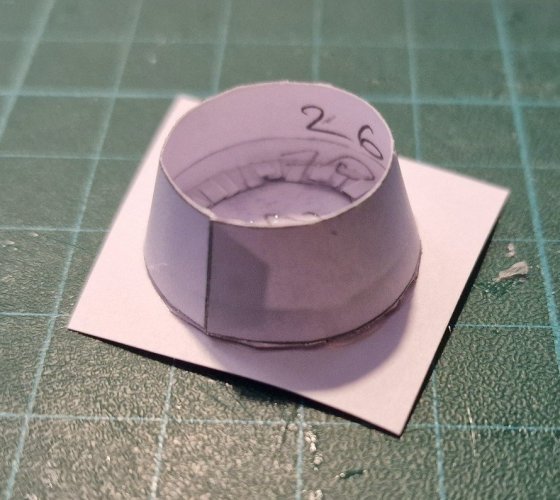
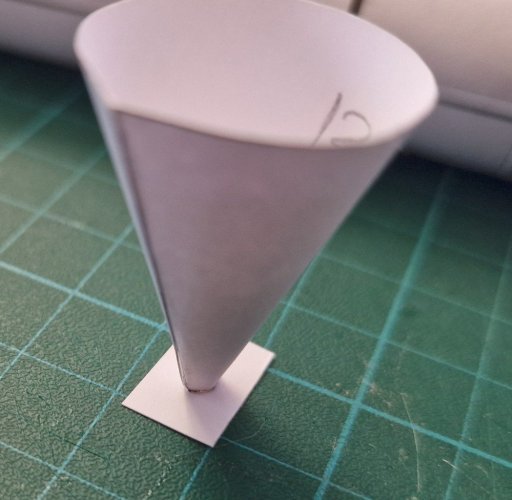
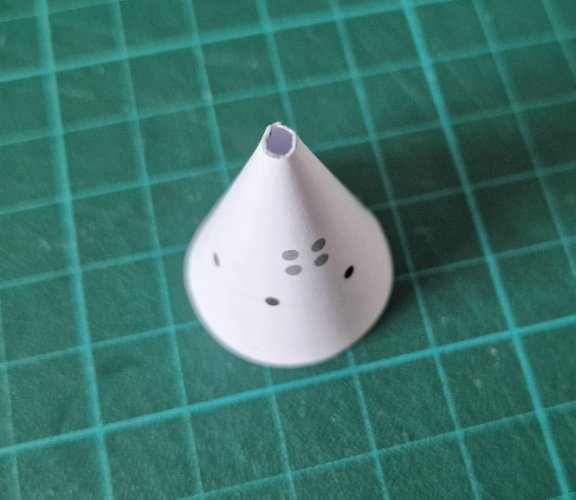
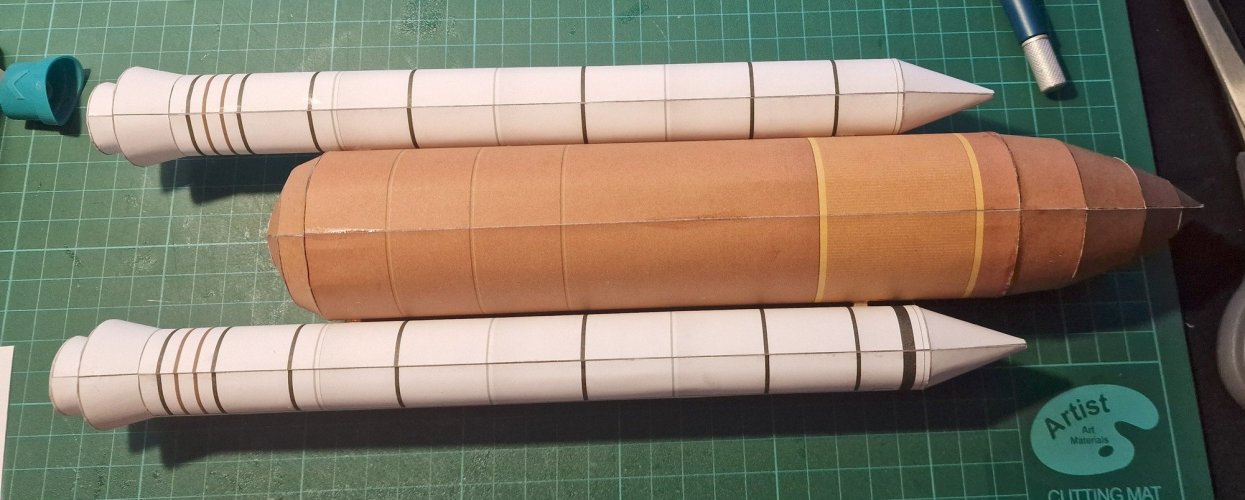
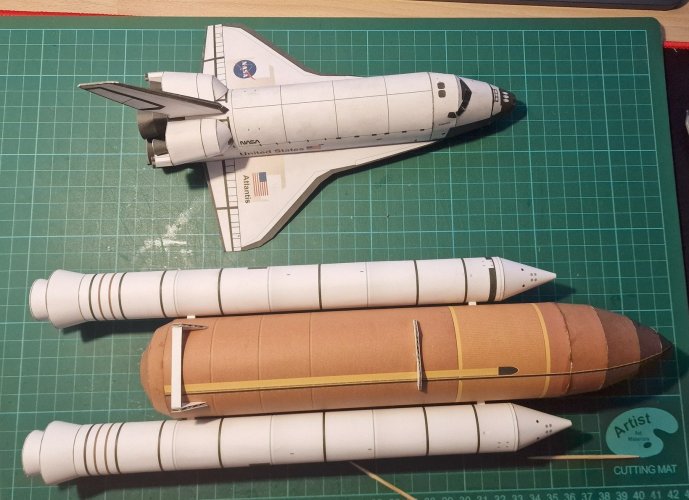
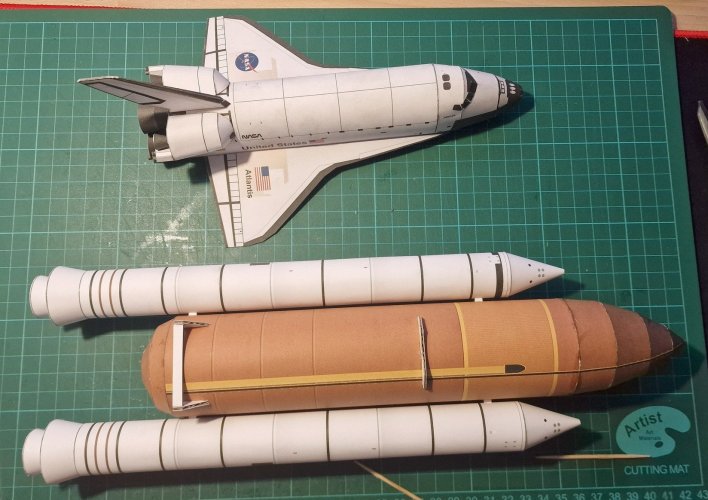
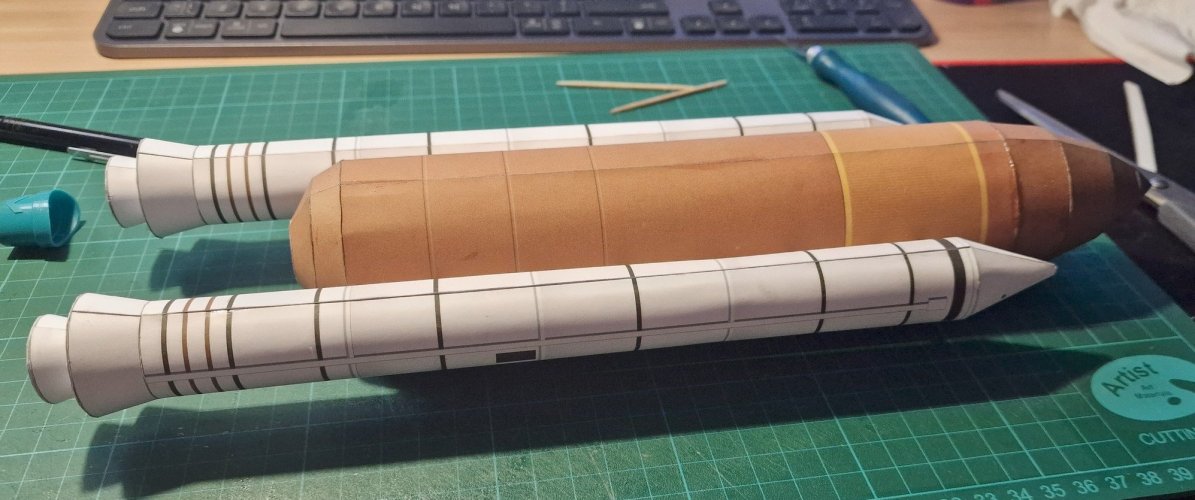
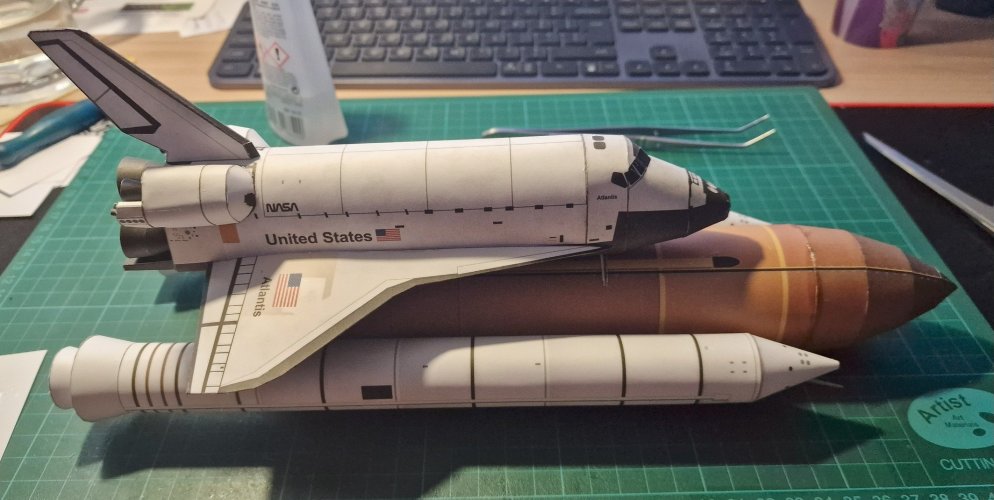
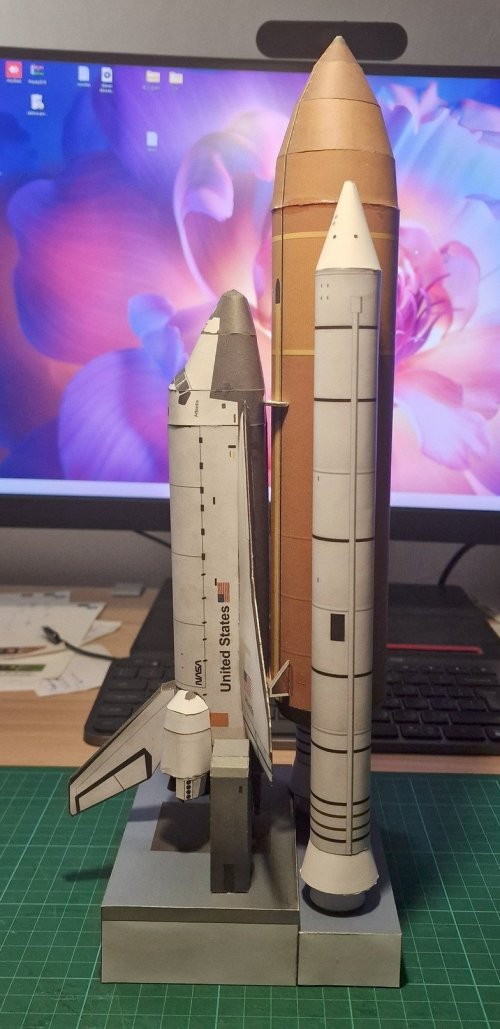
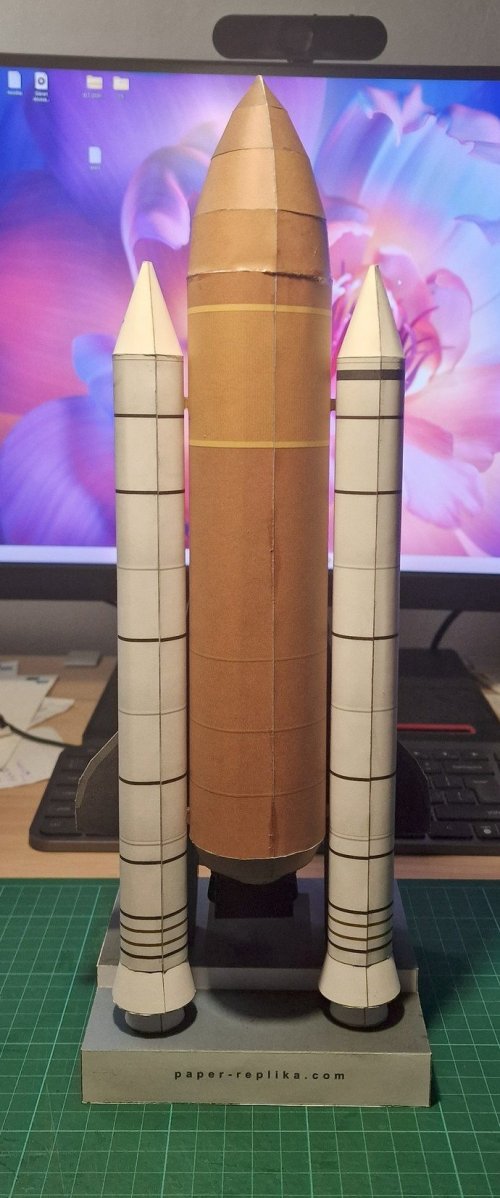
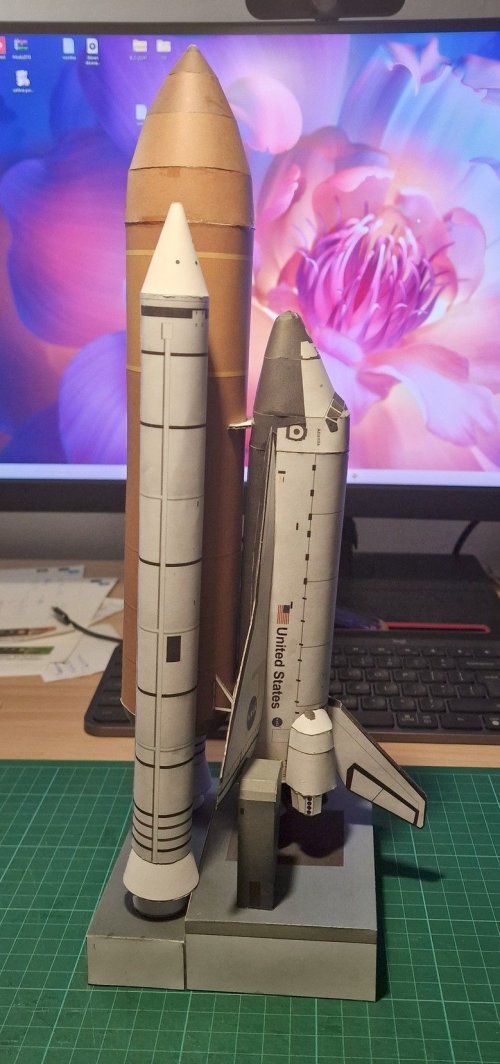
I started with the SRBs and soon found out that they should be built from the top and going down, as one of the pieces is conical so it needs to be glued before closing.
 

Attachments

  • 20250727_172005.jpg
    20250727_172005.jpg
    410.2 KB · Views: 1
  • 20250727_172749.jpg
    20250727_172749.jpg
    371.2 KB · Views: 1
  • 20250727_180808.jpg
    20250727_180808.jpg
    270.6 KB · Views: 0
  • 20250727_180816.jpg
    20250727_180816.jpg
    268 KB · Views: 0
  • 20250727_165640.jpg
    20250727_165640.jpg
    508.6 KB · Views: 1
I discovered that the upper (conical) piece of the SRBs are not fully closed so i glued a piece of paper to close it.
I also discovered that i glued the very end piece of the SRBs on the wrong side, so i added another paper layer to hide the markings.
And so, both SRBs are finished.
 

Attachments

  • 20250727_210122.jpg
    20250727_210122.jpg
    499.8 KB · Views: 0
  • 20250727_210158.jpg
    20250727_210158.jpg
    227.4 KB · Views: 1
  • 20250727_184616.jpg
    20250727_184616.jpg
    141.6 KB · Views: 1
  • 20250727_180935.jpg
    20250727_180935.jpg
    143.8 KB · Views: 1
  • 20250727_172001.jpg
    20250727_172001.jpg
    172.7 KB · Views: 0
I reprinted the main tank and chose to only redo the main cylindrical section and keep the upper and bottom pieces.
As you'll see later, the seams on the upper side did not align as well as they did on the 1st try, mainly due to cutting/pulling the paper while trying to remove the old gluing tabs.
Also, i prepared the supports connecting the shuttle and the SRB, and the beams holding the SRBs and the main tank together.
 

Attachments

  • 20250727_223334.jpg
    20250727_223334.jpg
    444.4 KB · Views: 2
  • 20250727_223348.jpg
    20250727_223348.jpg
    288.2 KB · Views: 1
  • 20250727_225047.jpg
    20250727_225047.jpg
    228.7 KB · Views: 1
  • 20250727_225053.jpg
    20250727_225053.jpg
    342.7 KB · Views: 2
  • 20250727_225249.jpg
    20250727_225249.jpg
    357.2 KB · Views: 2
The stand - i know the 2 lateral (grey) elements look a bit crooked, but i straightened them after taking the pics, as the glue was still liquid.
I filled both base parts with a ton of cardboard to give them strength. I realized this was needed before closing each piece and i'm glad i realized it at this point as the base parts don't seem to be able to hold the weight of the assembled model.
 

Attachments

  • 20250727_235428.jpg
    20250727_235428.jpg
    318.6 KB · Views: 0
  • 20250728_011651.jpg
    20250728_011651.jpg
    260.9 KB · Views: 0
  • 20250728_011655.jpg
    20250728_011655.jpg
    192.2 KB · Views: 0
  • 20250728_011700.jpg
    20250728_011700.jpg
    270.5 KB · Views: 0
And the final, assembled model on its base.
Unfortunately, after assembling everything, i remembered Revell-Fan's suggestion to repair the drooped wings. I wanted to (at the time of reading his comments), but when i resumed working on the model a couple of days later, i totally forgot :(

I hope you enjoyed this as much as i did and excuse the building/aesthetic mistakes.

Have a great one!
 

Attachments

  • 20250728_014141.jpg
    20250728_014141.jpg
    242.3 KB · Views: 4
  • 20250728_014154.jpg
    20250728_014154.jpg
    211.1 KB · Views: 4
  • 20250728_014208.jpg
    20250728_014208.jpg
    194.5 KB · Views: 4
  • 20250728_014224.jpg
    20250728_014224.jpg
    227.1 KB · Views: 4
  • 20250728_014236.jpg
    20250728_014236.jpg
    389.6 KB · Views: 4