- Apr 5, 2013
- 14,362
- 11,002

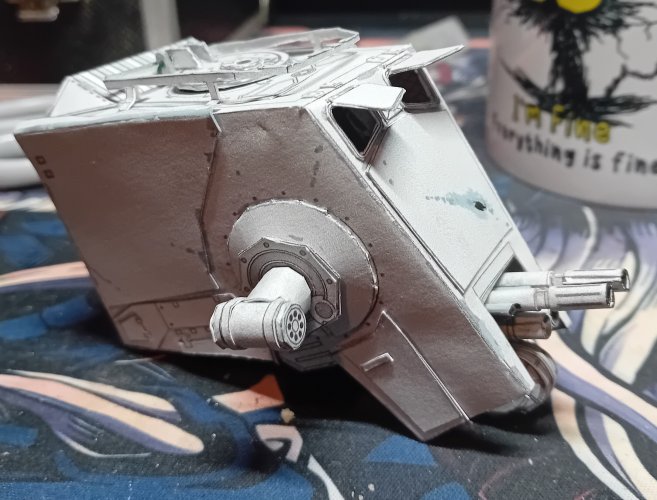
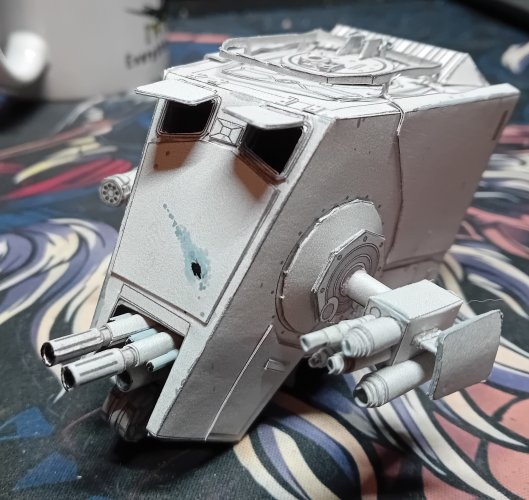
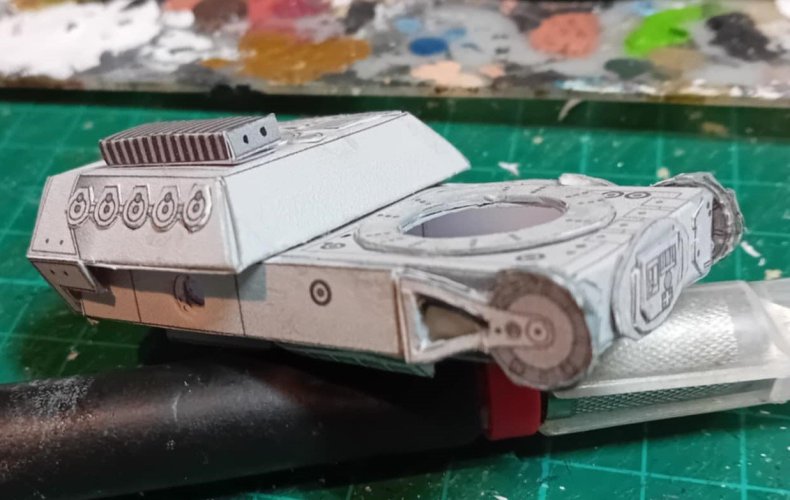
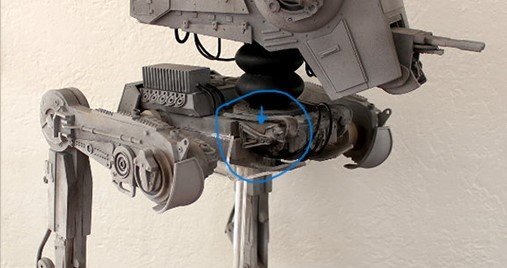
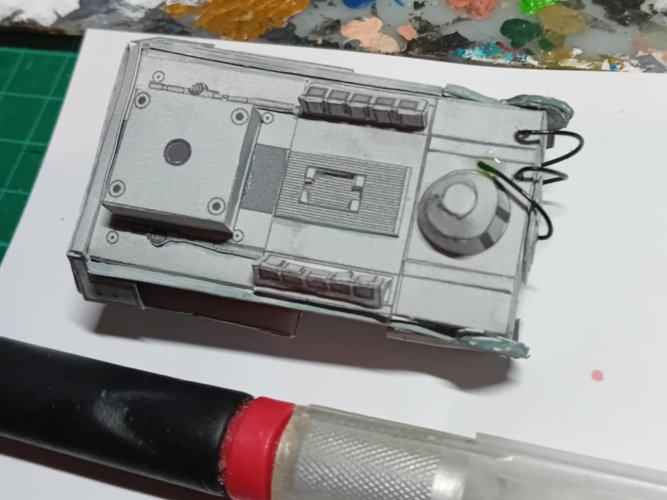
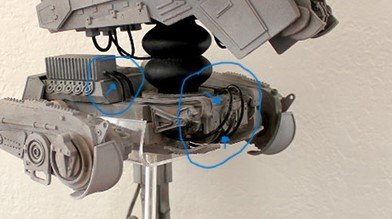
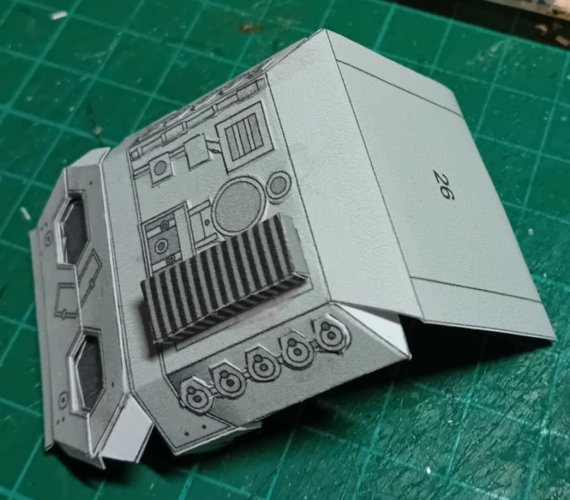
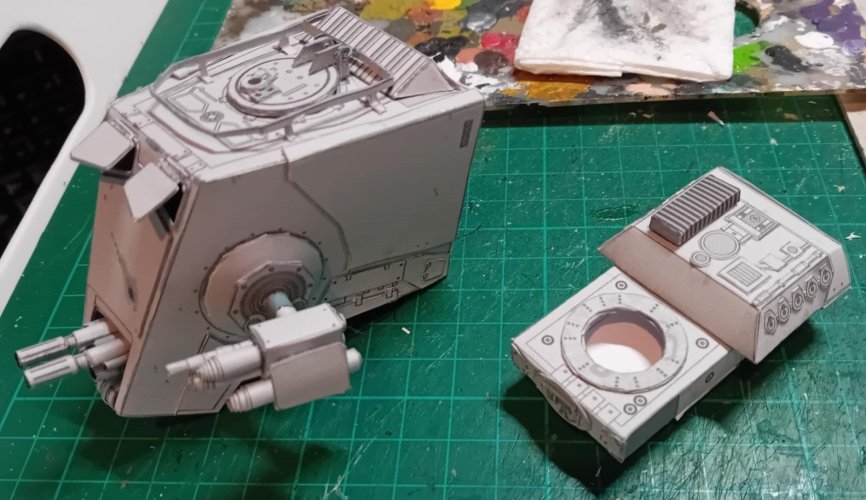
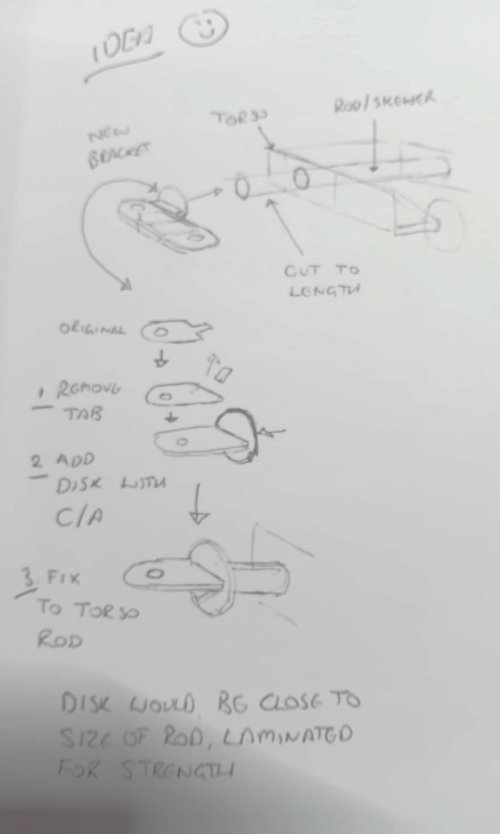
 The only change i made was to the mounting brace (part 94) - this is a flat piece but looking at reference i noticed the mounting brace seems to be a rod/drum so i used a rolled up piece of card and glued that in place with CA to give it a bit of extra strength.
 more soon!
")
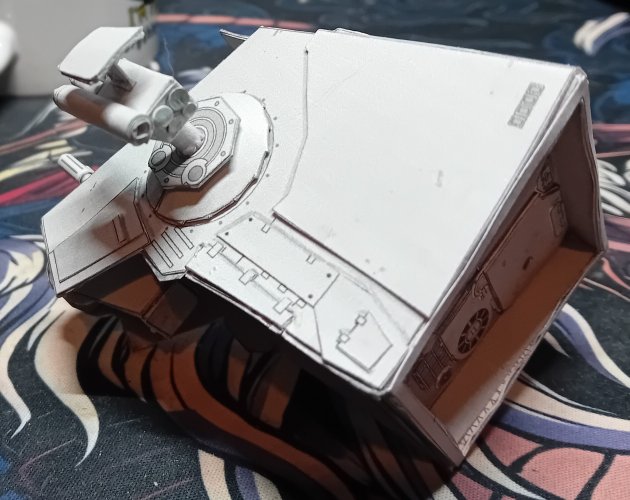
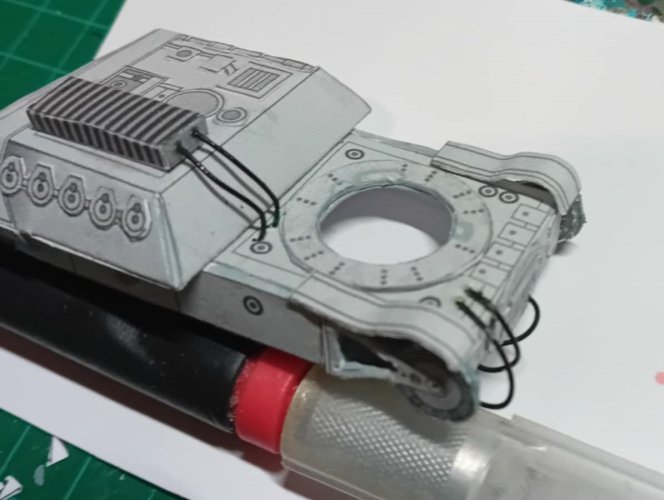
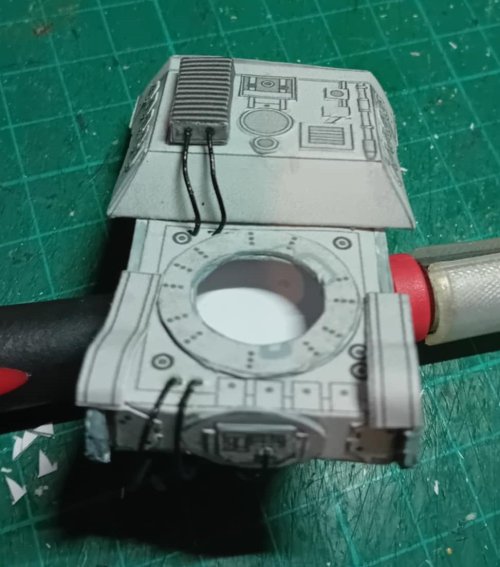
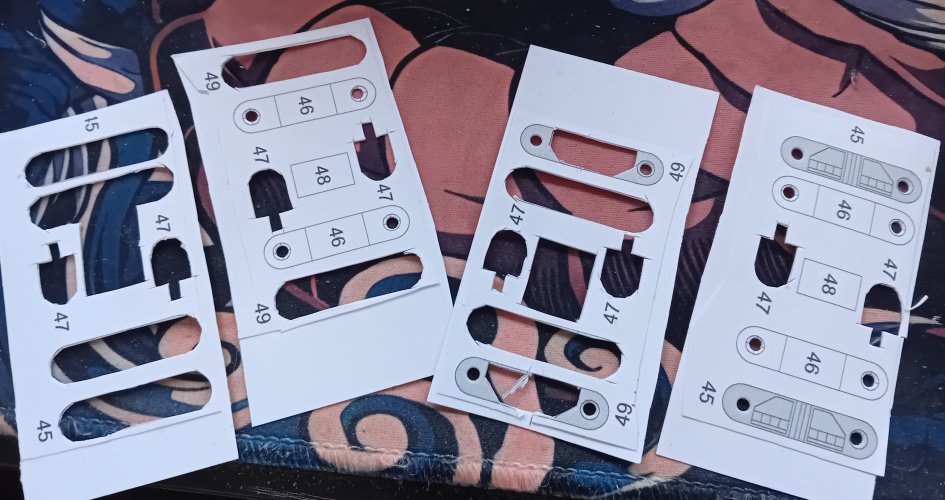
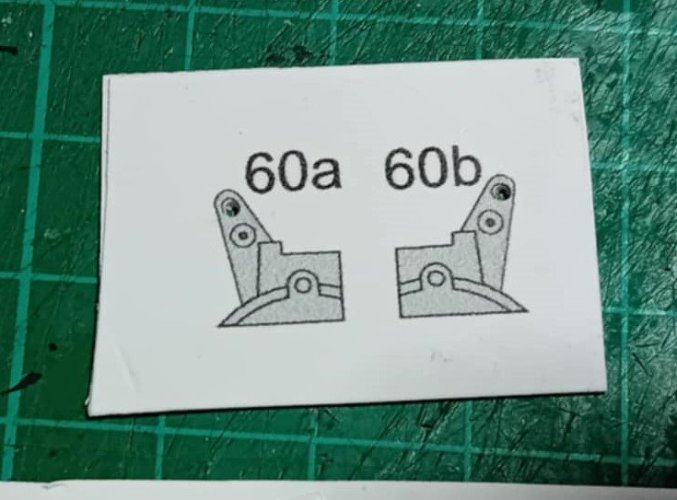
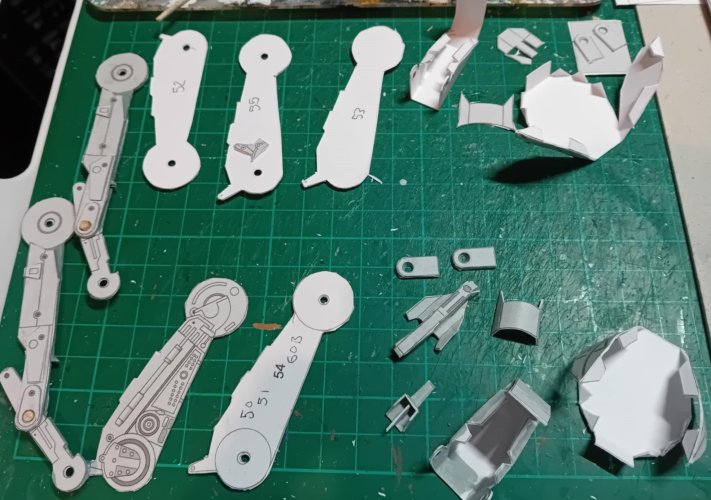
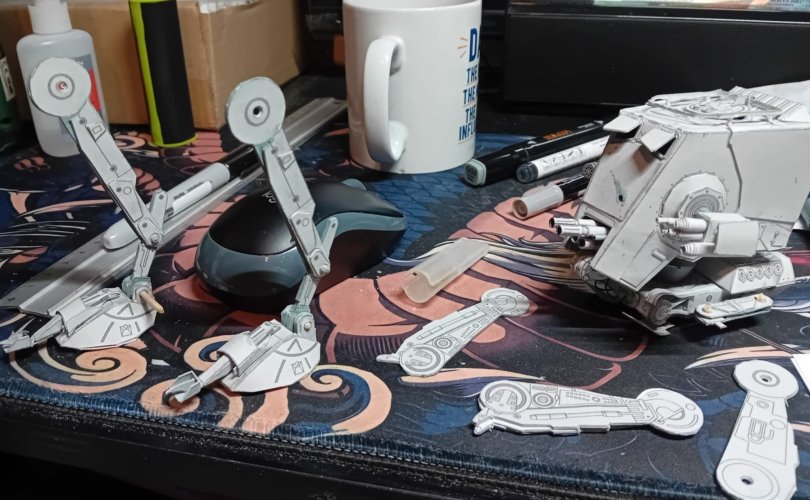
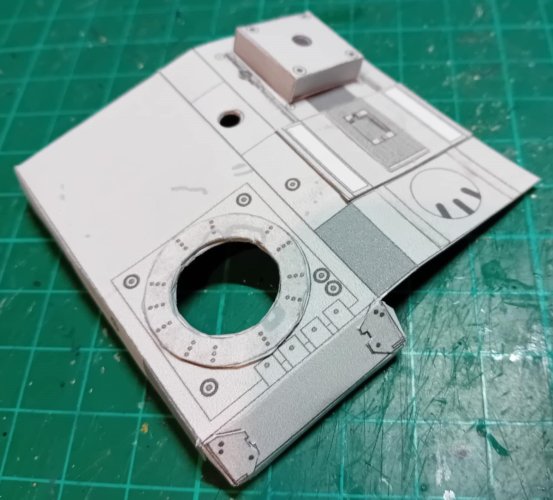
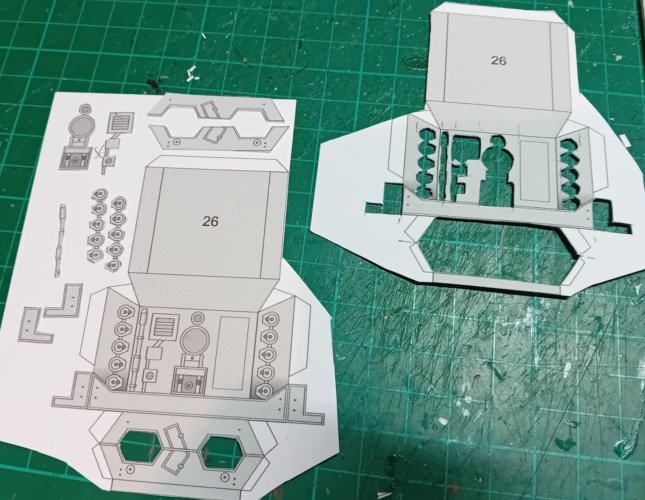
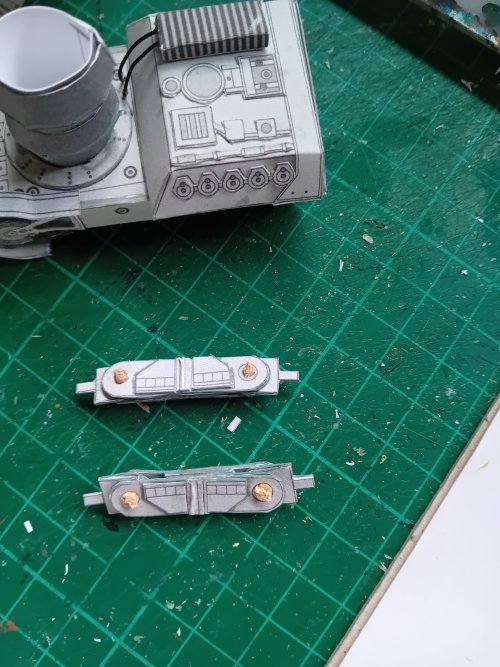
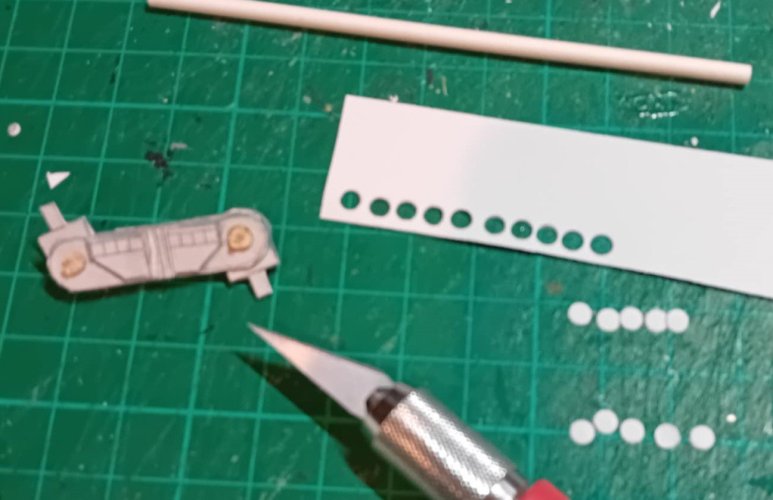
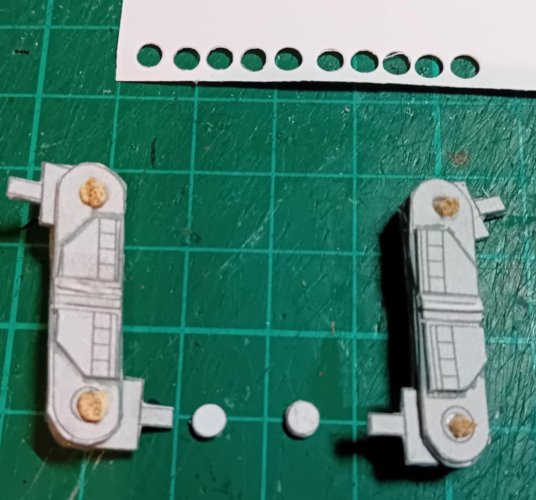
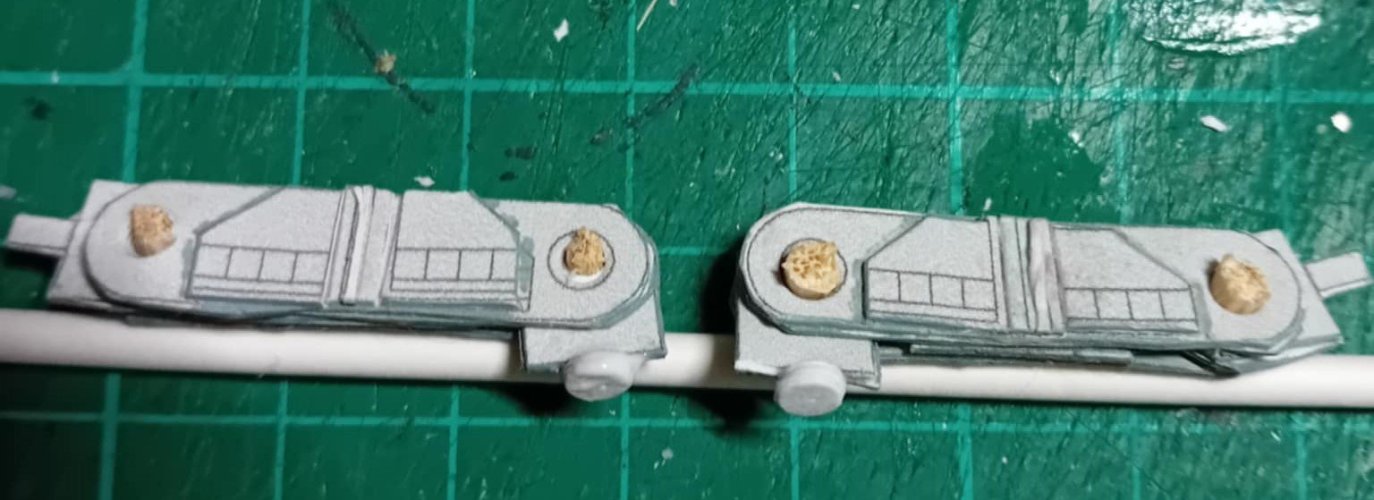
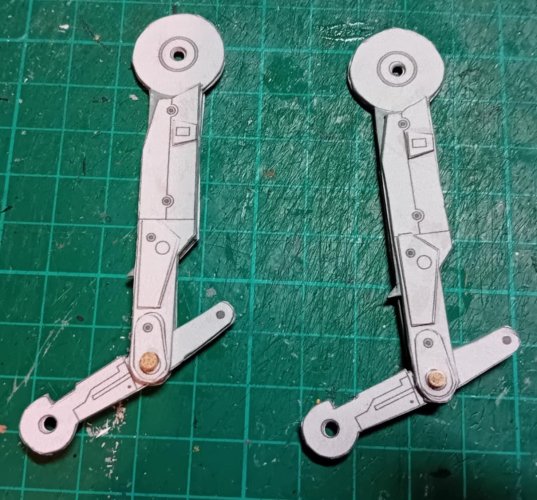
 i laminated both sides twice, and also did a second spare set too. Once all the parts were dry they were hole punched, cut, and glued together. Once i was happy that the brackets fit fine i used the spare copies to just add a little 3D detail to the panels, tidied them up with acrylic markers, fit the brackets in place, then added the rods (small skewers) cut them to size, and done. Theres a cpl pics to show the progress so far while i get cracking on the legs lol
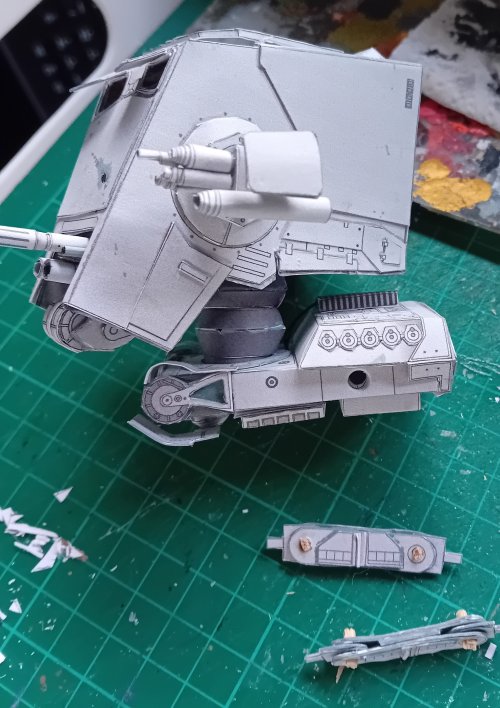
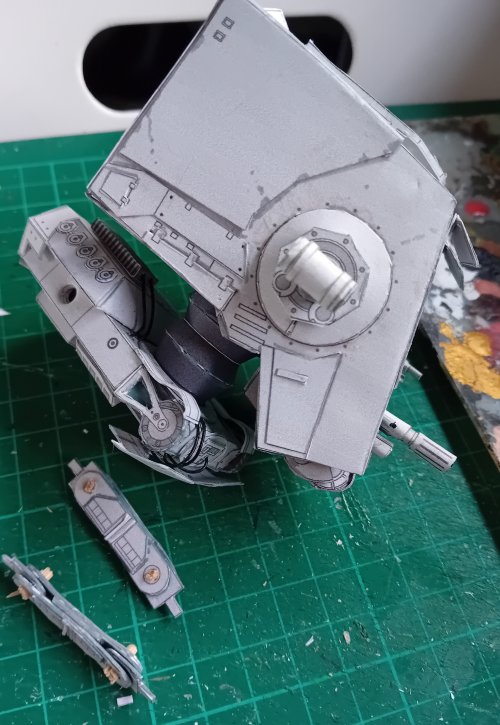
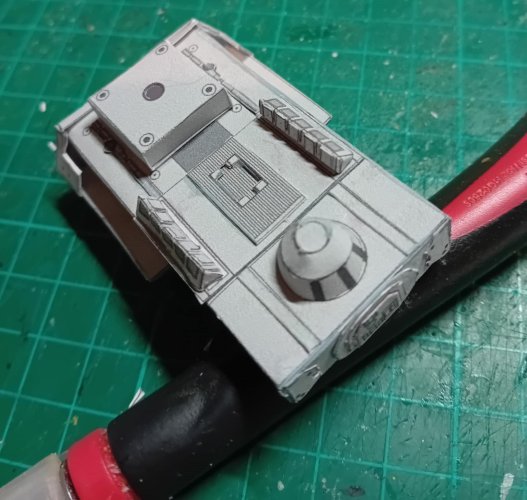
 ) The hips, having dried well enough, were ready for fitting to the torso. Here is where i had an interesting 'oh!' moment *for the record, this conversation has been pre approved by the almighty designer and occasional host of the shrinkray, Mr Revell Fan, designer of this very kit) So get comfy, get a coffee, and listen ye to a tale....dragons....knights.....oh, err, wrong narrative lol
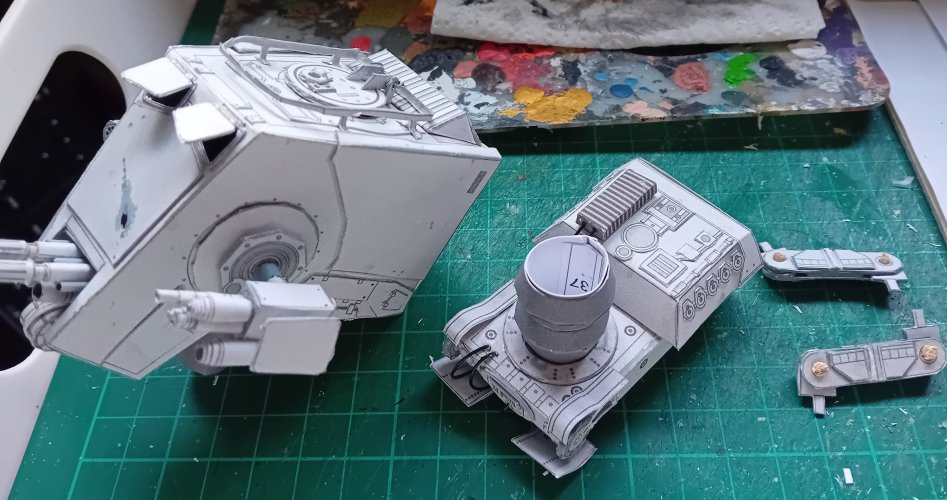
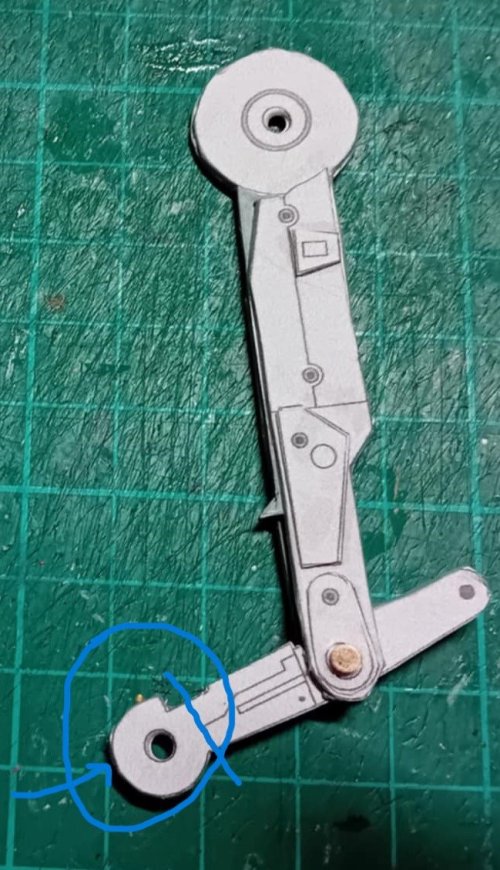
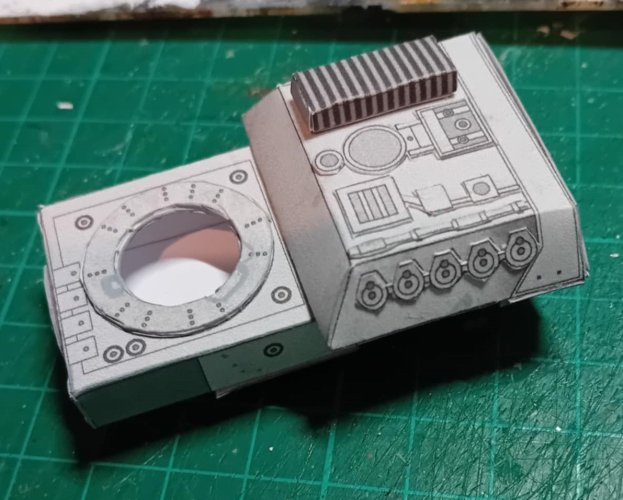
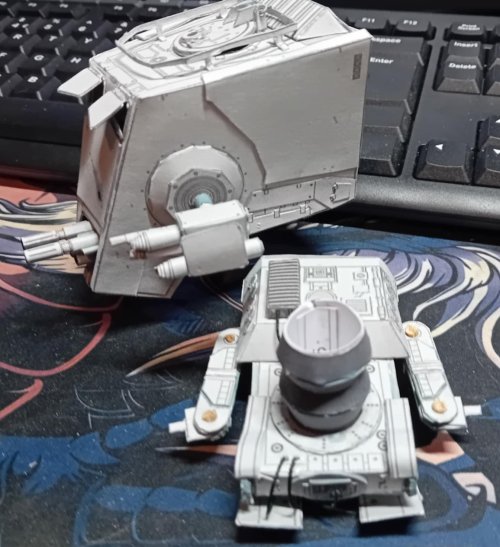
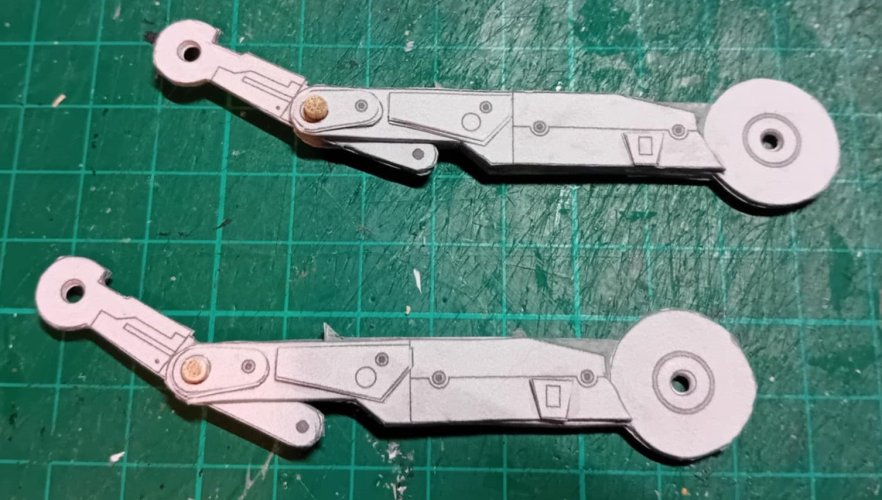
  Anyway, here are some progress pics, including a cpl for the lower leg parts (which follow the laminating process and uses spare copies for greeblying)
Coming from the man himself, i blush sirWow, that disc doesn't look too bad!
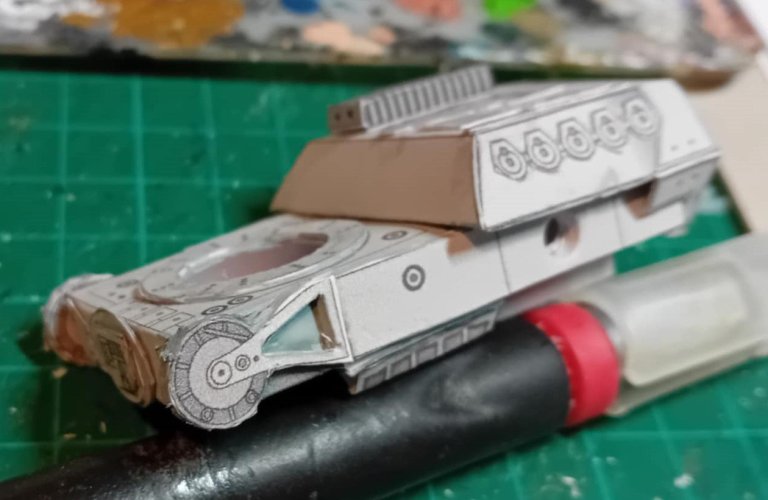
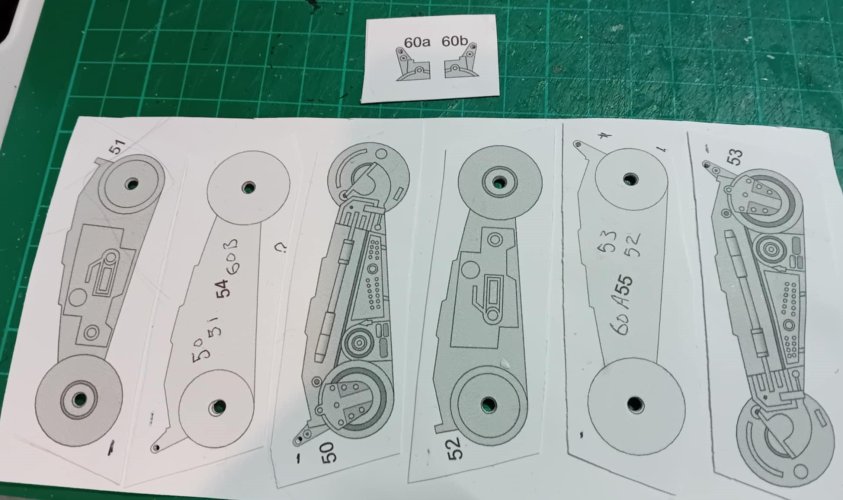
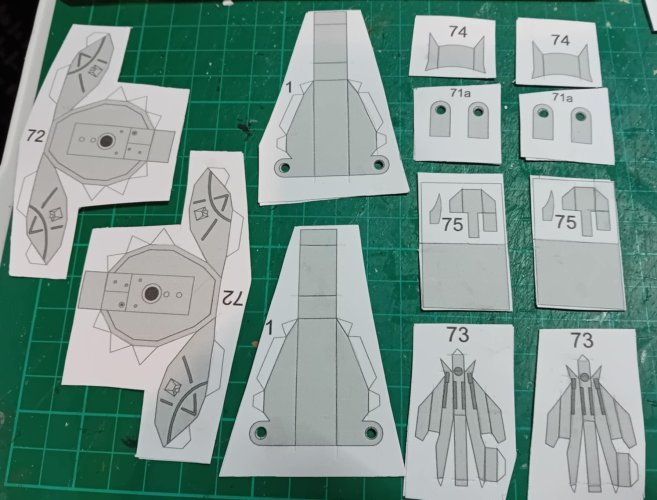
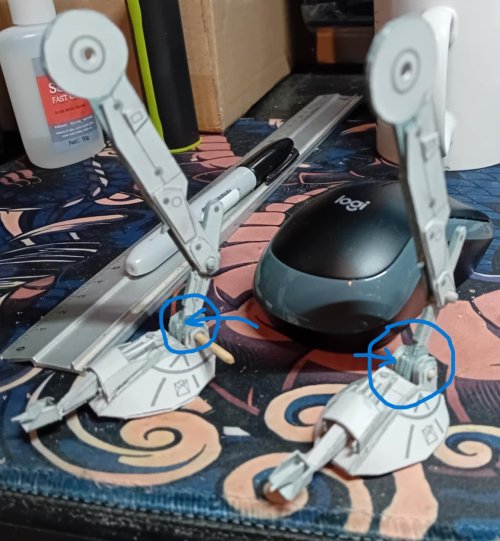
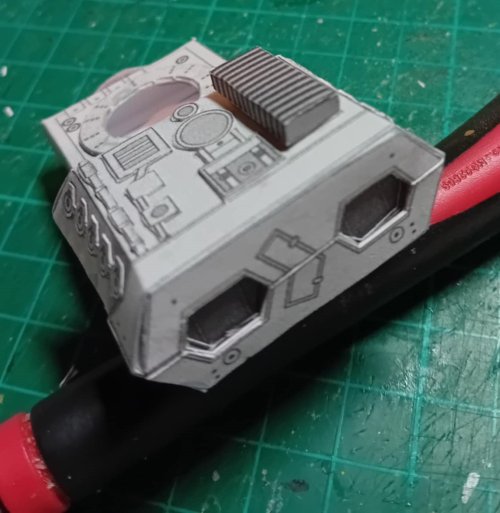
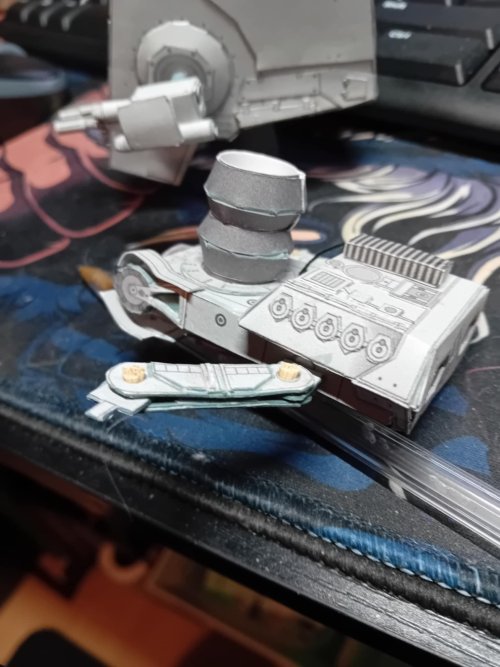
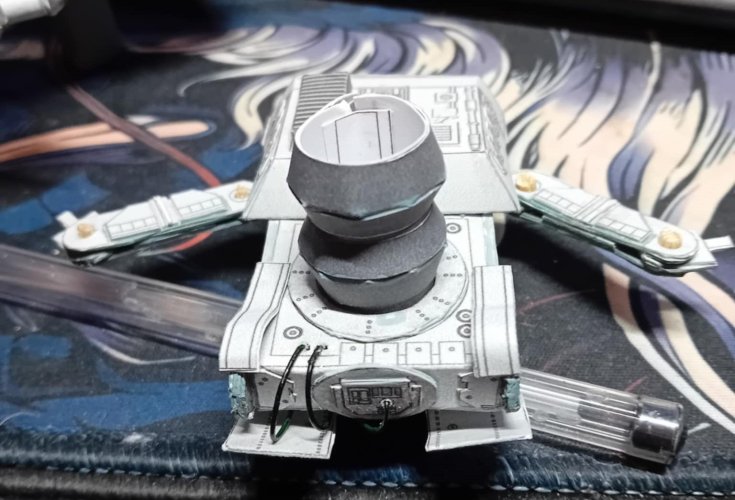
it was just one way i thought you could do it, seems to work for my build if anyone wants to try it. I decided to do it because this model will be on a scenic base (more on that to come) and i wanted to makesure it was sturdy on its base. Currently working on the core parts for the legs and feet atm, once ive got more done ill put some pics up  being put together are the two feet - these were laminated a cpl times for a bit more strength, cut, scored, hole punched and readied for final building while working on the 'ankle' joints - these parts (71a) require more laminating to make the lower leg (58/59) to sit snugly between them, so ive ended up laminating them up to about 3mm just to make sure they are a tight fit - once im happy with the pose all the joints will be glued for sturdiness.
I wanted to keep close to the instructions of the build, but realised that my builds ankle joint, although sturdy, may benefit from a little extra lamination around the joint lol just my take - i think its also materials/card types used, but i wanted to be safe so when it goes on display itll stand in place securely (that and we have cats lmao)The best thing about the legs is that you can decide how thick you laminate them. Just keep the same thickness on all parts.