Hello my friends,
I'm here again with one of my crazy projects. This time will be a new kind of paper model trying to depict the Eiffel Tower in the best detailed way I'll be able to manage.
I was always fascinated by this great monument, the complex structure has always represented a challenge for a crazy modeler like me that I could not avoid to take.
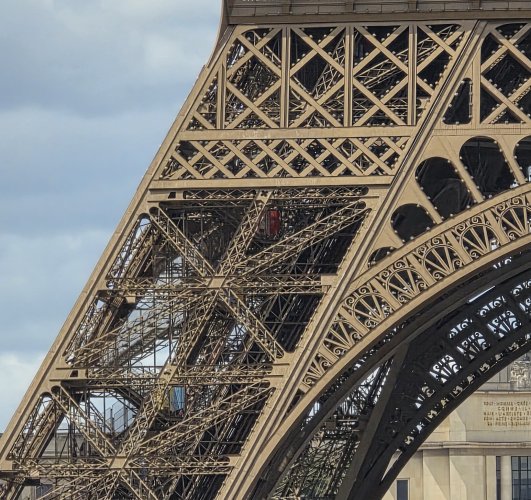
Recently I was in Paris and, standing in front of those huge pylons I started to take a lot of photos... the idea was already growing in my mind...
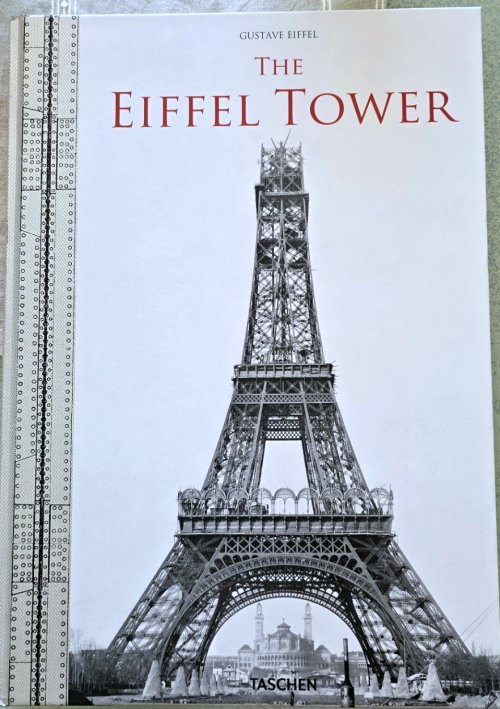
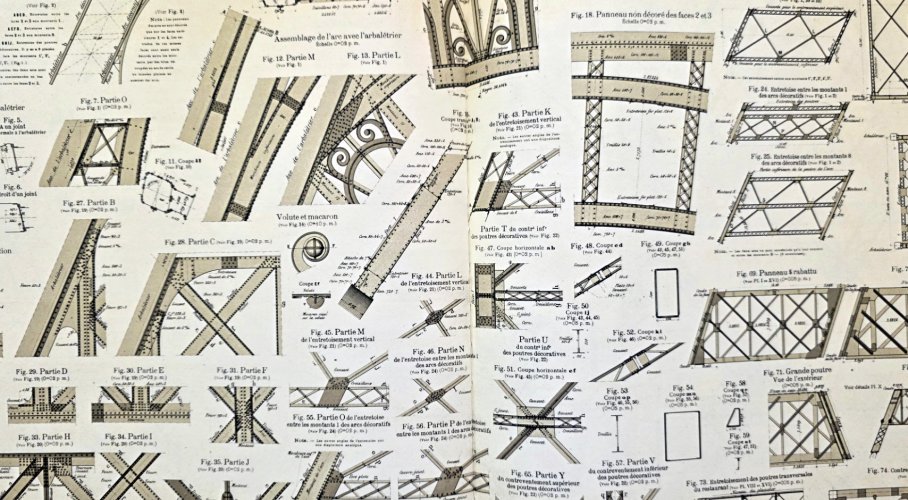
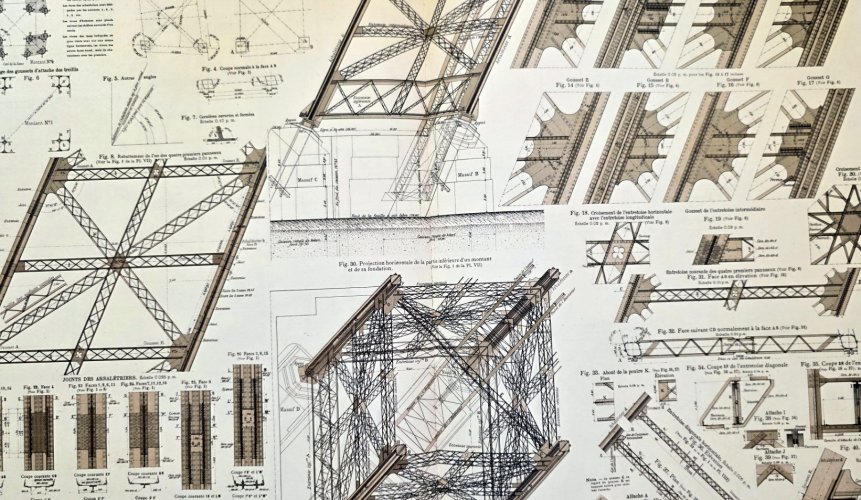
Once returned home I talked of my idea to Nando (a virtual friend met here at Zealot who became a great friend in the real life that I meet everytime I am in Turin) and Nando talked me about a wonderful book about Tour Eiffel that I immediately ordered to Amazon. That book was originally published by Gustave Eiffel in 1900 and is a collection of many of the original drawings utilized for the building of the real thing. Even if you don't want to build the tower is such a pleasure for the eyes that should be in every bookshelf.
The documentation is OK, now let's talk about the model...
My idea is to merge some details realized with the usual papercrafting techniques and other cut with my laser engraver. There are many models of this subject around but everyone has to keep the detail level somewhat under a certain degree where the usual manual cutting would be impossible. I want to push my model above that level hoping that the result won't be too fragile to stand up...
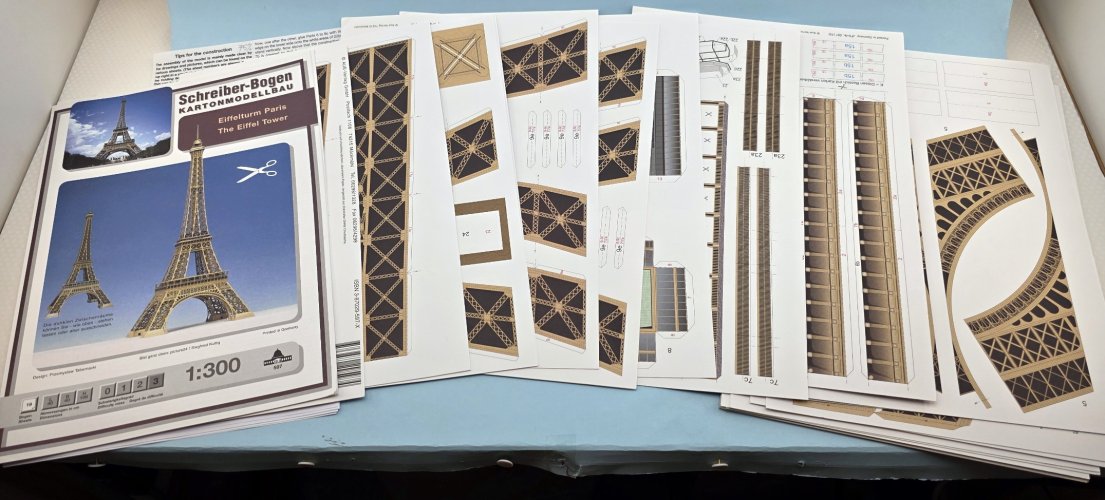
The best Eiffel model around, in my opinion, is the Schreiber one. It offers the option to cut many of the apertures between the lattice and obtain a very good level of detail (take a look to the thread by @tino here at Zealot to have an idea). I started buying the Schreiber model and studying the build process of that model. Then I scanned every page and reduced to 80% as I don't have the space to keep a model more than 1 meter tall (my wife point her finger to the suitcases everytime I talk about building a new model, especially if it is a big one... I think this is a sort of subliminal message...) My tower will be "only" 80 centimeters tall...
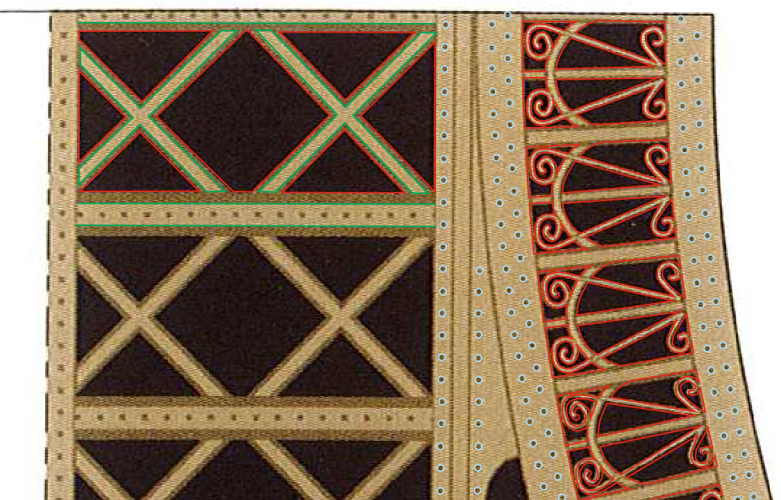
Next phase: I started tracing on the scan every detail, every single beam, every rivet, to prepare the file I would later send to the laser. In the image you can see I used different colours to trace the lines. Every colour will be associated to a different laser mode. Some will be full thickness cut, other will be surface engraving, other will be area engraving... and so on.
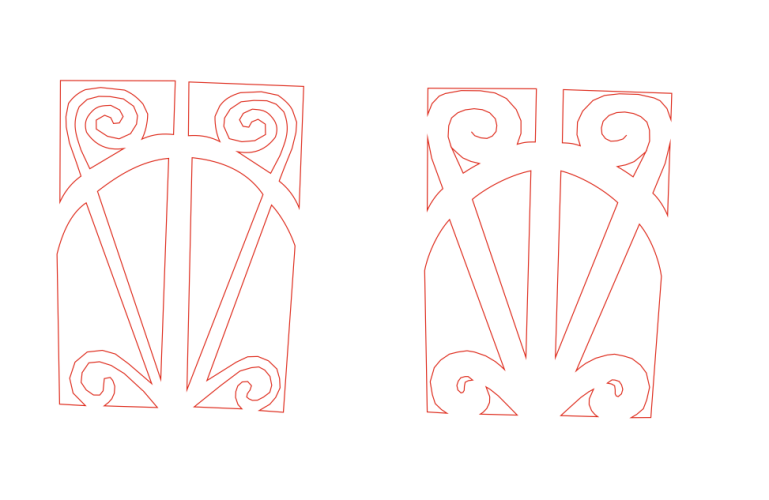
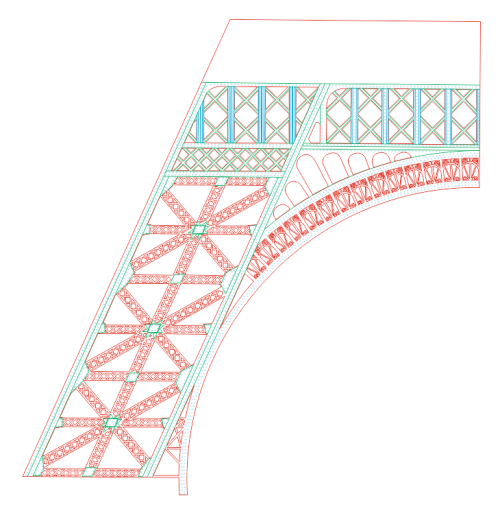
Here is the first batch of lines traced on one of the first floor parts. The cut lines are the red ones. As you can see I would like to cut most of the details of the structure.
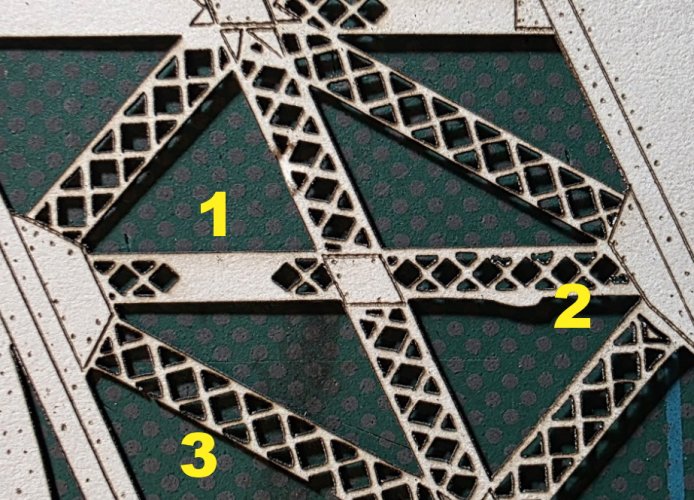
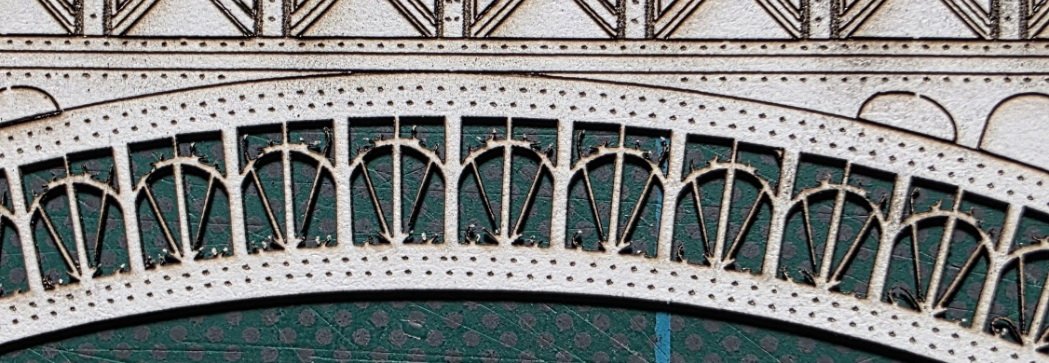
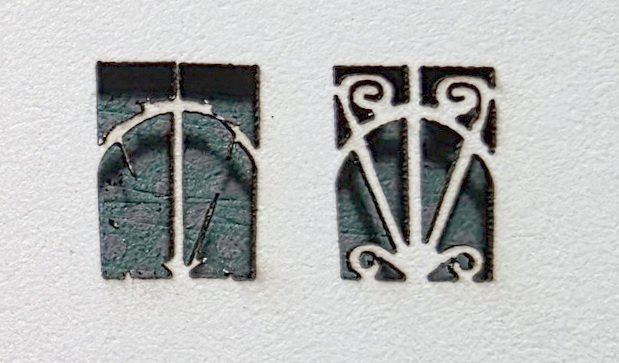
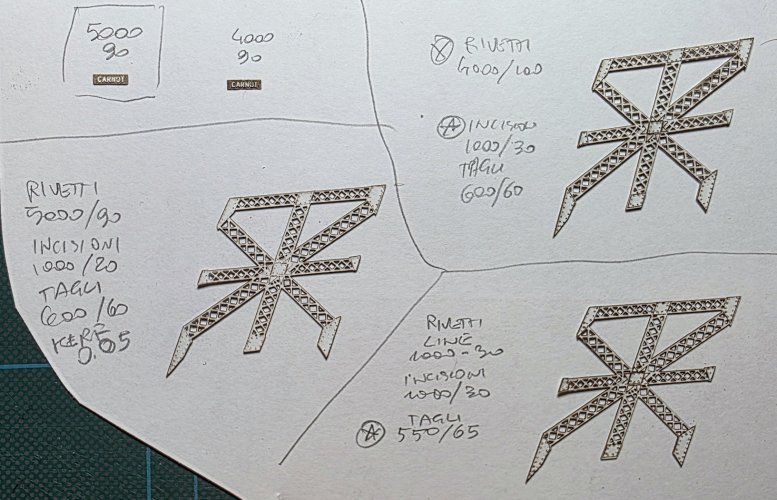
After some tries varying the laser parameters (mainly speed and power of the emitter) I determined the right program to send to the device for every kind of line previously traced.
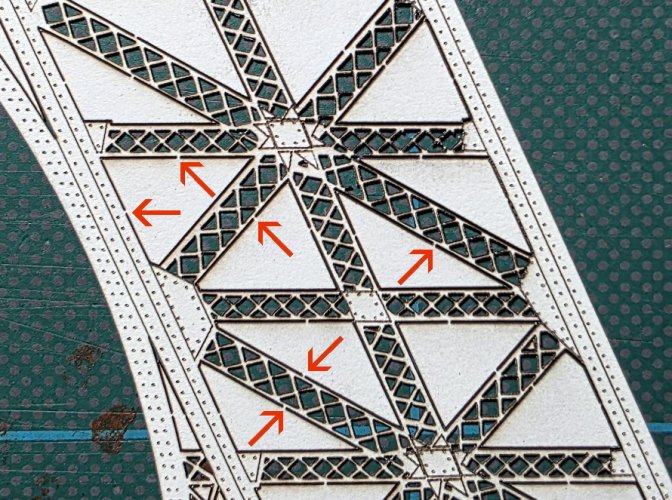
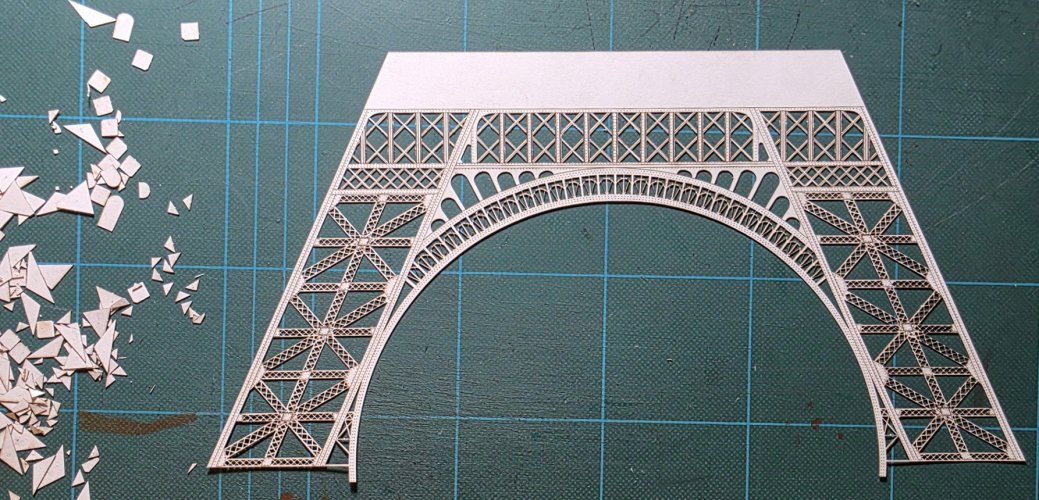
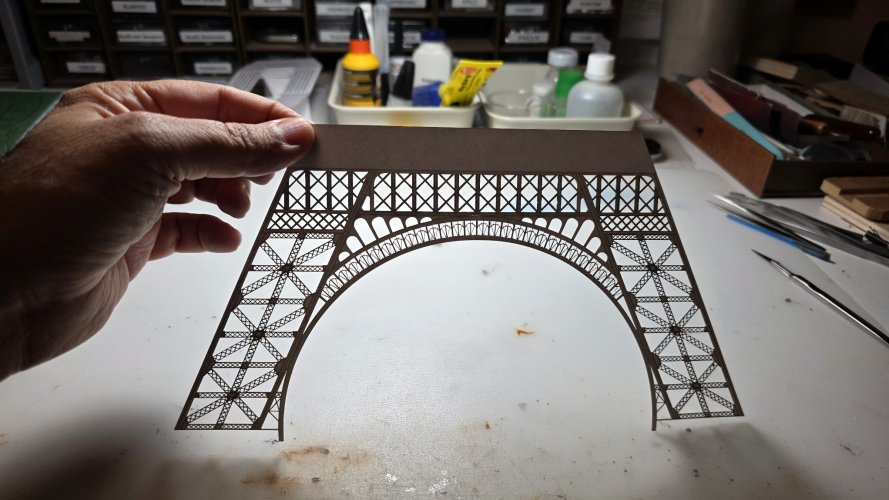
And this is the first piece I realized to test the procedure...
It will be a long journey...
I'm here again with one of my crazy projects. This time will be a new kind of paper model trying to depict the Eiffel Tower in the best detailed way I'll be able to manage.
I was always fascinated by this great monument, the complex structure has always represented a challenge for a crazy modeler like me that I could not avoid to take.
Recently I was in Paris and, standing in front of those huge pylons I started to take a lot of photos... the idea was already growing in my mind...

Once returned home I talked of my idea to Nando (a virtual friend met here at Zealot who became a great friend in the real life that I meet everytime I am in Turin) and Nando talked me about a wonderful book about Tour Eiffel that I immediately ordered to Amazon. That book was originally published by Gustave Eiffel in 1900 and is a collection of many of the original drawings utilized for the building of the real thing. Even if you don't want to build the tower is such a pleasure for the eyes that should be in every bookshelf.


The documentation is OK, now let's talk about the model...
My idea is to merge some details realized with the usual papercrafting techniques and other cut with my laser engraver. There are many models of this subject around but everyone has to keep the detail level somewhat under a certain degree where the usual manual cutting would be impossible. I want to push my model above that level hoping that the result won't be too fragile to stand up...
The best Eiffel model around, in my opinion, is the Schreiber one. It offers the option to cut many of the apertures between the lattice and obtain a very good level of detail (take a look to the thread by @tino here at Zealot to have an idea). I started buying the Schreiber model and studying the build process of that model. Then I scanned every page and reduced to 80% as I don't have the space to keep a model more than 1 meter tall (my wife point her finger to the suitcases everytime I talk about building a new model, especially if it is a big one... I think this is a sort of subliminal message...) My tower will be "only" 80 centimeters tall...

Next phase: I started tracing on the scan every detail, every single beam, every rivet, to prepare the file I would later send to the laser. In the image you can see I used different colours to trace the lines. Every colour will be associated to a different laser mode. Some will be full thickness cut, other will be surface engraving, other will be area engraving... and so on.

Here is the first batch of lines traced on one of the first floor parts. The cut lines are the red ones. As you can see I would like to cut most of the details of the structure.

After some tries varying the laser parameters (mainly speed and power of the emitter) I determined the right program to send to the device for every kind of line previously traced.

And this is the first piece I realized to test the procedure...


It will be a long journey...
Last edited:
