ON ZETA, THEY DO IT RIGHT.

Rhaven Blaack

!!!THE MAN BEHIND THE CURTAIN!!!
Staff member
Administrator
Moderator
Jun 12, 2009
13,483
11,620
228
Arkansas
www.deviantart.com
As you all know, @Revell-Fan and I are working on the "Battlestar Galactica/Buck Rogers Hover Vehicle". Last year, @Revell-Fan thought that it would be a good idea to make the ZETA PRISON ELEVATOR (that was featured in the episode "UNCHAINED WOMAN"). I had condected a beta test build of the template in 1:48 scale. I had planned to post a build of it. However, "REAL-LIFE" stepped in the way and forced me to do other things. Recently, I had conducted a beta test build of the BLUE HOVER VEHICLE (that was featured in the same episode). Whilst working on that particular project, I decided to rebuild the ZETA PRISON LIFT in 1:32 scale and build a diorama with it and the BLUE HOVER VEHICLE.

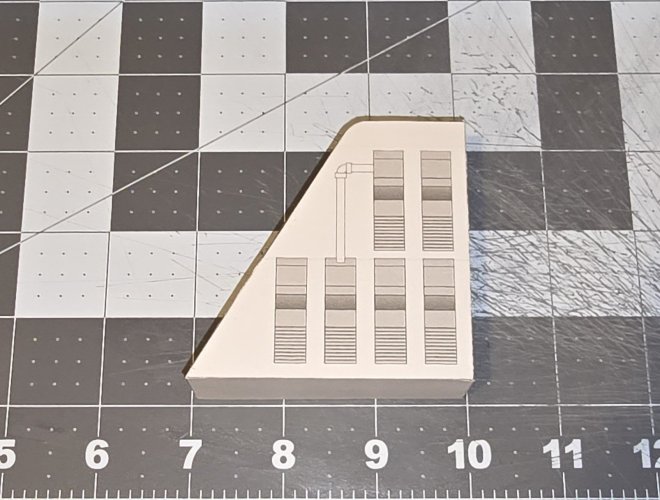
Starting off witht he two side components, here are the parts and formers.
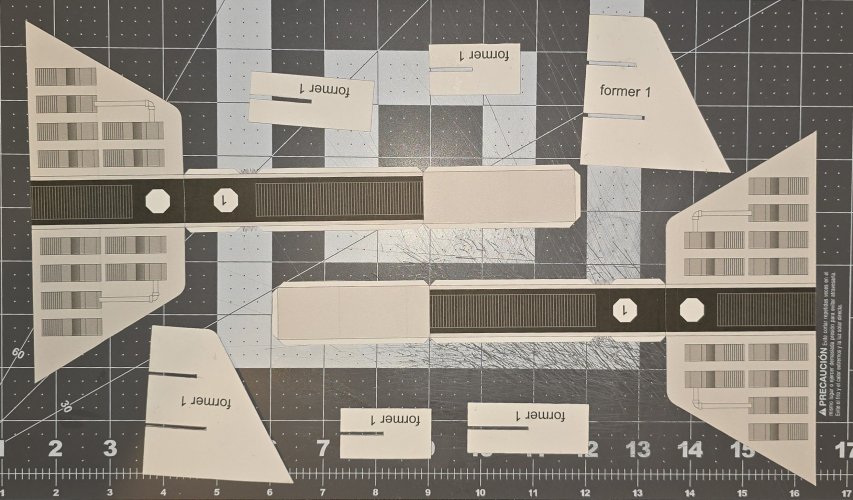
20250718_102535.jpg

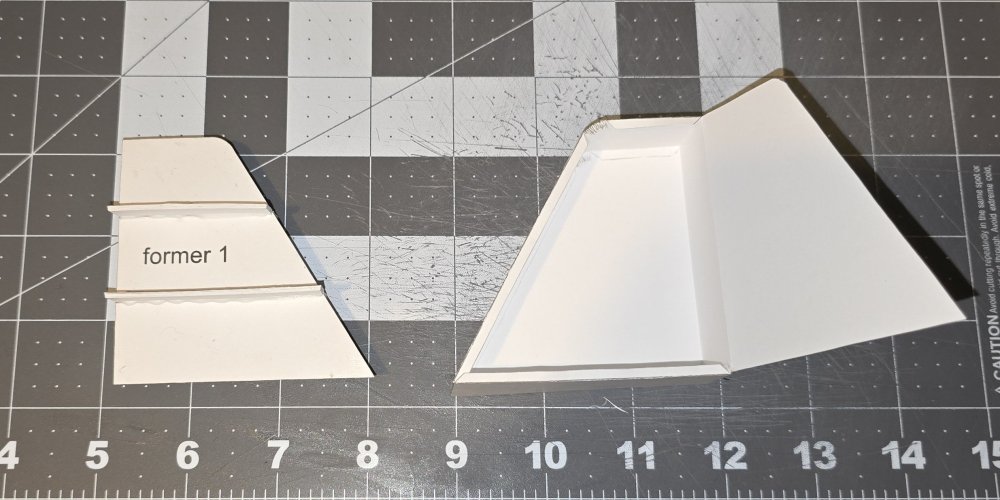
Here are the former system and the outer skin for the component. I ran a bead of glue along the joints to help with the formers staying together.
20250718_194844.jpg

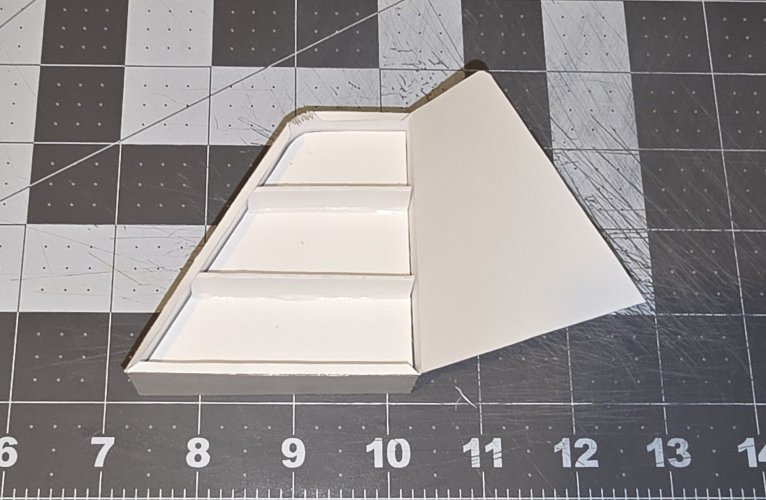
The former is placed in the component.
20250718_194932.jpg

The component id fully asembled.
20250718_195214.jpg

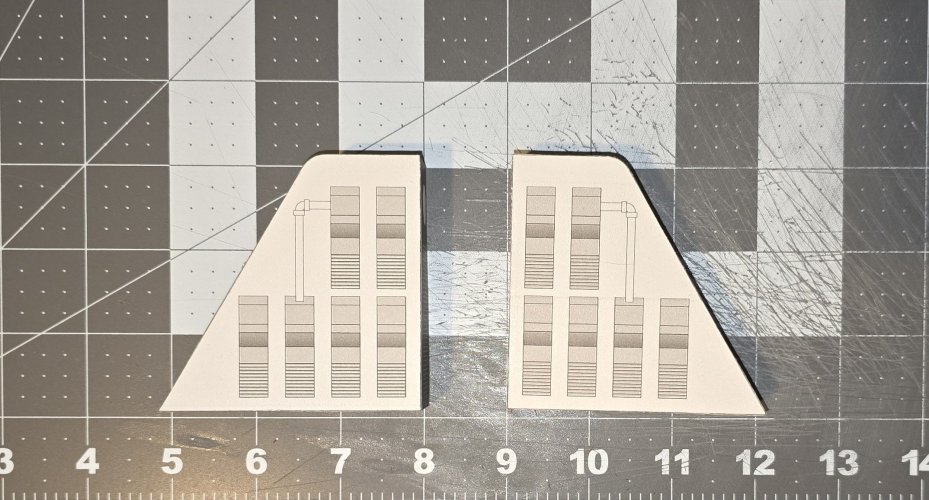
Both side components are assembled.
20250718_200851.jpg

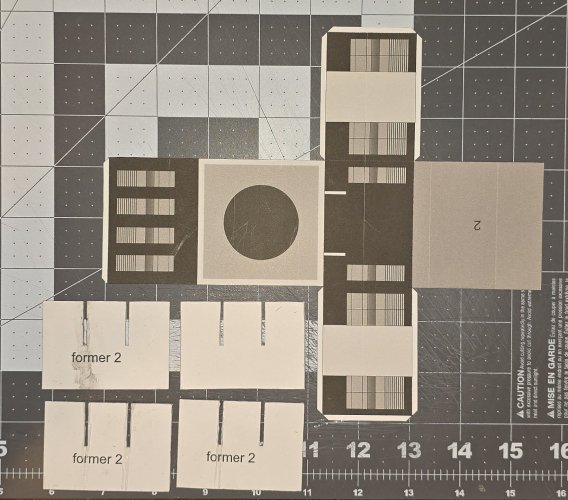
Here are the parts and formers for the base.
20250718_201924.jpg

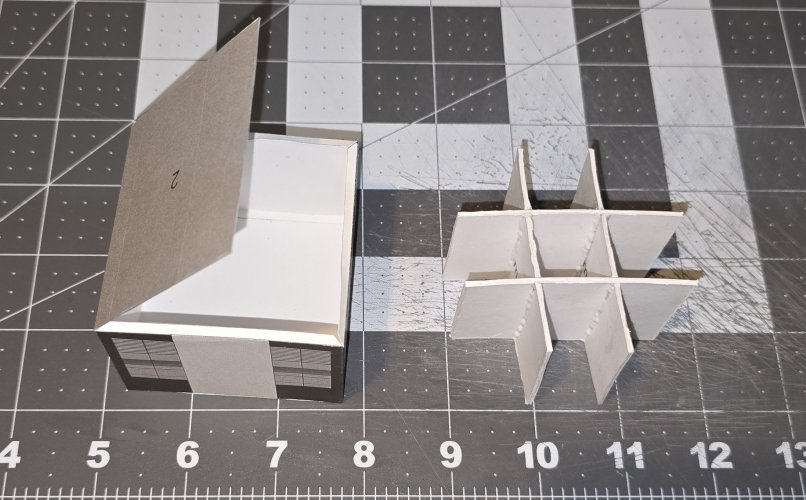
Here are the former system and the outer skin for the base. I ran a bead of glue along the joints to help with the formers staying together.
20250718_203142.jpg

I placed the former system in the base.
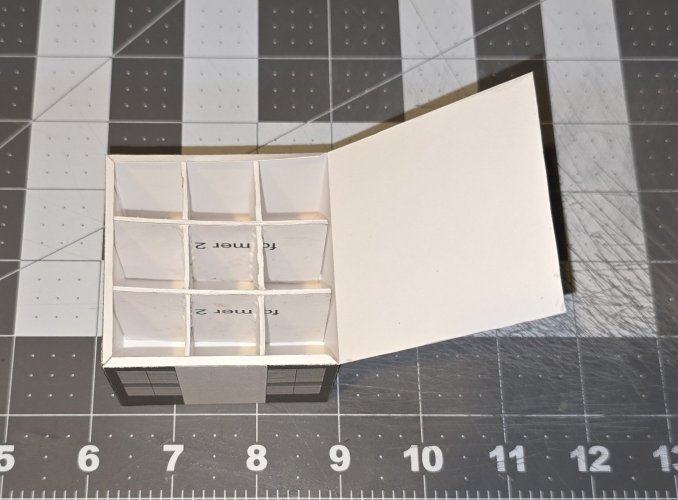
20250718_203241.jpg

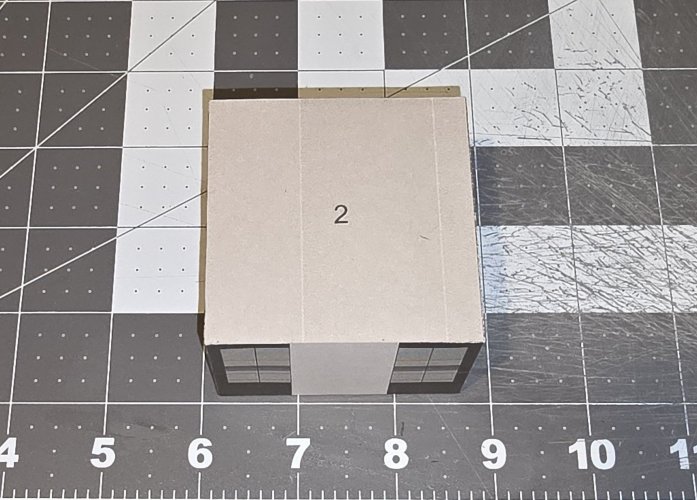
The base id now fully assembled.
20250718_203323.jpg

Here are the side components and base.
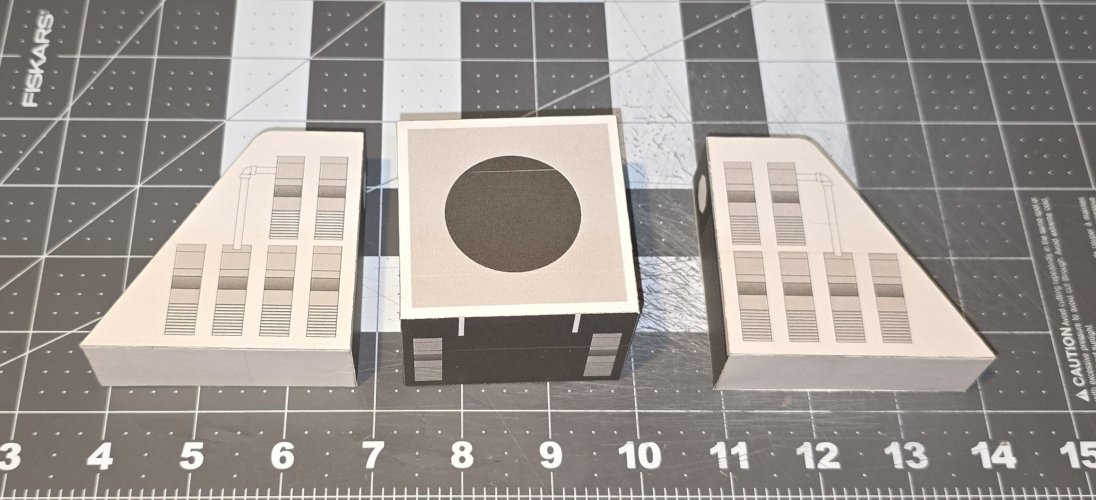
20250718_203436.jpg

Please stay tuned in to your local Earth Directorate broadcasting channels for further updates.

 
Looking nice!
Imagine using that layering technique from that thread a few days ago for a really stable base with 3d surfaces.
But I don't know how that original elevator looks.maybe the surfaces are smooth in the original
 
Looking nice!
Imagine using that layering technique from that thread a few days ago for a really stable base with 3d surfaces.
But I don't know how that original elevator looks.maybe the surfaces are smooth in the original
Thank you. There are additional "greebling" parts that will be added soon. Even though it is a "relatively" simple model, there is qutie a bit of details to the model as a whole. I have have to say that @Revell-Fan did a FANTASTIC JOB at designing the template.
 
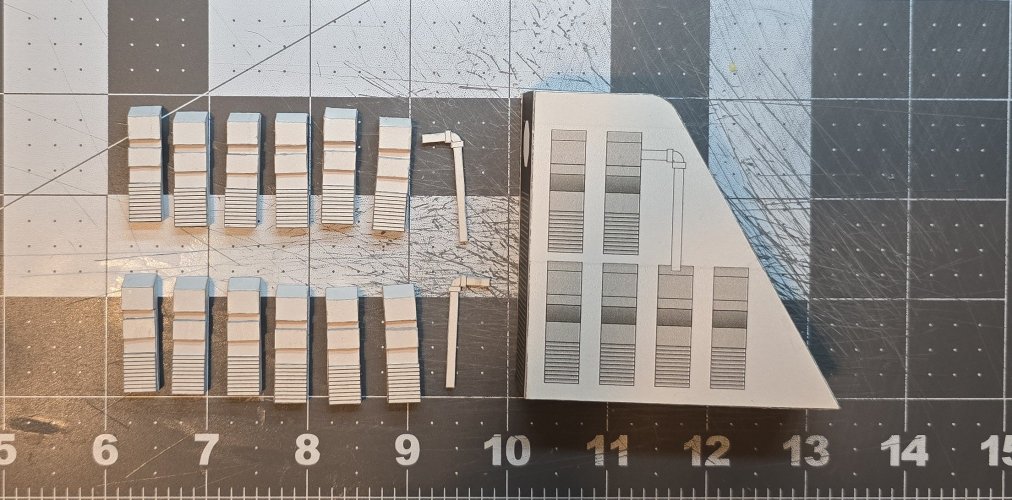
It is time to add some well needed greebling. Here are all of the detailed greebling components.
20250719_085507.jpg

I started with the grey ones for the triangle component.
20250719_100145.jpg

The part is fully assembled.
20250719_100906.jpg

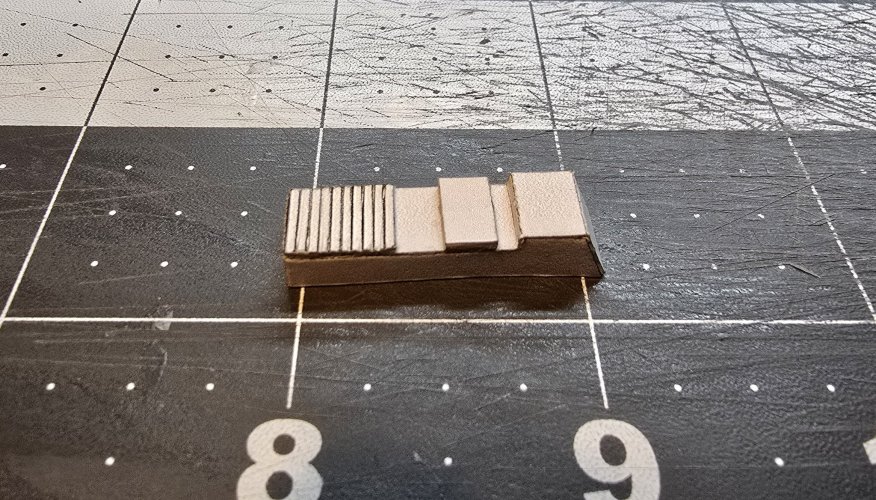
I decided tp see what it would look like if the lower plate was score.
(*NOTE* Scoring the lower plate is not necessary. However, if you want a more "screen accurate" component, scoring the plate is an option)
20250719_132727.jpg

All of the greebling is assembled.
20250720_113655.jpg

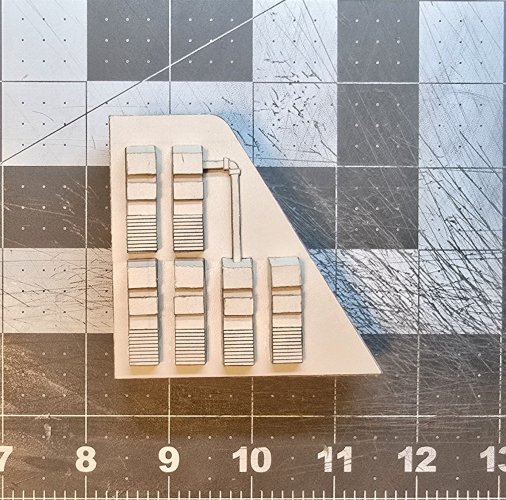
The greebling is attached.
20250720_121941.jpg

20250720_122007.jpg

Here are the side panels for the triangle component.
20250720_145009.jpg

The side panels are attached.
20250720_150008.jpg

20250720_150028.jpg

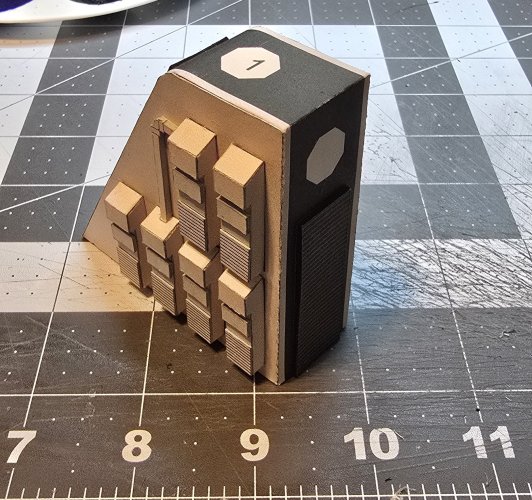
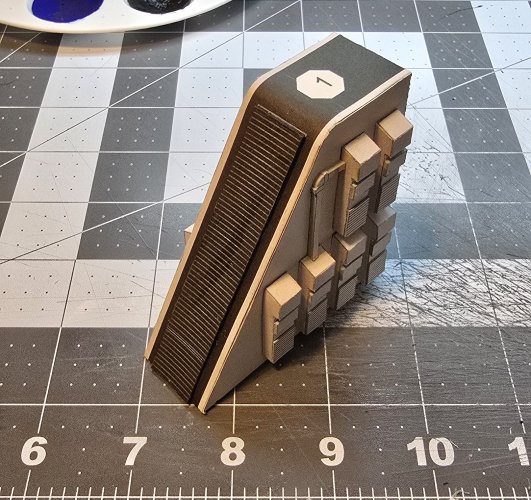
The triangle components are fully assembled.
20250721_191410.jpg

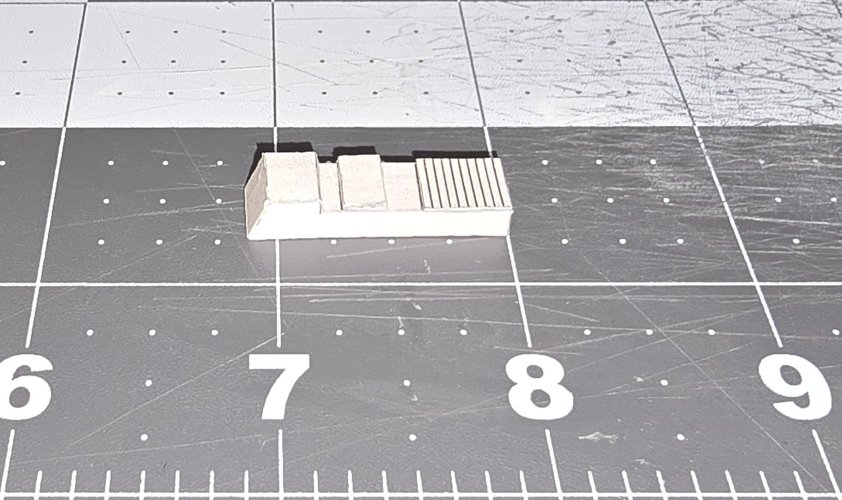
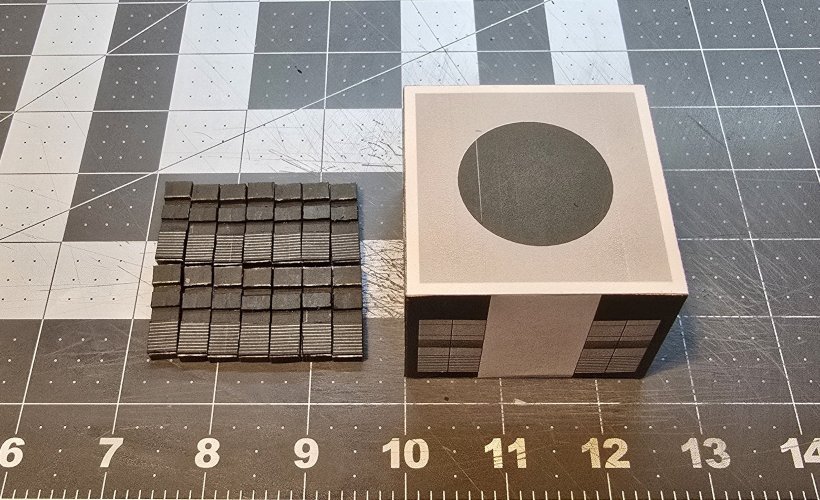
Here are the grebling componets for the base.
20250723_104903.jpg

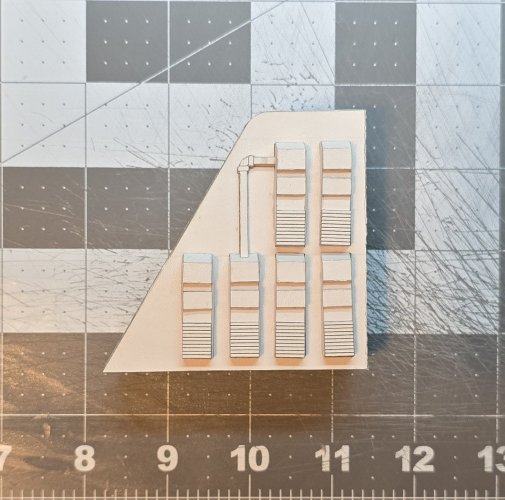
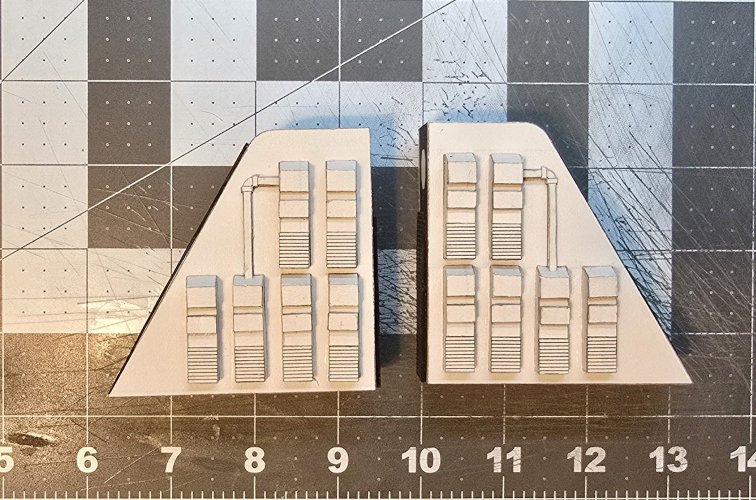
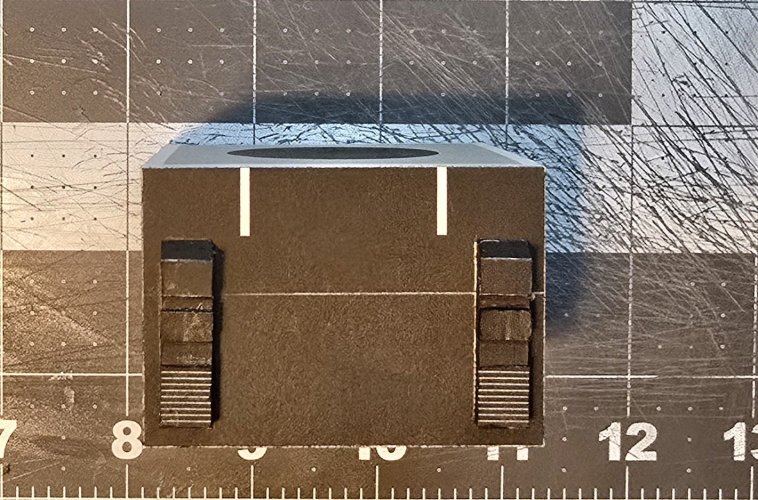
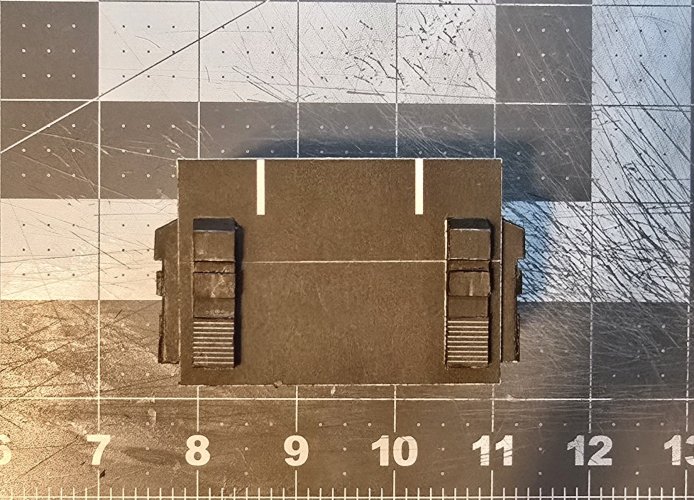
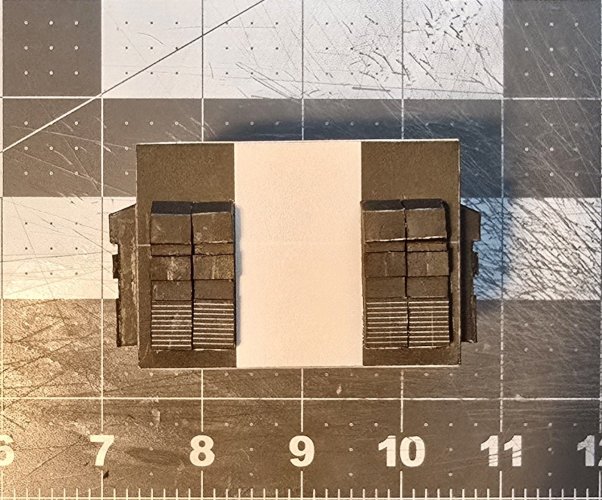
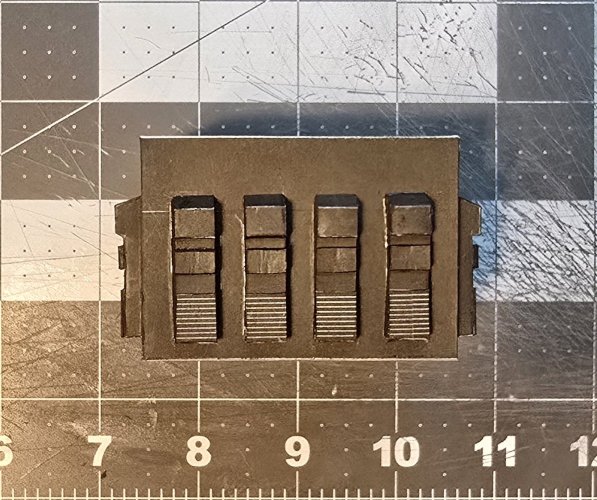
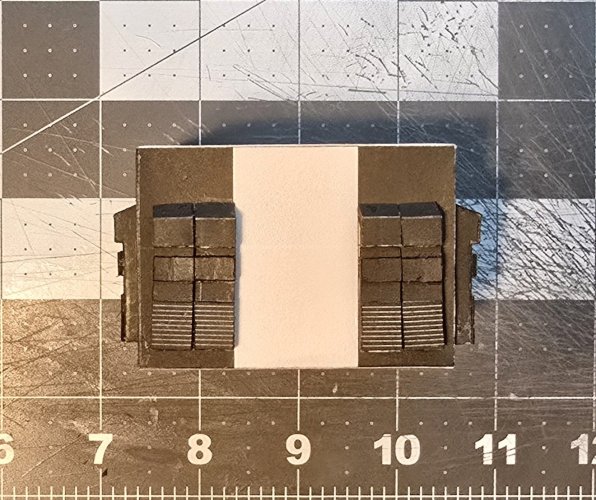
The greebling componets are attached to the base.
20250723_105538.jpg

20250723_111542.jpg

20250723_111628.jpg

20250723_111644.jpg

20250723_111655.jpg

Please stay tuned in to your local Earth Directorate broadcasting channels for further updates.
 
It is time for another update. I have started wit the "hiding" platform. This device is used to make the figure (or person) appear to have gone down to the prison "tiself", by turning to "hide" the figure (person).

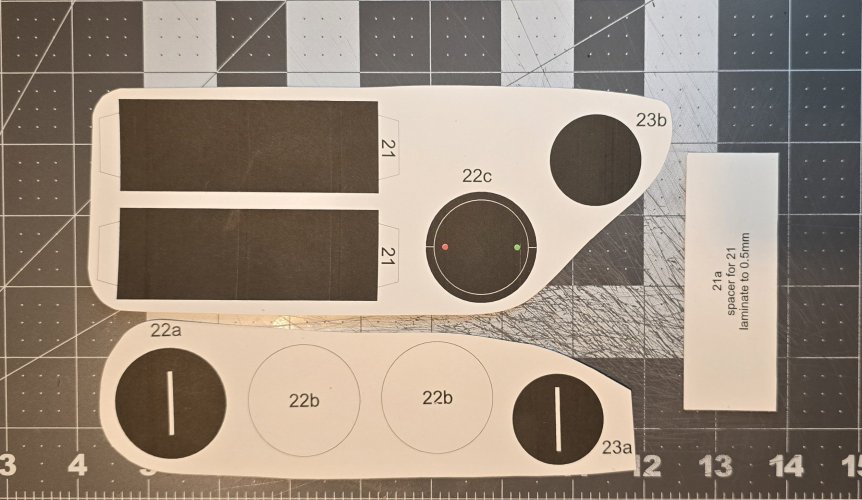
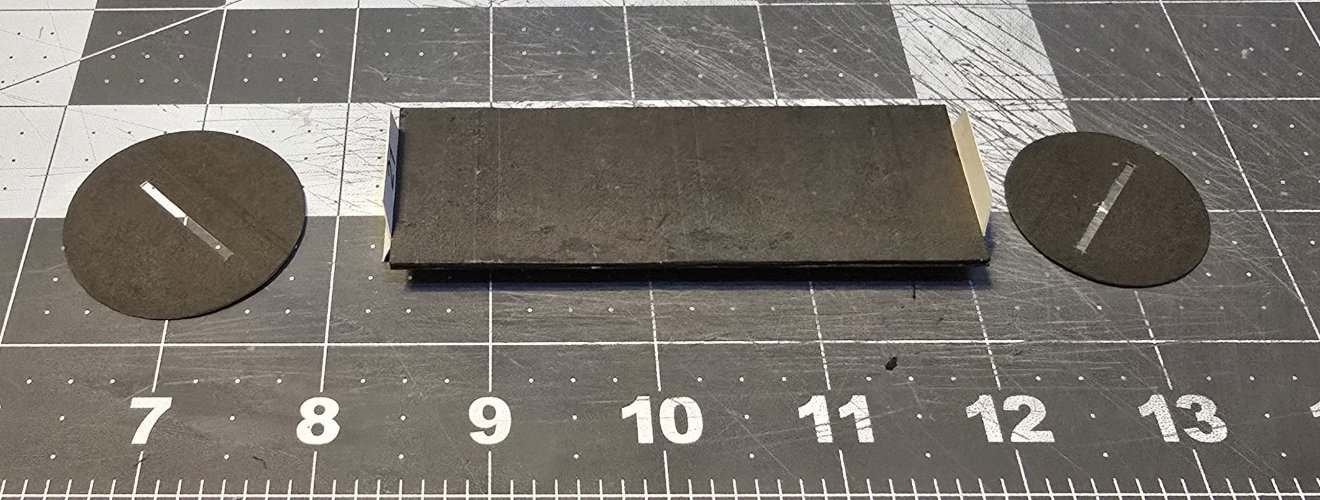
Here are the parts for the component.
(*NOTE* Part 21a (the spacer that goes inbetween parts 21, must be laminated to 1mm thick.)
20250723_112849.jpg

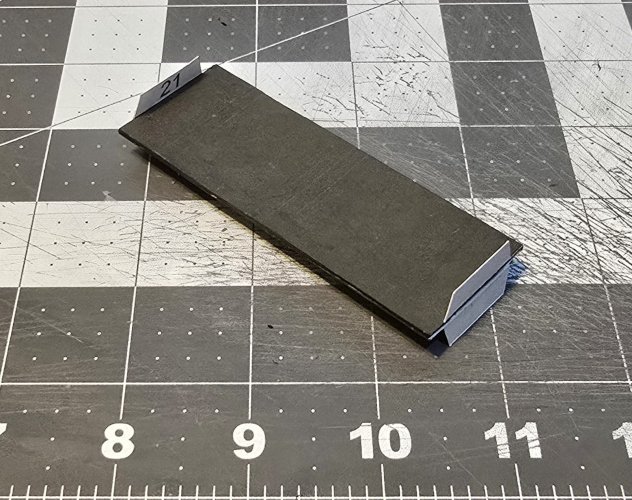
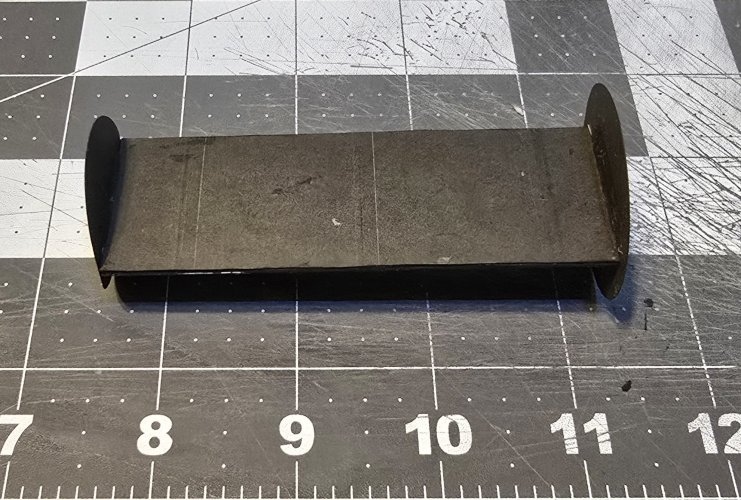
The "hiding" panel is assembled.
20250723_134744.jpg

Attaching the end pieces to the "hiding" panel.
20250723_140917.jpg

20250723_141300.jpg

20250723_142002.jpg

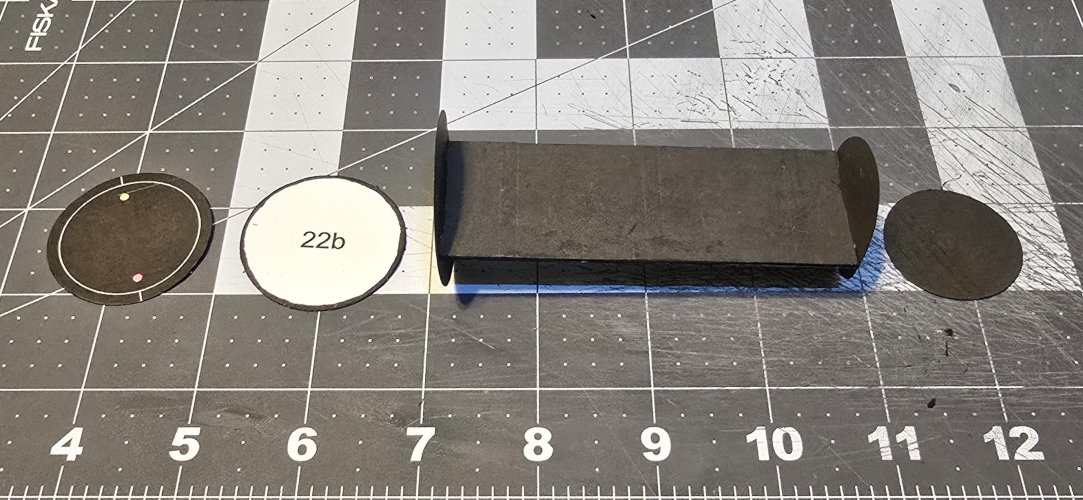
The "hiding" platform is assembled.
20250723_150832.jpg

20250723_150855.jpg

Please stay tuned in to your local Earth Directorate broadcasting channels for further updates.
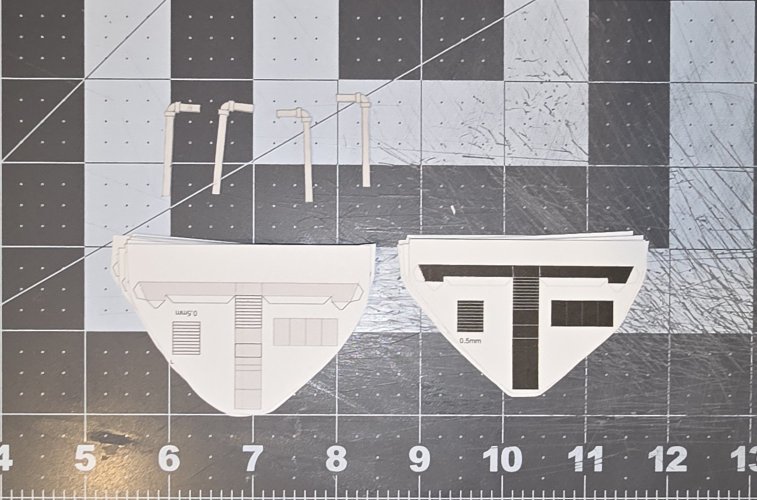
 
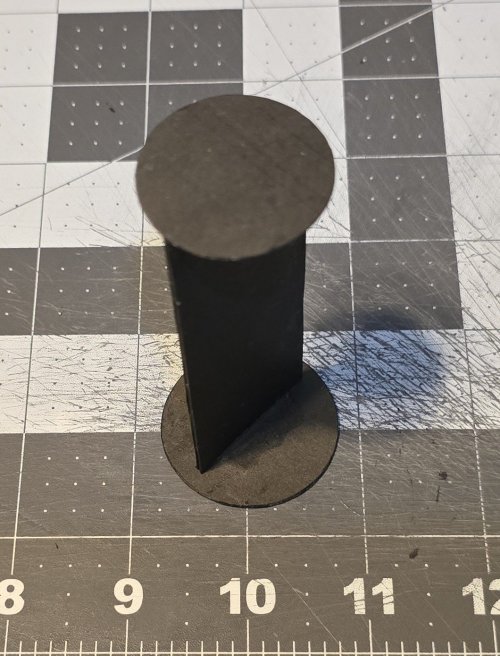
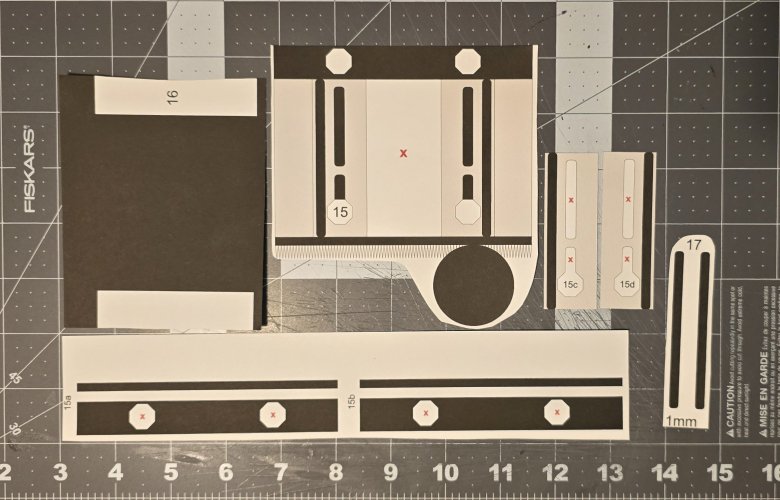
Here are the parts for the main part of the lift tube.
20250725_144625.jpg

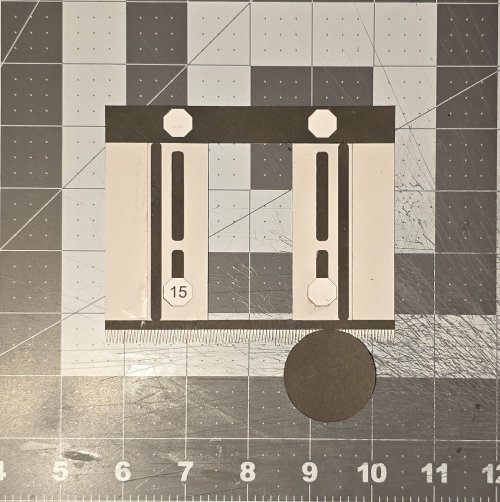
Starting with the outer tube.
20250725_153638.jpg

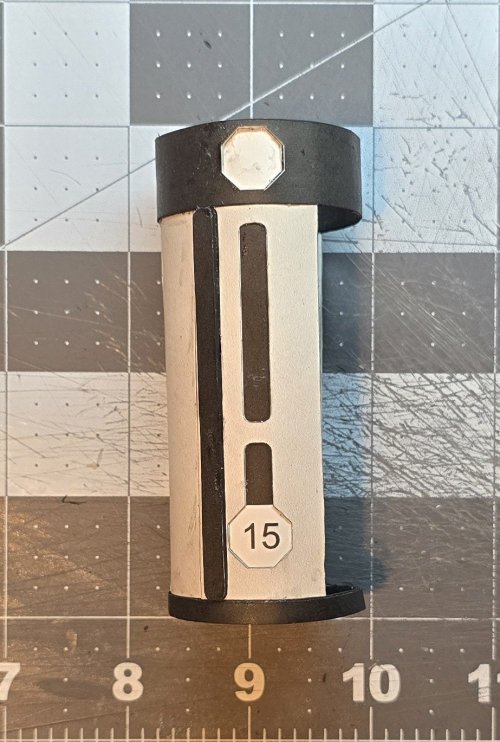
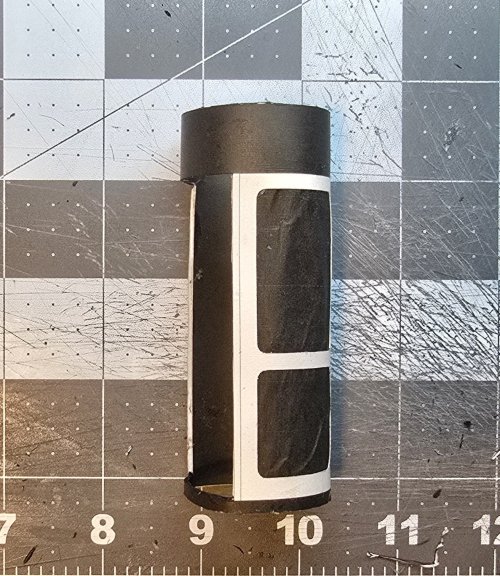
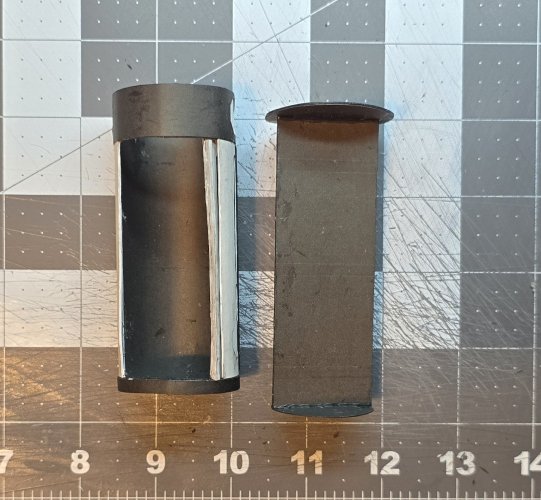
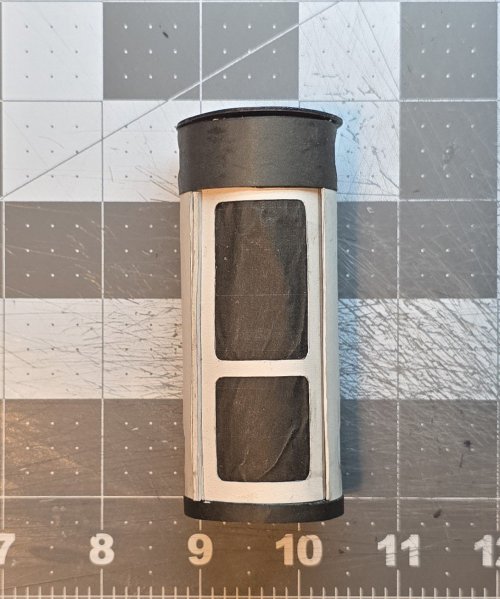
I assembled the outer tube (by attaching part 15 to part 16) and applied the addisional detail panels.
(*NOTE* When applying parts 15a & 15b (to both the top and bottom), make certain that you apply 15a first. Make any necessary adjustments. Then apply 15b. Make certain that the octagonal holes (on the top) are lined up as well.)
20250725_205135.jpg

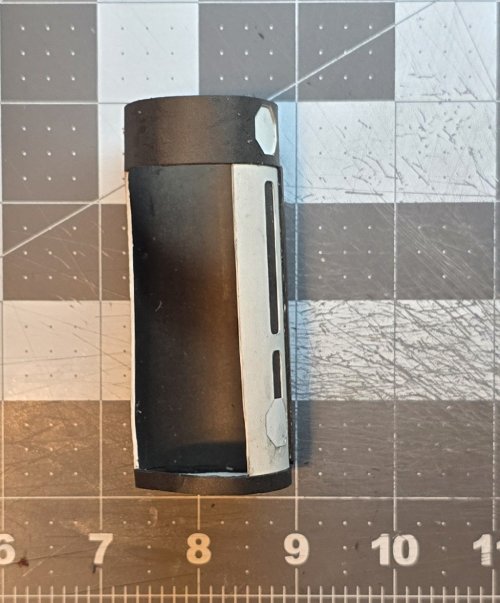
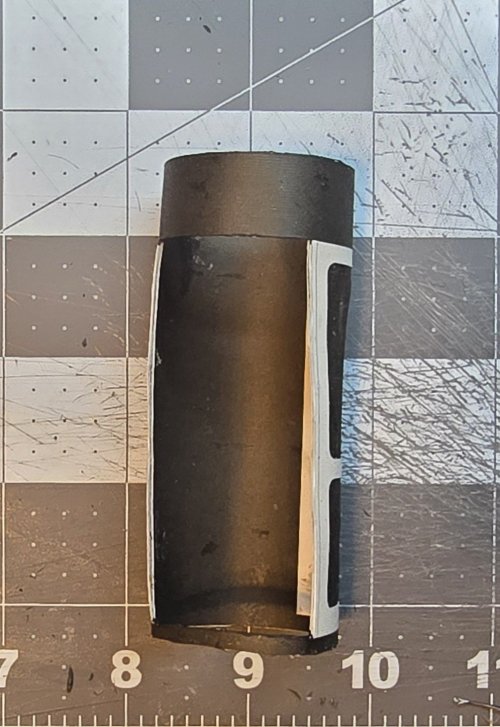
Inside of the outer tube.
20250725_205208.jpg

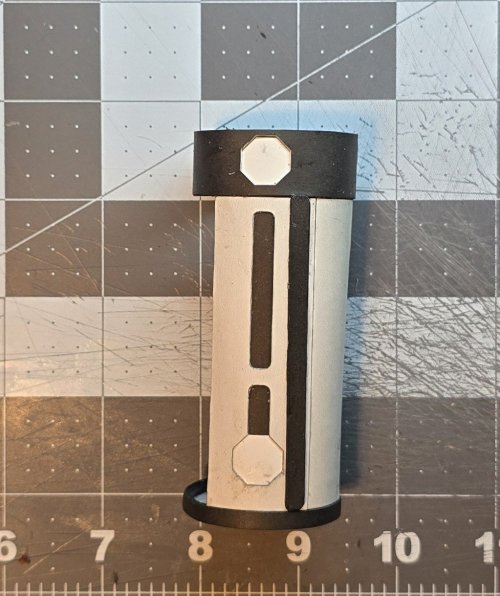
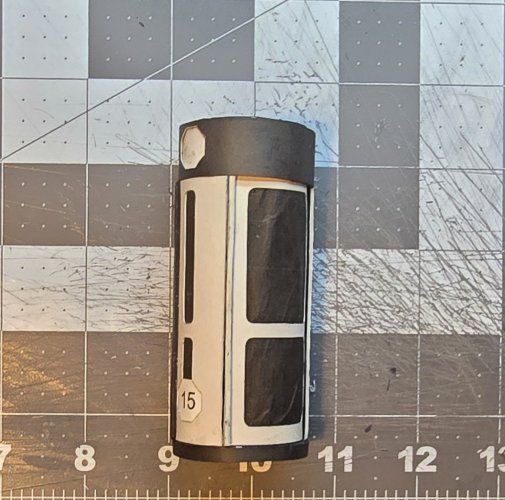
Side view showing the detail panels.
20250725_205307.jpg

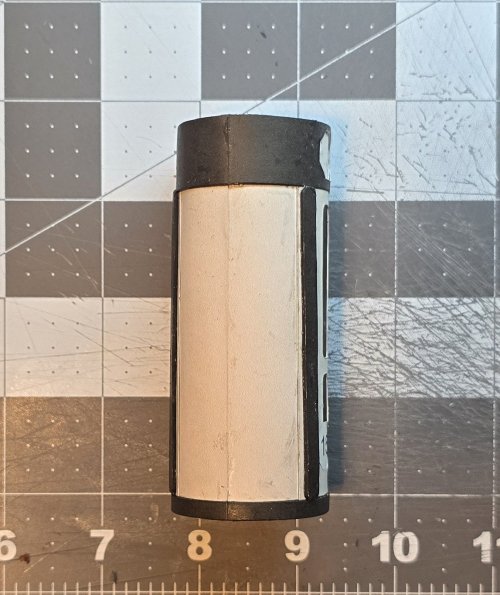
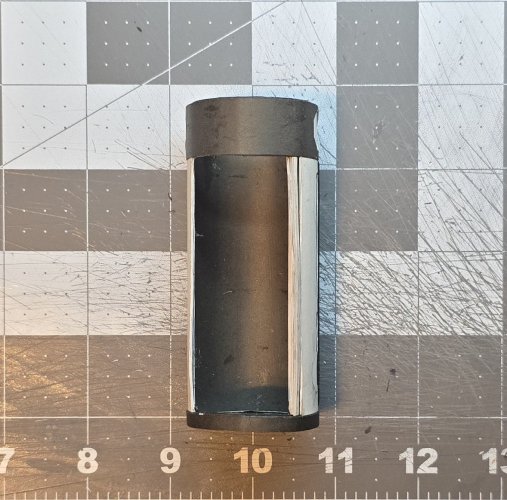
Back side
20250725_205422.jpg

Please stay tuned in to your local Earth Directorate broadcasting channels for further updates.
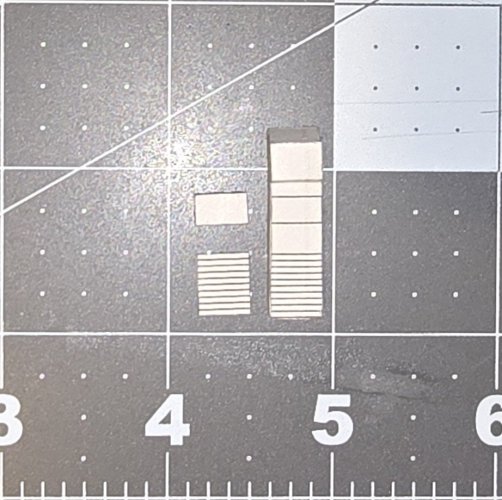
 
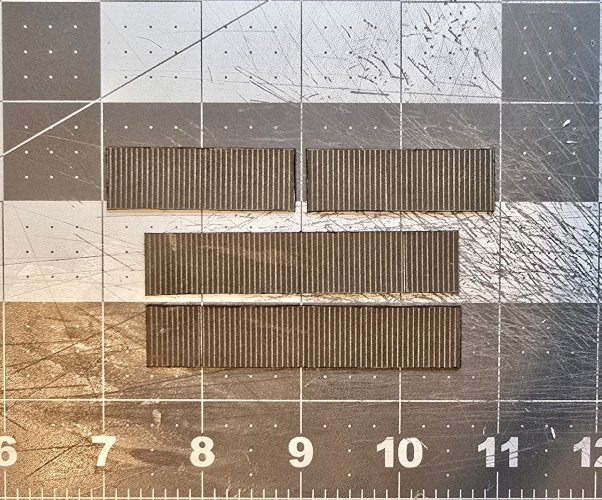
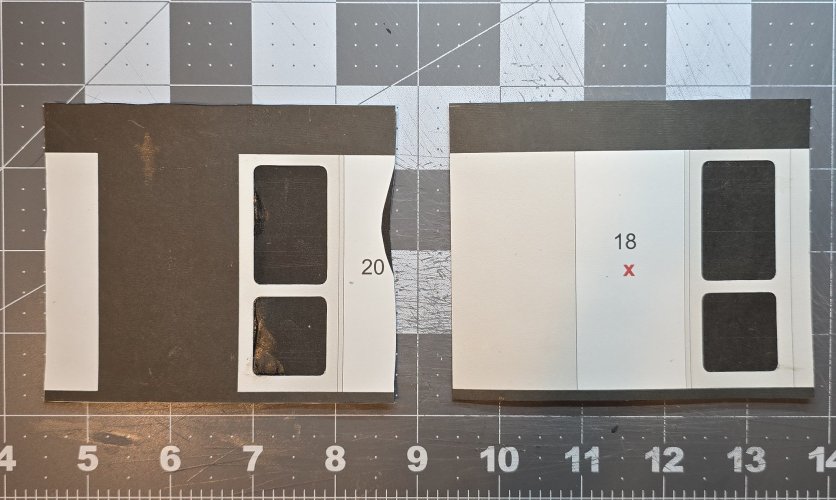
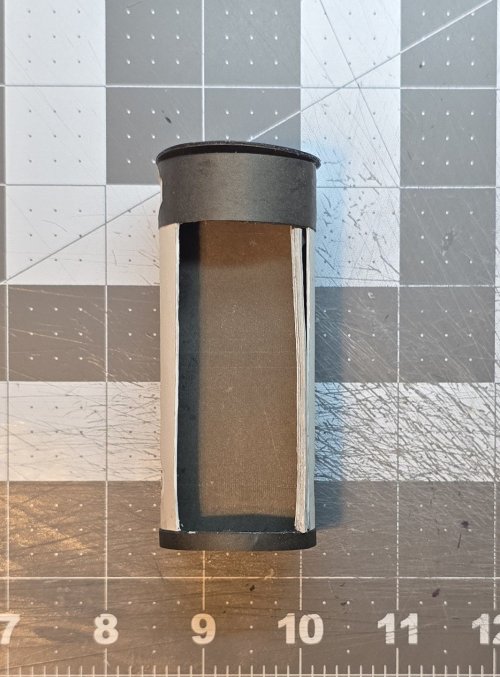
Moving on to the sliding door. For the door components, I cut the black panels out, then laminated both parts to a piece of black printer paper (so that the panels are recessed).
20250726_084537.jpg

I assembled the sliding door (by attaching part 18 to part 20).
20250726_091855.jpg

20250726_091931.jpg

I slid the door into the tube body and attached part 19 (the handle/door stop).
20250726_095429.jpg

The door is in the "open" position.
20250726_095502.jpg

Here are the lift tube and the "hiding" platform.
20250726_095810.jpg

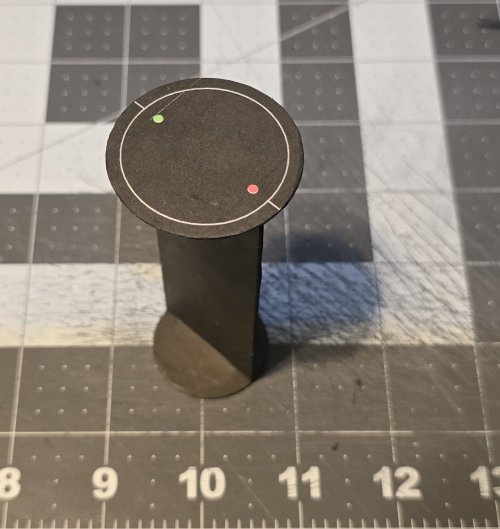
The "hiding" platform is placed inside the lift tube.
20250726_095916.jpg

20250726_100036.jpg

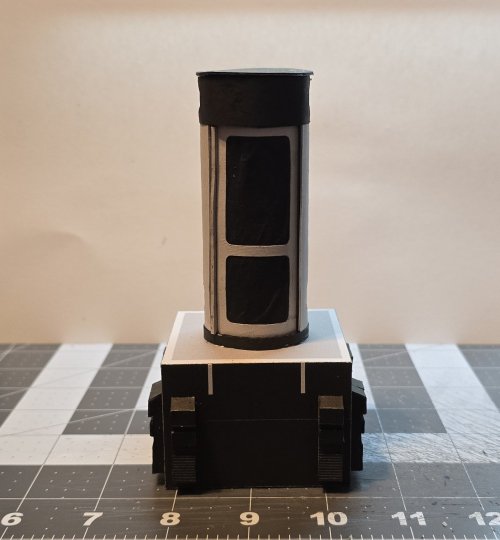
The lift tube is mounted on the base.
20250726_101031.jpg

Please stay tuned in to your local Earth Directorate broadcasting channels for further updates.