NASA Shuttle Atlantis (by paper-replika)

gogu13

Gogu
Sep 17, 2009
74
236
46
Romania, Cluj-Napoca
www.facebook.com
Hi everyone,

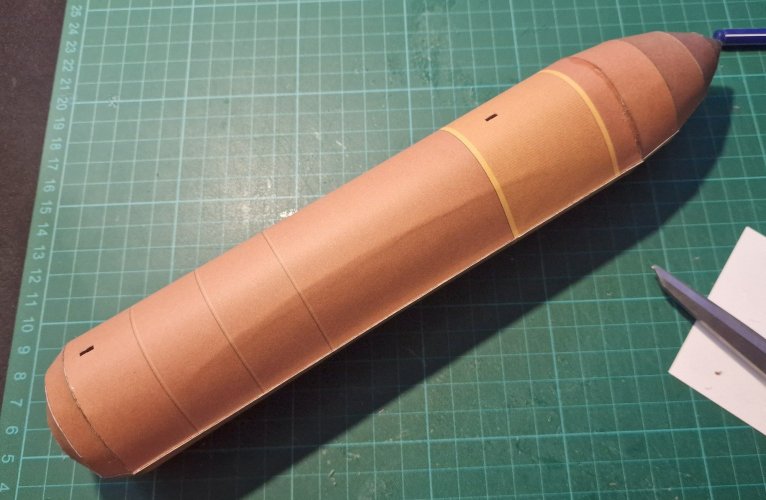
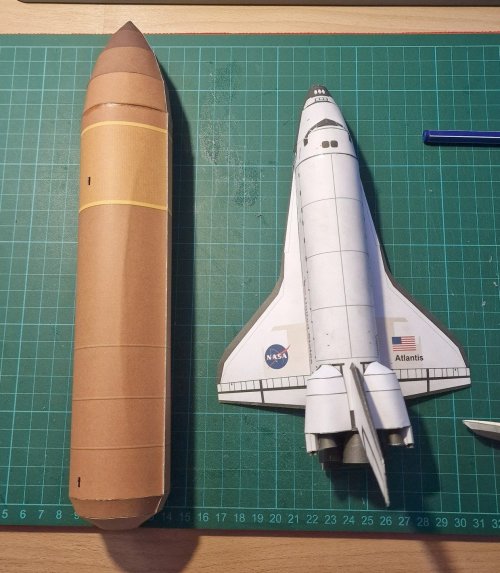
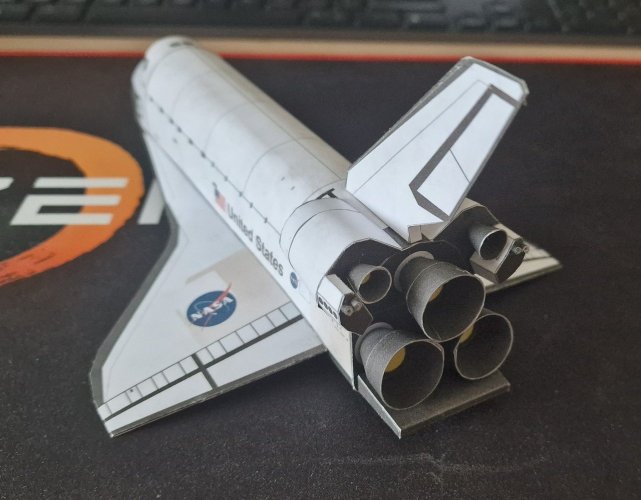
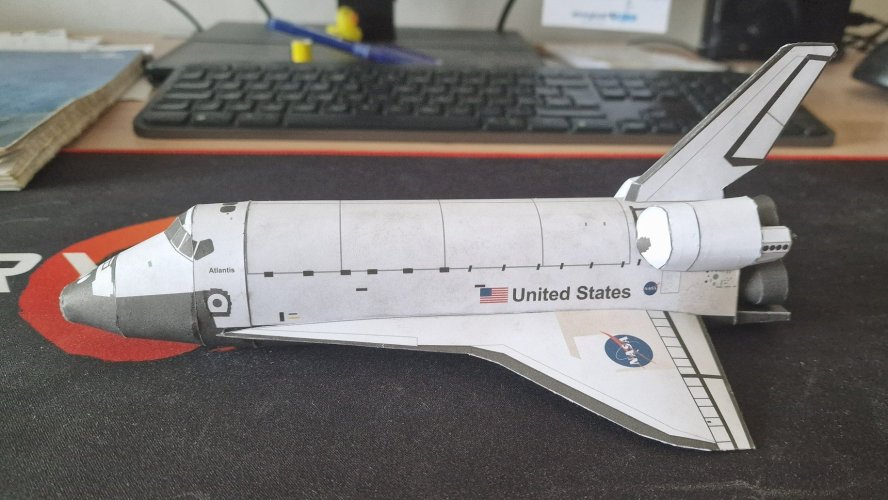
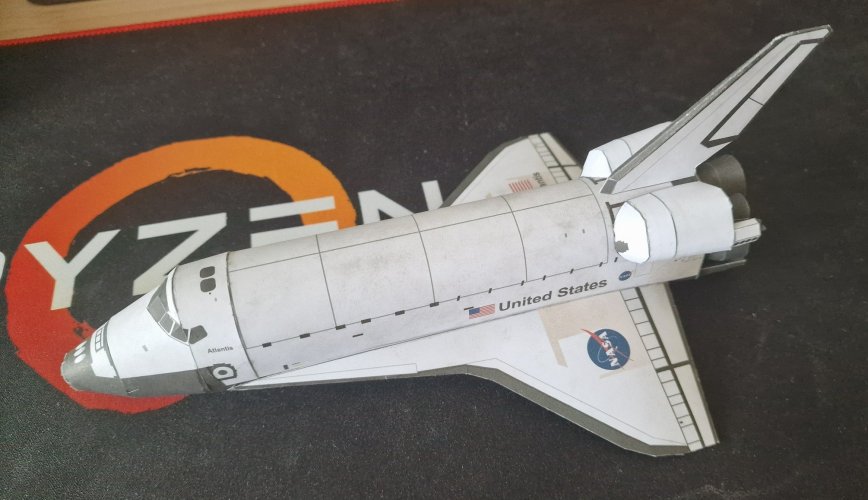
I started work on the Atlantis shuttle, the model from paper-replika.
The model has 11 pages, including parts and (some separate) gluing tabs, and excluding the 1st page.
The instructions (provided on the site) are clear and easy to follow, although a YouTube video that i saw while building it, showed me exactly what to expect down the line.

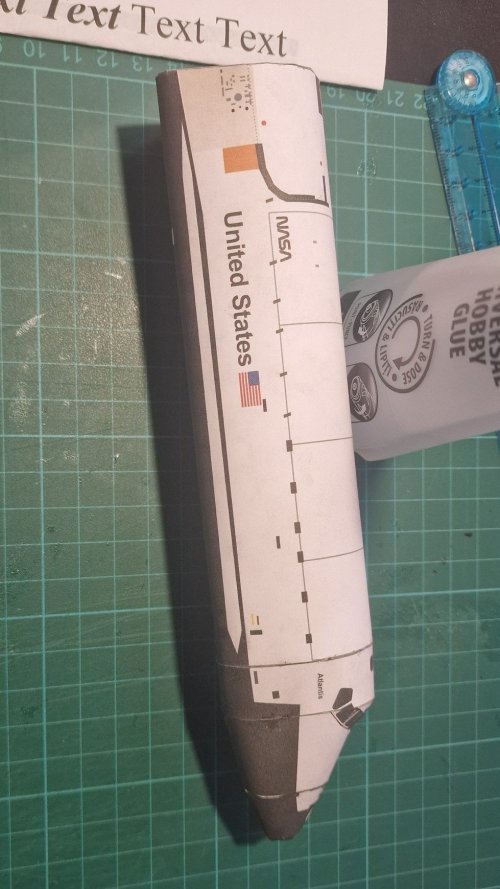
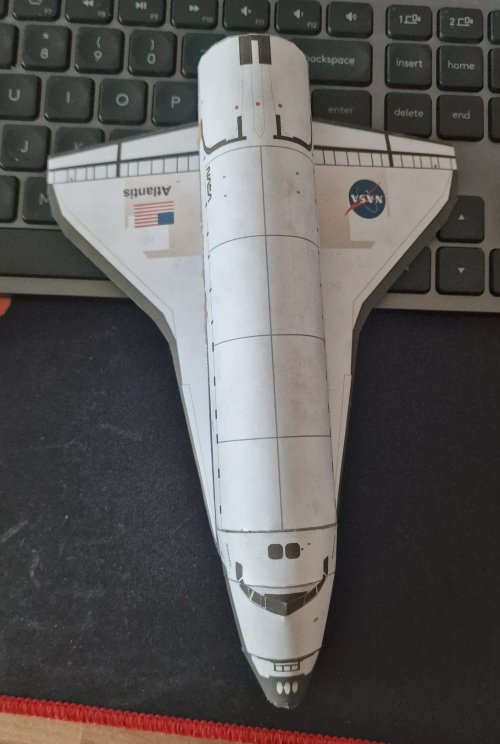
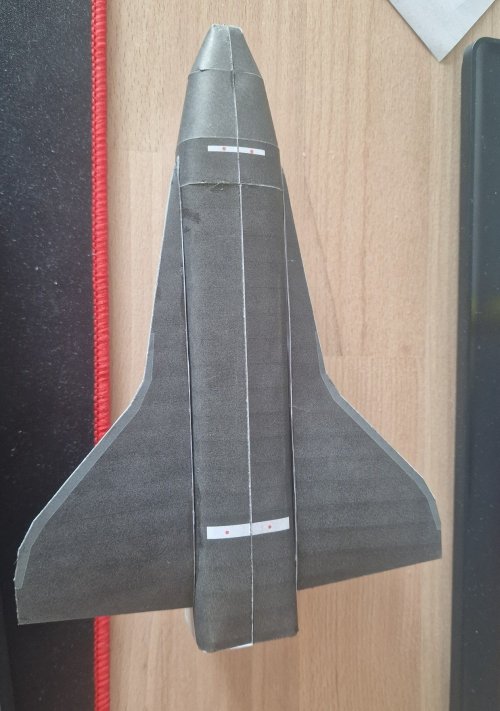
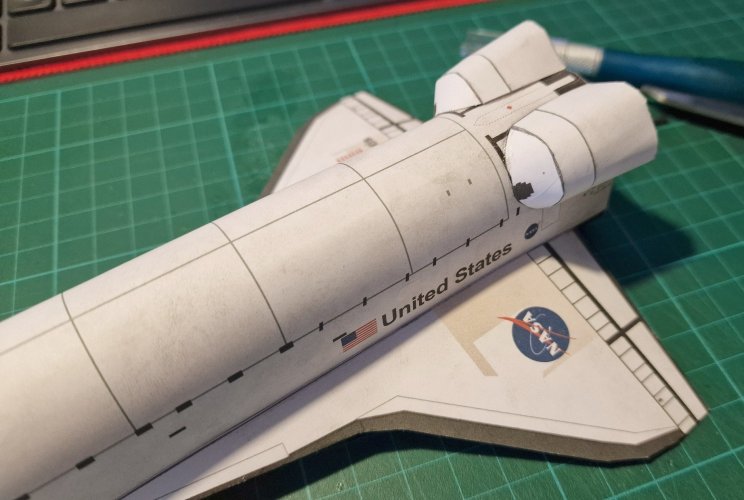
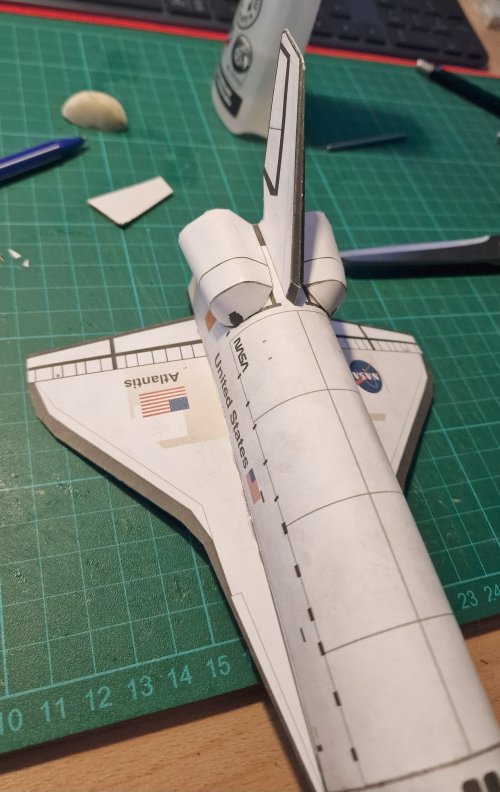
I printed the model on 120 gsm paper using my new Canon CISS printer and i ran into the 1st problem: the pigments in the black ink do not play nicely with my existing paper and it smears off easily so, throughout the build you'll see some prints and smudges. To be honest, although not aesthetically pleasing, they kind of give the model a nice patina, but that's just my opinion.

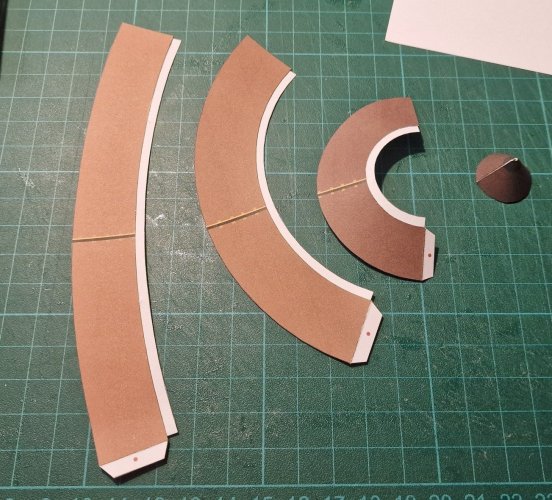
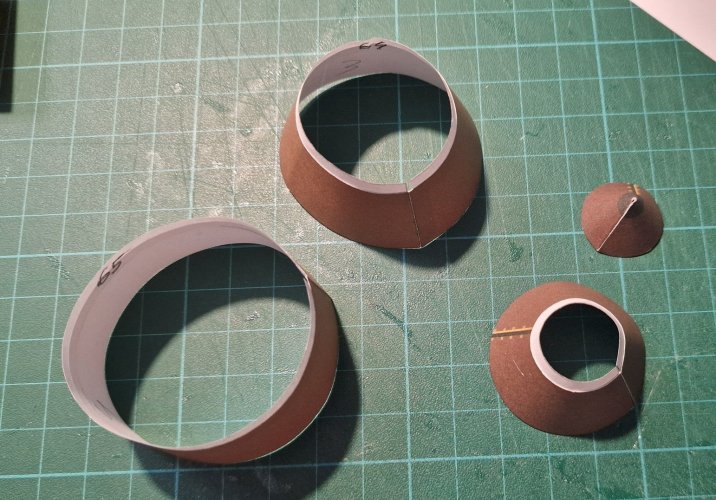
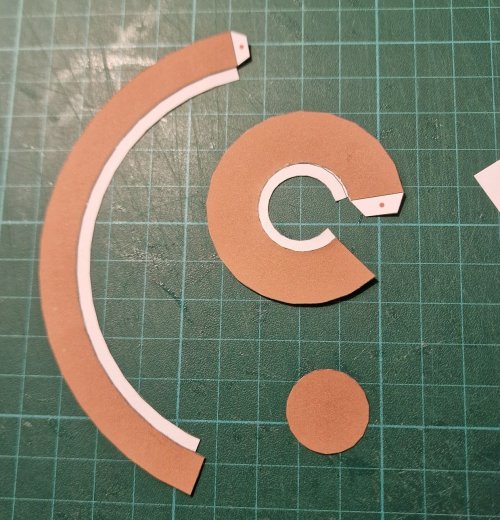
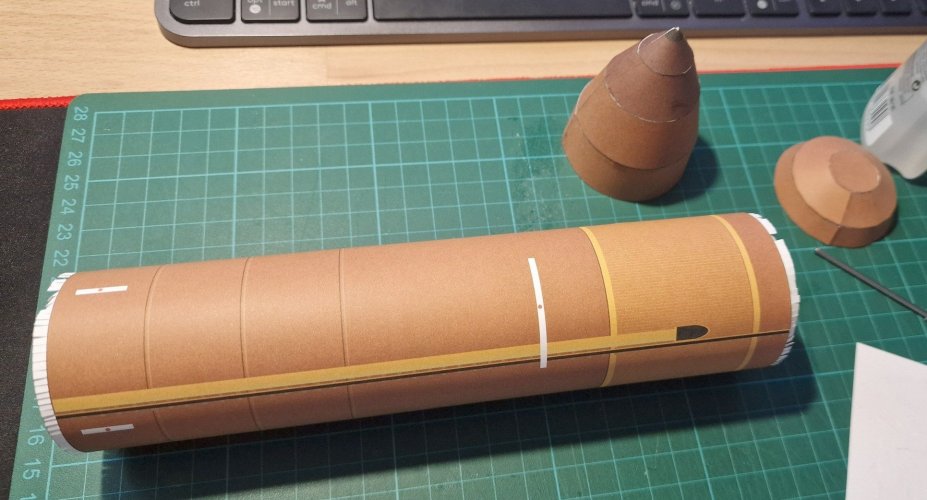
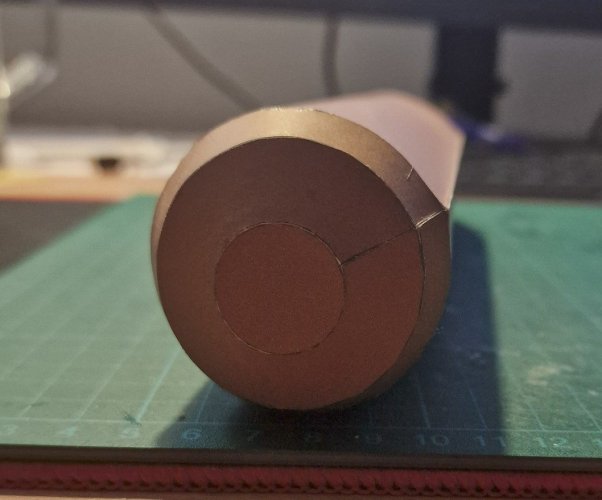
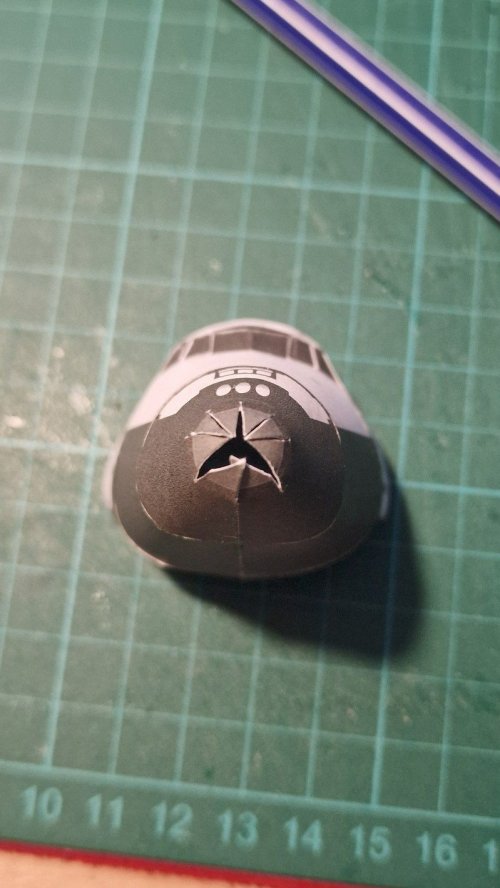
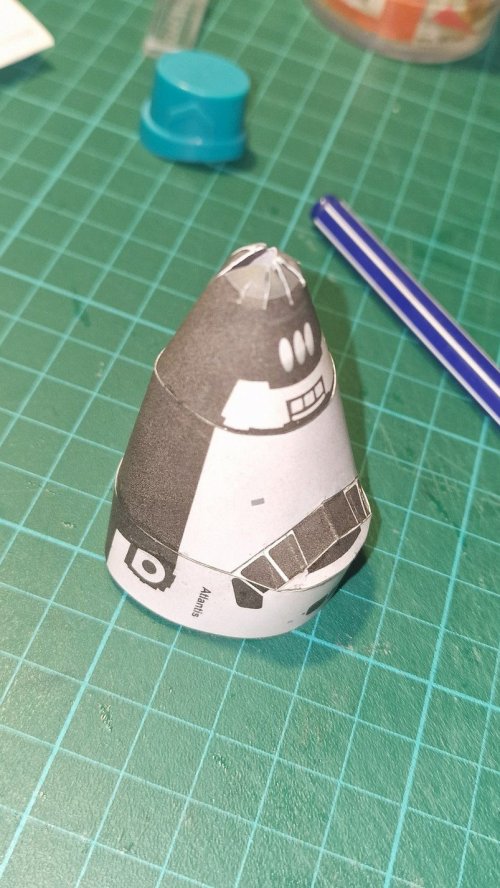
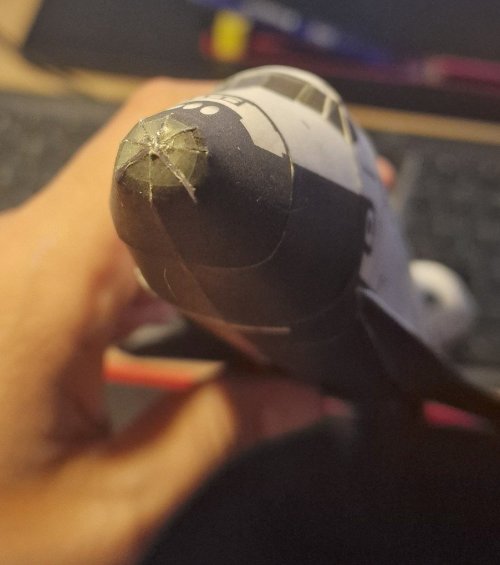
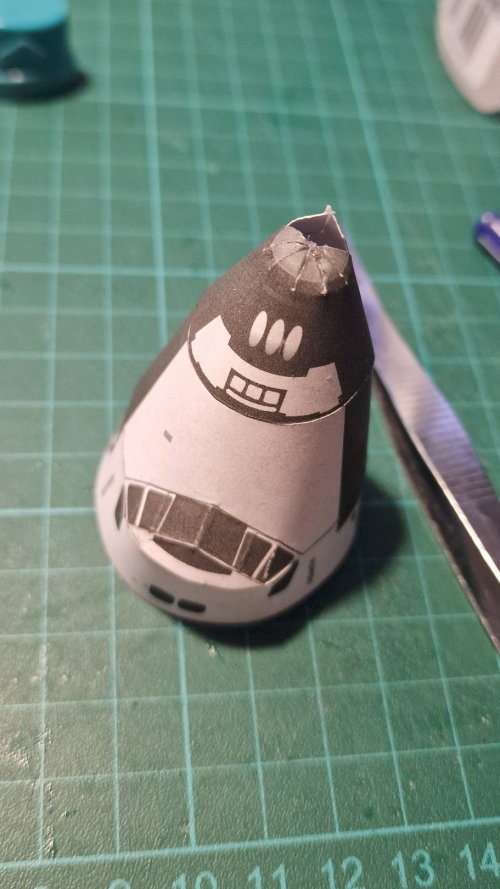
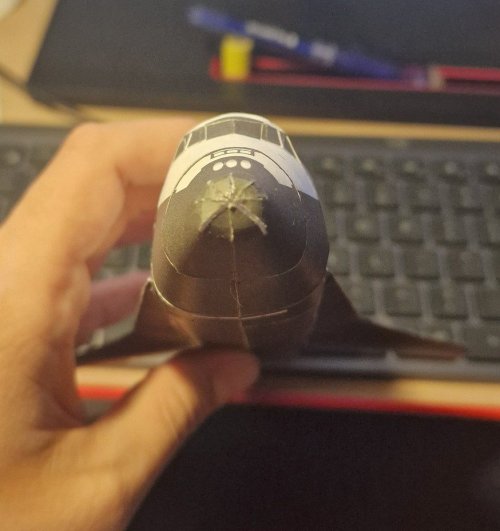
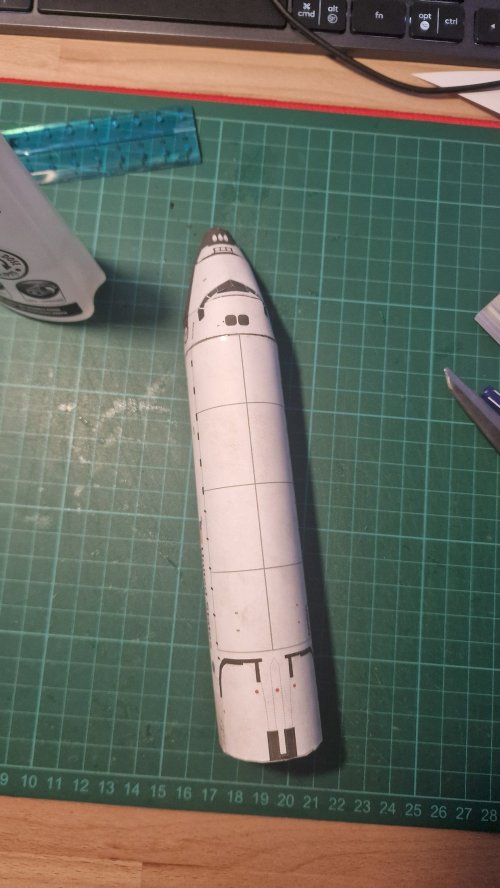
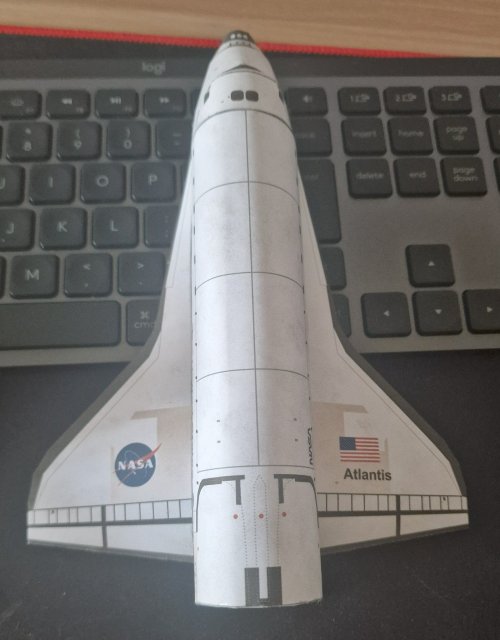
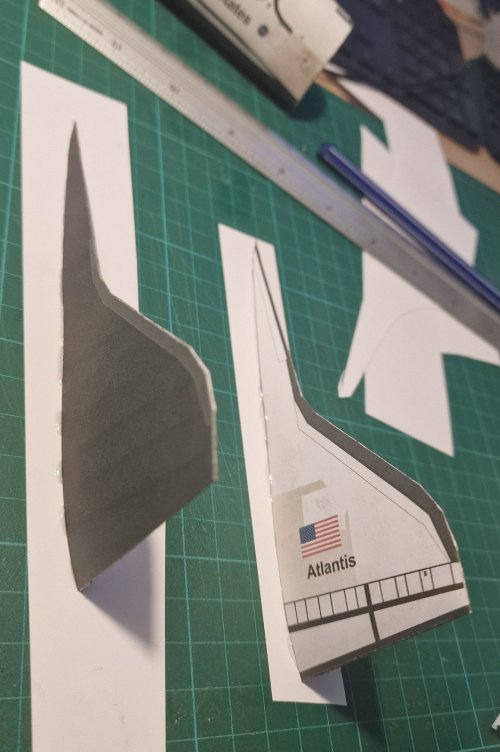
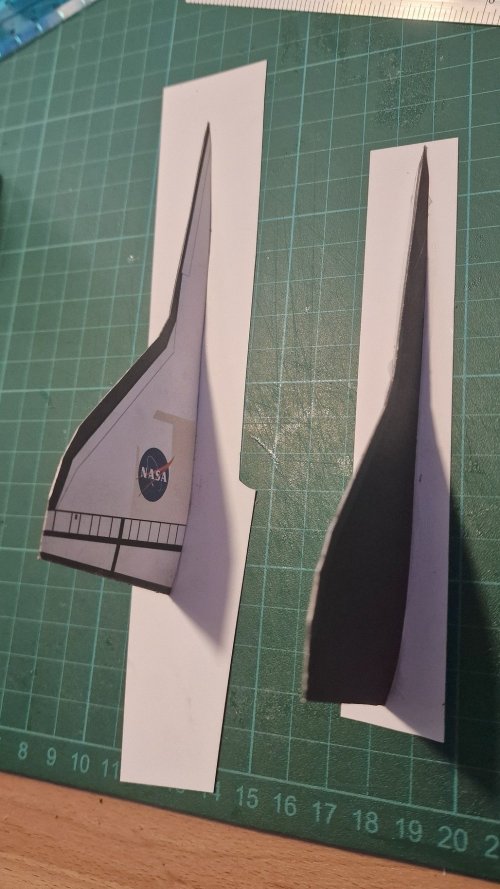
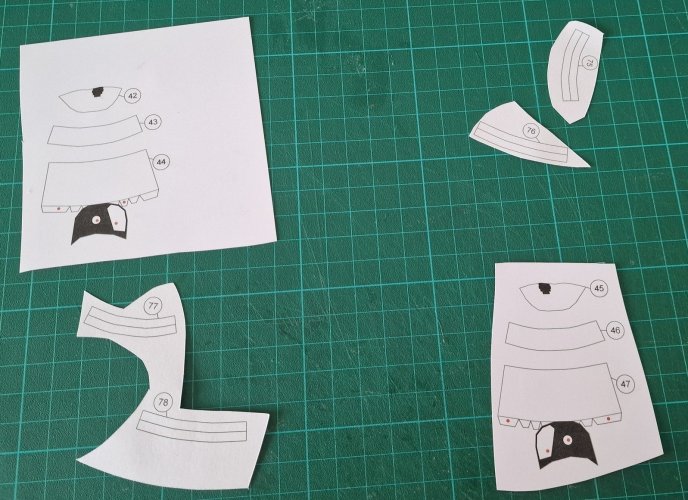
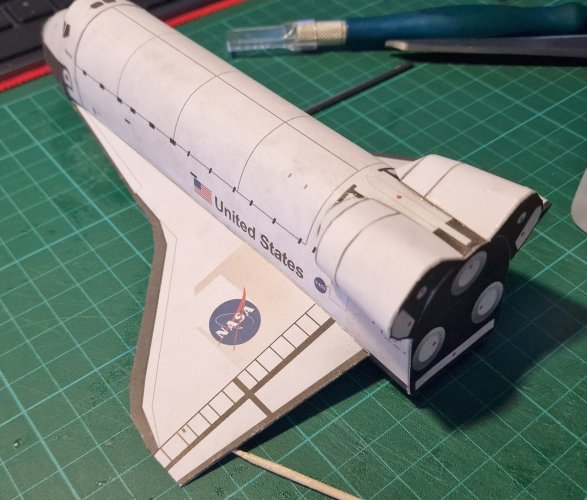
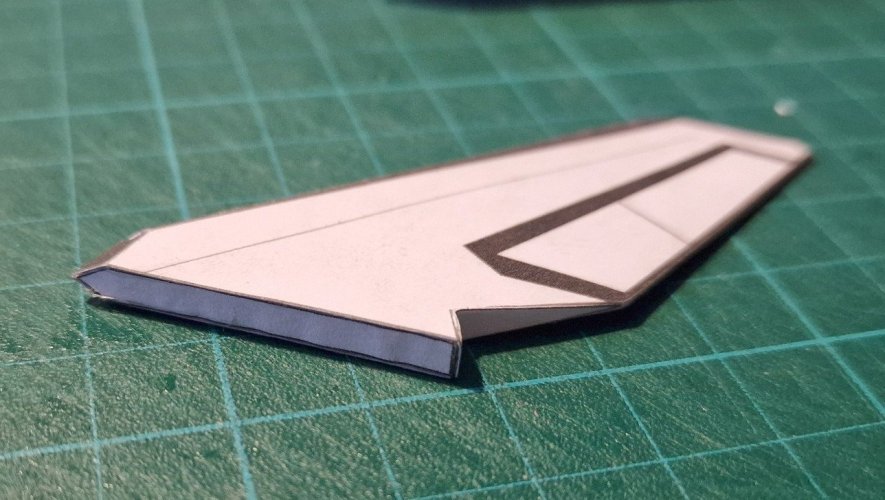
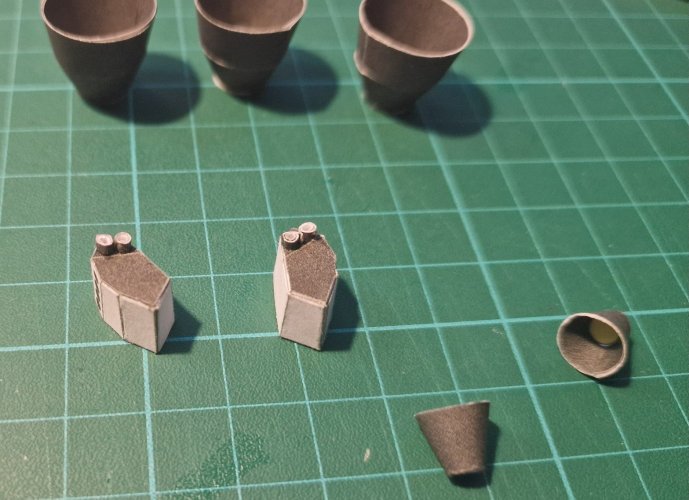
The build starts with the nose section, with the nose being a bit strange to build (see pics attached). normally i would've expected to have the tip of the nose as a single cone-shaped piece, but in this case is made out of several triangular shaped pieces. I started gluing and bending the upper side (using small amounts of glue) and after the glue started to set, i added more glue to secure it in place. after a night of drying, i shaped and glued the bottom 2 strips.
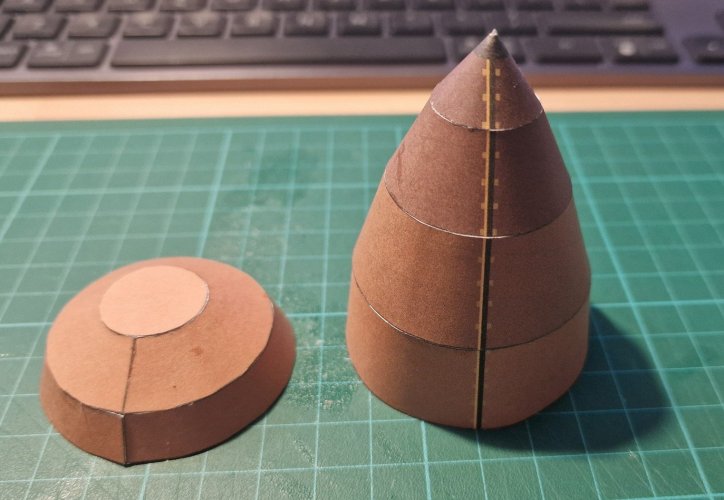
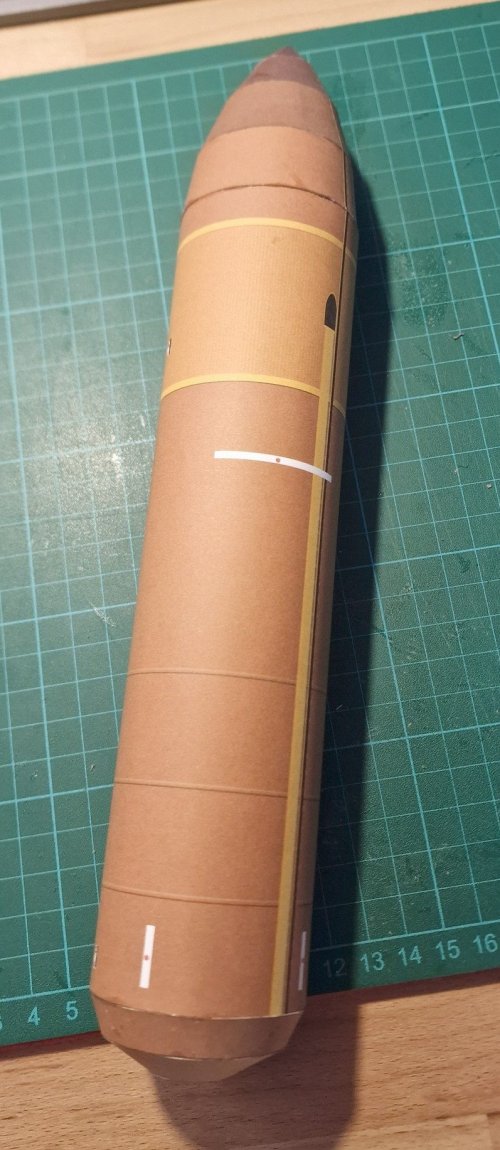
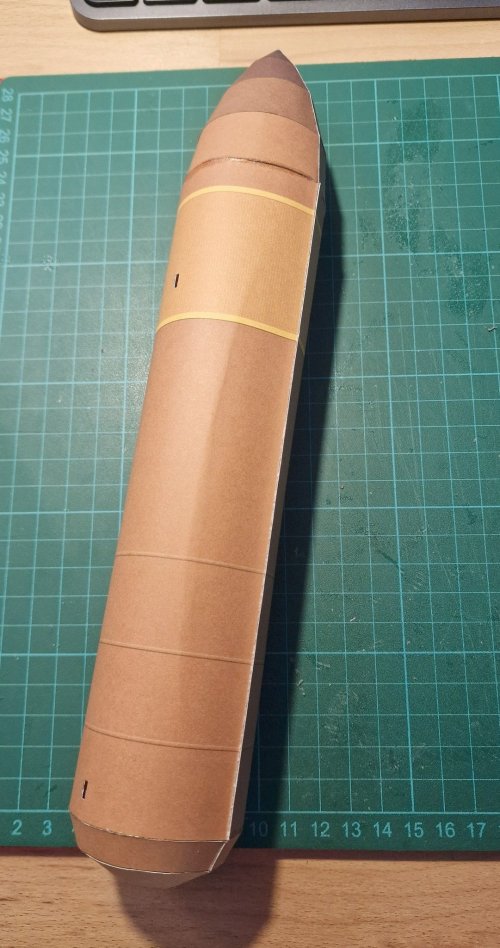
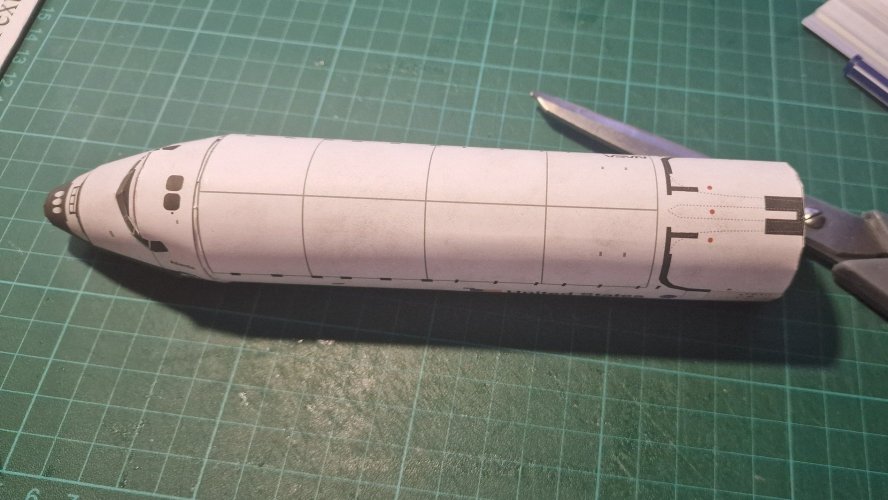
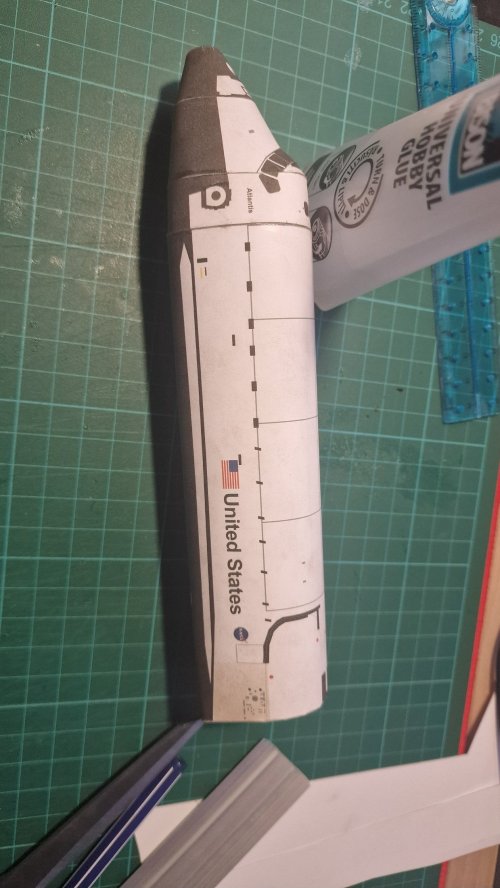
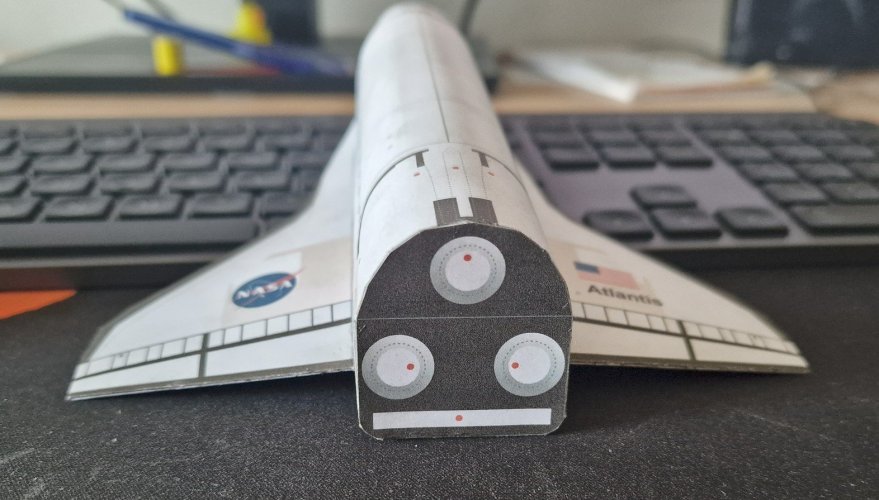
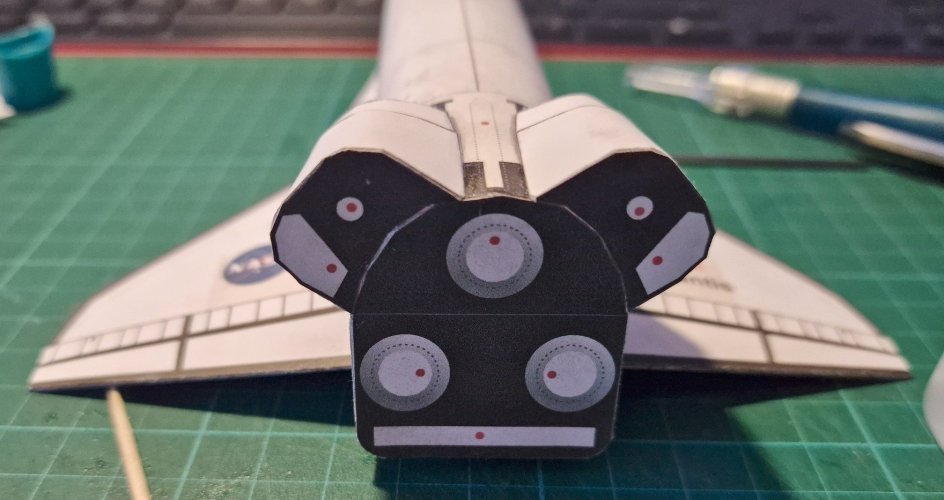
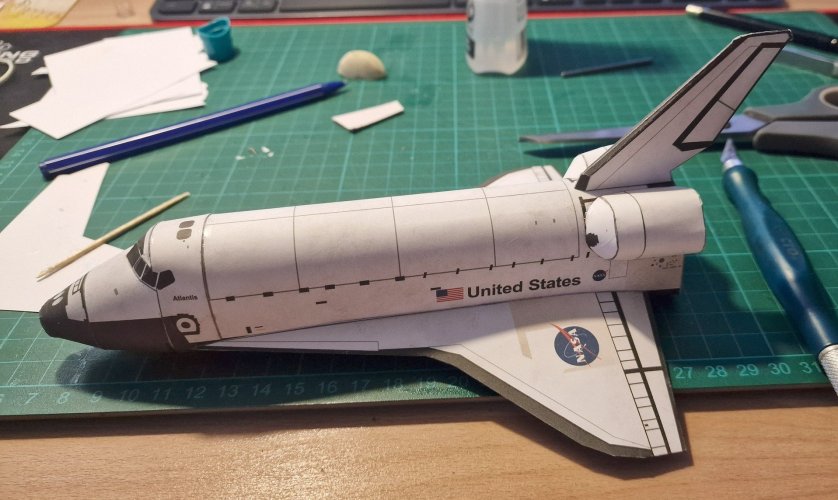
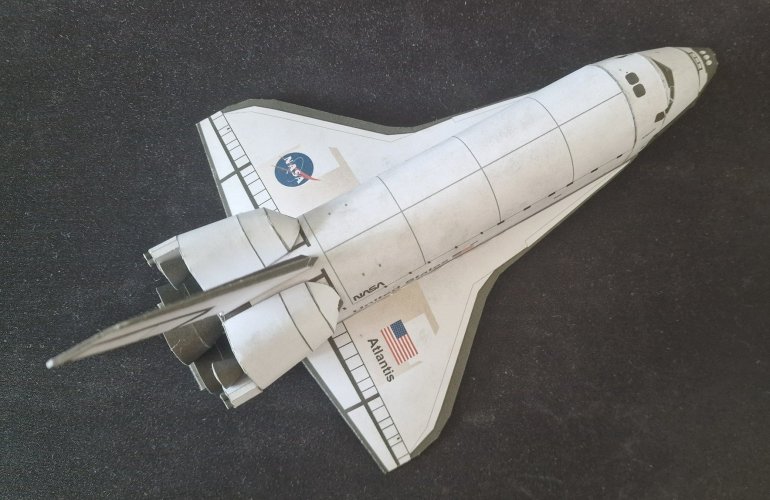
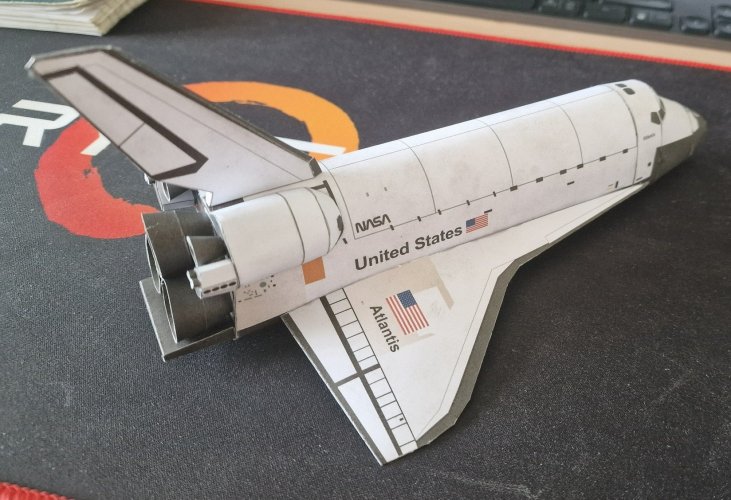
Overall, after a tone of glue, a lot of time and 2 evenings, the nose section came together better than expected, with only one small misalignment (cockpit window, right side).
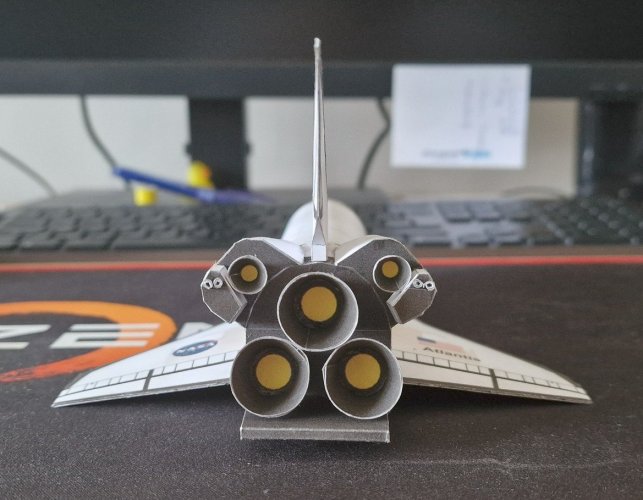
Of note, the last 2 pics were taken some days apart, to show the final look of the nose, as i forgot to do that initially.
 

Attachments

  • 20250715_002119.jpg
    20250715_002119.jpg
    159.6 KB · Views: 3
  • 20250715_002106.jpg
    20250715_002106.jpg
    250.9 KB · Views: 3
  • 20250722_005839.jpg
    20250722_005839.jpg
    112.8 KB · Views: 3
  • 20250715_003343.jpg
    20250715_003343.jpg
    248.1 KB · Views: 3
  • 20250722_005831.jpg
    20250722_005831.jpg
    109.8 KB · Views: 3
Next was the shuttle's body.
Made of 1 big element, which was rolled and closed with an end piece (forgot to snap that pic but it will show in the next section).
The problem with this piece (which will affect the build later) is that this piece shows no scoring lines and, as mentioned, i rolled the whole element and closed it. from what i saw in other models, this piece should normally have the floor and sides at approximately 90 deg angles, but here, there were no instructions to do so and (again) no scoring lines
 

Attachments

  • 20250717_214000.jpg
    20250717_214000.jpg
    351.7 KB · Views: 2
  • 20250717_214959.jpg
    20250717_214959.jpg
    419.2 KB · Views: 2
  • 20250717_215009.jpg
    20250717_215009.jpg
    290.8 KB · Views: 2
  • 20250717_215018.jpg
    20250717_215018.jpg
    421.7 KB · Views: 2
The wings were easy to build and here i stumbled upon the problem mentioned in the previous step: as the sides of the shuttle are not at 90 deg angles with respect to the bottom, the wings are pointing downwards, and not a bit upwards, as they should. As a results, the heat shield on the bottom has no continuity (as it should).
However, as the boosters and fuel tank will be added to the underside, and the model should be displayed vertically, i hope it won't cause any problem down the line
 

Attachments

  • 20250718_174341.jpg
    20250718_174341.jpg
    267.3 KB · Views: 2
  • 20250718_174405.jpg
    20250718_174405.jpg
    266.6 KB · Views: 2
  • 20250718_174330.jpg
    20250718_174330.jpg
    259.6 KB · Views: 2
  • 20250718_174315.jpg
    20250718_174315.jpg
    419.5 KB · Views: 2
  • 20250717_231102.jpg
    20250717_231102.jpg
    284.6 KB · Views: 2
  • 20250717_231053.jpg
    20250717_231053.jpg
    344.1 KB · Views: 2
Building and adding the orbital maneuvering system - not difficult but gluing it to the main body takes time.
I hurried a bit and added the 2nd one to the body before the 1st one was glued in place, so i had to reposition both of them a couple of times (these pieces have no gluing tabs for attaching them to the body)
 

Attachments

  • 20250720_181137.jpg
    20250720_181137.jpg
    513.7 KB · Views: 2
  • 20250720_195847.jpg
    20250720_195847.jpg
    210.4 KB · Views: 1
  • 20250720_202444.jpg
    20250720_202444.jpg
    246.3 KB · Views: 1
  • 20250720_202447.jpg
    20250720_202447.jpg
    274.6 KB · Views: 2
  • 20250720_202452.jpg
    20250720_202452.jpg
    340.7 KB · Views: 1
  • 20250720_205816.jpg
    20250720_205816.jpg
    187.3 KB · Views: 2
And the completed shuttle.
This is the point i'm currently at. i need to build the main tank and the SRBs and attach them to the shuttle.

I'll post more when i'll have a bit more time to build.

hope you enjoyed it so far!
Have a great one!
E
 

Attachments

  • 20250721_163918.jpg
    20250721_163918.jpg
    439.2 KB · Views: 7
  • 20250721_163843.jpg
    20250721_163843.jpg
    433.6 KB · Views: 7
  • 20250721_163836.jpg
    20250721_163836.jpg
    192.7 KB · Views: 8
  • 20250721_163828.jpg
    20250721_163828.jpg
    205.4 KB · Views: 8
  • 20250721_163820.jpg
    20250721_163820.jpg
    387.2 KB · Views: 8
  • 20250721_163812.jpg
    20250721_163812.jpg
    389.7 KB · Views: 7
The shuttle (itself) looks GREAT! This project is coming together nicely! You are doing a great job on this project. The commentary and notes are helpful for anyone who is seriously considering trying their hand at building this model.
I am looking forward to seeing how it turns out.
 
  • Like
Reactions: gogu13
@Rhaven Blaack thanks for your kind words!
I saw the site you mentioned and it's really nice
I considered buying the ISS but the main drawback it's that the payment method is PayPal and i'm not very fond of it...
Also, i don't currently understand how the ISS is split up on that - do i need to buy Kit #1 and get the other modules for free, or are all modules available for free?
Still looking into that as i really want to build this kit in the future.
Ok. I am sorry, I did not realize that you had to pay for some of the templates (especially the ISS kit). Unfortunately, I do not know the answer to your question.
The only reason why I suggested that site, is that I know others who have built models from that site and it was highly recommended.
 
Ok. I am sorry, I did not realize that you had to pay for some of the templates (especially the ISS kit). Unfortunately, I do not know the answer to your question.
The only reason why I suggested that site, is that I know others who have built models from that site and it was highly recommended.
No need to apologize.
I know that site for quite some time, and it's nice - i saved some templates from there. The free ones are the space shuttles + some cargos used for different missions and some modules for the ISS.
When i was looking for an ISS papermodel, i found that one to be more nicer (from my point of view) both in terms of details and scale, the only drawback being the payment method (not the price itself).
I've been debating for some months whether i should buy it or not, but as the model it's not on my priority list i can debate it for a bit longer :P
 
Main oxygen tank - middle section and final assembly.
Some folds went wrong as i stressed the paper trying to get rid of a crease (the one in the 4th pic, right along the gluing line).
Also, some of the glue spilled out and let some spots here, and there.
 

Attachments

  • 20250723_004118.jpg
    20250723_004118.jpg
    353.1 KB · Views: 1
  • 20250723_010722.jpg
    20250723_010722.jpg
    287.9 KB · Views: 1
  • 20250723_010728.jpg
    20250723_010728.jpg
    457 KB · Views: 1
  • 20250723_010738.jpg
    20250723_010738.jpg
    120.6 KB · Views: 1
  • 20250723_010753.jpg
    20250723_010753.jpg
    353.4 KB · Views: 1
Very nice progress indeed! :) It is too bad that the wings are drooping. I don't know if this is possible but you could make a cut into the bottom half of the wing, bend the wing up, fill the gap with some leftover paper and coer the area up with another print of the tile texture. You may also consider reprinting the tank. You can achieve a very sturdy tube by filling it up with some sheets of leftover paper: Roll it into a tube, put it in and let it spring open.