
ALIENS..."this time its two!"
- Thread starter Chuffy70
- Start date
You are using an out of date browser. It may not display this or other websites correctly.
You should upgrade or use an alternative browser.
You should upgrade or use an alternative browser.
A small update...
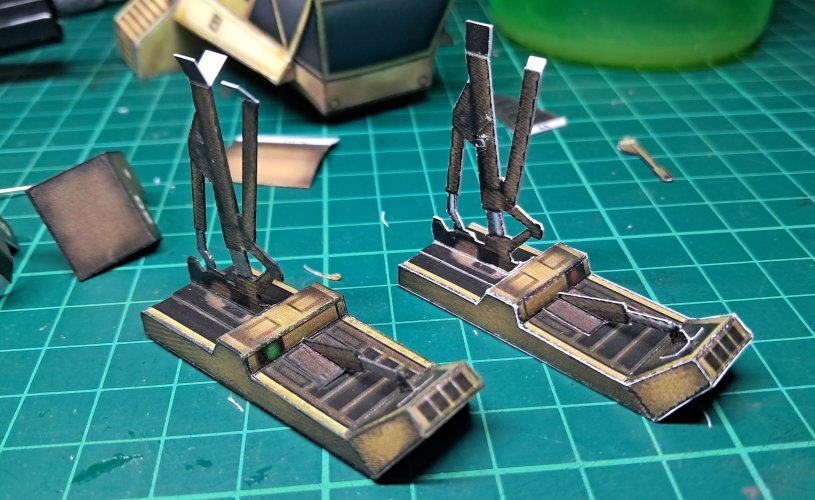
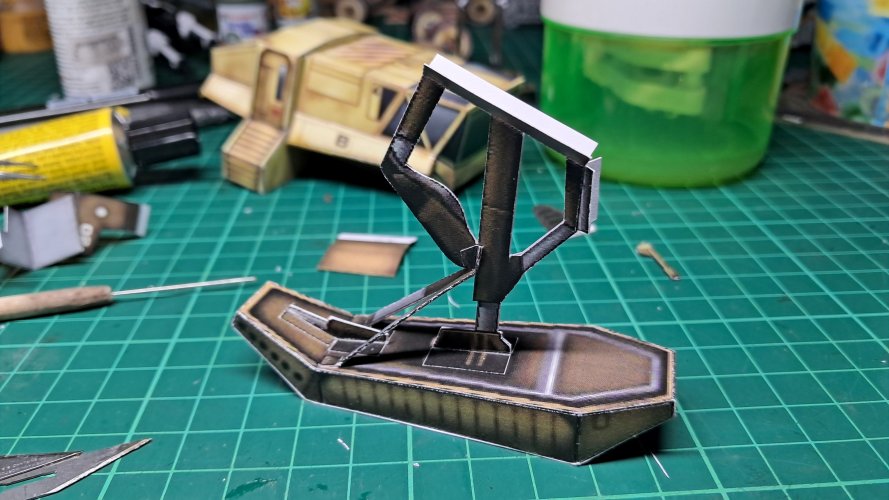
Rear landing leg complete - minus any Alien attachment

Also front Landing Gear completed,
LEFT finished/painted compared to the bare construction RIGHT really shows what a difference in colouring your edges makes.

I hope this picture uploads, as it shows my first use of a Wet Palate - I've had paint in there for 3 days now with no drying up!
Totally converted, and hardly any wasted paint...

THANKS FOR WATCHING...
Rear landing leg complete - minus any Alien attachment
Also front Landing Gear completed,
LEFT finished/painted compared to the bare construction RIGHT really shows what a difference in colouring your edges makes.
I hope this picture uploads, as it shows my first use of a Wet Palate - I've had paint in there for 3 days now with no drying up!
Totally converted, and hardly any wasted paint...
THANKS FOR WATCHING...
Attachments
Last edited:


The langing gear look good.
I can see that this model has a great deal of greebling potential.
I can see that this model has a great deal of greebling potential.
I think you should change your name to Mr GreebleThe langing gear look good.
I can see that this model has a great deal of greebling potential.
")
Thank you, should be another update mid-to-later on in the weekGreat start lookning forward to see your progres.

A small update...
Undercarriage applied to the Dropship and splashes of paint have been applied to all bare surfaces.
The little Seeker is finished, but I had forgotten to get the main weapon pods and missile fold outs printed, so this will be all for now until my stock of paper arrives.


THANKS FOR WATCHING...
Undercarriage applied to the Dropship and splashes of paint have been applied to all bare surfaces.
The little Seeker is finished, but I had forgotten to get the main weapon pods and missile fold outs printed, so this will be all for now until my stock of paper arrives.
THANKS FOR WATCHING...
Its better than I thought it would turn outThis project is coming together nicely!
Average I'd say, not quite awesome, but thank youAwesome work.
If you call that average, how does it have to be to call it awesome ?Average I'd say, not quite awesome, but thank you
For me that's beyond average Sir.
Thank you humblyLooks Fine from where I'm sitting
Better fit, more defined details...and remembering to get all the parts printed! "doh!"If you call that average, how does it have to be to call it awesome ?
For me that's beyond average Sir.
Self critique is a modellers worst enemy, should be happy with the finished (nearly) project and move on to the next.
Thank you for your kind comment
Its a fun little vehicle...I may do the Tractor at a later dateThe seeker is really cool!
Yea, i know exactly what you meanSelf critique is a modellers worst enemy, should be happy with the finished (nearly) project and move on to the next.
